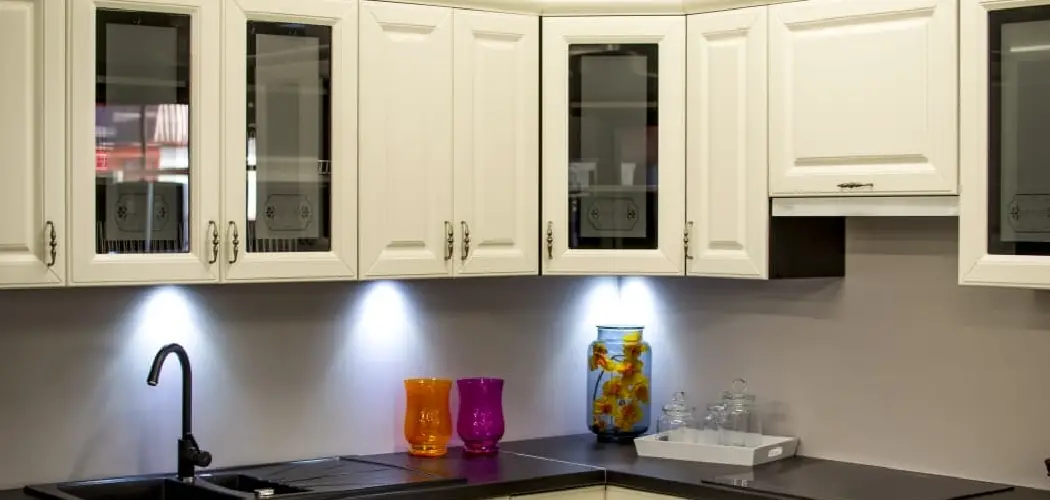
Are you tired of looking at your old, dull cabinets? Do you want to give them a new look without spending a fortune on renovations?
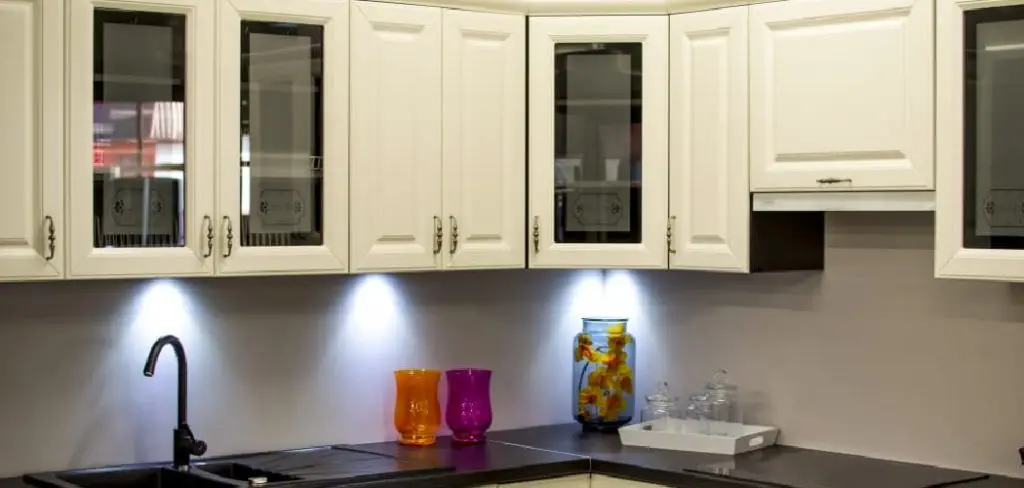
How to apply peel and stick wallpaper to cabinets can be a transformative and cost-effective way to rejuvenate your space without the commitment of traditional paint or wallpaper. This simple and versatile option allows you to experiment with various patterns and textures, giving your cabinets a fresh, updated look that reflects your style.
Whether you’re looking to enhance a kitchen, bathroom, or other cabinetry, this guide will walk you through the essential steps and tips to ensure a smooth application process. Get ready to unleash your creativity as we explore how to make your cabinets shine with peel-and-stick wallpaper!
What Will You Need?
Before diving into the application process, gathering all the necessary tools and materials is essential. This will help save time and ensure a successful outcome. Here’s a list of items you’ll need:
- Peel and stick wallpaper
- Scissors or cutting tool
- Measuring tape
- Level
- Squeegee or credit card
- Utility knife
- A damp cloth is used to clean the cabinets before application.
Once you have everything prepared, it’s time to get started!
10 Easy Steps on How to Apply Peel and Stick Wallpaper to Cabinets
Step 1: Measure and cut
Begin by measuring the dimensions of each cabinet door or surface you plan to cover. Use a measuring tape to ensure accuracy, as precise measurements are crucial for a seamless application. Once you have the measurements, add an extra inch or two to the length and width to allow for adjustments during installation. Next, lay the peel-and-stick wallpaper flat on a clean, dry surface.

Using scissors or a cutting tool, carefully cut the wallpaper to the dimensions you recorded, maintaining straight edges for a clean finish. Cut one piece at a time, especially if you’re working with intricate patterns, so you can match up the designs when applying the wallpaper. Taking your time with these initial steps will set the foundation for successfully transforming your cabinets.
Step 2: Prepare the Cabinet Surface
Before applying the peel-and-stick wallpaper, preparing the cabinet surface is crucial. Start by thoroughly cleaning each cabinet door with a damp cloth to remove dirt, grease, or dust. Allow the surfaces to dry completely before proceeding.
For the best adhesion, ensure that the cabinets are smooth and free of any imperfections. If the surface has been previously painted or has a glossy finish, consider lightly sanding it to create a better grip for the wallpaper. These steps will help ensure that your wallpaper adheres appropriately and lasts for years.
Step 3: Positioning the Wallpaper
Once the surface is ready, it’s time to position the wallpaper. Carefully peel back a few inches of the backing from the wallpaper without removing it entirely. Align the top edge of the wallpaper with the top of the cabinet door, ensuring it’s straight. Use a level to verify it’s positioned correctly before pressing it down. This initial positioning is critical, as adjusting the wallpaper later can be challenging without damaging the adhesive.
Step 4: Apply the Wallpaper
Now that you have positioned the wallpaper, it’s time to apply it to the cabinet surface. With a firm grip on the bottom edge, slowly peel away the backing paper as you press the wallpaper onto the cabinet. Start at the top and work down to avoid trapping air bubbles underneath. As you go, use a squeegee or a credit card to smooth out the wallpaper, moving from the center towards the edges.
This technique helps eliminate air pockets and ensures firm adhesion to the surface. If you notice any bubbles forming, don’t panic—simply lift the edge of the wallpaper gently and reapply it while smoothing it out again. Take your time with this step, as the proper application will significantly impact the final appearance of your cabinets.
Step 5: Trim Excess Wallpaper
Once the wallpaper is firmly in place, the next task is to trim the excess. Use a utility knife for this step, ensuring it’s sharp for a clean cut. Carefully run the knife along the edges of the cabinet doors or surfaces to remove any overlapping wallpaper. Keeping the blade at a slight angle is advisable to reduce the risk of cutting too deeply.
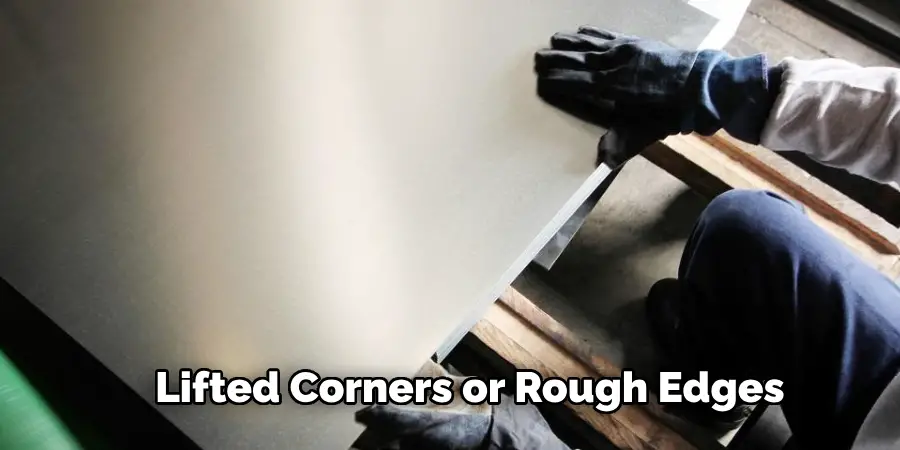
For intricate details or corners, take your time and adjust your cutting technique as needed to achieve a polished finish. After trimming, inspect all edges to ensure the wallpaper is neatly adhered to without any lifted corners or rough edges. This attention to detail will contribute significantly to the overall aesthetic of your freshly updated cabinets.
Step 6: Finishing Touches
After trimming the excess wallpaper, it’s time to add any finishing touches to ensure your cabinets look perfect. Start by inspecting the edges of the wallpaper to confirm they are well adhered, and there are no lifted corners. If you spot any areas that need extra attention, use your squeegee or credit card to push them down firmly.
Next, consider adding a clear sealant or topcoat if the wallpaper you chose requires it to enhance durability and protect against wear and tear, especially if the cabinets will be exposed to moisture or heavy use. These final steps will solidify the look and longevity of your peel-and-stick wallpaper application, leaving your cabinets looking fresh and stylish.
Step 7: Allow for Proper Curing
Once you’ve completed the initial application and finishing touches, allowing the wallpaper to cure correctly is essential. Avoid using the cabinets for at least 24 hours, which gives the adhesive time to bond securely with the surface. Keeping the cabinets undisturbed during this period will help ensure the wallpaper adheres well and remains in place.
If you can, avoid exposing the cabinets to moisture or high humidity during this time, as these conditions can weaken the adhesive. By giving your wallpaper the right amount of time to cure, you will enhance its durability and appearance, ensuring it looks fantastic for years.
Step 8: Regular Maintenance
Regular maintenance is essential to keep your peel-and-stick wallpaper looking its best over time. Start by gently cleaning the surface with a soft, damp cloth to remove dust or fingerprints. Avoid harsh chemicals or abrasive cleaners, as these can damage the wallpaper.
Try a mild soap solution first if you notice any scuffs or stains. Additionally, keep an eye out for any edges that may start to lift; if you find any, simply smooth them down with your fingers or a squeegee. By routinely caring for your wallpaper, you can enjoy the fresh appearance of your cabinets for many years to come.
Step 9: Seasonal Updates
As trends evolve and your style may change, consider updating your peel-and-stick wallpaper seasonally or periodically. This allows you to refresh the look of your cabinets without a complete overhaul. Choose seasonal patterns or colors that resonate with your current decor theme; it can be fun to celebrate the changing seasons or special occasions.

When changing the wallpaper, follow the same preparation and application steps as before, ensuring that the previous layer is removed cleanly. Seasonal updates can keep your space lively and aligned with your evolving aesthetic preferences.
Step 10: Troubleshooting Common Issues
Even with careful preparation and application, you may encounter some common issues with peel and stick wallpaper. If you see air bubbles that persist despite your smoothing efforts, you can gently lift the wallpaper in that area and use a pin to puncture the bubble before pressing it down again.
For any edges that lift, applying a small amount of wallpaper adhesive or double-sided tape along the edge can secure them back in place. If you experience wrinkling, it might be due to incorrect surface preparation or humidity; ensure the surface is smooth and dry before application.
If you find any discoloration or fading over time, check that the wallpaper suits the intended location and exposure conditions. Keep these troubleshooting tips in mind to maintain the integrity and beauty of your wallpapered cabinets.
Following these ten simple steps, you can transform your kitchen cabinets with peel and stick wallpaper.
What Type of Peel and Stick Wallpaper is Best for Cabinets?
When choosing the right peel and stick wallpaper for your cabinets, there are a few things to consider.
- Durability: Look for wallpaper specifically designed for high-traffic areas and that can withstand regular use without peeling or tearing. This will ensure the longevity of your cabinet makeover, even in busy kitchen environments.
- Moisture Resistance: As cabinets are often exposed to moisture and humidity, choosing a wallpaper that can withstand these conditions without warping or losing adhesion is essential. Look for options that have a waterproof or water-resistant feature.
- Easy Removal: If you ever decide to change the look of your cabinets, it’s essential to choose a peel-and-stick wallpaper that is easy to remove without damaging the surface. Some options are designed with this in mind, making them convenient for seasonal updates or temporary changes.
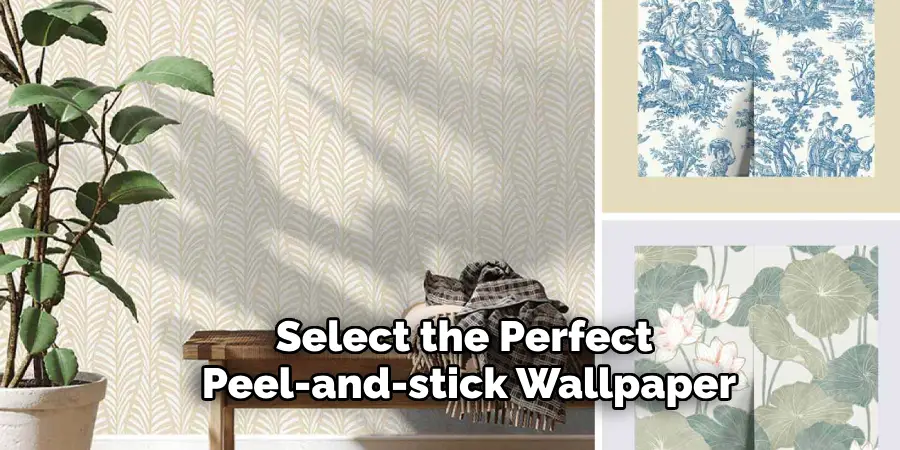
- Aesthetic Appeal: Of course, the most crucial factor in choosing the right peel-and-stick wallpaper is its aesthetic appeal. When selecting a design, consider the overall style and colour scheme of your kitchen and opt for something that complements or enhances the space.
By considering these factors, you can select the perfect peel-and-stick wallpaper to achieve stunning results on your cabinets.
Conclusion
In conclusion, how to apply peel and stick wallpaper to cabinets is a straightforward and rewarding project that can significantly enhance the aesthetic appeal of your kitchen.
From proper preparation and careful application to regular maintenance and seasonal updates, each step plays a vital role in achieving a long-lasting and stylish result.
By choosing the suitable wallpaper that fits your needs for durability, moisture resistance, and design, you’re setting yourself up for success. Overall, this creative approach allows you to infuse your space with personality while providing the flexibility to update your decor easily.
With time and attention to detail, you can transform your cabinets into a focal point that delights for years.

