
Integrating a headboard with a shaped desk can dramatically transform your workspace, turning it into a more functional and visually appealing area. Whether you are setting up a creative home office, a study nook for children, or a stylish corner in your bedroom, attaching a headboard provides extra support, structure, and aesthetic value. People often opt for this setup to create a personalized touch that combines storage, design, and comfort.
However, working with shaped desks does present specific challenges due to their non-standard angles, curves, and varying dimensions. Successfully attaching a headboard requires attention to detail, careful planning, and the right materials. By following a structured, step-by-step approach, you can ensure a secure fit and a refined finish. In this comprehensive guide on how to attach a headboard to a shaped desk, we’ll walk you through ten detailed steps, share expert tips to enhance your results, and answer common questions so you can confidently complete your project.
10 Step-by-step Guidelines on How to Attach a Headboard to a Shaped Desk:
Step 1: Gather the Necessary Tools and Materials
For a successful attachment, make sure you have all the required tools and materials. Essential items typically include a cordless drill, wood or metal screws (depending on your desk and headboard materials), a measuring tape, a level, brackets or mounting hardware, wood glue, clamps, a pencil, and protective gear such as goggles and gloves.
Preparing these items in advance keeps your workflow smooth and efficient. Avoid having to pause your project midway to search for tools, as this can disrupt your momentum. An organized workspace is crucial for both safety and ease of assembly.
Step 2: Assess Your Desk and Headboard Compatibility
Before you begin, closely evaluate both your shaped desk and the headboard you want to attach. Consider whether the desk is sturdy enough to support the added structure of a headboard, especially if it’s made from lightweight materials. Examine the headboard for the presence of mounting brackets or areas suitable for attaching hardware.
In addition, look at the shape and curves of your desk and headboard. Ensure that their dimensions reasonably align, even if some modifications are necessary. This initial assessment will help you determine whether any adjustments are required and prevent unwanted surprises during installation.
Step 3: Mark and Plan the Attachment Points
Use a measuring tape and pencil to carefully mark where you intend to attach the headboard to the desk. Pay close attention to areas where the desk and headboard make the most contact. For shaped desks, identify straight or less-angled surfaces to serve as anchor points, as these offer more stability.
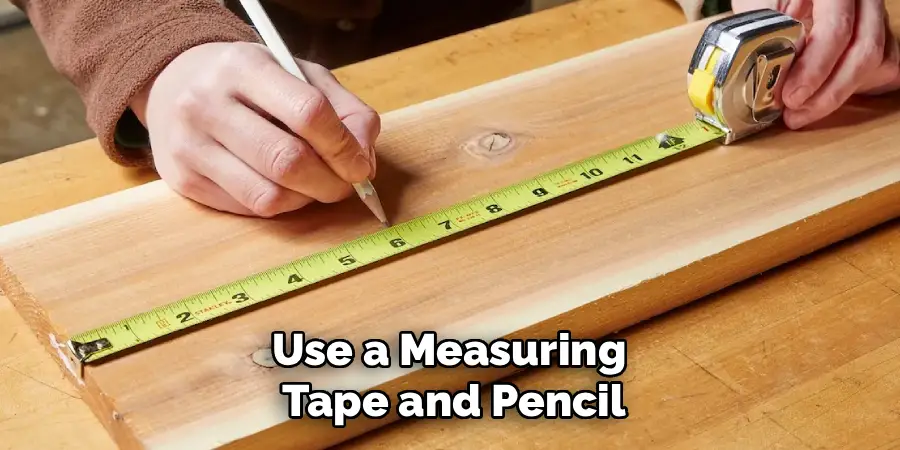
Planning your attachment points carefully ensures the headboard sits flush and looks professionally installed. This step also helps prevent misalignments and minimizes the risk of causing structural weakness. Double-check your marks before moving to the next stage.
Step 4: Prepare the Desk and Headboard Surfaces
Before mounting, clean and sand any rough areas on both the desk edge and the headboard. Dust, debris, or uneven surfaces can hinder a secure connection or cause damage over time. If your headboard or desk requires any customization—such as trimming, notching, or drilling pilot holes—now is the time to do so.
Taking the time to properly prepare these surfaces will lead to a more secure and long-lasting joint. It will also help in achieving a seamless appearance once the headboard is attached. Always use suitable sandpaper grit to avoid marring the materials.
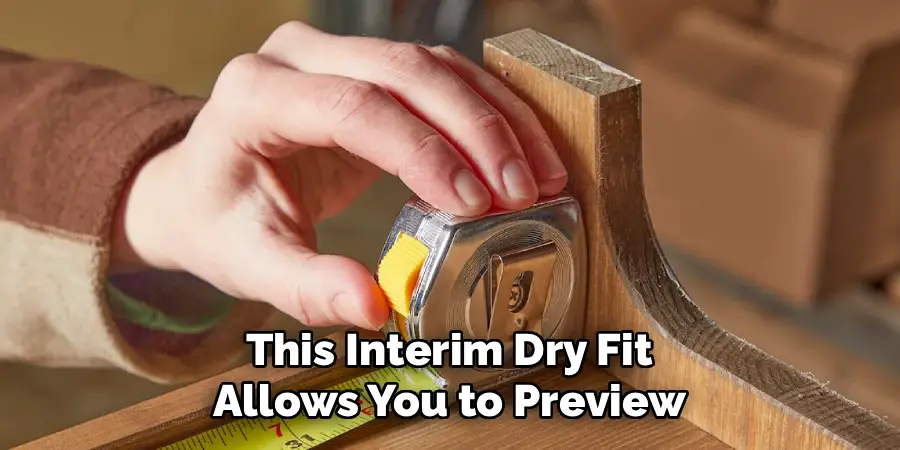
Step 5: Position the Headboard with Clamps
Using clamps, position the headboard against the desk according to your previously marked points. Employ a level to ensure the headboard is vertically straight and sits as intended relative to the desk surface. This part may require a helper, especially if either piece is large or awkward to handle.
By clamping and positioning first, you can step back and visually confirm alignment before drilling any holes. This interim dry fit allows you to preview the final result and make any minor adjustments for the best look and ergonomics.
Step 6: Drill Pilot Holes for Mounting Hardware
Once satisfied with the placement, use a drill fitted with the appropriate bit to create pilot holes where screws or bolts will go. Pilot holes are critical for preventing splitting or cracking, especially in wooden desks or headboards. Always drill perpendicular to the surface for the most secure hold.
Mark each hole clearly and take your time to ensure accuracy. Well-placed pilot holes help guide your mounting hardware smoothly and aid in proper tightening, which is essential for stability and safety.
Step 7: Attach Mounting Brackets or Hardware
Select mounting hardware that suits both your headboard and your desk’s construction—L-brackets, flat plates, or custom joinery pieces are often suitable. Secure the brackets to the headboard first, following the placement of your pilot holes. Use washers if necessary for a firmer, longer-lasting connection.
Once the hardware is fixed to the headboard, align it precisely with the matching points on the desk. Tighten all screws or bolts evenly, alternating sides to maintain balance and prevent any shifting while securing the two pieces together.
Step 8: Secure the Headboard to the Desk
After attaching the brackets or mounting hardware, carefully join the headboard to your shaped desk. Insert screws or bolts through the prepared hardware and tighten them with a drill or screwdriver as needed.
Check alignment as you go, making small adjustments if necessary before final tightening. The goal is a secure, wobble-free fit that doesn’t put undue stress on either the desk or the headboard. Take your time to ensure a strong, supportive attachment.
Step 9: Reinforce the Connection With Adhesive (Optional)
For added stability and longevity, consider applying a suitable adhesive (wood glue or epoxy, depending on the materials) to the contact surfaces between the headboard and the desk. This step can significantly strengthen the joint, especially for desks subjected to frequent movement.
Apply a thin, even layer of adhesive before re-securing the components and allow sufficient curing time per the manufacturer’s instructions. Remember that using adhesive may make future disassembly more difficult, but it greatly enhances structural integrity.
Step 10: Inspect, Clean Up, and Add Finishing Touches
Once the headboard is attached, thoroughly inspect your work for stability and aesthetics. Remove any stray pencil marks, wipe away dust or debris, and touch up scratches with matching filler or paint. Double-check all hardware for tightness and reinforce if necessary.

Finally, consider personalizing the combined desk and headboard setup with decorative accents, task lighting, or additional shelves. A thoughtful finishing touch will help your workspace feel inviting, efficient, and truly your own.
Following these steps on how to attach a headboard to a shaped desk can help you create a functional and stylish workspace that meets your needs. With the right tools, materials, and careful attention to detail, you can easily transform your ordinary desk into a multifunctional piece of furniture that adds both storage and style to your room.
Additional Tips
- Always prioritize safety by wearing goggles and gloves; desks and headboards can shift unexpectedly during attachment.
- Work on a stable, flat surface and ensure the assistance of a partner if the headboard is heavy or awkward.
- Opt for high-quality screws, bolts, and adhesives to guarantee a durable result over time.
- If your desk is painted or laminated, pre-drill and take extra care to avoid chipping or peeling.
- Be patient with each step, especially measurements and alignments, as small errors can multiply during assembly.
- Test the new setup gently before using it fully to confirm stability.
Frequently Asked Questions
Q1: What Tools Are Needed to Attach a Headboard to a Shaped Desk?
A1: You’ll need several basic tools and materials to secure a headboard to a shaped desk. The essentials typically include a cordless drill, drill bits, screws or bolts, mounting brackets, measuring tape, level, clamps, wood glue or adhesive, pencil, and protective gear like goggles and gloves. Each workspace is different, so be sure to adapt your tools to suit both the desk and headboard material.
Q2: Can I Attach a Headboard to Any Type of Desk?
A2: Most desks can accommodate a headboard if their construction is sturdy enough to bear the additional weight. However, very lightweight, glass, or thin laminate desks may not provide the necessary support. Always assess the structural integrity of your desk first. For shaped desks, pay extra attention to the attachment points due to their unique angles or curves.
Q3: How Do I Ensure the Headboard Sits Evenly on a Shaped Desk?
A3: Proper measurements and alignment are key to achieving an even fit, especially with uniquely shaped desks. Use a level to check for vertical alignment and make sure your attachment points are symmetrical. Clamping the headboard temporarily before permanently fixing it can help you see the final placement and make adjustments for a balanced appearance.

Q4: Is It Necessary to Use Adhesive as Well as Screws?
A4: While not always required, using both adhesive and screws can greatly reinforce the connection between the headboard and the desk. Adhesives, like wood glue or epoxy, add strength to the joint and reduce movement over time. If you prefer the option to later disassemble your setup, you might skip adhesive, but for a permanent, sturdy result, it’s an excellent addition.
Conclusion
Attaching a headboard to a shaped desk is a rewarding DIY project that can elevate both the form and function of your workspace. Though it involves careful planning and multiple steps, following the detailed guidelines on how to attach a headboard to a shaped desk above ensures a secure and stylish result. With the right tools, patient preparation, and attention to detail, you can create a custom desk setup that reflects your personality and meets your needs.
Remember to take your time during all phases, prioritize safety, and don’t hesitate to consult professionals if you encounter obstacles beyond your expertise. Enjoy your new workspace knowing you’ve crafted it to be both beautiful and durable for years to come.