
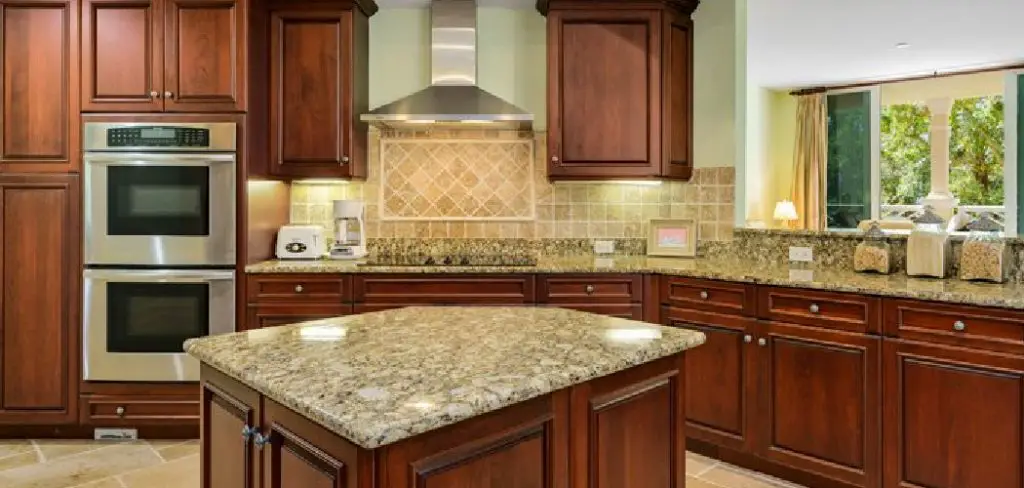
Bleaching cabinets is a simple yet effective way to refresh the look of your kitchen or bathroom without the cost of a complete renovation. Over time, cabinets can become dull or stained, and bleaching offers a solution to brighten and revitalize their appearance.
This process can be undertaken as a DIY project, allowing you to customize the shade to match your desired aesthetic. With the right tools and a little patience, you can achieve stunning results that enhance the overall feel of your space. In this guide, we will walk you through how to bleach cabinets, ensuring a professional and polished finish.
Understanding the Bleaching Process
Before starting the bleaching process, it is crucial to understand the steps involved to ensure the best results. Begin by selecting the appropriate bleach for your cabinet material; wood bleach is recommended for wooden cabinets as it is specially formulated to lighten wood without damaging its fibers. Start by cleaning the cabinets thoroughly to remove any grime, grease, or old finish; this allows the bleach to penetrate the wood evenly.
Once the cabinets are clean and dry, apply the bleach according to the manufacturer’s instructions, typically using a brush or cloth. Allow the bleach to sit for the recommended amount of time, monitoring the progress to achieve the desired lightness. After bleaching, it’s essential to neutralize the surface with a neutralizing solution or vinegar to stop the chemical reaction.
Cabinet Types and Wood Finishes
When planning to bleach cabinets, it’s important to consider the different types of cabinets and their corresponding wood finishes, as this affects both the method used and the final outcome. Kitchen and bathroom cabinets generally come in a variety of materials, including solid wood, veneer, and laminate.
Solid wood cabinets, like oak, maple, or cherry, are ideal candidates for bleaching as these materials respond well to the wood bleaching process by revealing an elegant, lighter finish.
Veneer cabinets, which consist of a thin layer of wood glued onto a substrate material, can also be bleached, but require a more delicate approach to avoid damaging the veneer. Laminate cabinets, composed of synthetic materials, are generally unsuitable for traditional bleaching, but they can be painted or resurfaced to achieve a similar effect.
10 Methods How to Bleach Cabinets
1. Preparing the Cabinets for Bleaching
Before you begin bleaching, it’s essential to prepare the cabinets properly. Start by removing all doors, handles, and hardware from the cabinets. This will give you easier access to every surface and ensure that the bleach is applied evenly. Next, thoroughly clean the cabinets with a gentle detergent or a wood cleaner to remove grease, dust, and dirt.
Cleaning is crucial because any residue left on the surface can affect how well the bleach penetrates the wood. After cleaning, rinse the cabinets with water and allow them to dry completely. Preparing the cabinets properly ensures that the bleach will be absorbed evenly, giving you consistent results.
2. Sanding the Surface
Sanding is a necessary step before bleaching to remove any finish or sealant that might be on the cabinets. This allows the bleach to work directly on the wood, rather than just the surface layer. Start with a medium-grit sandpaper (around 120-150 grit) to remove the top layers of finish, then follow up with a finer grit (around 220 grit) for a smooth surface.
Be sure to sand in the direction of the wood grain to avoid scratching or damaging the wood. Once the sanding is complete, wipe the cabinets with a tack cloth to remove any dust. This step is critical because it ensures that the bleach will penetrate the wood uniformly.
3. Using Household Bleach for Lightening
Household chlorine bleach is a simple and effective way to lighten the color of wood cabinets. To use, dilute the bleach with water in a 1:1 ratio. Wearing gloves and protective eyewear, apply the bleach solution to the cabinets with a brush or sponge, working in small sections to ensure even coverage.
Let the bleach sit on the wood for about 15-30 minutes, depending on how light you want the wood to become. After the desired color is achieved, rinse the wood thoroughly with water to remove the bleach. This method is ideal for lightening the overall tone of the wood, but it may not remove deeper stains.
4. Using Two-Part Wood Bleach
For a more intense bleaching process, consider using a two-part wood bleach, which is specifically designed to lighten wood. The two-part bleach consists of two solutions: one part is a caustic solution that opens the pores of the wood, and the other is a hydrogen peroxide-based solution that bleaches the wood.
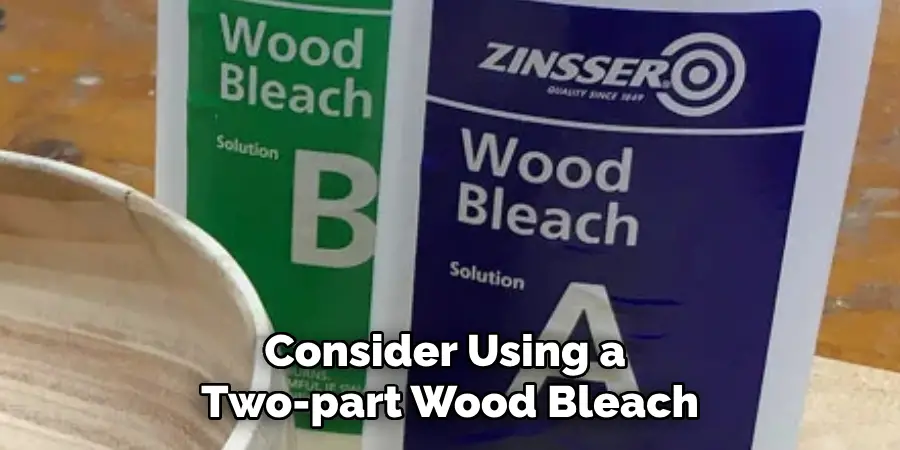
To use, first apply the caustic solution with a brush, working it into the wood grain. Once the wood is saturated, apply the second solution over the first. This will activate the bleaching process and lighten the wood significantly. After the wood reaches the desired shade, neutralize the bleach with a mixture of vinegar and water, then rinse thoroughly.
5. Treating Stains with Oxalic Acid
Oxalic acid is particularly effective for removing dark stains, watermarks, or rust spots from wood cabinets. To use oxalic acid, mix the powdered form with warm water according to the manufacturer’s instructions, creating a paste. Apply the paste to the stained areas using a soft brush, and let it sit until the stain begins to lift.
Depending on the severity of the stain, this process may take a few hours. Once the stain is removed, rinse the area with water and allow it to dry. This method is excellent for spot treatments, especially if the rest of the cabinet wood does not require bleaching.
6. Bleaching Wood with Hydrogen Peroxide
Hydrogen peroxide is a milder alternative to household bleach and is especially useful for removing mildew or lightening small areas. To use, apply 3% hydrogen peroxide directly to the wood using a clean cloth or sponge. You can also use a higher concentration if needed, but ensure proper ventilation and wear protective gear.
Let the hydrogen peroxide sit for a few hours or overnight to allow the wood to lighten. Once satisfied with the result, rinse the wood with water and dry it thoroughly. Hydrogen peroxide is gentle on the wood and less likely to cause damage, making it a good option for sensitive surfaces.
7. Using Baking Soda for Gentle Bleaching
Baking soda is another mild and natural option for lightening cabinets, especially if you prefer to avoid harsher chemicals. Create a paste by mixing baking soda with water, and apply it evenly across the cabinets using a sponge or cloth.
Let the paste sit for 30 minutes to an hour, allowing the baking soda to lighten the wood. Afterward, scrub the cabinets gently with a soft-bristled brush and rinse with clean water. Baking soda works well for cabinets that need light bleaching and mild stain removal. It is ideal for homeowners who prefer eco-friendly solutions.
8. Neutralizing the Bleach
After bleaching your cabinets with any chemical solution, it’s important to neutralize the wood to stop the bleaching process and prevent damage. This step is especially critical when using two-part wood bleach or oxalic acid.
A simple way to neutralize the bleach is to mix equal parts vinegar and water, then apply the solution to the bleached wood with a sponge or cloth. Let the mixture sit for a few minutes, then rinse with clean water. Neutralizing the bleach ensures that the wood remains stable and prepares it for further finishing or sealing.
9. Conditioning the Wood After Bleaching
Once the bleaching process is complete, the wood may be more porous and susceptible to drying out. To restore moisture and protect the wood, apply a wood conditioner or oil. Linseed oil or tung oil works well for conditioning bleached wood.
Apply a generous amount of oil to the cabinets using a soft cloth, allowing it to penetrate the wood. This step helps to nourish the wood fibers, preventing cracking or warping. Conditioning the wood also enhances the grain’s appearance, giving the cabinets a rich, natural look after bleaching.
10. Sealing the Cabinets with a Protective Finish
After bleaching and conditioning your cabinets, sealing them is the final step to protect the wood and preserve the new color. Choose a clear finish, such as polyurethane or lacquer, to shield the cabinets from moisture, stains, and wear.
Use a high-quality brush or foam applicator to apply the finish in thin, even coats, following the direction of the wood grain. Allow each coat to dry thoroughly before applying the next. For a smooth, professional finish, lightly sand between coats with fine-grit sandpaper. Sealing the cabinets ensures that they remain durable and maintain their appearance over time.
Conclusion
Bleaching wood cabinets is a practical approach to update and refresh your kitchen or bathroom aesthetics. By choosing from the various methods—ranging from household bleach to eco-friendly options like baking soda—you can effectively lighten wood to your desired hue while addressing specific stains or imperfections. Each technique offers its own benefits and should be selected based on your goals, the type of wood, and the extent of bleaching required. Thanks for reading, and we hope this has given you some inspiration on how to bleach cabinets!