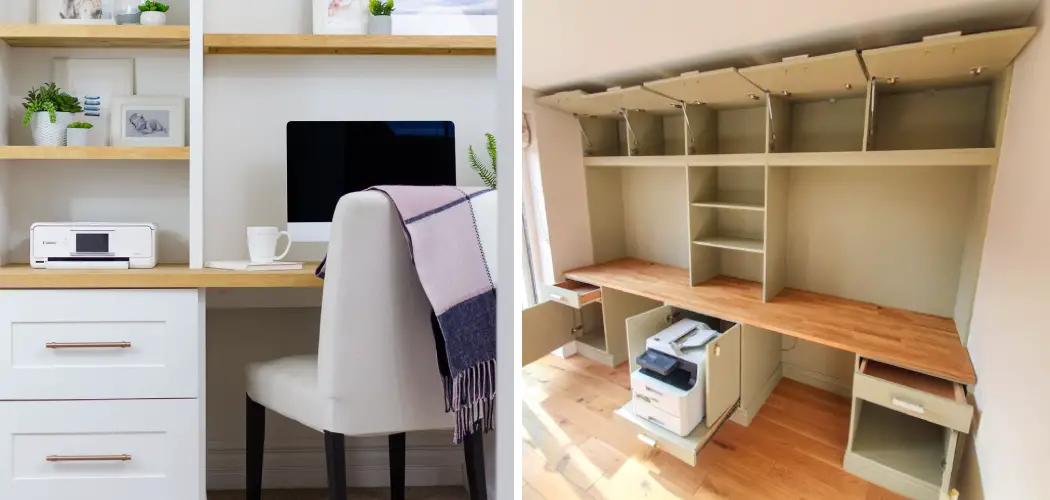
Building a built-in desk is a fantastic way to maximize space, create a customized workspace, and add a touch of elegance to your home or office. Whether you’re a student, professional, or simply someone who enjoys a dedicated area for work or study, a built-in desk offers countless benefits.
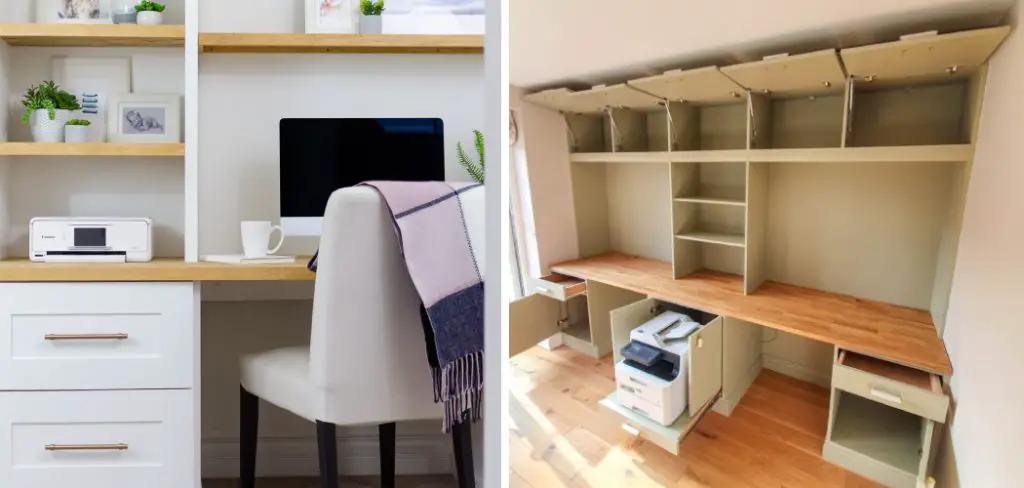
In this article, we will guide you through the process of how to build a built in desk, step by step. From planning and design to material selection and construction techniques, we will cover everything you need to know to create a functional and stylish desk that perfectly fits your needs and space.
We will explore various design options, discuss important considerations such as ergonomics and storage, and provide expert tips and tricks to ensure a successful project. So, if you’re ready to embark on a rewarding DIY journey and transform your space with a built-in desk, let’s dive in and discover the secrets to creating your dream workspace.
The Growing Popularity of Built-in Desks
Built-in desks are becoming increasingly popular in both residential and commercial spaces due to their often space-saving, functional, and aesthetically pleasing design.
Built-ins can be customized to meet the exact needs of a room or area, such as additional shelving, cabinets, drawers, or hidden features that provide extra storage without taking up too much space.
Built-in desks are a great way to maximize the use of an area without making it appear cluttered or cramped. They can provide a seamless transition from one room to another, creating a unified look throughout the house and allowing for increased productivity and organization in your workspace.

Plus, built-ins allow you to easily hide away those unsightly cords and wires, eliminating the need for bulky power strips.
When building a built-in desk, it’s important to consider all of your needs ahead of time. This includes the dimensions you require for the desk itself as well as any additional features that will be added on like cabinets, drawers, or shell boxes. Also, make sure to consider the material you’ll use for the desk. Common materials include wood, plywood, and MDF boards.
Benefits of a Built-in Desk
A built-in desk offers several advantages over traditional free-standing desks. It can save space, create a custom look, and provide storage options for both documents and personal items.
When it comes to saving space, having a built-in desk is essential for small rooms or areas with limited floor space. This type of desk is designed to fit into an existing wall cavity or alcove, making use of the vertical space in a room instead of taking up valuable floor area. It also gives you the flexibility to shape the countertop according to your specific needs and design demands.
In addition, customizing the look of your home office becomes much easier when you opt for a built-in desk. You can select the exact material, style, and size to fit your unique preferences.
Furthermore, a built-in desk allows you to incorporate storage compartments that are tailored to your individual needs and can easily be incorporated into the design of your room. For example, you can add drawers for documents or cubbies for office supplies.
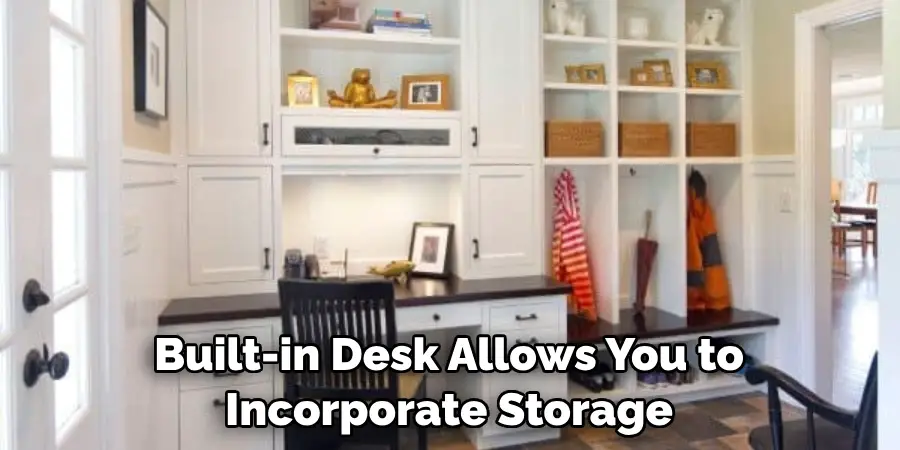
Overall, if you have limited space in your home office but still need an efficient workspace, investing in a built-in desk is one of the best options available. With its space-saving features and customizable look, it’s no wonder why so many people are choosing this type of desk over traditional free-standing desks.
10 Methods How to Build a Built in Desk
Method 1: Assessing the Space and Design Planning
Before diving into the construction process, it’s crucial to evaluate the available space and plan your desk’s design. Measure the area where you intend to install the desk and consider factors such as room layout, electrical outlets, and natural lighting.
Sketch out a design plan, taking into account your desired desk dimensions, storage requirements, and any additional features like built-in shelves or cabinets. This initial assessment and planning stage will provide a solid foundation for the construction process.
Method 2: Gathering the Necessary Tools and Materials
To ensure a smooth building process, make a comprehensive list of the tools and materials you will need. Common tools include a measuring tape, circular saw, power drill, level, screwdriver, and clamps.
Depending on your design, you may also require materials such as wood boards, plywood, screws, nails, sandpaper, wood glue, and paint or stain. Check local hardware stores or online retailers for availability and pricing.
Method 3: Preparing the Workspace
Clear the area where you will be working and protect the surrounding surfaces with drop cloths or plastic sheets. If necessary, remove baseboards or trim that may interfere with the desk’s installation. Ensure good ventilation in the workspace and gather any necessary safety equipment, such as goggles or gloves.

Measure out the dimensions of the area you will be working in, and make sure that the desk will fit comfortably. Transfer these measurements to a piece of wood and cut out the shape with a power saw. Take your time to make sure that the cuts are precise. Sand down any rough edges and use a drill to create holes for any necessary hardware.
Method 4: Constructing the Desk Frame
Begin the construction process by building the desk frame. Measure and cut the necessary pieces of wood or plywood according to your design specifications. Use a circular saw or a miter saw to achieve precise cuts. Assemble the frame using screws or nails, ensuring it is sturdy and level. If desired, reinforce the corners with braces or brackets for added stability.
When the frame is finished, use wood filler to cover any exposed nails or screw heads and sand smooth.Once the frame is complete, you can begin to attach the desk top. Measure and cut the desktop to size, then attach it to the frame with screws or nails.
Method 5: Installing the Desk Surface
Once the frame is complete, it’s time to install the desk surface. Cut a piece of plywood or a solid wood board to fit the dimensions of your frame. Sand the edges and surface to achieve a smooth finish.
Attach the surface to the frame using screws or adhesive, ensuring it is securely fastened. If desired, add additional support underneath the surface with brackets or cleats. If using a solid wood surface, apply a finish to protect the wood. Once the desk surface is installed, your built-in desk is complete!
Method 6: Adding Storage Solutions
To optimize the functionality of your built-in desk, consider incorporating storage solutions. Install drawers, shelves, or cabinets to keep your workspace organized and clutter-free. Measure and cut the necessary components, following the manufacturer’s instructions for assembly.
Attach the storage units to the desk frame or directly to the wall, depending on your design. Make sure they are level and securely anchored. This will ensure your workspace remains stable and organized. Additionally, if you have an open wall above the desk, consider adding floating shelves for additional storage and decoration.

Method 7: Finishing and Sanding
To achieve a professional look, it’s crucial to finish and sand your built-in desk properly. Fill any visible holes or gaps with wood filler and allow it to dry. Sand the entire desk surface and edges using progressively finer grit sandpaper until it feels smooth to the touch. Remove any dust or debris before proceeding to the next step.
Method 8: Applying Paint or Stain
Choose a paint or stain that complements your overall decor scheme and apply it to the desk surface. Use a brush or a roller to achieve an even coat, following the manufacturer’s instructions for drying time between coats. Apply multiple coats if necessary to achieve the desired finish. If using stain, apply a protective topcoat to seal and protect the wood.
Method 9: Installing Lighting and Electrical Outlets
Consider incorporating lighting fixtures and electrical outlets into your built-in desk for added convenience. Consult a licensed electrician to ensure proper installation and compliance with local building codes.
Install task lighting above the desk surface and outlets for charging devices or plugging in equipment. Conceal wires and cables using cable management solutions for a neat and organized appearance.
Method 10: Adding Personal Touches and Accessories
Finally, add personal touches and accessories to make your built-in desk truly yours. Decorate the workspace with plants, artwork, or photographs that inspire you. Consider adding a bulletin board, whiteboard, or corkboard for notes and reminders. Choose ergonomic office chairs or accessories to enhance comfort and productivity during work hours.
Conclusion
Building a built-in desk is an exciting project that offers a multitude of benefits, including increased productivity, organization, and style. By following these ten methods on how to build a built in desk, you can create a functional and aesthetically pleasing workspace tailored to your needs and preferences.
Remember to plan carefully, gather the necessary tools and materials, and follow proper construction techniques for a successful outcome. Whether you’re working in a home office, study, or living space, a well-designed built-in desk will transform your work environment and enhance your overall well-being.

