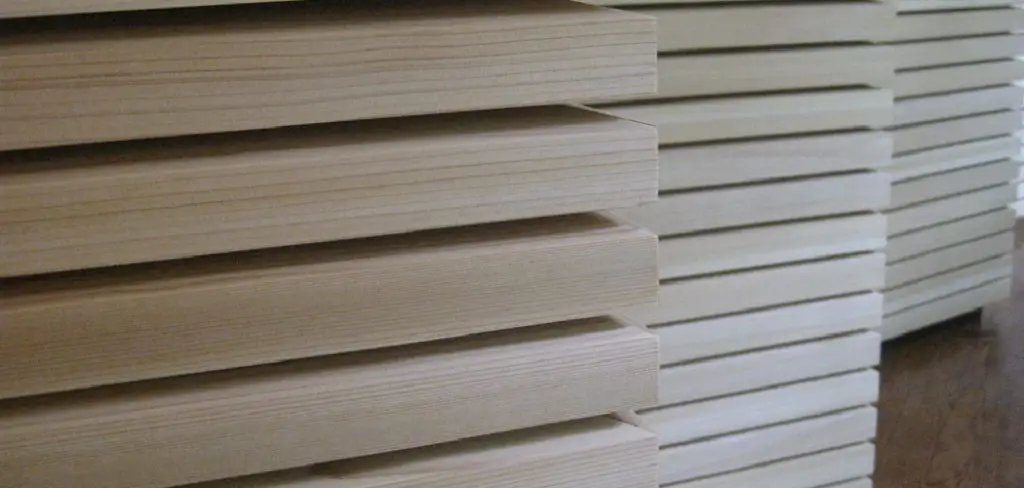
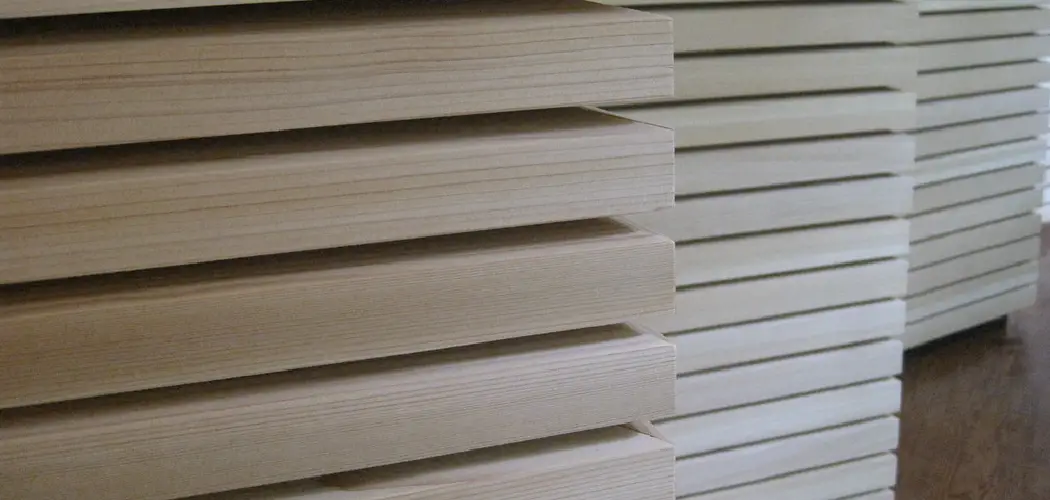
Creating a horizontal wood slat wall can transform a plain space into a stunning focal point, bringing warmth and texture to any room. This DIY project is not only visually appealing but also allows for personalization to match your home’s aesthetic. Whether you want to enhance your living room, bedroom, or patio, a wood slat wall provides a modern and stylish touch.

In this guide on how to build a horizontal wood slat wall, we’ll walk you through the steps necessary to build your very own horizontal wood slat wall, discussing materials, tools, and techniques you’ll need to achieve a professional-looking finish.
Benefits of a Horizontal Wood Slat Wall
Before diving into the construction process, let’s first explore the benefits of adding a horizontal wood slat wall to your space.
Adds Texture and Depth:
The natural patterns and textures of wood create a sense of warmth and dimension in a room, making it feel more inviting and cozy.
Versatile Design:
Wood slat walls come in various sizes and shapes, allowing for endless design possibilities. You can choose to create a uniform pattern or mix different-sized slats for a unique look.
Can Be Used Indoors And Outdoors:
A wood slat wall is not limited to indoor spaces; it can also be used outside to add character and charm to your patio or backyard. Additionally, the natural properties of wood make it durable enough to withstand different weather conditions.
Materials Needed
- Wood Slats (We Recommend Using Cedar)
- 2×4 Boards
- Screws (We Recommend Using Stainless Steel)
- Level
- Drill
- Saw
- Measuring Tape
8 Step-by-step Guidelines on How to Build a Horizontal Wood Slat Wall
Step 1: Measure and Cut the Boards
Begin by determining the dimensions of your wall space. Use a measuring tape to get the height and width of the area where you plan to install the wood slat wall. Once you have your measurements, plan your layout, deciding how far apart you want each slat to be. Transfer these measurements onto the wood slats and mark where you will cut.

Using a saw, carefully cut the wood slats to the desired lengths. Be sure to wear safety goggles and follow safe-cutting practices. For best results, ensure that each cut is straight and even, as this will contribute to a polished final look once the wall is assembled.
Step 2: Prep and Paint the Slats (Optional)
Once you have cut the wood slats to the desired lengths, you may choose to prep and paint them to add a personal touch or enhance their durability. Start by sanding each slat with fine-grit sandpaper to smooth out any rough edges or surfaces, which will ensure a better finish and easier handling. If you prefer a certain color or stain, now’s the time to apply it.
Using a brush or roller, evenly coat the slats, applying additional coats as needed to achieve the desired color intensity. Allow the paint or stain to dry completely according to the manufacturer’s instructions before proceeding to the next step. This optional step not only adds visual appeal but also helps protect the wood from moisture and wear.
Step 3: Install the Top and Bottom Boards
After preparing your wood slats, it’s time to install the top and bottom boards, which will serve as the foundation for your slat wall. Begin by determining the height at which you want your top board to be positioned, and use a level to ensure it is straight. Using screws, attach the 2×4 board securely to the wall at this height. Make sure that it is flush against the wall and anchored into the wall studs for stability.
Next, measure down from the top board to install the bottom board. This distance will depend on the thickness of your wood slats and the spacing you desire between them. Once you’ve marked the correct height, affix the bottom 2×4 board to the wall using the same method as the top board. Again, ensure that it is level and securely attached. Installing these boards first provides a sturdy framework for the wood slats, ensuring that they are evenly spaced and aligned properly in the following steps.

Step 4: Attach the Wood Slats
With the top and bottom boards in place, it’s now time to attach the wood slats. Begin by placing a slat on one end of the wall, making sure that it is level and flush against both the top and bottom boards.
Using screws, attach the slat to the top and bottom boards, ensuring that it is securely attached but not over tightened. Repeat this process for each slat until you reach the other end of your wall space. To ensure consistency in spacing, use a spare wood slat as a guide between each slat as you go along.
Step 5: Stagger Joints (Optional)
For a more dynamic and visually interesting wood slat wall, consider staggering the joints of the slats. This technique involves cutting some slats to different lengths and positioning them so that the joints do not align vertically. To achieve this, plan out your staggered design before attaching the slats. Mark the appropriate lengths for each slat and cut them accordingly.
As you attach them to the wall, alternate the lengths in a manner that creates a continuous flow across the entire wall. Staggering the joints not only adds depth and character to your slat wall but also can help enhance structural stability by distributing weight more evenly.
Step 6: Fill in Gaps (Optional)
After all your wood slats are securely attached, you may notice small gaps between some slats due to variations in width or installation. If achieving a seamless look is important to you, consider filling these gaps. Start by using a wood filler that matches the color of your slats. Apply the filler into the gaps using a putty knife, pressing it in well to ensure there are no air pockets.
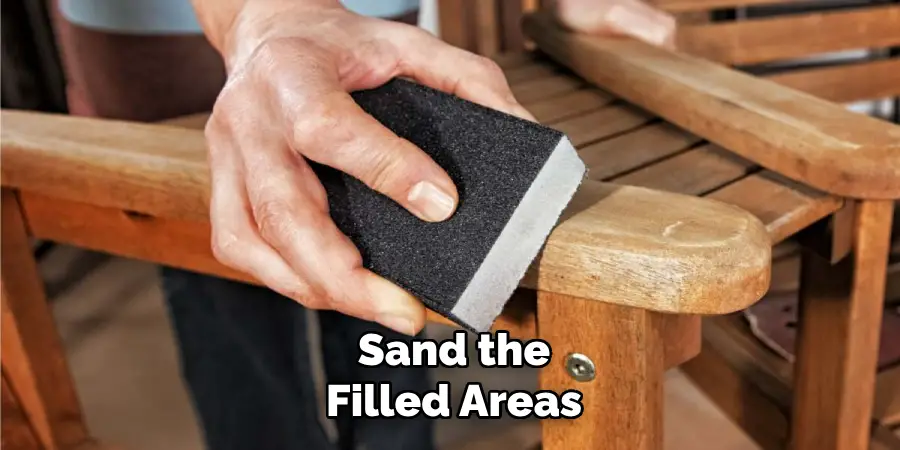
Once the filler is applied, allow it to dry according to the manufacturer’s instructions. After it has dried, sand the filled areas with fine-grit sandpaper until smooth, ensuring it is flush with the surrounding wood. This optional step not only enhances the aesthetic appeal of your slat wall but also creates a more polished and cohesive finish.

Step 7: Apply Finishing Touches (Optional)
After your wood slat wall is assembled, it’s time to add any finishing touches that you desire. If you painted or stained the slats in an earlier step, now is a good time to apply a coat of sealant to protect them from weathering and wear. Consider using a clear water-based sealant for added protection without altering the color of your slats.
You may also choose to add additional decorative elements such as hooks, shelves, or artwork to personalize your slat wall and make it functional for your space. These final touches can elevate the overall look and functionality of your wood slat wall.
Step 8: Enjoy Your New Wood Slat Wall!
Congratulations, you have successfully created a stunning and unique wood slat wall for your space! Whether used as an accent piece or a statement feature, this project is sure to add character and charm to any room.
With proper installation and maintenance, your wood slat wall will continue to be a beautiful addition to your home for years to come. Now it’s time to sit back, relax, and enjoy your new creation. Happy DIY-ing!
Frequently Asked Questions
Q: Can I Use Any Type of Wood for My Slat Wall?
A: While you can technically use any type of wood, it is recommended to use durable and weather-resistant wood such as cedar or redwood. These types of wood are known for their resistance to rot and decay, making them ideal for long-lasting outdoor projects.
Q: How Do I Ensure That My Wood Slat Wall is Sturdy?
A: To ensure proper stability and strength, it is important to securely attach the top and bottom 2×4 boards to the wall studs using screws. Additionally, evenly spacing and attaching the wood slats with screws will also contribute to the overall sturdiness of your wall.
Q: Can I Install a Wood Slat Wall Indoors?
A: Yes, you can install a wood slat wall indoors as well. However, make sure to use appropriate materials such as indoor-grade wood and sealant suitable for interior use. It may also be helpful to consult with a professional if you are unsure about the structural integrity of your wall or if you have any other concerns.

With these steps on how to build a horizontal wood slat wall and answers to frequently asked questions, you are now equipped to create a beautiful and functional addition to your home. Remember to plan carefully, use quality materials, and take your time during the installation process for the best results.
Conclusion
Creating a wood slat wall is a rewarding project that not only enhances the aesthetic appeal of your space but also allows for a customisation that reflects your personal style. By following the steps on how to build a horizontal wood slat wall outlined, from selecting the right materials to applying those final touches, you can achieve a stunning feature that serves both form and function.
Whether you’re looking to refresh a room with a modern touch or simply add some character to an otherwise plain wall, a wood slat wall can act as a beautiful backdrop for any décor.

