
Building a wall-to-wall desk is a practical and stylish way to maximize workspace while adding a custom touch to your home or office. Whether you’re seeking a dedicated area for work, study, or creative projects, a wall-to-wall desk provides ample surface area and can be tailored to fit your specific needs and space.
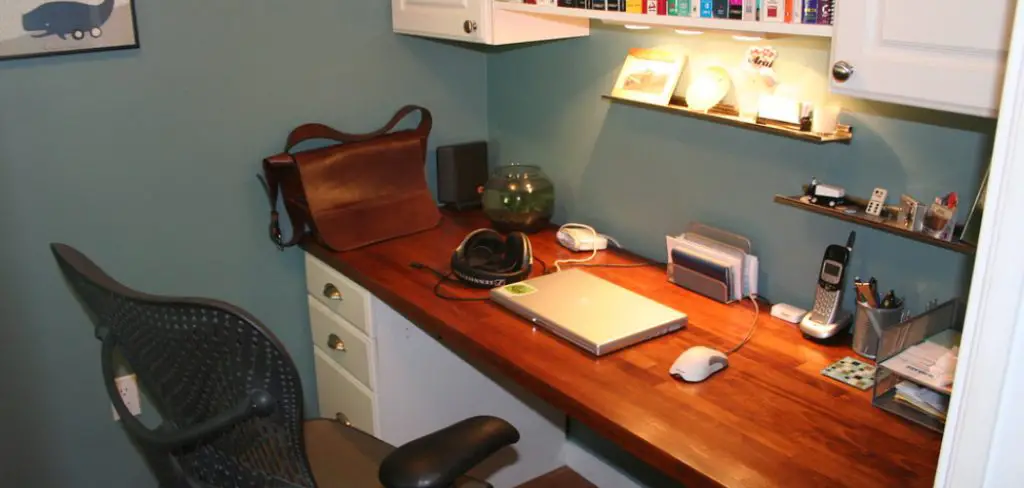
This guide on how to build a wall to wall desk will walk you through the steps to design, plan, and construct your own desk, ensuring it is both functional and aesthetically pleasing. With the right materials and a bit of effort, you can create a durable and personalized desk that perfectly complements your space.
Why a Wall-to-Wall Desk?
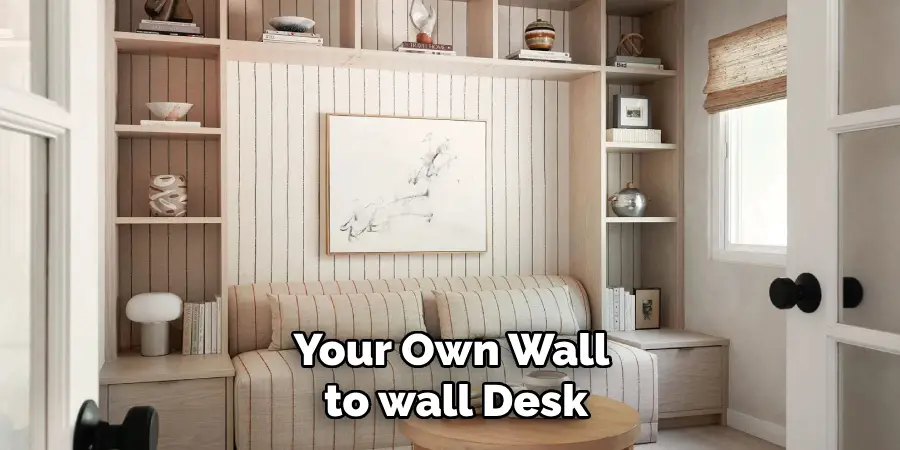
A wall-to-wall desk offers several benefits over traditional desks. For one, it utilizes the often-overlooked space along empty walls, making it ideal for smaller rooms or shared spaces. Additionally, since it is custom-built to fit your needs and space, you can choose the dimensions, materials, and features that best suit your work style.
It also offers ample storage options, as you can incorporate shelves, drawers, and cabinets to keep your workspace clutter-free. Furthermore, a wall-to-wall desk adds a unique touch and serves as a statement piece in any room.
Materials Needed
To build a wall-to-wall desk, you will need the following materials:
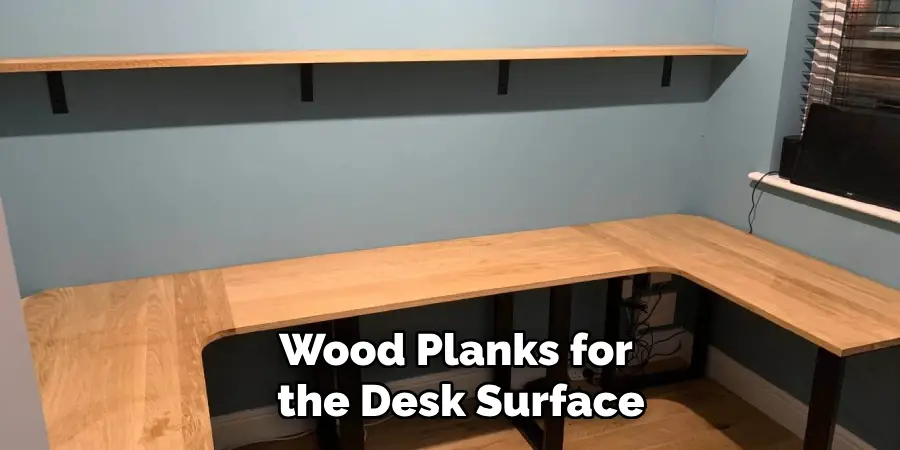
Wood Planks or Boards:
These will serve as the main surface of your desk. Choose a high-quality and durable material, such as hardwood or plywood, for long-lasting results.
Desk Legs:
You can purchase pre-made desk legs or opt for custom-made ones to fit your desired height and style.
Screws and Nails:
Make sure to use screws and nails that are appropriate for the type of wood you are using.
Leveler:
This tool will ensure that your desk is properly leveled during installation.
Power Drill:
A power drill will make it easier to install the screws and nails quickly and efficiently.

8 Step-by-step Guidelines on How to Build a Wall to Wall Desk
Step 1: Measure and Plan
The first step in building your wall-to-wall desk is to carefully measure the space where the desk will be installed. Use a measuring tape to determine the width, depth, and height you want for your desk. Ensure that the desk fits seamlessly along the wall and leaves enough room for comfortable movement in the rest of the space. Consider factors such as the height of your chair, the distance from any nearby outlets, and the needs of anyone who will be using the desk.
Once you have precise measurements, plan the desk layout. Sketch a design or use online tools to visualize how the desk will look. Decide on features like additional storage shelves, keyboard trays, or cable management solutions to enhance functionality. Proper planning ensures that the final product not only fits the space but also meets your practical requirements effectively.
Step 2: Prepare the Space
Before starting the construction of your wall-to-wall desk, it’s essential to prepare the space properly. Begin by clearing the designated area of any furniture, decorations, or obstructions that might get in the way. If necessary, use a stud finder to locate the wall studs where your desk will be anchored for added support. Mark the positions of the studs with a pencil.
Ensure the wall and flooring in the area are clean and free of dust or debris to create a safe and smooth working environment. If you plan to paint or add wall treatments around the desk, now is the time to complete those tasks. Finally, double-check your measurements against the cleared wall space to confirm there’s enough room to accommodate the desk as planned. Preparing the space thoroughly will make the assembly process much smoother and ensure a stable final result.
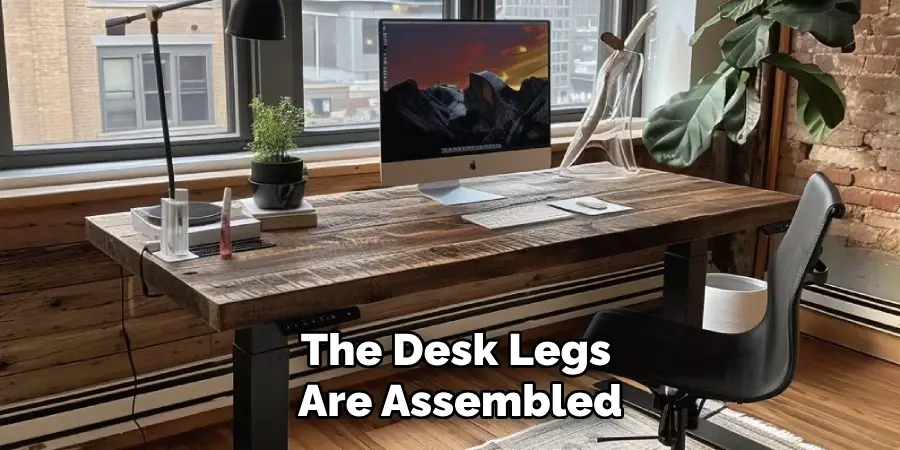
Step 3: Assemble the Desk Legs
If you purchased pre-made desk legs, follow the manufacturer’s instructions to assemble them. If you opted for custom legs, measure and cut the wood pieces according to your desired height and design. Once all the pieces are ready, use a power drill to secure them together with screws or nails. Double-check that each leg is sturdy and level before moving on to the next step.
It’s crucial to ensure that the legs are evenly spaced and level, as any discrepancies can affect the stability of your desk. If necessary, use a leveler tool to make adjustments.
Step 4: Cut and Sand Wood Planks
Once the desk legs are assembled, the next step is to prepare the wood planks or boards for the desk’s surface. Begin by measuring and marking the wood according to your planned dimensions, ensuring a precise fit along the wall. Use a saw to carefully cut the planks to the desired size, following your markings. Make a straight cut for clean edges, as these will impact the overall appearance and fit of the desk.
After cutting, sand the wood planks thoroughly to remove any rough edges or splinters. Use sandpaper or an electric sander, starting with a coarser grit and gradually moving to a finer grit to achieve a smooth and polished finish. Sanding not only enhances the look of the desk but also makes the surface safer and more comfortable to use. Once sanding is complete, wipe down the planks with a damp cloth to remove any dust or debris before moving on to the next step. Properly cut and sanded wood will ensure a professional and attractive final result.
Step 5: Stain or Paint the Wood Planks (Optional)
If you want to add color or protection to your desk’s surface, now is the time to paint or stain the wood planks. Use a high-quality wood stain or paint that complements your space and style. Follow the instructions on the product for proper application and drying time. If desired, you can also apply multiple coats for a deeper hue.
Alternatively, if you prefer a natural look, you can skip this step and move on to installation without any added finishes.
Step 6: Install the Desk Surface
With all preparations complete, it’s time to install the wood planks onto the wall. Use a power drill to attach the desk legs to the wall studs, making sure they are level and securely anchored. Then, place the wood planks on top of the legs, ensuring an even and stable surface. Secure the planks by drilling screws or nails through them into the desk legs.
If you have multiple planks, make sure there is minimal spacing between them for a smooth working surface. If needed, use wood glue or caulk to fill in any gaps between the planks for a polished look and added stability. Once all pieces are secured, test out your newly installed desk by placing some weight on it and checking for any wobbling or instability.
Step 7: Add Finishing Touches
With the basic structure of your wall-to-wall desk in place, you can now add any additional features or finishing touches. Consider attaching a keyboard tray underneath the desk surface or adding shelves for storage above or beside the desk. You can also install cable management solutions to keep cords and wires organized and out of sight. Don’t forget to add personal touches like decor, plants, or office supplies to make the desk more functional and visually appealing.
If desired, you can also add a chair or other seating options to complete the workspace. It’s essential to choose a chair that is comfortable and the right height for your desk to ensure ergonomic support while working.
Step 8: Test and Adjust
After completing all the steps, take some time to test out your new reception desk thoroughly. Make sure it meets your practical needs and is comfortable to use. If needed, make any adjustments such as adding extra support or rearranging features to enhance functionality. It’s also a good idea to test the desk’s weight capacity by placing heavy objects on it and making sure it remains stable.
Congratulations, you have successfully built your own wall-to-wall desk! With proper planning, preparation, and execution, this DIY project can result in a beautiful and functional addition to any room. Whether used as a home office desk, crafting station, or storage solution, your custom-made desk is sure to be the envy of all who see it. Remember to clean and maintain your desk regularly to keep it in top condition for years to come. Happy working!
Additional Tips
- If using wood planks for the desk surface, consider adding a protective finish like varnish or polyurethane to prevent damage from spills and scratches.
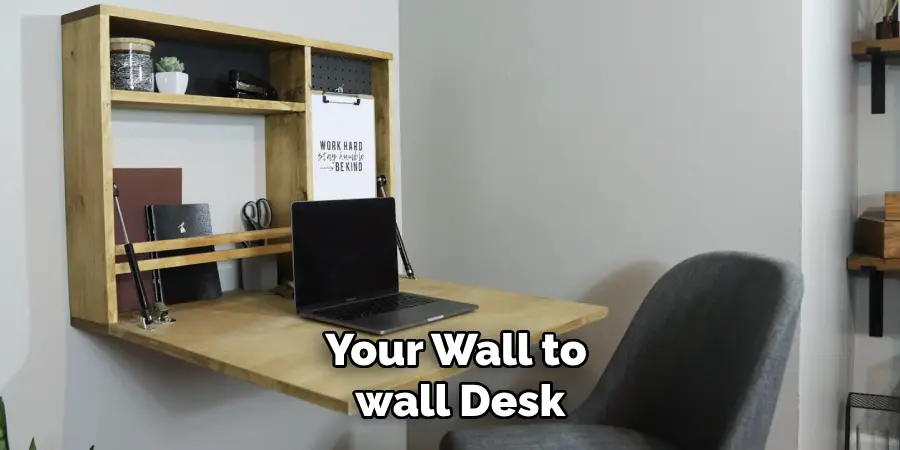
- To save space, you can opt for floating shelves attached to the wall instead of legs for a more minimalistic look.
- If you are not confident in your DIY skills, consider hiring a professional carpenter or enlisting help from friends or family members. Safety should always be a top priority when working with power tools and heavy materials.
- Depending on your needs and preferences, you can customize your wall-to-wall desk by incorporating features like built-in lighting, charging ports, or hidden compartments.
- Keep any leftover wood pieces for future repairs or projects.
Following these tips and steps on how to build a wall to wall desk, you can create a functional and stylish wall-to-wall desk that suits your space and needs perfectly. Enjoy the satisfaction of building something with your own hands and the added benefit of a personalized workspace tailored to your specific requirements. Happy building!
Frequently Asked Questions
Q: How Long Does It Take to Build a Wall-to-wall Desk?
A: The time required to build a wall-to-wall desk will vary depending on the size, complexity, and availability of materials. On average, it can take anywhere from one day to a few days to complete the project. It is best to plan and set aside enough time to ensure a thorough and safe construction process.
Q: How Much Does It Cost to Build a Wall-to-wall Desk?
A: The cost of building a wall-to-wall desk will depend on factors such as the materials used, any additional features or finishes, and whether you already have tools and equipment. On average, materials can cost anywhere from $100-$500, but this can vary greatly depending on individual choices and needs. Overall, building your own desk can be more affordable than purchasing a pre-made one.
Q: Can I Install the Desk Surface Before Attaching the Legs to the Wall?
A: It is recommended that the desk legs be attached to the wall studs first for stability and proper weight distribution. Then, install the desk surface on top of the legs for support. This also allows for adjustments in case any issues arise during installation.
Q: How Do I Clean and Maintain My Wall-to-wall Desk?
A: To clean your wall-to-wall desk, simply wipe down the surface with a damp cloth and mild soap if needed. Avoid using harsh chemicals or abrasive cleaners as they can damage the finish or wood. Regular dusting and occasional polishing can also help maintain its appearance. For added protection, consider using coasters or placemats when working on the desk’s surface.
Conclusion
Building a wall-to-wall desk is a rewarding DIY project that allows you to create a custom, functional workspace that fits your specific needs and aesthetic preferences. By following the outlined steps on how to build a wall to wall desk and incorporating your personal touches, you can design a desk that not only enhances the functionality of your room but also reflects your style.
Whether you use it as a home office, a creative studio, or a general workstation, the time and effort invested in constructing this piece will be well worth it. Remember, with proper care and maintenance, your handcrafted desk can serve as a durable and cherished addition to your home for years to come.