
Calibrating a Smartboard guarantees precise touch recognition and enhances the overall user experience.
When a Smartboard is poorly calibrated, users may face common issues such as misaligned touches, lag, and frustration during presentations or lessons.
These problems can undermine the effectiveness of interactive sessions and diminish the intended benefits of using the technology. This article will guide you on how to calibrate a Smartboard, ensuring optimal functionality.
The calibration process involves several key steps. First, access the calibration tool on your computer, then follow the on-screen prompts to align touch points accurately.
Finally, test the results to confirm that the calibration has been successful. By adhering to these steps, users can enjoy a seamless Smartboard experience free from calibration-related hurdles.
Understanding Smartboard Calibration
What is Calibration?
Calibration for a Smartboard refers to aligning the touch points on the board with the projected image or display. This ensures that the board accurately registers touches in correspondence with visual feedback, which is crucial for effective interaction and usability.
Without proper calibration, the highest level of interactivity and user engagement cannot be achieved, leading to potential misunderstandings and errors during presentations or lessons.
Why Calibration is Necessary
Regular calibration is essential to maintain the accuracy of touch responses, particularly after moving the Smartboard, changing the projector settings, or if users notice misalignment issues.
Environmental factors or hardware adjustments can disrupt the previous calibration, causing frustration and inefficiency.
Frequent recalibration helps prevent these issues, ensuring a smoother experience and optimal performance, ultimately enhancing the overall effectiveness of interactive sessions using the Smartboard.
Accessing the Calibration Tool
Windows Computers
To access the Smartboard calibration tool on a Windows computer, locate the Smartboard icon in the system tray, typically in the bottom right corner of your screen. Right-click on this icon and a menu will appear.
Select “Orient” or “Calibrate” from this menu, depending on your specific model and software version. This action will open the calibration screen, where on-screen prompts will guide you through the calibration process.
It’s important to follow these prompts carefully, as they will instruct you on accurately aligning your touch points with the projected display. Once you’ve followed all the steps, your calibration will be set, optimizing the Smartboard’s touch accuracy.
Mac Computers
For Mac users, accessing the Smartboard calibration tool involves a few straightforward steps. Start by navigating to the Applications folder on your Mac, where you’ll find the Smartboard software installed.
Open this software and locate the “Smart Settings” menu. Within this menu, you should see an option labeled “Orient” or “Calibrate.” Click on this option to initiate the calibration process.
Like the Windows procedure, you will be guided by on-screen prompts that will help you accurately touch the target points.
It is crucial to adhere to each prompt to ensure a successful calibration. Once completed, testing the Smartboard will confirm if the touch points respond as intended, enhancing your overall user experience.
How to Calibrate a Smartboard: Calibrating the Smartboard
Initiate Calibration
To begin the calibration process for your Smartboard, you first need to access the calibration tool within the Smartboard software. This is achievable by locating the Smartboard icon in your system tray (for Windows users) or through the “Smart Settings” menu (for Mac users).
By selecting the appropriate option for calibration, you will trigger the calibration interface that guides you through the next steps.
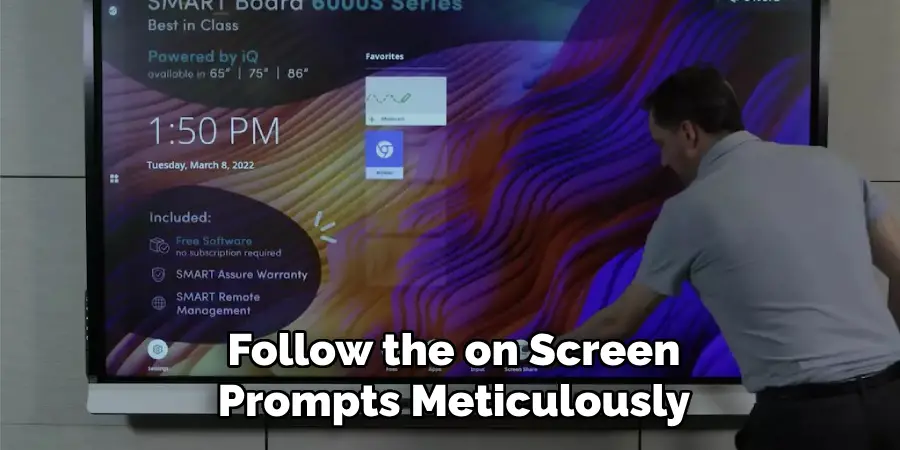
It’s vital to follow the on-screen prompts meticulously, as each instruction is designed to ensure precise alignment of touch points, which is essential for achieving optimal performance.
Aligning Calibration Points
Once you have initiated the calibration tool, a series of target points will appear on the Smartboard screen. Typically, there are either 9 or 20 target points arranged across the board that you need to calibrate.
Using a stylus or your finger, approach each target point and touch the exact center clearly and firmly, allowing the board to recognize your touch. If a particular target does not register correctly, it’s important to retry touching the target point again until a successful recognition is achieved.
If you continue to face issues, ensure that the surface of the Smartboard is clean and free from obstructions, as dirt or smudges can affect touch sensitivity.
Once you’ve gone through all the target points, you can choose to repeat the process for the same points, particularly if you feel that some areas may not be accurately calibrated. The goal is to ensure the board’s touch recognition is synced with the projected image for a smoother interactive experience.
Completing Calibration and Testing
After successfully aligning all calibration points, it’s time to complete the calibration process. Confirm that all touch points have been aligned correctly by following any final prompts within the calibration tool.
Once calibration is complete, it’s crucial to test the accuracy and responsiveness of the Smartboard. You can write or draw on the board to see if the touch corresponds exactly with your actions. If everything functions smoothly, your Smartboard is now calibrated and ready for use.
However, if you notice any discrepancies, don’t hesitate to revisit the calibration process, as repeating the steps may enhance touch accuracy further.
Proper calibration will significantly improve the reliability of your Smartboard during presentations and teaching sessions, making for a much more effective interactive experience.
Troubleshooting Common Calibration Issues

Calibration Points Not Responding
If you find that the calibration points are not responding or registering incorrectly, first ensure that the Smartboard surface is clean and free of dust or smudges, as these can interfere with touch sensitivity.
Use a soft, damp cloth to gently wipe the surface. Next, confirm that all cables connecting the Smartboard to your computer are secure and undamaged, as loose connections can affect performance.
If everything seems in order, yet issues persist, consider restarting the calibration process. Sometimes, simply reinitiating the calibration can resolve random glitches and allow for the successful recognition of touchpoints.
Touch Misalignment After Calibration
In instances where the touchpoints remain misaligned after calibration, you can make a few adjustments. Start by checking the projector’s focus; a blurred display can contribute to inaccurate touch response.
If the image is unclear, adjust the projector settings for better clarity. Next, examine the alignment of the projected image on the Smartboard surface to ensure it properly corresponds with the physical screen.
If any discrepancies are noted, you may need to reposition the projector. Lastly, if misalignment continues to be a problem, repeat the calibration process, being extra precise in your target point touches, as accuracy is key to achieving a properly calibrated board.
Calibration Tool Not Launching
Should the calibration tool fail to launch when you attempt to access it, first ensure that your Smartboard software is up to date. Check the manufacturer’s website for any updates and install them if available.
If the software is current, try restarting your computer to refresh the system’s functionalities. If the issue persists, it may be necessary to reinstall the Smartboard drivers.
Navigate to the device manager on your computer, uninstall the current drivers, and then download and install the latest version available. These steps should help restore functionality to the calibration tool, ensuring you can optimize the Smartboard’s performance.
Maintaining Calibration Accuracy
Regular Calibration
To ensure consistent accuracy, it’s essential to calibrate the Smartboard regularly, particularly if it’s used frequently or moved to different locations. Regular recalibration helps prevent touch sensitivity issues and ensures that the board responds accurately to user inputs.
A routine check will enhance the user experience and safeguard against potential calibration drift that may occur over time.
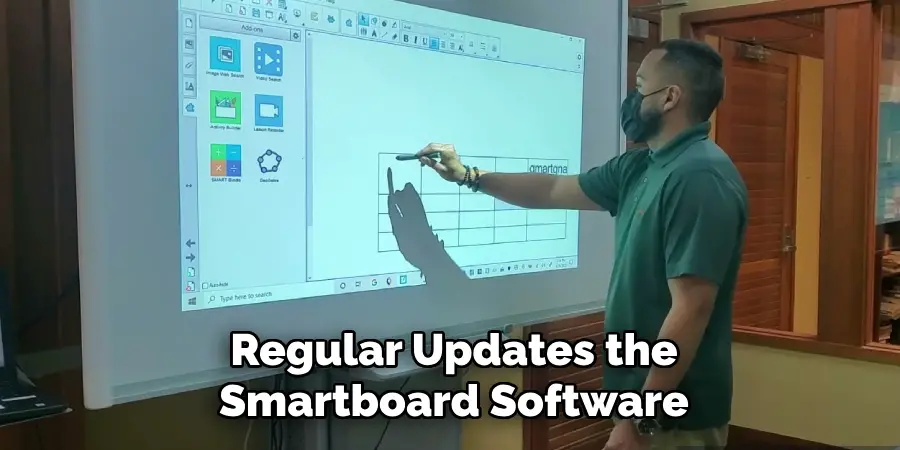
Software and Firmware Updates
Keeping the Smartboard software and firmware up to date is vital for optimal performance. Regular updates ensure compatibility with the latest devices and applications, allowing the Smartboard to function seamlessly.
By checking for updates periodically, users can avoid many common issues related to software incompatibilities and benefit from new features and improvements that contribute to a smoother user experience.
Frequently Asked Questions
1. How Often Should I Calibrate My Smartboard?
It’s recommended to calibrate your Smartboard regularly, especially if it is used daily or moved to different locations. Frequent recalibration will help maintain touch sensitivity and ensure that the board responds accurately to user interactions.
2. What Should I Do if The Calibration Tool Doesn’t Recognize My Touch?
If the calibration tool fails to recognize your touch, start by ensuring that the Smartboard surface is clean and free of obstructions. Additionally, check the connections between the Smartboard and your computer.
If problems persist, try restarting the calibration process or recalibrating using a different stylus or your finger.
3. Can I Perform Calibration if The Smartboard Is Connected to Different Devices?
Yes, you can perform calibration even when your Smartboard is connected to different devices. However, ensure that the device’s drivers are correctly installed, and the Smartboard software is up to date to avoid potential compatibility issues during calibration.
Conclusion
In summary, the key steps to calibrate a Smartboard involve thorough preparation, accessing the calibration tool, carefully aligning touch points, and testing the results for accuracy.
To ensure success, users should perform a quick test after each calibration to confirm that the touch points are responsive. Remember to keep the board clean and free from obstructions, as a clear surface is vital for correct calibration.
Proper calibration significantly enhances the Smartboard experience, making it a more effective tool for presentations, teaching, and interactive sessions.
For those unsure, this guide on how to calibrate a Smartboard provides a comprehensive set of instructions to follow, ensuring that the Smartboard remains an asset in any educational or professional environment.