Are you tired of constantly changing batteries for your wireless mouse? Worry no more!
Ensuring that it is charged or has functional batteries is crucial for maintaining productivity and seamless operation when using a wireless mouse. A depleted battery can lead to erratic performance or complete failure, resulting in frustrating interruptions. This guide will provide you with step-by-step instructions on how to check wireless mouse battery, allowing you to troubleshoot issues and prolong its lifespan.

Whether your mouse is equipped with a battery indicator light, a software interface, or simply requires battery replacement, understanding how to monitor its power levels will help you stay efficient and keep your workspace running smoothly.
What Will You Need?
Before we dive into the methods of checking your wireless mouse battery, here are some items you’ll need to have on hand:
- Your wireless mouse
- Batteries (if needed)
- A small screwdriver (if necessary for replacing batteries)
Now, let’s get started with the steps to check your wireless mouse battery.
10 Easy Steps on How to Check Wireless Mouse Battery
Step 1. Locate the Power Button
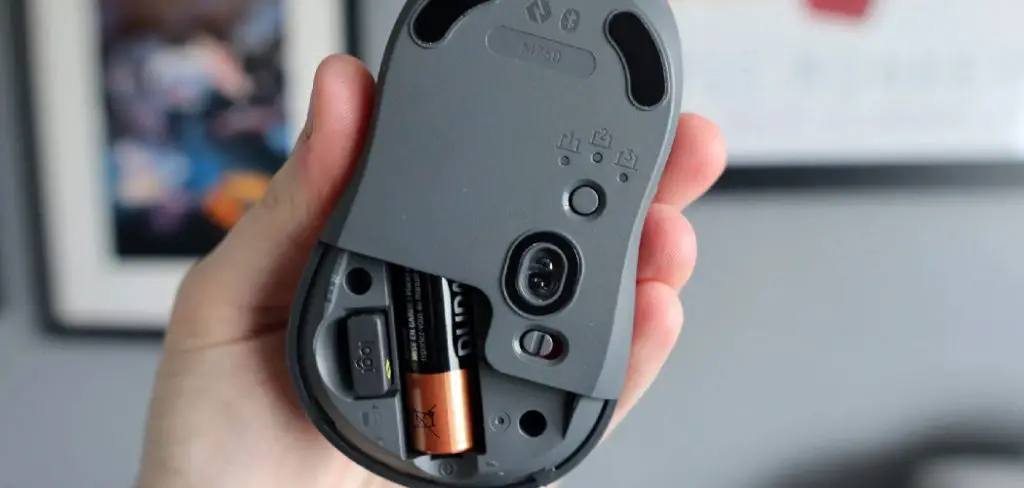
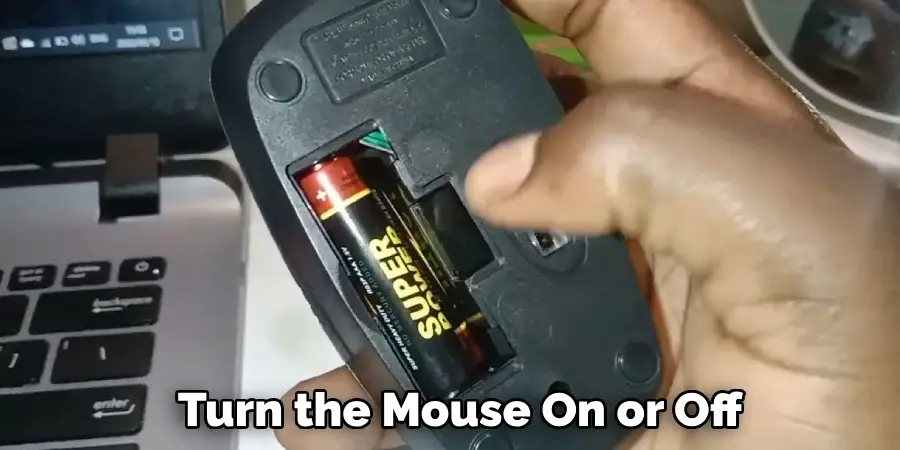
The first step in checking your wireless mouse battery is to locate the power button, which is typically found on the underside of the device. The power button is essential as it allows you to turn the mouse on or off. If your mouse features an LED indicator light, you may notice that it lights up when powered on, providing an immediate visual cue that the device is operational.
If you need help finding the power button, consult the user manual for your specific model, as the design and functionality can vary between manufacturers. Ensuring the mouse is adequately powered will enable you to determine whether the issue is battery-related or if there might be another underlying problem that needs addressing.

Step 2. Check the Battery Level Indicator
Many wireless mice come equipped with a battery level indicator light that offers a quick glimpse into the current power status. If your mouse has this feature, look for small LED lights on the top or side of the device. A green light typically indicates sufficient battery life, while a red or blinking light suggests the battery is low and needs replacement or recharging. If your mouse does not have a battery indicator, don’t worry! We will explore other methods to assess the battery level in the following steps.
Step 3. Use the Manufacturer’s Software
The manufacturer provides software for many modern wireless mice that can be downloaded and installed on your computer. This software often includes a user-friendly interface where you can check the battery status of your mouse directly from your desktop. To use this method, simply visit the manufacturer’s website, download the appropriate software for your model, and install it.
Once installed, open the software and look for the battery level gauge, which will give you a precise readout of your mouse’s power level. This method is handy for mice equipped with advanced features and customizable settings, allowing you to monitor battery life alongside other functionalities.
Step 4. Test the Mouse on Different Surfaces
Sometimes, the perceived battery issue could be related to the mouse’s performance on certain surfaces. If you’re experiencing erratic movement or unresponsiveness, try using the mouse on surfaces like a mouse pad, desk, or paper.

Occasionally, dirt or dust accumulation on the sensor may also hinder performance; therefore, give the sensor area a gentle clean with a soft, dry cloth. If the mouse behaves better on other surfaces, it may not necessarily be a battery issue but rather a problem with tracking or sensitivity linked to the surface.
Step 5. Replace the Batteries
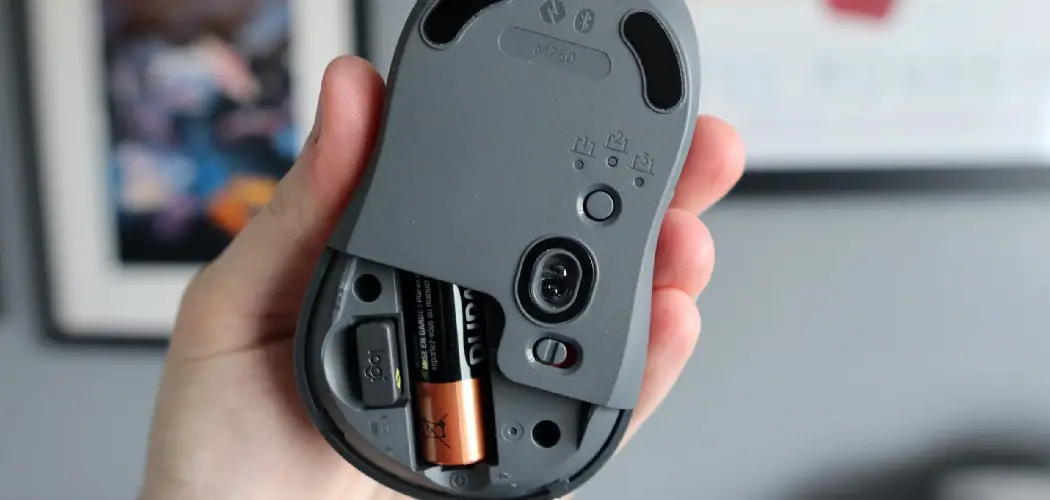
If you’ve confirmed that the battery is low or if there’s no improvement in performance, it might be time to replace the batteries. Start by turning the mouse off and locating the battery compartment, usually found on the underside of the device.
Depending on the model, you may need to employ a small screwdriver to open the compartment. Once open, carefully replace the old batteries with new ones, ensuring they are installed in the correct orientation as indicated by the plus and minus signs. After securing the compartment, turn the mouse back on to see if the performance has improved.
Step 6. Check for Firmware Updates
Firmware updates can improve your mouse’s performance and power management features. Visit the manufacturer’s website or use the accompanying software to check if any firmware updates are available for your mouse model.
If so, follow the provided instructions to update the firmware. This process may help resolve battery consumption issues or enhance the mouse’s functionality, prolonging its lifespan. Generally, it’s essential to regularly check for firmware updates to ensure your mouse is running at its best.
Step 7. Conduct a Full Charge
If your wireless mouse is rechargeable, ensure you charge it fully. Connect the mouse to its charging dock or use the USB cable to charge it for the recommended duration, generally stated in the user manual. After charging, disconnect it and check if the performance has improved. Rechargeable batteries can sometimes experience a memory effect; therefore, charging it fully could reset this and restore full functionality.

Step 8. Monitor Usage Patterns
Keeping track of how often and for how long you use your wireless mouse can provide valuable insights into its battery life and performance. If you notice that the battery drains quickly, consider adjusting your usage habits. For example, if you’re working long hours, take breaks to turn off the mouse when it’s not in use, extending the battery’s overall lifespan.
Additionally, evaluate the settings of your mouse, such as sensitivity and LED lighting, which can impact battery consumption. By being mindful of these factors and modifying your habits accordingly, you can help manage your mouse’s energy efficiency and avoid unexpected power shortages during critical tasks.
Step 9. Seek Professional Assistance
If you’ve followed all the steps and your wireless mouse still exhibits poor performance, it might be time to seek professional help. Contact the manufacturer’s customer support or consider visiting a tech service provider. They can offer diagnostics or repairs beyond general troubleshooting efforts, ensuring your mouse receives the attention it requires to function optimally.
Step 10. Replace the Mouse (if necessary)
If your wireless mouse continues to underperform despite all troubleshooting attempts, consider a replacement. Evaluate your options based on usage needs, ergonomic design, and features you may want from a new device. Investing in a high-quality wireless mouse can significantly enhance your productivity and reduce the frustrations associated with battery issues in the long run.

By following these steps, you can effectively troubleshoot and resolve battery-related issues with your wireless mouse.
5 Things You Should Avoid
- Ignoring Manufacturer Guidelines: Always consult the manufacturer’s manual or website before attempting any troubleshooting. Ignoring these guidelines can damage the product or void the warranty.
- Static Electricity: Before replacing batteries or opening the mouse, ensure you’re grounded to avoid static discharge, which can damage electronic components.
- Using Unapproved Batteries: Do not use batteries not recommended by the manufacturer. Using incorrect batteries can affect performance and might cause damage.
- Neglecting Regular Cleaning: Avoid leaving the mouse unused for long periods without regular cleaning. Accumulated debris can affect both performance and battery life.
- Relying Solely on Visual Indicators: While visual indicators, like LED lights, can provide cues about battery life, do not rely solely on these. Use additional methods, as mentioned in previous sections, for a more accurate assessment of battery status.
By avoiding these common mistakes, you can ensure proper care and maintenance of your wireless mouse, prolonging its lifespan and performance.
How Do You Know if Mouse Battery is Low?
Mouse battery levels are generally indicated by visual cues, such as blinking or changing LED lights. Some models may also have accompanying software that displays battery life percentage on the computer screen.
However, relying solely on these indicators may not always be accurate; therefore, it’s essential to use additional methods to assess battery status, such as tracking usage patterns and conducting a full charge. If your wireless mouse exhibits erratic movements or unresponsiveness, it could also indicate low battery levels. In such cases, refer to the troubleshooting steps mentioned above for resolution.
Overall, being mindful of usage and regularly checking battery levels can help you avoid potential performance issues related to low batteries in your wireless mouse.
Conclusion
Ensuring your wireless mouse operates effectively starts with being vigilant about its battery status. By monitoring usage patterns, checking visual indicators, and conducting regular maintenance, you can proactively manage battery life.
Following the troubleshooting steps outlined in this guide—such as replacing batteries, checking for firmware updates, and being mindful of manufacturer guidelines—will not only prolong the longevity of your mouse but also enhance its performance. Ultimately, staying attentive to your mouse’s battery situation can prevent unexpected interruptions and contribute to a smoother, more productive computing experience.
Hopefully, this guide on how to check wireless mouse battery has provided you with valuable insights and tips for troubleshooting battery issues in your wireless mouse. Happy mousing!

