Are you tired of eliminating that pesky sticky residue on your wood table? A sticky wood table can be frustrating and unsightly, whether from spills, food, or drinks.

Cleaning plays a crucial role in maintaining the beauty and longevity of your wood furniture, especially if your wood table has become sticky over time. This sticky residue can be caused by a buildup of oils, dirt, dust, or old polish, and addressing it promptly will help preserve the table’s finish.
In this guide on how to clean a sticky wood table, we will explore practical methods for removing stickiness from wood tables without damaging the wood or its finish. Whether it’s due to environmental factors or simply everyday use, these tips will help restore your table to its original luster and ensure it remains a centerpiece in your home.
What Will You Need?
Before diving into the cleaning methods, gathering all the necessary supplies is important. Here’s a list of items that will come in handy when cleaning your sticky wood table:
- Microfiber cloth or soft cotton cloth
- Mild dish soap or wood cleaner
- White vinegar
- Baking soda
- Lemon juice (optional)
- Olive oil (optional)
- Warm water
- Protective gloves (if using harsher cleaners)
Once you have all the supplies ready, it’s time to start cleaning your sticky wood table.
10 Easy Steps on How to Clean a Sticky Wood Table
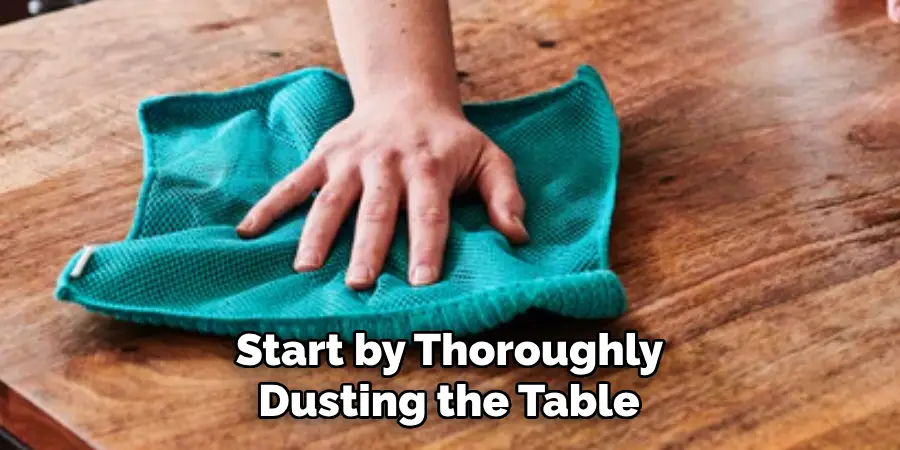
Step 1: Dust and Wipe Down the Table
Start by thoroughly dusting the table to remove any loose dirt or debris. Use a microfiber or soft cotton cloth to gently wipe the surface, ensuring you cover all areas, especially corners and edges, where dust can accumulate. Removing this initial layer of dust is essential to avoid scrubbing it into the table later, which could cause scratching.
If the table still feels sticky, dampen the cloth slightly with warm water and give the surface another quick wipe, ensuring not to oversaturate the wood. This process will help lift any surface oils and prepare the table for deeper cleaning in the subsequent steps. Taking the time for this preliminary dusting and wiping ensures that more robust cleaning solutions can effectively address the sticky buildup without being impeded by loose debris.
Step 2: Create a Mild Cleaning Solution
Mix a few drops of mild dish soap or wood cleaner in a small bowl or bucket with warm water. Stir the solution gently to distribute the soap evenly throughout the water. This mild solution will help break down the oils and dirt causing the stickiness without harming the wood’s finish.
Ensure not to use too much soap, as excessive suds can be difficult to rinse off and may leave a residue. Dip a clean, soft cloth into the solution, wring it out thoroughly to ensure it’s only damp and not soaking wet, and then wipe down the sticky areas of the table. Use gentle, circular motions to avoid putting too much pressure on the wood, which may damage the surface.
Step 3: Apply Vinegar Solution for Tougher Stains
If the table is still sticky after using the mild cleaning solution, it’s time to tackle more stubborn residues with vinegar. In a spray bottle, mix equal parts white vinegar and warm water. Shake the bottle gently to combine the ingredients. Spray the vinegar solution lightly onto the sticky areas of the table. Allow it to sit for a few minutes to loosen the grime. Afterward, use a clean microfiber or soft cotton cloth to wipe the surface, using circular motions to lift the sticky residue. Vinegar is a natural cleaner that can effectively cut through harsh oils and greases, helping to restore the table’s smooth finish.

Step 4: Tackle Stubborn Spots with Baking Soda Paste
A baking soda paste can be an effective solution for particularly stubborn sticky spots. To create the paste, mix baking soda and water in a small bowl until it reaches a paste-like consistency.
Using a soft cloth or sponge, gently apply the paste to the sticky spots on the table. Rub the paste in a circular motion, using minimal pressure to avoid scratching the surface. Baking soda acts as a mild abrasive, helping to lift and remove built-up grime without damaging the wood. Once you’ve worked the paste into the sticky areas, wipe the table with a damp cloth to remove any remaining residue.
Step 5: Use Lemon Juice for Natural Shine
If you desire a natural shine after cleaning, consider using lemon juice. Mix equal parts lemon juice and olive oil in a small bowl to create a natural polishing solution. Lemon juice is a mild cleanser while olive oil conditions the wood, bringing out its natural luster.

Dip a soft cotton cloth into the mixture and gently rub it onto the table in circular motions. This will not only enhance the shine but also help in protecting the wood from future sticky buildup. Be sure to buff the table afterward with a clean, dry cloth to remove excess oil and achieve a smooth, polished finish. Regular use of this solution can keep your wood table looking vibrant and fresh.
Step 6: Consider Commercial Wood Cleaners for Persistent Issues
Commercial wood cleaners may offer a more potent solution for cases where the sticky residue persists despite using home remedies. Select a high-quality cleaner designed for wooden furniture and follow the manufacturer’s instructions carefully.
Apply the cleaner to a soft cloth rather than directly onto the wood to avoid oversaturating the surface. Gently rub the cleaner into the affected areas using small, circular motions. These products often contain specialized ingredients that can break down stubborn residues effectively while conditioning the wood. Always perform a patch test on an inconspicuous table area before widespread use to ensure compatibility with the wood finish.
Step 7: Reapply Protective Finish
Once you’ve removed the sticky residue and cleaned the table, consider reapplying a protective finish to safeguard the wood. Over time, finishes can wear off, exposing the wood to damage and buildup. Choose an appropriate wood polish or wax that matches the table’s original finish.
Apply a small amount of the product to a clean, soft cloth and rub it into the wood using slow, circular motions. This will help restore the table’s initial shine and provide protection against future spills and sticky build-up. Follow the product’s instructions for the best results, and allow the finish to dry completely before using the table.
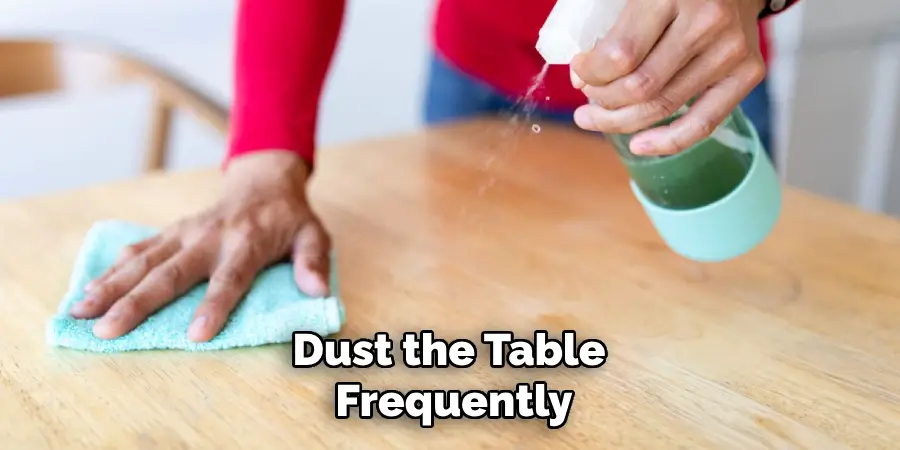
Step 8: Maintain Regular Cleaning Routine
To prevent sticky residue from building up again, it’s essential to establish a regular cleaning routine for your wood table. Dust the table frequently using a microfiber cloth to catch any particles and debris that could lead to grime accumulation over time.
For routine cleaning, use a damp cloth with a mild soap solution once a week to maintain the table’s cleanliness and shine, ensuring you always wipe it dry afterward. Additionally, avoid placing hot items or spills directly on the wood, as these can contribute to sticky buildup. Consider using coasters, table mats, and covers as protective barriers.
Step 9: Address Water Rings and Heat Marks
Water rings and heat marks can detract from the beauty of your wood table. To address these blemishes, you can use a simple homemade remedy. Create a mixture of equal parts white toothpaste and baking soda. Gently apply the paste to the affected areas using a soft cloth or sponge, rubbing in a circular motion. Be gentle to avoid scratching the wood surface. This mixture works to lift the stains by gently buffing them out due to the slightly abrasive nature of baking soda.
Once the stains are gone, wipe away any remaining paste with a damp cloth, then dry the area thoroughly with a clean towel. This method can help restore your table’s natural appearance and keep it looking pristine.
Step 10: Protect the Table from Sunlight Exposure
Continuous exposure to direct sunlight can cause wood tables to fade and lose their luster over time. To protect your table from sun damage, position it away from windows or apply protective window film to help block harmful UV rays. You can also consider using tablecloths or runners to shield the table’s surface.
If the table is positioned where sunlight is unavoidable, regularly rotate decorative items, such as vases or bowls, to prevent uneven fading. Additionally, applying a UV-protectant wood finish can offer an added layer of defense, preserving the wood’s color and integrity.
Following these steps, you can effectively remove sticky residue from your wood table and restore its natural beauty.
Conclusion
How to clean a sticky wood table requires patience, the right materials, and a systematic approach to ensure the table is not only clean but also protected.
By following the detailed steps outlined, from using baking soda paste for gentle grime removal to applying a protective finish, you address the immediate issue of stickiness and the long-term care of the wood. Incorporating natural solutions like lemon juice and olive oil, as well as commercial cleaners when necessary, expands your toolkit for tackling stubborn residue. Regular maintenance is crucial in preventing future buildup, and attention to environmental factors like sunlight exposure helps preserve the table’s appearance and functionality.
Integrating these practices into your routine will make your wood table a beautiful and lasting centerpiece in your home.