Are you frustrated with smudges and dust on your copier glass? Cleaning the copier glass is an essential task to ensure that your copies are clear and free of imperfections. Here are a few simple steps for cleaning your copier glass.
how to clean copier glass is a crucial maintenance task that often gets overlooked, yet it plays a significant role in ensuring optimal performance and high-quality copies. Over time, smudges, dust, and fingerprints can accumulate on the glass surface, resulting in blurred or distorted images during copying.
In this guide, we will provide step-by-step instructions on how to effectively clean copier glass, helping you not only prolong the life of your copier but also maintain the clarity and quality of your documents.
Following these simple tips, you can ensure crisp and clear copies every time you use your machine.
What Will You Need?
Before you begin the cleaning process, make sure you have the following items on hand:
- Microfiber Cloth: This is a vital tool for removing dust and other particles from the glass surface without leaving any scratches.
- Glass Cleaner: You can use a commercial glass cleaner or create your solution using equal parts of water and vinegar. Avoid using harsh chemicals as they may damage the copier glass.
- Lint-Free Wipes: These are ideal for drying and buffing the glass surface after cleaning.
Once you have gathered all the necessary items, you can begin cleaning your copier glass.
10 Easy Steps on How to Clean Copier Glass
Step 1: Turn off and Unplug the Copier
Before you start the cleaning process, it is essential to prioritize safety. Ensure that the copier is turned off and unplugged from the power source. This protects you from any electrical hazards and prevents the machine from accidentally turning on during cleaning, which could lead to injury or damage.
Step 2: Gather Your Cleaning Supplies
Once you have ensured the copier is safe to approach, it’s time to gather your cleaning supplies. Make sure to select a clean and dry microfiber cloth, as this will effectively remove dust and grime without scratching the glass. Next, choose your glass cleaner; if you opt for a DIY solution, mix equal parts water and vinegar in a spray bottle, ensuring it’s well-blended for optimal cleaning power.
When selecting lint-free wipes, verify that they are specifically designed for cleaning surfaces without leaving behind residue or fibers. Having reliable supplies will help you achieve the best results and maintain the longevity of your copier glass. A well-prepared workspace will set the stage for an efficient cleaning process and ensure a smooth transition into the next steps.
Step 3: Spray the Glass Cleaner
Once you have your cleaning supplies ready, it’s time to apply the glass cleaner to the copier glass. Lightly spray your chosen cleaner directly onto the glass surface, being careful not to oversaturate it, as excess liquid can drip into the internal components of the copier.

If you’re using a DIY solution, ensure the mix is even in your spray bottle before applying. Allow the cleaner to sit briefly to break down any stubborn dirt or fingerprints, but avoid letting it dry completely. This step is crucial, as it ensures that the cleaner effectively loosens the grime without risking damage to the machine.
Step 4: Wipe the Glass Surface
After allowing the glass cleaner to sit for a moment, take your microfiber cloth and gently wipe the glass surface in a circular motion. Start from one corner and work to the opposite edge, ensuring you cover the entire area. Be sure to apply light pressure to avoid scratching the glass.
If necessary, use a different section of the cloth to tackle any stubborn spots or residues. This careful wiping technique will help to lift and remove smudges, dust, and any remaining dirt, leaving the glass surface spotless and clear for optimal copying performance.
Step 5: Dry the Glass Surface
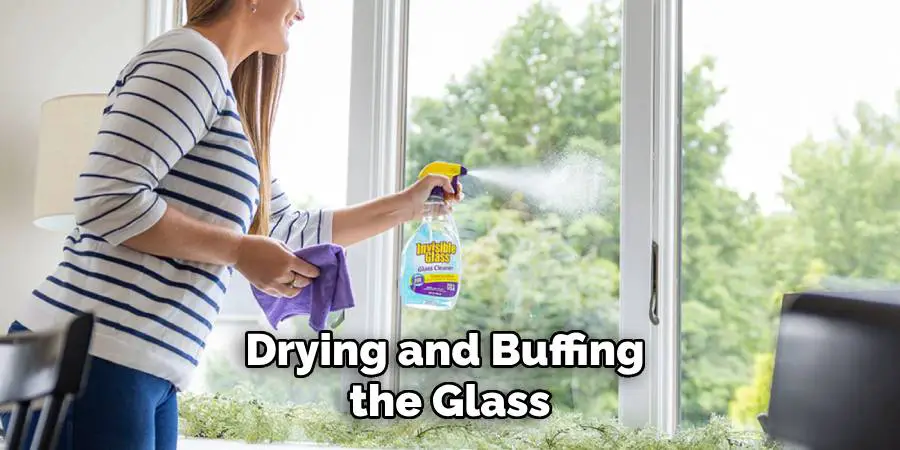
Once thoroughly wiping the glass surface and removing all visible dirt and smudges, it’s time to dry it properly. Take a lint-free wipe and gently wipe the glass in a similar circular motion, removing all moisture. This step is vital, as any water left on the glass can create streaks or interfere with the quality of your copies.
Pay special attention to the edges where moisture may linger, and use a clean section of the wipe as needed. After drying, step back and inspect the glass to ensure it is evident and free of streaks before moving on to the next step.
Step 6: Check for Streaks and Smudges
After drying the glass surface, it’s vital to perform a thorough inspection to ensure no remaining streaks or smudges. Stand at a slight angle to the glass, as this can help you see any imperfections that may not be visible from a direct viewpoint.
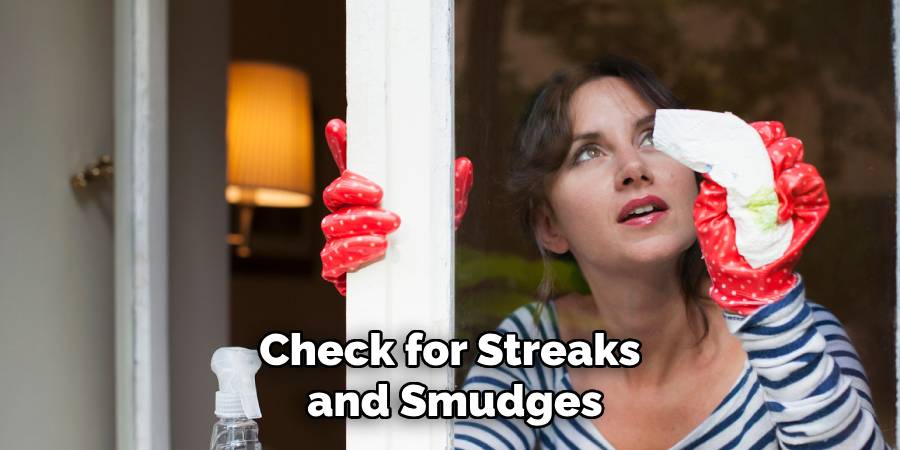
If you notice any streaks, return to your microfiber cloth and lightly dampen it with your glass cleaner before gently wiping it again in a circular motion. For any stubborn spots that persist, focus on those areas until they are clean. This meticulous checking process guarantees that your copier glass is in pristine condition and ready for high-quality copying.
Step 7: Reassemble the Copier
Once you have ensured that the copier glass is clean and free of any streaks or smudges, it’s time to reassemble your machine if any parts were removed during the cleaning process. Carefully return any covers or components to their original position, making sure they fit securely and are properly aligned.
This step is crucial as it ensures the copier functions correctly and safely. After reassembly, double-check that all parts are intact and that there are no loose items before proceeding to the next step.
Step 8: Plug in and Power On
With the copier reassembled, the next step is to plug it back into the power source. Ensure that the power cord is securely connected and that there are no obstructions around the machine. Once plugged in, turn the copier back on. Allow it to warm up thoroughly before performing any test copies. This will ensure that all internal components operate smoothly and that your copier is ready for optimal performance.
Step 9: Test Copy
After the copier has powered up, conduct a test copy to verify everything is functioning correctly. Place a clean sheet of paper on the glass and initiate a copying session. Pay close attention to the output quality – it should be crisp, clear, and free of any marks or ghosting that might suggest leftover dirt or streaks on the glass. If the test copy meets your expectations, congratulations! You’ve successfully cleaned your copier glass.
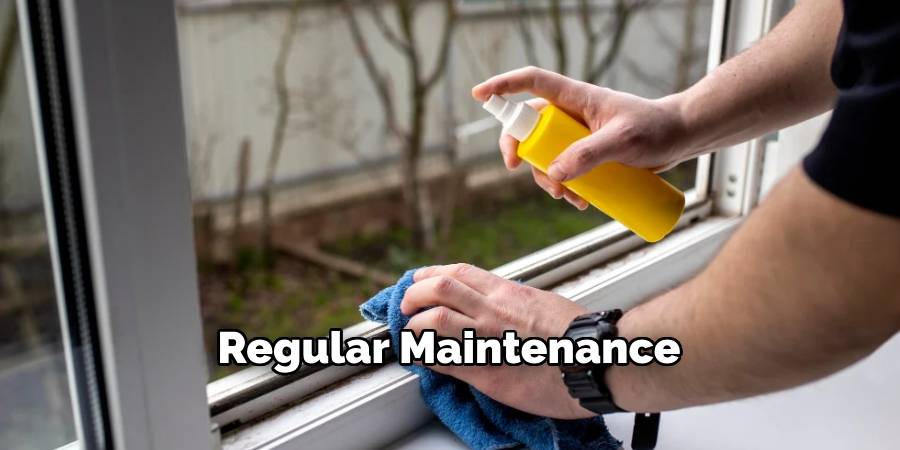
Step 10: Regular Maintenance
Regularly maintaining your copier is essential to ensure its longevity and reliable performance. Establishing a routine cleaning schedule can go a long way in preventing the accumulation of dust, dirt, and other impurities that may affect the copy quality over time.
Aim to clean the copier glass at least once a month or more frequently if the machine is used heavily. In addition to cleaning the glass, consider checking and cleaning other vital components, such as the paper rollers and exterior surfaces, to remove any debris or build-up that may impair function.
Furthermore, monitor the copier for signs of wear or malfunctions, such as unusual noises, error messages, or inconsistent print quality. Addressing these issues promptly can prevent more significant problems down the road. Monitor the ink or toner levels and replace them as needed to maintain optimal output quality.
By following these steps, you can efficiently and effectively clean your copier glass and maintain its optimal performance.
5 Things You Should Avoid
- Using Abrasive Materials: Avoid rough sponges, scouring pads, or any abrasive materials that could scratch or damage the glass surface. Stick to soft, lint-free cloths or microfiber cloths designed for gentle cleaning.
- Applying Excessive Pressure: When wiping the glass, excessive pressure can cause scratches or even damage to the copier’s inner workings. Use light, circular motions to clean without force.
- Neglecting to Turn Off the Copier: Always turn off the copier before cleaning. Cleaning while the machine is on can pose a risk of injury from moving parts and disrupt the cleaning process if any machinery interacts with cleaning supplies.
- Using Household Cleaners: Avoid using household cleaners that contain ammonia or other harsh chemicals. These can leave residue or streaks on the glass and potentially damage the machine.
- Forget to let the Cleaner Sit: Skipping the step of allowing the cleaner to sit for a moment before wiping can hinder its effectiveness in breaking down dirt and grime. Make sure to give the cleaner a few moments to work before wiping.
By following these tips and avoiding these common mistakes, you can ensure your copier glass is cleaned correctly and safely.
Conclusion
In conclusion, maintaining clean copier glass is essential for ensuring the quality of your copies and the longevity of your machine.
By following the comprehensive steps outlined in this guide on how to clean copier glass—from the initial dusting to the final inspection—you can effectively eliminate dirt, smudges, and streaks that can adversely affect copying performance. Regular maintenance and adherence to best practices will not only enhance the output quality but also contribute to your copier’s overall functionality and efficiency.
By implementing these techniques and avoiding common pitfalls, you can enjoy optimal performance and peace of mind when copying.

