Cleaning the print head on an Epson EcoTank printer is crucial to maintaining optimal print quality and preventing issues such as streaks, faded colors, or clogged nozzles. Over time, ink can dry and accumulate, leading to inconsistent printing results that can frustrate users and waste materials.
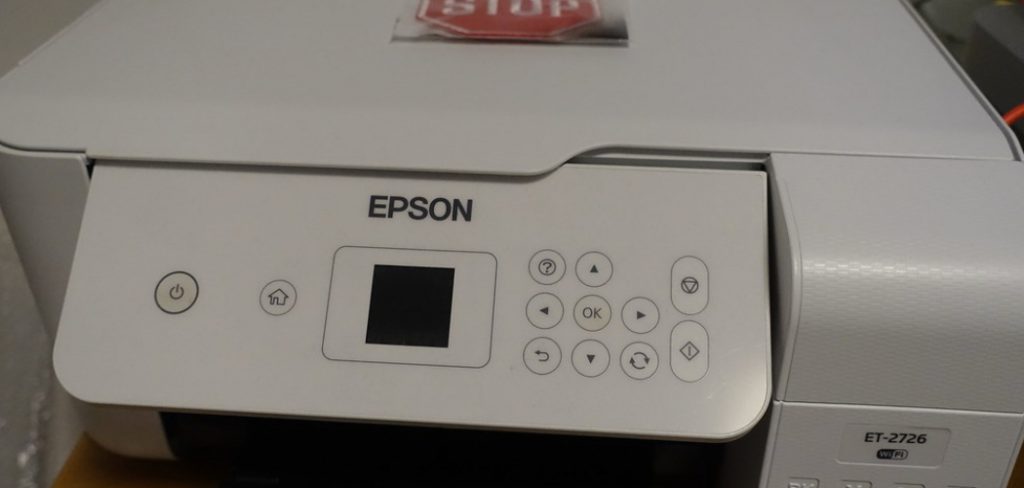
By taking the time to understand how to clean epson ecotank print head, users can effectively restore their printer’s performance and extend its lifespan. This article will guide you through the steps involved in the cleaning process, including how to use the printer’s built-in cleaning utilities, detailed manual cleaning techniques, and helpful tips for regular maintenance.
Implementing these practices will ensure that your prints remain sharp, vibrant, and free from defects, allowing you to enjoy high-quality outputs consistently.
Understanding the Print Head
The function of the Print Head
The print head in an Epson EcoTank printer plays a vital role in transferring ink onto paper. It contains numerous tiny nozzles, which open and close rapidly to dispense precise droplets of ink in a controlled manner. This technology enables high-resolution printing, producing sharp images and text.
However, these nozzles can become clogged over time due to dried ink or debris. When this happens, the printer may produce subpar outputs characterized by streaks, smudges, or missing sections. Maintaining a clean print head ensures optimal performance and print quality.
Signs of a Clogged Print Head
Identifying a clogged print head early can prevent longer-term complications. Common signs that indicate the need for cleaning include faded prints, visible streaks on the paper, missing lines in text or images, and colors that appear uneven or incorrect.
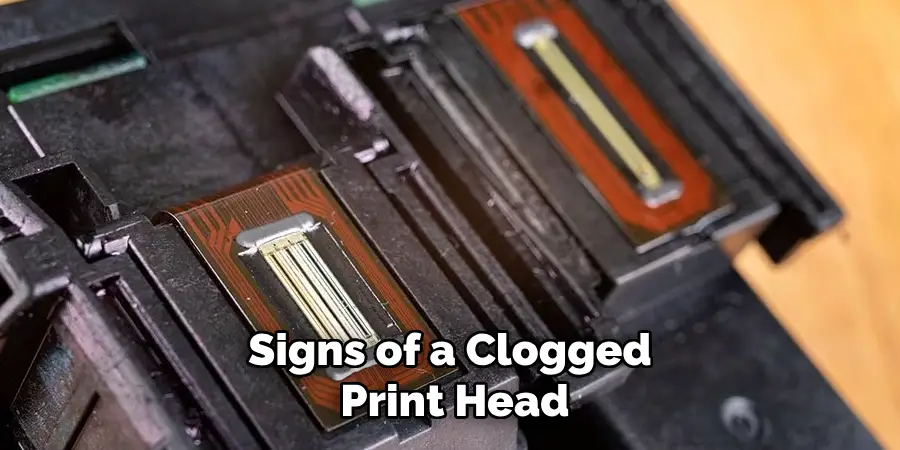
These issues typically stem from clogged nozzles or dried ink disrupting the smooth flow of ink during printing. Regularly monitoring print quality and promptly addressing inconsistencies can help maintain the printer’s overall functionality.
Preparing to Clean the Print Head
Gathering Necessary Materials
Before beginning the cleaning process, it is essential to gather the right materials to ensure effective cleaning without damaging the printer. You will need distilled water, lint-free cloths, cotton swabs, and, if necessary, a cleaning solution recommended by Epson.
Using distilled water is crucial, as it avoids any impurities present in tap water that could further clog the print head. Additionally, non-abrasive materials are vital to prevent scratches or damage to sensitive components.
Turning Off and Unplugging the Printer
To initiate the cleaning procedure safely, turn off the printer and unplug it from the power source. This step is significant as it reduces the risk of electrical hazards and prevents any potential accidental damage during the cleaning process. Ensure the printer is completely powered down and disconnect any related cables to create a safe and controlled environment for maintenance.
How to Clean Epson Ecotank Print Head: Using the Printer’s Built-in Cleaning Utility
Accessing the Cleaning Utility
To begin the cleaning process with your Epson EcoTank printer’s built-in cleaning utility, start by ensuring that the printer is powered on and connected to your computer or network. Navigate to the printer’s control panel, usually found on the printer’s display screen. Look for the ‘Maintenance’ or ‘Setup’ menu option and select it.
You will find the ‘Print Head Cleaning’ option within this menu. If you’re using the Epson printer software installed on your computer, open the application and select ‘Printer Settings’ or ‘Maintenance,’ where you will also locate the cleaning utility. Follow the on-screen prompts to access the cleaning function.
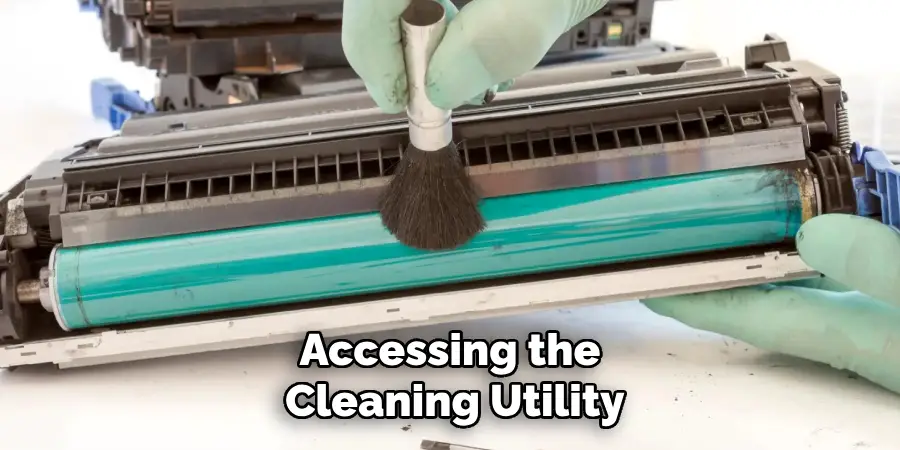
This utility is designed to streamline the cleaning process and will help ensure your print head works efficiently.
Running the Cleaning Cycle
Once you have accessed the print head cleaning utility, it’s time to initiate the cleaning cycle. Select the ‘Start’ or ‘Clean’ option as the display prompts. During this process, the printer will begin to expel ink through the nozzles to clear any clogs or blockages. Expect the cleaning cycle to take a few minutes, generally around 5 to 10 minutes, depending on the specific model of your printer.
During the cycle, you may hear the sound of the print head moving and the ink being flushed through the nozzles. The printer’s control panel may display a progress indicator or message confirming that the cleaning is in progress, allowing you to monitor the process.
Checking Results and Repeating if Necessary
After the cleaning cycle is complete, it is essential to check the results to ensure that the print head is functioning correctly. To do this, print a test page or execute a nozzle check, typically found in the control panel or printer software maintenance options. Examine the printout for any missing lines or streaks that may indicate residual clogs.

If print quality remains unsatisfactory—evidenced by streaks or fading colors—consider running the cleaning cycle once more. In cases where issues persist even after multiple cleanings, manually cleaning the print head may be necessary, as outlined in the previous sections.
Regularly using the built-in cleaning utility, combined with manual cleaning when required, will help ensure that your Epson EcoTank printer consistently delivers high-quality prints.
How to Clean Epson Ecotank Print Head: Manual Print Head Cleaning
Removing the Print Head
Removing the print head from your Epson EcoTank printer will differ slightly depending on the model, so it’s important to consult your owner’s manual for specific instructions. Before beginning, ensure the printer is turned off and unplugged to prevent any electrical hazards. Gently open the printer cover to access the print head assembly.
Typically, you must locate and press the release lever or button that secures the print head in place. Carefully lift the print head unit, being mindful of connected cables and components. Handle the print head gently, keeping it upright and avoiding contact with the nozzles or circuitry to prevent damage.
If your model has a print head lock mechanism, ensure disengagement before removal. Place the print head on a clean, lint-free surface to avoid contamination.
Cleaning the Print Head
Once the print head is removed, begin cleaning by preparing your materials. Epson recommends using distilled water or a cleaning solution, moistening a lint-free cloth with the liquid. Gently wipe the print head’s nozzles, ensuring you do not apply excessive pressure that could damage the nozzles.
After wiping the nozzles, moisten a cotton swab with the solution and carefully clean around the edges and any difficult-to-reach areas. Be cautious not to oversaturate the cloth or cotton swab to prevent liquids from entering the print head’s internal parts.
After cleaning, allow the print head to dry completely before reinstalling it into the printer, ensuring that all parts are free from moisture to prevent any electrical issues.
Reinstalling the Print Head
Reinstalling the cleaned print head is straightforward but requires attention to detail. Start by aligning the print head with the tracks provided in the printer. Ensure that it is properly seated in its compartment, as misalignment can lead to printing errors or permanent damage.
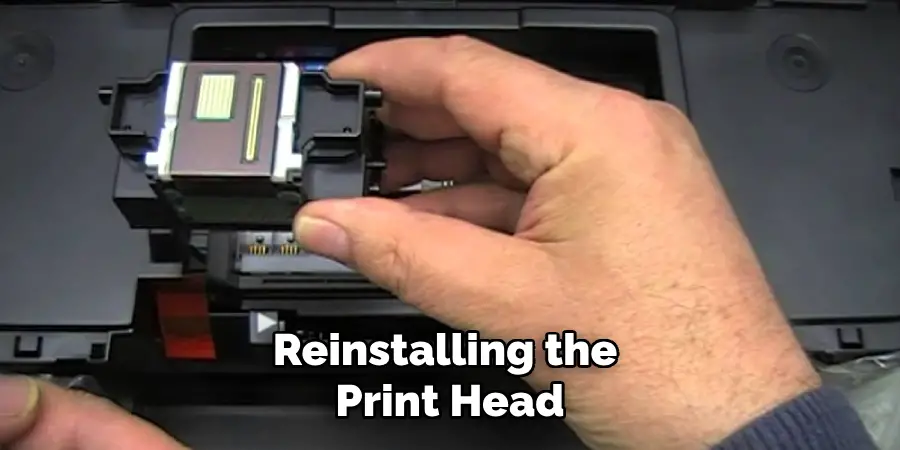
Press push down until you hear a click, indicating the print head is secured. If your model includes a locking mechanism, engage it to secure the print head. After reinstallation, close the printer cover carefully. Double-check that no cables are pinched and everything is back in its correct position.
Finally, plug the printer back in and power it on to complete the process. It’s beneficial to run a test print or execute a nozzle check to confirm that the cleaning was successful and that the print head functions optimally.
Preventative Maintenance Tips
Regular Cleaning Schedule
Establishing a regular cleaning schedule is crucial to maintaining optimal print head performance and preventing clogs. It is advisable to clean the print head every few months or more frequently if you notice a decline in print quality. This practice not only enhances print output but also prolongs the life of the print head, ensuring that your Epson EcoTank printer continues to function effectively.
Using the Printer Regularly
Using your printer regularly can significantly reduce the risk of ink drying out and causing clogs. Aim to print at least once a week to keep the ink flowing and maintain optimal print quality. Regular usage ensures that the ink circulates properly through the nozzles, preventing blockages and contributing to clearer, more consistent print results.
Conclusion
In summary, cleaning the print head on your Epson EcoTank printer involves a few essential steps: utilizing the built-in cleaning utility, performing manual cleaning when needed, and carefully reinstalling the print head. Following these steps ensures that your printer remains in excellent working condition and can produce high-quality prints.
To achieve the best results, adhere to the cleaning tips outlined and maintain a regular maintenance schedule. Remember, by understanding how to clean Epson EcoTank print head effectively, you can extend the life of your printer and consistently enjoy excellent print results.
With proper care, your Epson EcoTank printer will remain a reliable tool for all your printing needs.
