Are you planning to organize a movie night with your friends, make a presentation at work, or simply want to enjoy your favorite show on a bigger screen? Connecting a projector to your TV is easier than you think. There is no need to hire an expensive technician or buy any special equipment.
How to connect a projector to TV can greatly enhance your viewing experience, allowing for a larger display and the ability to share content in a more engaging way. Whether watching a movie, presenting a slideshow, or playing video games, a projector offers versatility that a standard television screen may lack. This guide will walk you through the necessary steps, equipment, and tips for successfully linking your projector to your TV.
You can transform your living room or workspace into a dynamic multimedia environment with the right setup.
What Will You Need?
Before you start, make sure you have the following equipment on hand:
- HDMI cable
- Projector
- TV (with an HDMI input)
- Wall outlet or power strip
Once you have gathered all the necessary equipment, follow these simple steps to connect your projector to the TV.
10 Easy Steps on How to Connect a Projector to TV
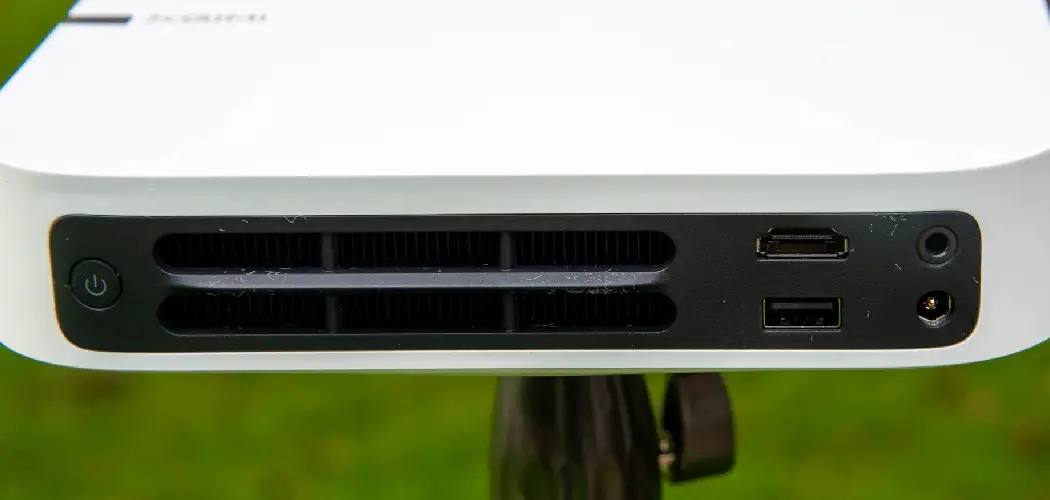
Step 1. Position the Projector:
Start by selecting the optimal location for your projector. It should be placed at a distance from the screen or wall, allowing for an adequately sized image based on the projector’s specifications. Most projectors come with a throw ratio that indicates how far the projector needs to be from the screen to produce a specific image size.
Consider factors like ceiling height and potential obstructions that might interfere with the light path. Ideally, the projector should be mounted on a stable surface or ceiling-mounted at the appropriate height, facing directly toward the area where you will display the image. This laid-back positioning will ensure a clear, unobstructed projection, making your movie night or presentation more enjoyable and effective.
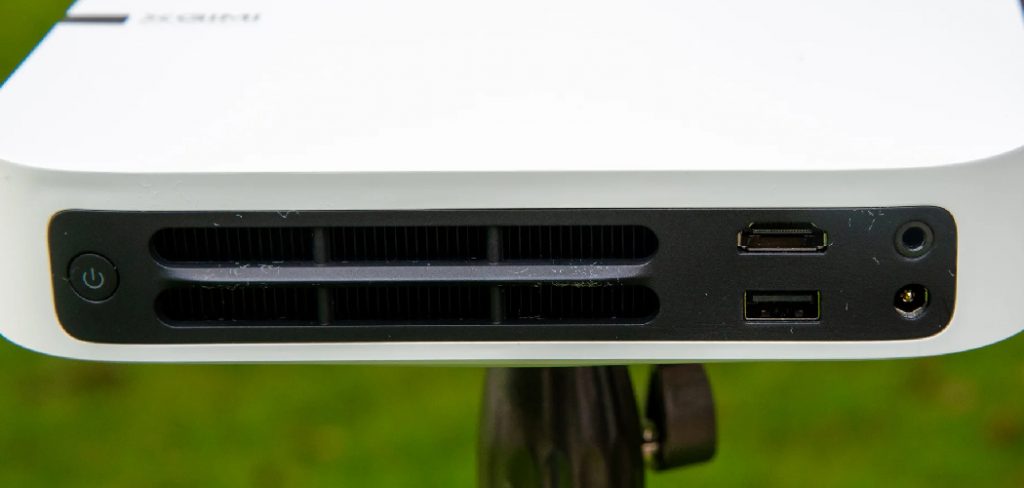
Step 2. Connect the HDMI Cable:
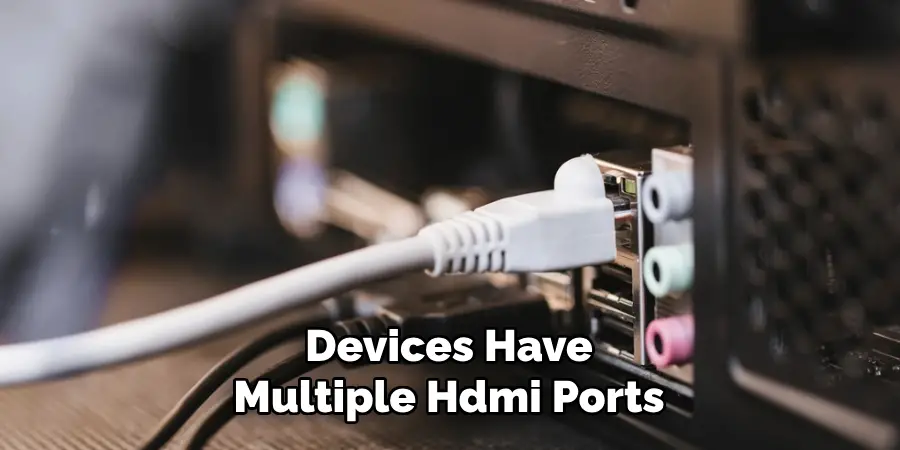
Once the projector is positioned correctly, it’s time to establish a connection between your TV and the projector using the HDMI cable. Locate the HDMI output port on your TV and connect one end of the HDMI cable to this port. Next, plug the other end of the cable into the HDMI input on your projector. Ensure both connections are secure to avoid any disruption during use. If your devices have multiple HDMI ports, take note of which port you are using, as this will be needed for the next steps in configuring your input settings.
Step 3. Power On the Devices:
Now that the HDMI cable is securely connected, it’s time to power on your devices. Start by turning on your TV and then the projector. Give both devices a moment to boot up completely; you might see a startup screen or logo. Once powered on, remove the projector’s lens cap for an unobstructed image. After both devices are ready, you will typically need to switch your TV to the correct HDMI input that corresponds to the port you connected the HDMI cable. This step is crucial for successfully displaying the content from your TV on the projector.
Step 4. Adjust the Projector Settings:
After powering on your devices and selecting the correct HDMI input on your TV, it’s essential to make some adjustments to ensure optimal image quality. Use the projector’s remote or onboard controls to access the settings menu. Here, you can adjust key parameters such as brightness, contrast, and resolution to fit your viewing environment better. If your projector has a zoom or focus feature, use it to sharpen the image and ensure it fits appropriately within the projection area. Take a moment to view the projected image and fine-tune these settings as needed, ensuring a clear and vibrant picture for your audience.
Step 5. Fine-Tune the Image Alignment:
Once your projector is powered on and the image is being projected, the next step is to adjust the image’s alignment for optimal viewing. Check if the projected image is centered and within the desired display area. If it’s skewed or misaligned, use the keystone correction feature available on most projectors, which allows you to adjust the image’s shape to ensure it is rectangular and properly aligned. Additionally, if your projector has lens shift capabilities, you can utilize this feature to move the image vertically or horizontally without distorting the picture. Take time to make these adjustments, as a well-aligned image will enhance the overall viewing experience, making your movie night or presentation more impactful.

Step 6. Test the Audio Connection:
After ensuring the image is aligned correctly, it’s time to address the audio aspect of your setup. Depending on your projector and TV configuration, you may need to correctly set up the audio output. First, check if your projector has built-in speakers or an audio output option. If it does, make sure the volume is turned up. If you prefer to use an external sound system, connect it to the audio output of either your TV or projector, depending on your setup.
Once connected, play a video or audio clip to test the sound. Adjust the volume levels on both the projector and the TV or sound system to ensure a balanced, clear audio experience for your viewers. Proper audio is essential for an engaging presentation, so take time to make necessary adjustments.
Step 7. Calibrate the Screen Size:
With the image alignment and audio settings optimized, it’s time to calibrate the screen size for the best viewing experience. Check the projected image size—if it appears too large or small for your display area, you may need to adjust the zoom settings on your projector. Use the zoom function to increase or decrease the image size until it fits perfectly within your designated area, ensuring the entire image is visible without cropping any parts.
Additionally, if your projector offers aspect ratio settings, choose the one that best suits your content, whether it’s 16:9 for widescreen or 4:3 for standard. These steps will ensure that the audience can enjoy the content without distractions or limitations on the screen size.
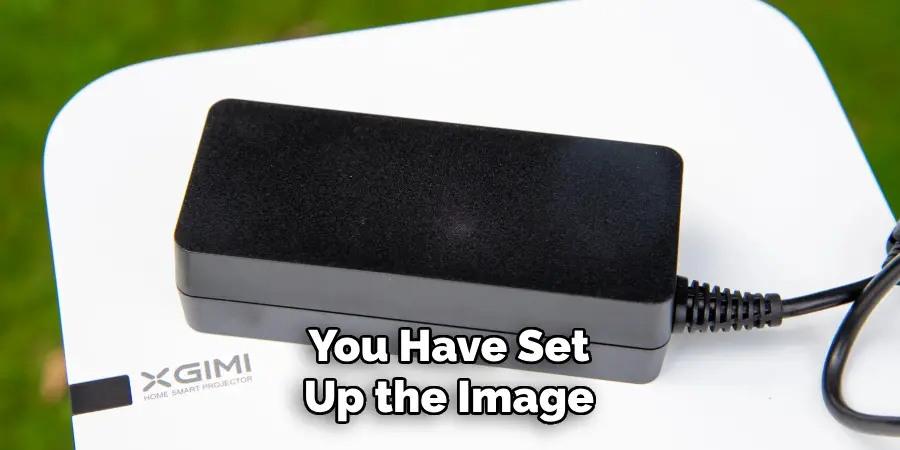
Step 8. Final Testing and Adjustments:
Now that you have set up the image, audio, and screen size to your liking, conducting a final test is essential to ensure everything is working seamlessly. Play a variety of content, such as a video or presentation, to check for any issues with the image quality, audio clarity, or overall setup. Pay close attention to elements like color saturation and sound balance, making additional adjustments as needed.
If possible, gather feedback from a few viewers to ensure that the setup meets the needs of your audience. Once you are satisfied with the overall performance, you can confidently enjoy your movie night or deliver your presentation quickly, knowing that you have prepared for an engaging experience.
Step 9. Save Your Settings:
After conducting final tests and making necessary adjustments, the next step is saving your settings. Access the settings menu on your projector and TV, and look for an option to save or store your current configuration. This is crucial as it prevents you from repeating the setup process each time you use the devices.
If your projector has user presets, consider saving your settings under a specific name so you can easily recall them for future use. Once saved, make sure to confirm that your settings are active. This way, you can enjoy a hassle-free experience whenever you connect your projector and TV for a show or presentation.
Step 10. Clean and Maintain the Equipment:
Regular cleaning and maintenance are essential to ensure the longevity and optimal performance of your projector and TV. Begin by dusting off the projector’s exterior and lens using a soft, lint-free cloth to prevent particles from affecting the image quality. Check the air vents for dust accumulation and gently clean them to ensure proper airflow and avoid overheating.
If your projector has a filter, consult the user manual on cleaning or replacing it periodically. Wipe the screen with a suitable screen cleaner for your TV, avoiding harsh chemicals that could damage the display. Establishing a routine for maintaining your equipment will extend its life and enhance your viewing experience over time.
Following these steps ensures a seamless and enjoyable experience with your projector and TV setup.
Conclusion
In summary, how to connect a projector to TV involves a series of straightforward steps that, when followed carefully, can significantly enhance your viewing experience.
From selecting the appropriate cables and setting up the audio to fine-tuning the image alignment and screen size, each aspect plays a crucial role in ensuring your projector performs at its best. Remember the importance of saving your settings and maintaining your equipment to prolong its life and effectiveness.
With this guide, you can create a captivating and immersive environment for movie nights, presentations, or any other visual content you wish to share with your audience. Enjoy the seamless and dynamic experience of a well-connected projector and TV setup!