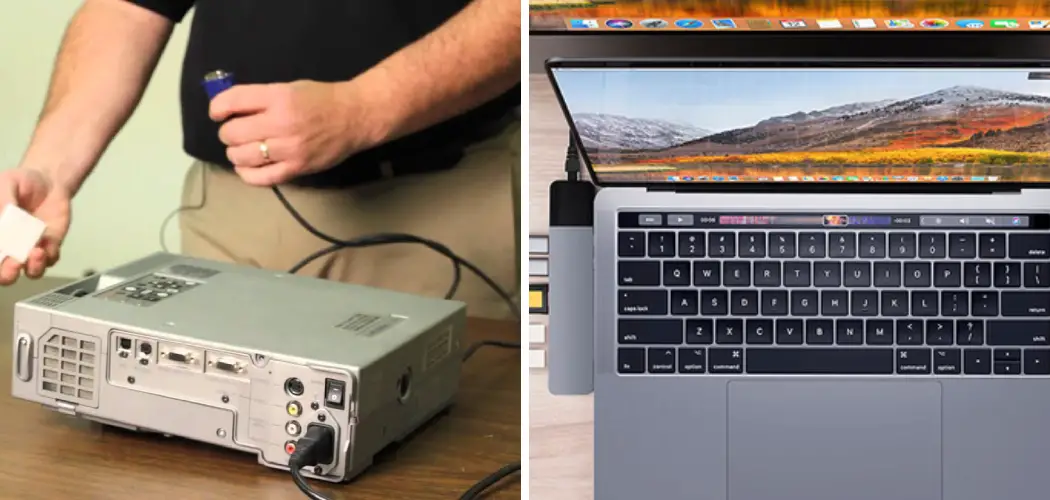
Connecting a MacBook to a projector is essential for various purposes, such as delivering impactful business presentations, facilitating engaging classroom lessons, or enhancing home entertainment experiences. Projecting your MacBook’s display onto a larger screen allows for greater visibility and interaction, making your content more accessible to your audience. HDMI has emerged as a widely used and reliable method for establishing this connection, ensuring high-quality video and audio transmission.
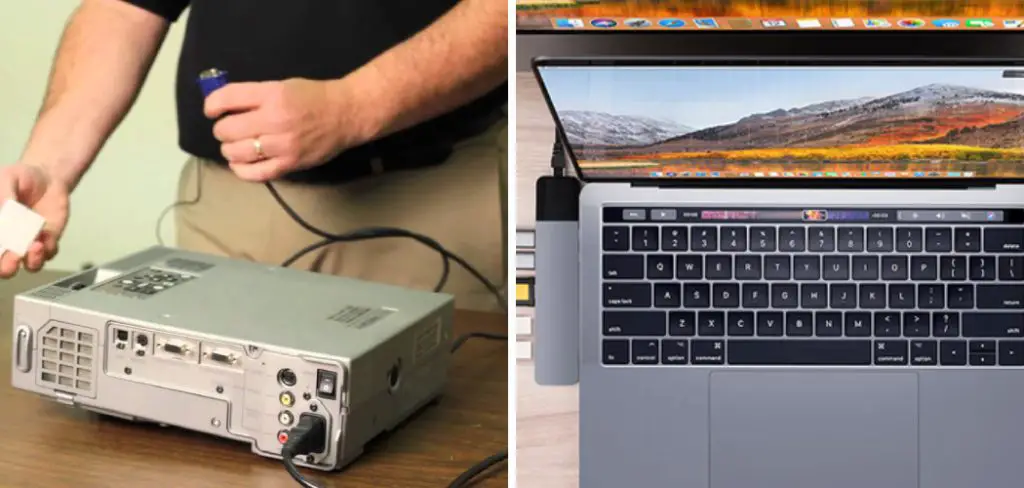
In this article, we will guide you through the process of how to connect macbook to projector with HDMI. We will cover the necessary equipment you need, provide step-by-step instructions for making the connection, and outline how to adjust the display settings for optimal performance. With the right tools and knowledge, you’ll be equipped to seamlessly connect your devices and elevate your viewing experience.
Gathering Necessary Equipment
MacBook Compatibility
When connecting your MacBook to a projector, it’s crucial to first identify your MacBook model, as this will determine the type of HDMI adapter you may need. Newer MacBooks, introduced in 2016 and later, typically rely on USB-C ports instead of traditional HDMI ports. Therefore, you will need a USB-C to HDMI adapter to establish the connection. In contrast, older
MacBook models often feature a built-in HDMI port, allowing for direct connections without the need for additional adapters. However, if your older MacBook has Mini DisplayPort instead, you will require a Mini DisplayPort to HDMI adapter. Understanding these requirements will ensure you have the right equipment for a successful setup.
Choosing the Right HDMI Adapter
Selecting the appropriate HDMI adapter for your MacBook is vital for achieving optimal performance. When shopping for an adapter, consider reputable brands known for their quality and reliability, such as Apple, Belkin, or Anker. Ensure that the adapter supports your desired resolution and refresh rate, especially if you project high-definition content. For instance, if your projector supports 4K resolution, it’s important to choose an adapter that can handle 4K output.
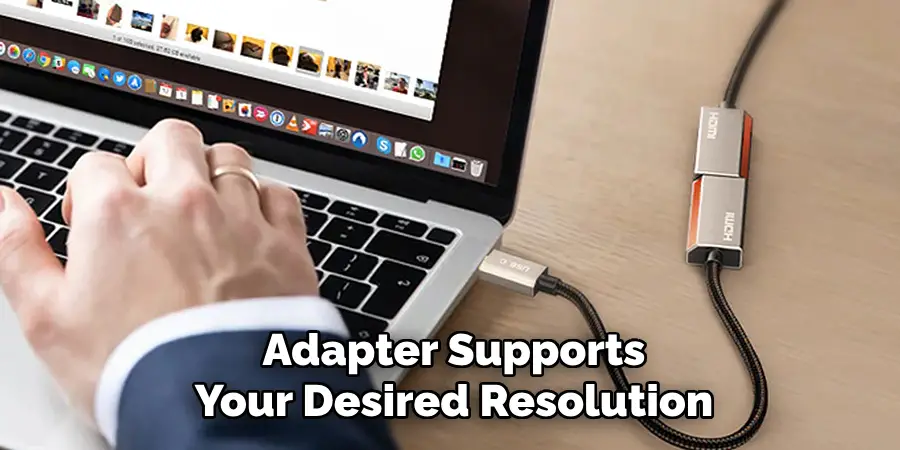
Additionally, check compatibility with your specific MacBook model, as not all adapters are universal. Reading reviews and product specifications can help you make an informed decision, ensuring a seamless connection between your MacBook and projector. Having the right adapter is essential in making your presentations or movie views come to life without technical hitches.
How to Connect Macbook to Projector with HDMI: Connecting the MacBook
Step 1: Power Off Devices
Before you start connecting your devices, it’s important to power off both the MacBook and the projector. This precaution helps prevent any potential damage during the connection process and ensures that both devices properly recognize each other once they are turned back on.
Step 2: Connect the HDMI Cable and Adapter
Begin by taking one end of the HDMI cable and connecting it securely to the HDMI port on the projector. Ensure the connection is snug to avoid any loose connections during use. Next, connect the other end of the HDMI cable to the HDMI adapter that corresponds to your MacBook model; this could either be a traditional HDMI connector or a USB-C to HDMI adapter. If you have a USB-C adapter, insert it into the MacBook’s USB-C port firmly, ensuring it’s seated properly. If you’re using a Mini DisplayPort to HDMI adapter, insert it into the Mini DisplayPort before connecting the HDMI cable. Once the connections are properly secured, double-check them to ensure they won’t come loose while in use.
Step 3: Power On and Select Input Source
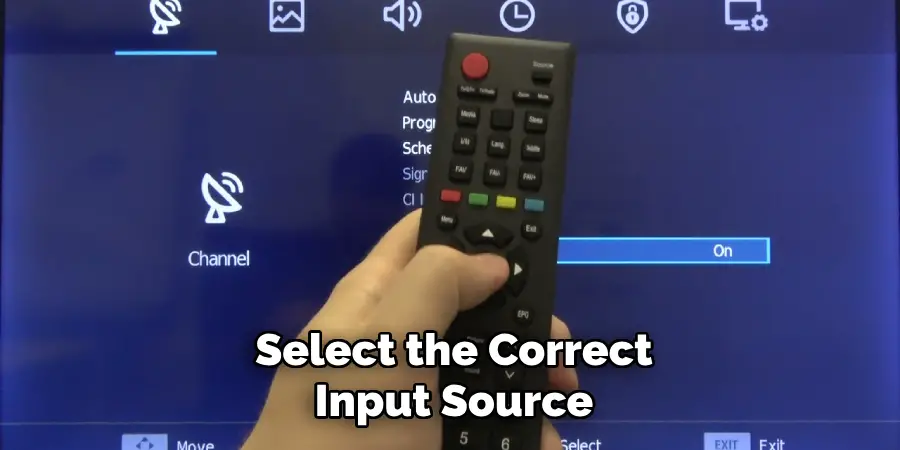
Now that everything is connected, power on the projector, followed by the MacBook. Once both devices are on, you will need to select the correct input source on the projector. This is typically done using the projector’s remote control or onboard buttons. Look for the input menu and choose the HDMI input you are connected to, which might be labeled as HDMI 1, HDMI 2, etc. This step is crucial as it directs the projector to display the correct signal from the MacBook. After selecting the input, the projector should display your MacBook’s screen.
Adjusting Display Settings on the MacBook
Step 1: Open Display Preferences
To adjust the display settings on your MacBook after connecting it to the projector, begin by accessing the “Displays” preferences. Click on the Apple menu located in the top-left corner of your screen, and from the drop-down menu, select “System Preferences.” Once in the System Preferences window, locate and click “Displays.” The MacBook should automatically detect the projector as an external display.
If you don’t see the settings immediately, try disconnecting and reconnecting the HDMI cable or restarting the MacBook. This step ensures that you’re working with the correct settings and that the MacBook and projector communicate effectively.
Step 2: Adjusting Resolution and Scaling
After accessing the Displays preferences, you will notice settings related to resolution. It’s crucial to select an appropriate resolution for the projector based on its specifications. Look for the “Resolution” section, where you will typically see options listed as “Default for display” or “Scaled.” If you choose “Scaled,” you will be presented with various resolutions tailored for optimal output on your projector. Depending on your projector’s capabilities, selecting the highest resolution available will give you the best image quality.
However, if the image appears stretched or blurry, you may need to experiment with different resolutions to find one that suits your needs. Previewing each resolution allows you to make an informed choice and ensures that the projected image is clear and correctly proportioned.
Step 3: Mirroring vs. Extending the Display
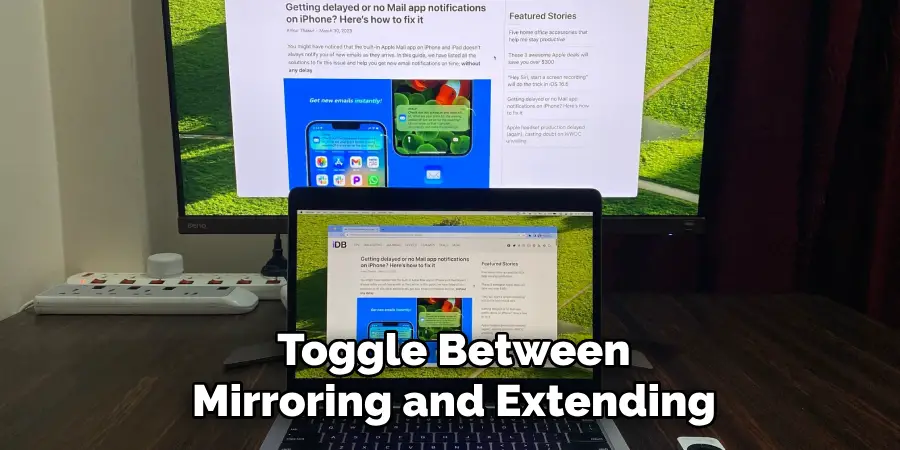
Another essential adjustment involves deciding between mirroring and extending your MacBook’s display. Mirroring displays the same content on both your MacBook screen and the projector, making it useful for presentations where you want your audience to see precisely what you see. To enable mirroring, simply check the “Mirror Displays” option found in the Display preferences. Conversely, extending your display allows you to use the projector as an additional screen, providing more workspace for multitasking.
This option is particularly helpful during projects that require multiple windows, such as taking notes while watching a video or presenting data alongside your visuals. To toggle between mirroring and extending, just uncheck or check the “Mirror Displays” option as needed. Knowing when to use each setting will greatly enhance your presentation or viewing experience, tailoring the setup to your specific preferences and requirements.
Optimizing the Display for Presentations or Movies
Adjusting Brightness and Color Settings
Adjusting brightness and color settings is essential to achieving the best image quality during presentations or movie viewing. Start by accessing the projector’s menu and navigating to the display settings; here, you can modify brightness according to the room’s lighting conditions. In darker rooms, a lower brightness setting may suffice, while brighter settings are ideal for well-lit environments. Next, calibrate the color settings by adjusting the contrast, saturation, and hue to ensure accurate and vibrant colors that enhance your visuals.
Configuring Sound Output
To configure the sound output, go to your MacBook’s “Sound” preferences. Click on the Apple menu, select “System Preferences,” and then choose “Sound.” In the “Output” tab, you will see a list of available devices. Select your projector or any external speakers connected to the projector to direct audio to the desired output. Ensure that the volume levels are adjusted appropriately to match your presentation or movie audio requirements for optimal sound quality.
Troubleshooting Common Issues
No Signal or No Display
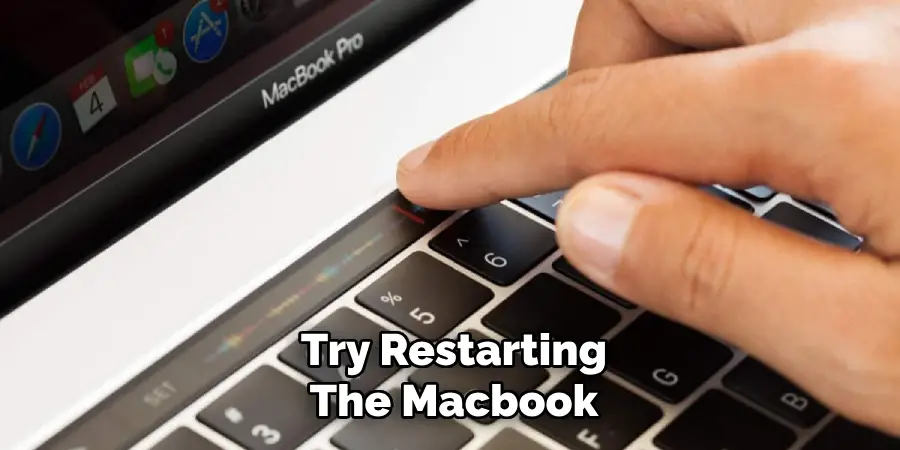
When encountering a “No Signal” message or if the projector fails to display your MacBook’s screen, the first step is to double-check all cable connections to ensure they are secure. It’s essential to confirm that the projector is set to the correct input source, as mentioned in Step 3. If everything appears in order but the display is still not visible, try restarting the MacBook while keeping the projector powered on. This can help reset the connection and prompt the MacBook to properly recognize the external display.
Resolution Issues
If the projected image looks blurry or doesn’t fit the screen correctly, it may be due to incompatible resolution settings. To resolve this, navigate back to the Displays preferences on your MacBook and adjust the resolution settings accordingly. Select a resolution that best matches the projector’s native resolution to avoid distortion. If you’re using an adapter, ensure that it supports the desired resolution; some older adapters may not handle higher resolutions, which can lead to display issues.
Sound Not Working
If you’re experiencing sound problems, first verify that the correct audio output is selected on your MacBook. Access the “Sound” preferences in System Preferences, and make sure your projector or external speakers are chosen as the output device. Additionally, check the volume levels on both your MacBook and the projector to ensure they are adequately raised. Furthermore, confirming that the HDMI cable being used supports audio transmission is crucial, as some lower-quality cables may not carry sound, leading to silent presentations.
Conclusion
In summary, learning how to connect macbook to projector with HDMI involves several key steps that can greatly enhance both professional presentations and entertainment viewing. First, gather the necessary equipment, including a compatible HDMI cable and projector. Next, the MacBook will be connected to the projector, and display preferences will be accessed to adjust resolution and scaling according to the projector’s specifications.
Remember to choose between mirroring or extending the display based on your needs. For a smooth experience, double-check all connections and settings prior to your presentation or movie session. It’s also been preparing all equipment in advance, which is also beneficial socially to prepare all equipment in advance to sidestep any last-minute issues. With these steps in mind, you’ll find that connecting your MacBook to a projector is a straightforward process, leading to a more enjoyable and effective sharing experience.

