Connecting to a Smartboard can greatly enhance your teaching or presentation experience by enabling interactive engagement and multimedia integration. Whether you’re in a classroom setting or a corporate environment, mastering the connection process allows you to project your ideas and resources more effectively.
In this guide, we will explore how to connect to a smartboard, troubleshooting tips for common issues, and best practices to make the most out of your Smartboard experience. Let’s get started on transforming your presentations into dynamic visual experiences!
Importance of Connecting a Smartboard Properly
Connecting a Smartboard properly is crucial for ensuring a seamless and effective presentation. A well-established connection helps prevent technical issues that can disrupt the flow of your lesson or meeting, allowing for uninterrupted engagement with your audience.
Additionally, proper connection maximizes the functionality of the Smartboard, enabling features such as touch interaction, screen sharing, and multimedia access, which enrich the learning experience.
Furthermore, understanding the connection process builds confidence in users, empowering them to utilize the Smartboard to its fullest potential and make a lasting impression on their audience.
Understanding the Smartboard Model
Before connecting to a Smartboard, it’s essential to understand the specific model you are working with, as features and connectivity options may vary. Smartboards come in a range of models, each equipped with unique capabilities such as interactive touch functionality, integrated software, and various input options.
Familiarizing yourself with your Smartboard model can help you identify the required cables, software pre-requisites, and compatibility with other devices. This knowledge not only aids in establishing a connection but also enhances your ability to utilize advanced features, such as lesson recording or collaborative tools, that may be specific to your model.

Reviewing the user manual or manufacturer’s website provides valuable insights and guides tailored to your Smartboard, ensuring you can leverage its full potential in your presentations.
10 Methods How to Connect to a Smartboard
1. Direct HDMI Connection
One of the simplest and most common ways to connect to a Smartboard is through a direct HDMI connection. HDMI cables transmit both video and audio signals, making them ideal for displaying presentations, videos, and other multimedia content. To connect, locate the HDMI port on your computer and the corresponding port on the Smartboard.
Insert one end of the HDMI cable into your computer and the other end into the Smartboard. Once connected, the Smartboard should automatically detect the signal and display your computer’s screen. This method is straightforward and provides a high-quality connection, but it requires you to be physically close to the Smartboard.
2. Using a VGA Cable with Audio Jack
For older computers or Smartboards that do not have HDMI ports, a VGA cable with a separate audio jack is an alternative method. VGA cables only transmit video signals, so you’ll need to connect a 3.5mm audio cable from your computer to the Smartboard if you need sound. Start by connecting the VGA cable to your computer’s VGA port and the other end to the VGA input on the Smartboard.
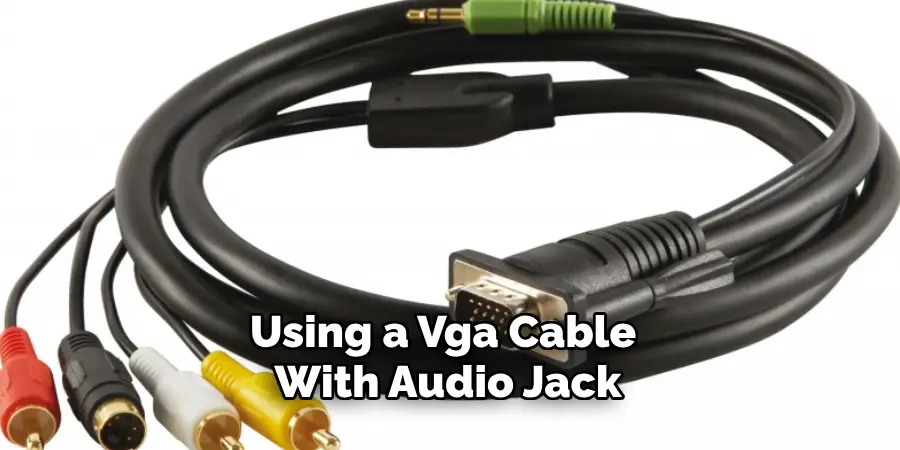
Then, connect the audio cable from your computer’s headphone jack to the audio input on the Smartboard. This method is slightly more cumbersome due to the two cables, but it is reliable and widely compatible with older equipment.
3. Wireless Connection via Miracast or AirPlay
Many modern Smartboards support wireless connections through technologies like Miracast (for Windows and Android devices) or AirPlay (for Apple devices). To connect wirelessly, ensure that both your device and the Smartboard are on the same Wi-Fi network. On a Windows device, press the Windows key + K to bring up the Connect menu, select the Smartboard from the list of available devices, and follow the prompts to establish a connection.
For Apple devices, use AirPlay by selecting the Smartboard from the list of available screens in the Screen Mirroring menu. Wireless connections allow for more flexibility in the room, as you’re not tethered by cables.
4. Using a USB Cable for Interactive Features
In addition to displaying content, Smartboards often have interactive features that require a USB connection. To use these features, connect your computer to the Smartboard using a USB cable in addition to an HDMI or VGA cable. The USB connection allows the Smartboard to function as a touchscreen input device for your computer, enabling you to control applications, draw, or annotate directly on the Smartboard.
Simply plug one end of the USB cable into your computer and the other end into the Smartboard. This method is essential for making the most out of the Smartboard’s interactive capabilities, particularly in educational or collaborative environments.
5. Connecting via Bluetooth
Some Smartboards have built-in Bluetooth capabilities, allowing you to connect devices wirelessly without needing Wi-Fi. To connect via Bluetooth, first, enable Bluetooth on your computer or mobile device. Then, access the Bluetooth settings and search for available devices. When the Smartboard appears on the list, select it to initiate pairing.
Once connected, you can stream audio and share content from your device to the Smartboard. This method is particularly useful for quick, short-range connections, such as sharing a document or playing audio from a smartphone or tablet.
6. Using a DisplayPort Connection
DisplayPort is another option for connecting to a Smartboard, offering high-definition video and audio transmission. It is similar to HDMI but often used in professional and high-end computing environments. To connect using DisplayPort, plug one end of a DisplayPort cable into your computer and the other end into the Smartboard’s DisplayPort input.
The connection should be automatically detected, and your computer’s display will be mirrored on the Smartboard. This method provides a robust and high-quality connection, making it ideal for presentations that require sharp visuals and clear audio.
7. Connecting Through a Docking Station
If your computer has multiple peripherals and needs to connect to a Smartboard, a docking station can simplify the process. Docking stations typically provide multiple ports, including HDMI, VGA, USB, and DisplayPort, allowing you to connect your computer to the Smartboard and other devices simultaneously.
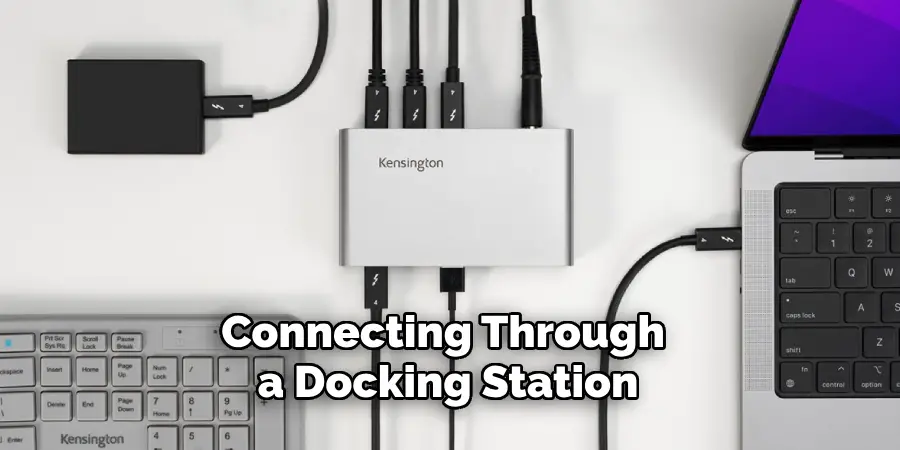
To connect through a docking station, connect your computer to the docking station using the appropriate cable (usually USB-C or Thunderbolt). Then, connect the Smartboard to the docking station using an HDMI or VGA cable. This method is convenient for users who frequently connect to multiple displays and peripherals, providing a streamlined setup process.
8. Using a Smartboard Software Application
Many Smartboards come with proprietary software that facilitates connection and interaction. Examples include SMART Notebook for SMART Boards or Promethean’s ActivInspire. To use these applications, install the software on your computer, and ensure that your device is connected to the Smartboard via USB, HDMI, or wirelessly.
The software often provides additional features, such as digital whiteboards, lesson planning tools, and interactive activities. This method is particularly beneficial in educational settings, where the software’s tools can enhance teaching and learning experiences.
9. Connecting via a Network Cable (Ethernet)
In some cases, you may need to connect to a Smartboard via a wired network connection. This method is common in corporate environments where network security and stability are prioritized. To connect via Ethernet, first, connect your computer to the local network using an Ethernet cable. Then, ensure that the Smartboard is also connected to the network via Ethernet.
Depending on the Smartboard model, you may need to configure the network settings through the Smartboard’s control panel or web interface. Once both devices are on the same network, use the Smartboard’s software or a compatible app to connect and share content. This method provides a stable and secure connection, ideal for environments where wireless connections are not reliable or permitted.
10. Using an HDMI Splitter for Multiple Displays
In scenarios where you need to connect multiple devices or displays to a Smartboard, an HDMI splitter can be a useful tool. HDMI splitters allow you to take a single HDMI output from your computer and split it into multiple outputs, enabling you to connect to both the Smartboard and other monitors or projectors simultaneously.
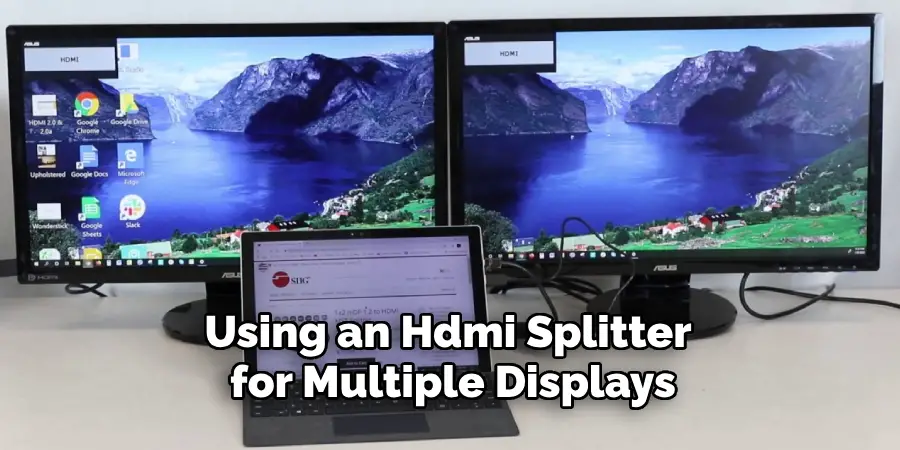
To set this up, connect the HDMI output from your computer to the input of the HDMI splitter. Then, connect one of the splitter’s outputs to the Smartboard and the other outputs to additional displays. This method is particularly useful in large classrooms or conference rooms where you need to display content on multiple screens.
Conclusion
Connecting to a Smartboard can be accomplished in a variety of ways, depending on the devices you are using, the features you need, and the environment in which you are working. Whether through direct HDMI connections, wireless technologies like Miracast and AirPlay, or more complex setups involving docking stations and network cables, each method offers unique benefits suited to different scenarios.
Hopefully, this article gave you some helpful tips about how to connect to a smartboard successfully, so now that you have the proper knowledge on how to get the job done, why not give it a try today?