
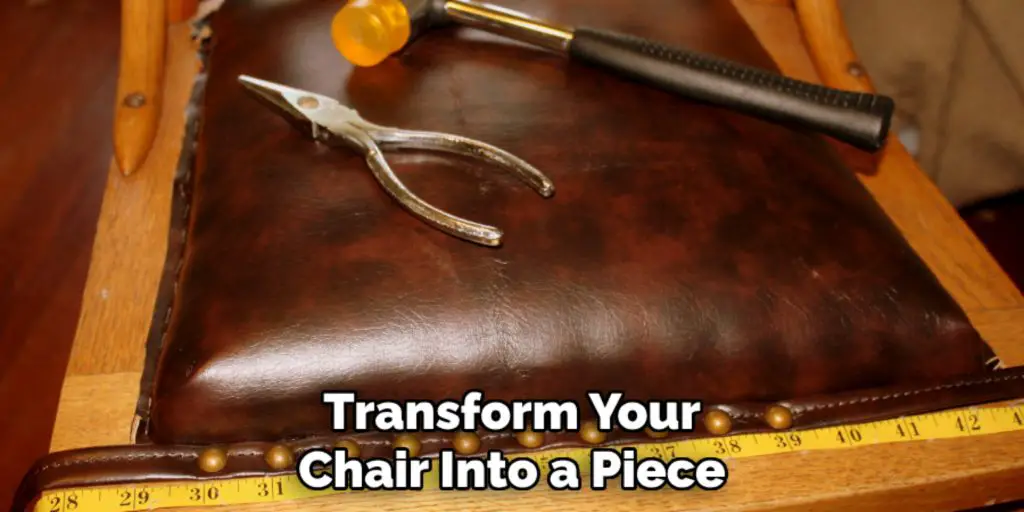
Reupholstering a chair seat is a simple and cost-effective way to refresh an old or damaged chair without the complexities of traditional caning.
Whether you want to update the fabric to match your décor or restore comfort to a worn-out seat, this process allows you to achieve a stylish and functional result. With a few tools and some basic materials, you can transform your chair into a piece that looks brand new, all without needing specialized skills or expertise.
In this blog post on how to cover a chair seat with out caning it, we will take you through a step-by-step process to help you achieve professional-looking results.
Benefits of Reupholstering a Chair Seat
Before we dive into the steps, let’s take a moment to understand why reupholstering your chair seat is a great option. Here are some benefits of choosing this method over traditional caning:
Cost-Effective:
Reupholstering is a budget-friendly option compared to hiring a professional or purchasing a new chair. You can save money while still achieving high-quality results.
Customizable:
With reupholstering, you have complete control over the design and fabric of your chair. You can choose from a wide range of options to match your personal style and preferences.
Durable:
Reupholstered chairs are durable and can last for many years with proper care. This makes it a cost-effective choice in the long run.
Now that we’ve covered why reupholstering is an excellent option let’s get started with the process.
Materials You Will Need
Chair With Removable Seat:
You will need a chair with a removable seat for this process. This could be an old or damaged chair, or you can purchase a new one and remove the seat.
Fabric:
Choose a fabric that is durable and suitable for upholstery. Make sure to measure the dimensions of your chair seat to ensure you have enough fabric before purchasing.
Foam Padding:
For comfort and support, you will need foam padding to cover the chair seat. Choose a density that suits your needs.
Batting:
Batting goes between the fabric and foam padding to provide extra cushioning and help create a smooth finish.
Staple Gun:
A staple gun is essential for securing the fabric and other materials for the chair.
Scissors:
You will need scissors to cut the fabric, foam padding, and batting to the required size.
Screwdriver:
If your chair has screws holding the seat in place, you will need a screwdriver to remove them.
8 Step-by-step Guidelines on How to Cover a Chair Seat With Out Caning It
Step 1: Remove the Chair Seat
Begin by flipping your chair upside down to access the underside of the seat. Locate and remove all screws or fasteners that are holding the seat in place. Use a screwdriver to carefully loosen and detach each screw.
Once all screws have been removed, gently lift the seat of the chair frame. Set the screws aside in a safe place so they can be reused later when reassembling the chair. This step will give you a separate seat base to work on for reupholstering.
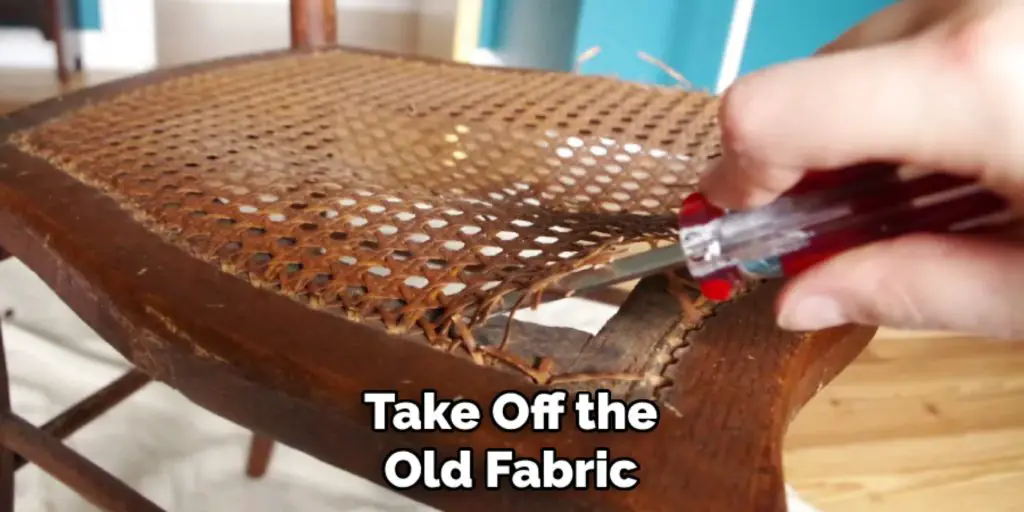
Step 2: Remove Old Fabric and Padding
With the seat removed, you can now remove the old fabric and padding. Use a staple remover or pliers to pull out any staples holding the fabric in place. Be careful not to damage the chair frame while removing the staples.
Once all staples have been removed, take off the old fabric and discard it. You should be left with a bare seat base with only foam padding attached. If there is any extra padding or batting, remove that as well.
Step 3: Cut Foam Padding and Batting
Using your removed seat base as a template, trace its shape onto the foam padding with a marker or pen. Be precise to ensure the foam fits the seat perfectly. Once traced, use a sharp pair of scissors or a utility knife to carefully cut out the foam along the traced lines.
Next, repeat the process with the batting, but this time, cut the batting slightly larger than the foam and seat base. The additional batting will allow it to wrap around the edges, creating a smoother and more cushioned finish when secured with the fabric later. Set both the foam padding and batting aside, and be ready to assemble in the following steps.
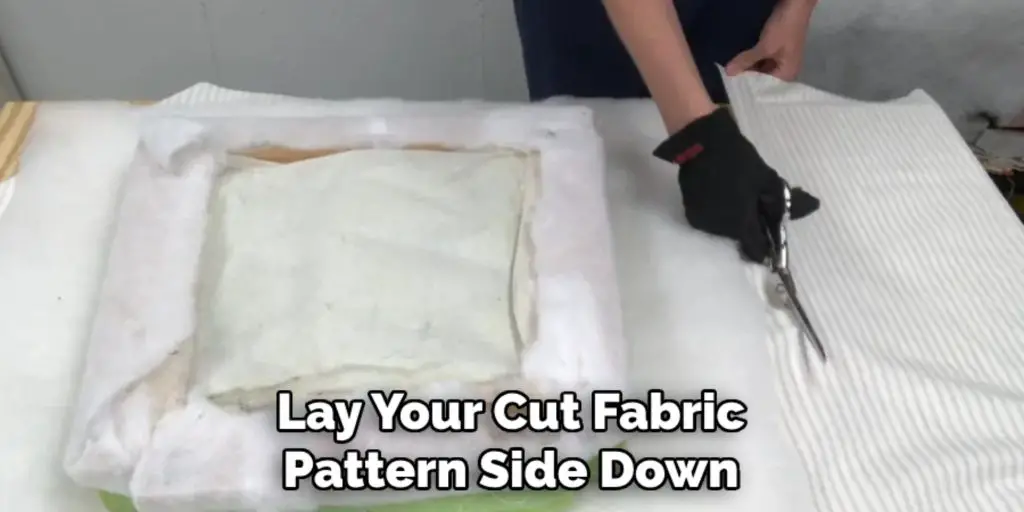
Step 4: Cut Fabric
Lay your chosen fabric on a flat surface, pattern side down. Place the seat base onto the fabric, ensuring it is centered and straight. Leave an allowance of at least 5 inches around the edges to ensure you have enough fabric to wrap around and secure later.
Use a pen or chalk to trace along the outer edges of the seat base onto the fabric. Once traced, cut out the shape with scissors, making sure to stay within the traced lines for accurate measurements.
Step 5: Secure Foam Padding and Batting
Begin by placing the foam padding on top of the seat base centering it carefully. Use a staple gun to secure the foam padding along the edges of the seat base, making sure to pull it tight for a smooth finish. Make sure there are no wrinkles or bumps in the foam as you staple.
Next, repeat this process with the batting, securing it on top of the foam padding with staples along the edges. Make sure to cover any exposed foam and create a padded surface for your fabric to rest on.
Step 6: Attach Fabric
Lay your cut fabric pattern side down on a flat surface. Place your seat assembly onto the fabric, making sure it is centered and straight. Begin by folding one edge of the fabric over and stapling it onto one side of the seat base.
Working from that side, continue to pull the fabric tightly over the seat base and staple it along each edge. Make sure to leave enough slack in the corners so you can create neat folds when securing them.
Continue stapling until all edges of the fabric are secured onto the seat base. Trim off any excess fabric if necessary, leaving a clean and smooth finish around the edges.
Step 7: Fold and Secure Corners
To create neat and tidy corners, begin by pulling one corner of the fabric towards the center of the seat base. Hold it in place with one hand while using your other hand to fold another edge over on top.
Keep folding over until you have neatly tucked all excess fabric into a triangular shape. Staple the folded fabric firmly to secure it in place.
Repeat this process for all four corners until they are all neatly folded and stapled into place. This step will give your seat a professional and polished appearance.
Step 8: Reattach the Seat to the Chair
The final step is to reattach the newly upholstered seat back onto your chair frame. Line up the screw holes on the base of the seat with those on the chair frame, then use a screwdriver to carefully reinsert each screw.
Following these steps on how to cover a chair seat with out caning it, you can easily cover a chair seat without caning and give your old chair a new and refreshed look. Get creative with different fabrics and patterns to add a personal touch to any room in your home. Remember to take your time and be patient for the best results.
Additional Tips
- Make sure your work area is clean and well-lit to avoid any accidents or mistakes.
- Use a sturdy and high-quality fabric that can withstand daily wear and tear.
- If you are unsure about cutting the foam padding and batting, take your seat base to a local hardware store or upholstery shop for assistance.
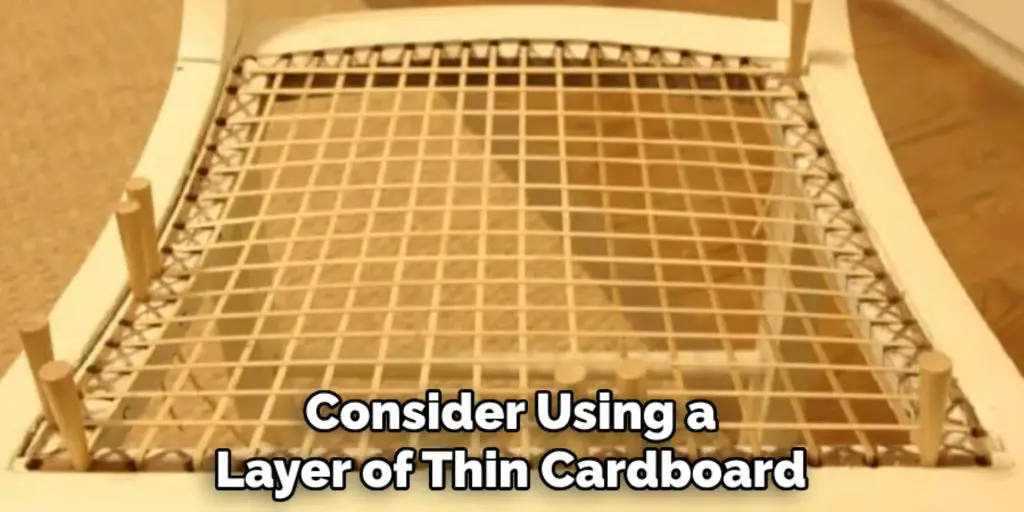
- To add extra durability, consider using a layer of thin cardboard on top of the foam padding before adding the batting and fabric. This will also help prevent any sharp edges from poking through over time.
- Don’t be afraid to mix and match fabrics for a unique look. You can use different patterns or colors for the top and bottom parts of the seat or even incorporate multiple fabrics within one piece.
- Experiment with different types of fabric, such as velvet or faux leather, for a more luxurious finish.
- If you have an antique chair or a sentimental piece, consider keeping the original fabric and padding intact and simply adding a new layer over it. This will preserve the history and character of the piece while giving it a fresh update.
Remember to always take your time and be patient throughout the process. Upholstering may seem intimidating at first, but with practice and attention to detail, you can easily transform any old chair into a beautiful statement piece in your home.
Conclusion
Upholstering a chair seat without caning is a straightforward and rewarding DIY project that can completely transform the look and feel of your furniture.
By following the outlined steps on how to cover a chair seat with out caning it, you can refresh old chairs with your choice of fabrics, adding charm and personality to any space in your home.
Whether you’re restoring a family heirloom or simply updating a thrift find, the process allows for creativity and customization. With patience, the right materials, and attention to detail, you can achieve a professional finish that breathes new life into your furniture.