
When installing kitchen or bathroom cabinets, it’s common to encounter spaces between the cabinet and wall. These gaps not only affect the aesthetic appeal but can also collect dust and debris over time. Addressing this issue ensures a seamless look and prevents potential damage due to moisture or pests finding their way into the crevice.
Fortunately, there are several methods available to fill these gaps effectively, regardless of the size or shape of the space. This guide on how to fill gap between cabinet and wall will walk you through practical solutions and easy-to-follow steps to achieve a clean, professional finish.
Why Do Gaps Between Cabinets and Walls Occur?
Before diving into the solutions, it’s essential to understand why these gaps occur in the first place. The most common reasons for spaces between cabinets and walls are:
Uneven Walls
If your walls are not perfectly straight or level, there may be small gaps between the cabinet and the wall. This is especially true for older homes or DIY projects.
Cabinet Installation Errors
Improper cabinet installation can also result in gaps between the cabinet and the wall. If the cabinets are not securely attached to the wall, they may shift or pull away over time, creating a gap.
Room Settling
Over time, buildings tend to settle due to factors like moisture and changes in temperature. This can cause walls to shift slightly, resulting in gaps between cabinets and walls.
6 Simple Methods on How to Fill Gap Between Cabinet and Wall
Method 1: Caulking
Caulking is one of the simplest and most effective methods to fill small to medium-sized gaps between cabinets and walls. This method is suitable for gaps that are less than half an inch wide. Here’s how to do it:
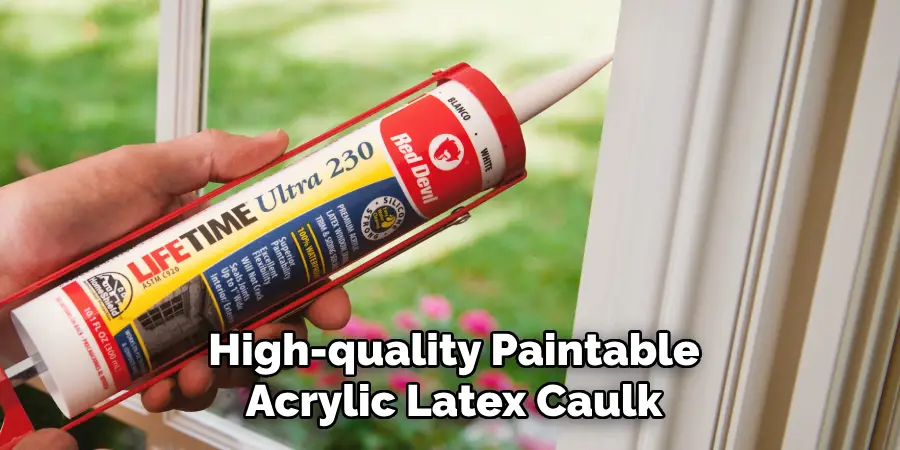
Choose the Right Caulk
Select a high-quality paintable acrylic latex caulk or silicone caulk, depending on the gap’s location and whether it will be exposed to moisture. Silicone caulk is ideal for areas prone to water contact, like kitchens and bathrooms.
Prepare the Area
Clean the gap and surrounding surfaces thoroughly to remove any dust, grease, or debris. Use a vacuum or a damp cloth to ensure the surfaces are clean and dry.
Cut the Caulk Tube’s Tip
Cut the caulk tube’s tip at a 45-degree angle to create an opening that is slightly smaller than the gap. This will allow you to control the flow of caulk and apply it more precisely.
Apply the Caulk
Place the caulk tube’s tip at one end of the gap and squeeze gently to fill the space. Use a caulk smoothing tool or your finger to smooth out the caulk, ensuring it fills the entire gap evenly.
Clean Up Excess Caulk
Wipe off any excess caulk with a damp cloth before it dries. Allow the caulk to dry according to the manufacturer’s instructions before painting over it.
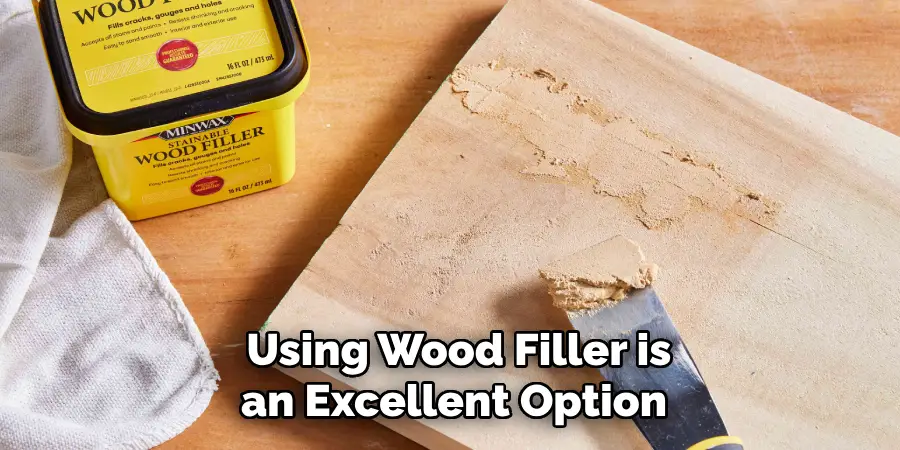
Method 2: Wood Filler
If you have wooden cabinets, using wood filler is an excellent option for filling gaps between them and the wall. This method is ideal for larger gaps that are up to an inch wide. Follow these steps:
Choose the Right Wood Filler
Select a wood filler that closely matches the color of your cabinets. You can also buy unfinished wood filler and mix it with a stain or paint to achieve the desired color.
Prepare the Area
Clean the gap and surrounding surfaces thoroughly, just like in Method 1.
Fill the Gap with Wood Filler
Using a putty knife, fill the gap with wood filler, making sure it is level with the cabinet surface. Smooth out any excess filler using a damp cloth or putty knife.
Allow Filler to Dry and Sand
Follow the manufacturer’s instructions for drying time, usually between 2-4 hours. Once dry, use sandpaper to smooth out any rough edges or excess filler until it is flush with the cabinet.
Paint or Stain Filler
If necessary, paint or stain the wood filler to match the color of your cabinets using a small brush.
Method 3: Trim
If you have larger gaps between your cabinets and walls, adding trim can be an effective solution. This method not only fills the gap but also adds a decorative element to your cabinets. Here’s how to do it:
Choose Appropriate Trim
Select a trim that complements your cabinets’ style and matches their color. You can choose from a variety of options, such as quarter-round or shoe molding.
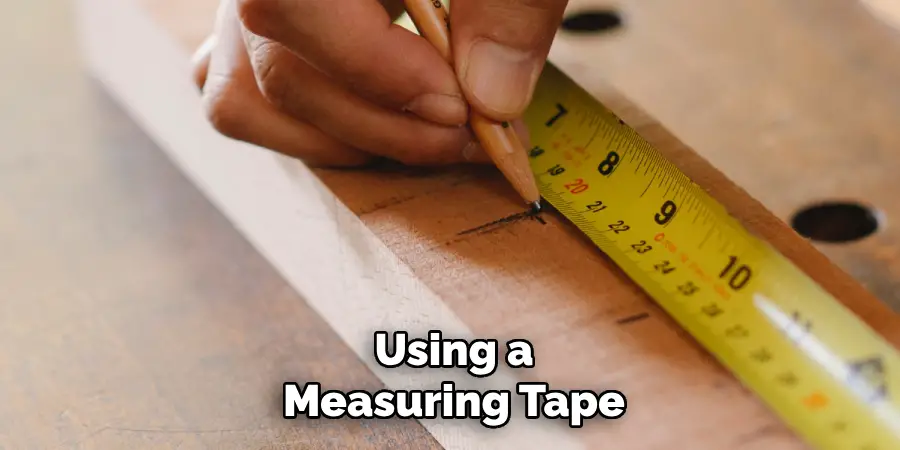
Measure and Cut Trim
Using a measuring tape, measure the length of the gap and cut the trim to fit.
Sand Trim
Smooth out any rough edges or splinters on the trimmed edges using sandpaper.
Attach Trim to Cabinets and Wall
Using adhesive caulk or nails, attach the trim to both the cabinet and wall, ensuring it is flush with both surfaces.
Paint or Stain Trim
If necessary, paint or stain the trim to match your cabinets’ color using a small brush.
Method 4: Foam Rope
Foam rope is an affordable and straightforward solution for filling gaps between cabinets and walls, especially in older homes with uneven walls. Follow these steps:
Choose the Right Foam Rope
Select a foam rope that is slightly larger than the gap you need to fill.
Prepare the Area
Clean the gap and surrounding surfaces thoroughly, just like in Method 1.
Apply Adhesive Caulk to Gap
Using a caulk gun, apply a line of adhesive caulk along the inside edge of the cabinet where it meets the wall.
Place Foam Rope in Gap
Press one end of the foam rope into the adhesive caulk and gently push it into the gap until it is flush with the cabinet surface.
Smooth Out Foam Rope
Using a caulk smoothing tool or your finger, smooth out any excess adhesive caulk and ensure the foam rope fills the entire gap evenly.
Method 5: Kitchen Cabinet Molding
If you have gaps between your cabinets and walls in the kitchen, adding molding can be an effective solution. This method not only fills the gap but also adds a decorative element to your kitchen. Here’s how to do it:
Choose Appropriate Molding
Select a molding that complements your kitchen’s style and matches your cabinets’ color. You can choose from various options such as crown molding or baseboard molding.
Measure and Cut Molding
Using a measuring tape, measure the length of the gap and cut the molding to fit.
Sand Molding
Sand any rough edges or splinters on the trimmed edges using sandpaper.
Attach Molding to Cabinets and Walls
Using adhesive caulk or nails, attach the molding to both the cabinet and wall, ensuring it is flush with both surfaces.
Method 6: Foam Tape
Foam tape is another affordable option for filling gaps between cabinets and walls. It is easy to install and can be used for small to medium-sized gaps. Follow these steps:
Choose Appropriate Foam Tape
Select foam tape that is slightly wider than the gap you need to fill.
Clean and Dry Gap
Clean the gap and surrounding surfaces thoroughly, just like in Method 1, and ensure they are dry before proceeding.
Measure and Cut Foam Tape
Using a pair of scissors, cut the foam tape to fit the length of the gap.
Peel Off Adhesive Backing
Carefully peel off one side of the adhesive backing from the foam tape.
Place Foam Tape in the Gap
Press one end of the foam tape into place at one end of the gap and gently push it into place until it reaches the other end. Ensure it is flush with both cabinet surfaces.
Customize the Tape
If necessary, you can paint or stain the foam tape to match your cabinets’ color using a small brush. You can also use caulk to smooth out any gaps between the tape and cabinet surface for a more seamless look.
Following these methods on how to fill gap between cabinet and wall will help you effectively fill gaps between cabinets and walls, giving your kitchen a more polished and finished look. These solutions are simple, affordable, and can be done without professional assistance. Choose the method that works best for your cabinets’ style and the size of the gap to achieve a seamless and aesthetically pleasing result.
Frequently Asked Questions
Q: Can I Use Wood Filler to Fill Gaps Between Cabinets and Walls?
A: Yes, wood filler can be a great solution for filling small to medium-sized gaps between cabinets and walls. It is easy to use, dries quickly, and can be painted or stained to match your cabinets’ color.
Q: How Do I Choose the Right Size Foam Rope or Foam Tape?
A: When selecting foam rope or tape, make sure it is slightly larger than the gap you need to fill. It should fit snugly into the gap without being too difficult to push in.
Q: Can I Use Caulk Instead of Adhesive Caulk for Methods 3 and 4?
A: Yes, caulk can be used instead of adhesive caulk to attach trim or foam rope to cabinets and walls. However, adhesive caulk tends to provide a stronger hold and may be more suitable for heavier trim or larger gaps.
Conclusion
Filling gaps between cabinets and walls is an essential step in keeping your kitchen or bathroom looking its best. Whether you choose to use caulk, wood filler, trim, foam rope, kitchen cabinet molding, or foam tape, each method is effective in filling and covering unsightly gaps. Follow these methods on how to fill gap between cabinet and wall to give your cabinets a cleaner and more polished appearance while also preventing dust and debris from getting trapped in those hard-to