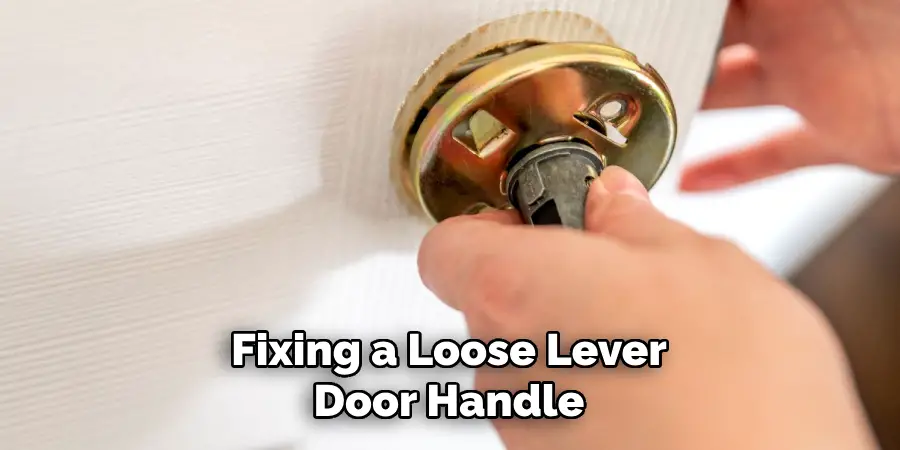
Are you tired of a loose lever door handle? Fixing it is easier than you think!
A loose lever door handle can be a minor annoyance that leads to a larger inconvenience over time. Not only can it make opening and closing the door difficult, but it can also pose a security risk if not addressed promptly.
Fortunately, fixing a loose lever door handle is often a simple DIY task that requires minimal tools and no special skills. Whether the looseness is due to wear and tear or improper installation, this guide will walk you through the steps on how to fix a loose lever door handle.
From identifying the cause to tightening the necessary components, we’ll ensure your door handle is as good as new.
What are the Use Cases for a Loose Lever Door Handle?
Before starting the fix, it’s important to understand why your door handle is loose. This will help you determine the best course of action and prevent the issue from happening again.
Here are some common use cases for a loose lever door handle:
- Wear and Tear: Over time, constant use can cause the components of a door handle to loosen, especially if it’s made of low-quality materials or is frequently used.
- Improper Installation: If the door handle was not installed correctly, it can lead to loosening and other issues.
- User Error: Sometimes, users may accidentally pull or push on the lever too hard, causing it to loosen from its base.
- Humidity and Temperature Changes: In areas with high humidity or extreme temperature fluctuations, the expansion and contraction of materials can cause a door handle to become loose.
Once you determine the cause of your loose lever door handle, you can move on to fixing it.
How to Identify the Cause of a Loose Lever Door Handle?
To successfully fix a loose lever door handle, you need to first identify the root cause. Here are some steps you can follow to determine what’s causing your door handle to be loose:

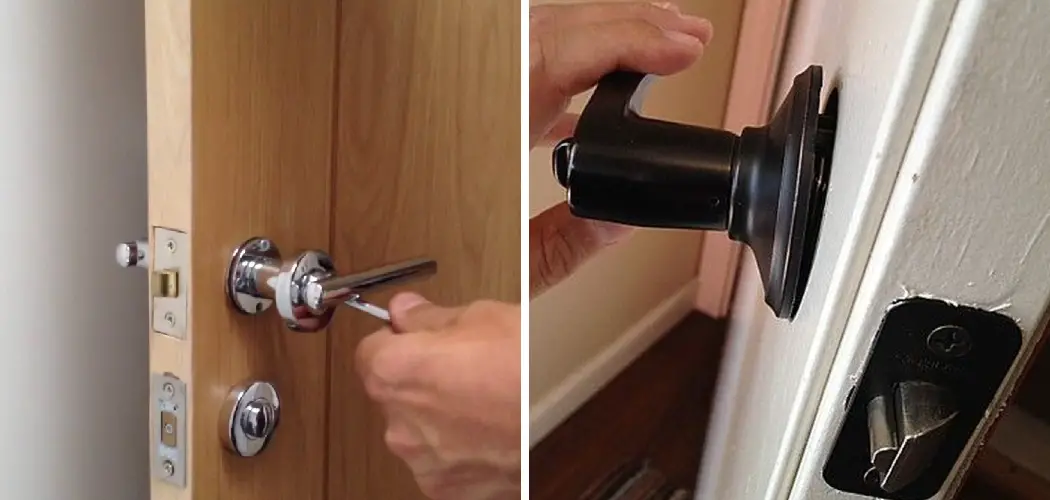
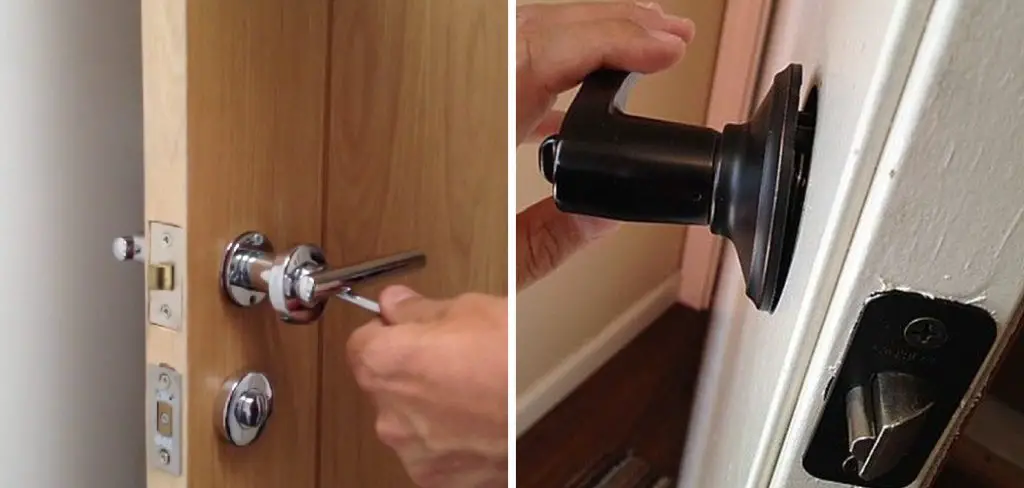
- Inspect the Handle: Start by examining the door handle and its components. Look for any visible signs of wear and tear, such as rust or corrosion, or if any screws are loose.
- Check the screws: If your door handle has visible screws, check to see if they are loose or stripped. If they are, this is likely the cause of your loose handle.
- Test the handle: Wiggle the handle back and forth to see if it moves more than normal. If it does, it could be a sign that the internal components are worn down or need to be tightened.
- Examine the Door Frame: In some cases, the issue may not be with the door handle itself but with the door frame. Check to see if there are any cracks or damage around the area where the handle is installed.
Once you have identified the cause, you can move on to fixing your loose lever door handle.
What Will You Need?
To fix a loose lever door handle, you will need the following:
- A screwdriver (either flat-head or Phillips, depending on your door handle)
- Replacement screws (if necessary)
- An Allen wrench (if your door handle has set screws)
Once you have these tools on hand, you’re ready to start the repair process.
8 Easy Steps on How to Fix a Loose Lever Door Handle
Step 1. Tighten the Screws:
The first step in fixing a loose lever door handle is to check any visible screws and tighten them. Over time, the screws that secure the door handle to the door can become loose. Here’s how to do it:
- Locate the screws on the door handle. These are usually found on the base plate (roses) of the handle or on the side of the door. In some models, there might be a cover plate that needs to be removed to access the screws.
- Use a screwdriver that matches the screws on your door handle. If the screws are Phillips heads, use a Phillips screwdriver. For flat-head screws, use a flat-head screwdriver.
- Tighten each screw by turning the screwdriver clockwise. Be careful not to over-tighten, as this could strip the screws or damage the door.
- If any screws are damaged or stripped, replace them with new ones. Make sure the replacement screws are the same size as the original ones to prevent further issues.
After tightening the screws, test the door handle to see if it still feels loose. If it does, you might need to explore further to identify other underlying issues, such as problems with the internal mechanisms or alignment issues with the door itself.
Step 2. Check and Adjust the Set Screw:
If tightening the external screws didn’t fully resolve the issue, the next step is to check the set screw. Many lever door handles are equipped with a set screw that holds the handle in place on the spindle. If this screw becomes loose, the handle may wobble or seem unsecured.
- Locate the set screw on the handle. It’s often found on the side of the handle, near the base where it connects to the door. You might need an Allen wrench to adjust it.
- Insert the appropriate size Allen wrench into the set screw. Gently turn the Allen wrench clockwise to tighten the screw. Again, be careful not to over-tighten to avoid stripping the screw.
- Test the handle’s stability by moving it back and forth and up and down. If it feels securely attached without any wobble, you’ve likely solved the problem.
Completing this step ensures that the lever is firmly fixed to the spindle, preventing it from becoming loose over time due to typical use.
Step 3. Lubricate the Lock Mechanism:
Even after tightening the screws and the set screw, if your door handle feels stiff or still shows minor wobbling, lubricating the lock mechanism might be necessary. Over time, dust, debris, and corrosion can build up within the lock mechanism, causing resistance and looseness in the door handle’s performance. Here’s how to lubricate the mechanism effectively:
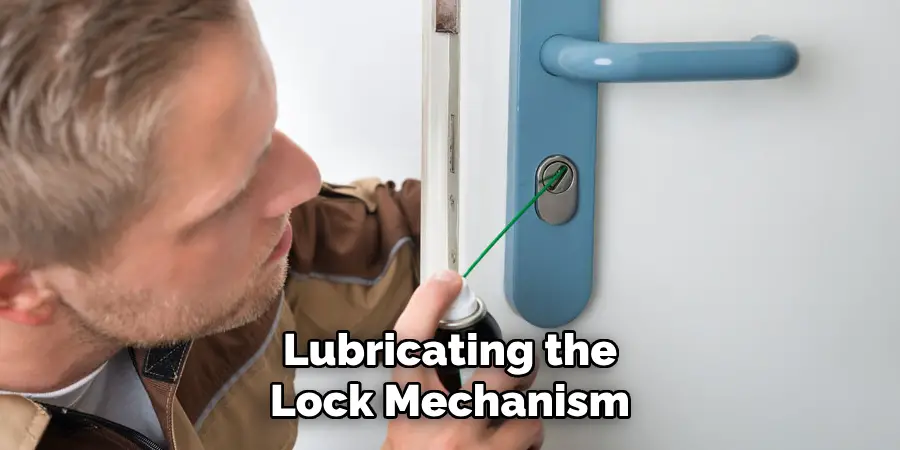
- Select an Appropriate Lubricant, ideally one that is specifically designed for locks, such as graphite powder or a silicone-based lubricant. Avoid using oil-based products as they can attract more dirt over time.
- Apply the Lubricant directly into the keyhole and along any accessible parts of the internal mechanism. If your door handle has a visible latch mechanism, you can also apply a small amount of lubricant there.
- Work the lubricant in by inserting the key into the lock and turning it several times. If it’s a latch mechanism, gently move the handle back and forth to distribute the lubricant evenly.
- Wipe away any excess lubricant from the keyhole and door handle to prevent drips or stains on the door or floor.
Lubricating the lock mechanism can not only solve the immediate issue of a loose door handle but also extend the life of your door’s hardware by ensuring smooth operation and preventing corrosion or wear.
Step 4. Realign the Door Handle and Spindle:
After addressing the screws and lubricating the mechanism, it’s crucial to ensure that the door handle and spindle are correctly aligned. Misalignment can lead to looseness and improper functioning of the door handle. Here’s what you need to do:
- Remove the Door Handle from the spindle by loosening the set screw and gently pulling the handle away from the door.
- Inspect the Spindle for any signs of wear or damage. If the spindle is bent or worn out, it may need to be replaced.
- Check the Alignment of the spindle and the hole in the door where it inserts. Sometimes, minor adjustments to the position of the spindle or handle can significantly improve operation.
- Reattach the Door Handle to the spindle, making sure it’s pushed all the way in before tightening the set screw. Ensure that the handle is straight and aligned with the door frame for optimal performance.
- Test the Door Handle’s Operation by turning it and ensuring that the latch engages and disengages smoothly without any wobble in the handle.
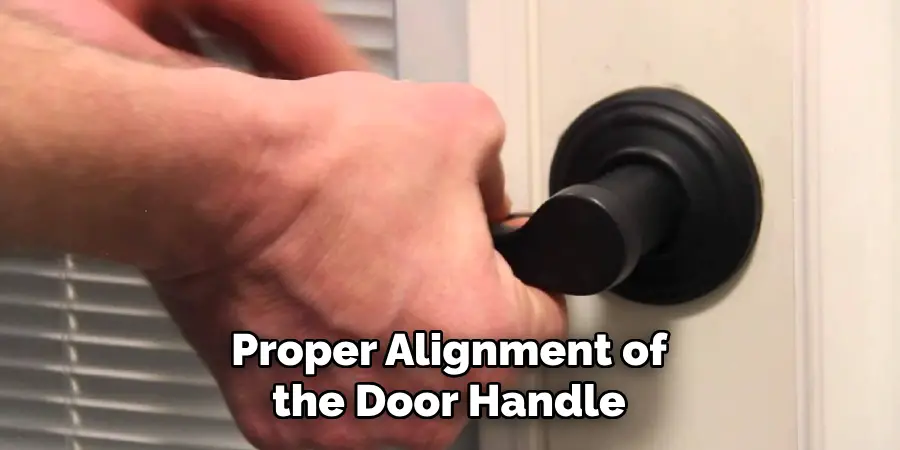
Proper alignment of the door handle and spindle is essential for the seamless operation of your door. This step helps ensure that the handle functions smoothly and remains secure over time.
Step 5. Replace Worn Components:
If, after following the previous steps, the door handle still exhibits looseness or improper functioning, it is time to inspect and replace worn components. Over years of use, parts of the door mechanism, including the spindle, handle, and even the lock mechanism itself, can wear down. This wear and tear can lead to a reduction in the performance and stability of the door handle.
Start by examining the handle, spindle, and locking mechanism for any visible signs of damage or excessive wear. Focus on signs of rust, metal fatigue, or deformation. Replacement parts should be compatible with your door and handle type to ensure a secure fit and proper operation. After replacing any worn components, reassemble the door handle mechanism carefully, ensuring everything is aligned and securely fastened.
Step 6. Perform Regular Maintenance Checks:
Regular maintenance checks are essential to ensure the longevity and optimal performance of your door handles. Conducting periodic inspections helps identify potential issues before they escalate into serious problems, saving you time and money on repairs.
During these checks, pay close attention to the tightness of all screws, the condition of the set screw, and the level of lubrication within the lock mechanism. It’s also an excellent opportunity to clean any debris or dirt that may have accumulated inside the lock, around the handle mechanism, and within the spindle area.
If you notice any signs of wear or damage, such as rust, bending, or wear in the spindle or handle, consider addressing these immediately to prevent further deterioration. By incorporating these maintenance checks into your routine, you can significantly extend the life of your door hardware and ensure its reliable function.
Step 7. Final Inspection and Testing:
Once you have completed all the previous steps, including tightening screws, lubricating the mechanism, realigning the door handle, replacing any worn components, and performing regular maintenance checks, it’s important to conduct a final inspection and testing of the door handle.
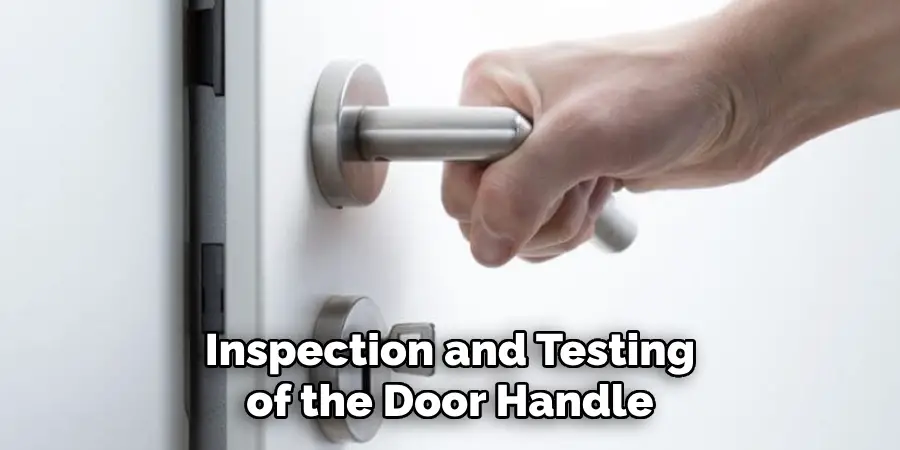
This final step ensures that all efforts have effectively resolved the issue and that the door handle operates smoothly and securely. Perform a visual inspection of the handle, screws, and spindle to ensure everything is aligned and properly tightened.
Then, test the door handle’s operation by turning it, engaging the latch, and opening and closing the door multiple times. If you notice any remaining issues or concerns, repeat some of the previous steps or consult a professional for further assistance.
Step 8. Consult a Professional if Needed:
If, after completing all the previous steps, the door handle still does not function correctly, or if you encounter any complex issues along the way, it may be time to consult a professional locksmith or handyman. Professional expertise can be invaluable in diagnosing and fixing problems that are not easily solved with standard home repair techniques.
Calling in a professional can also prevent damage to your door or handle caused by incorrect repair attempts. When selecting a professional, look for someone with good reviews and recommendations, ensuring they have the experience and skill to address your specific door hardware issues efficiently. Remember, investing in professional help when needed can save you time and ensure the security and functionality of your door in the long run.
By following these steps, you can effectively address a loose door handle and ensure the reliable operation of your door for years to come.
5 Additional Tips and Tricks
- Check the Spindle: The spindle is the bar that connects both sides of the handle through the door. Ensure that it’s not broken or damaged. If it is, you’ll need to replace it with a new one.
- Use Adhesive Tape: If tightening the screws doesn’t work, try using adhesive tape to create a tighter fit between the handle and the spindle. Start by wrapping the tape around the end of the spindle, then place it back into the handle and screw it in.
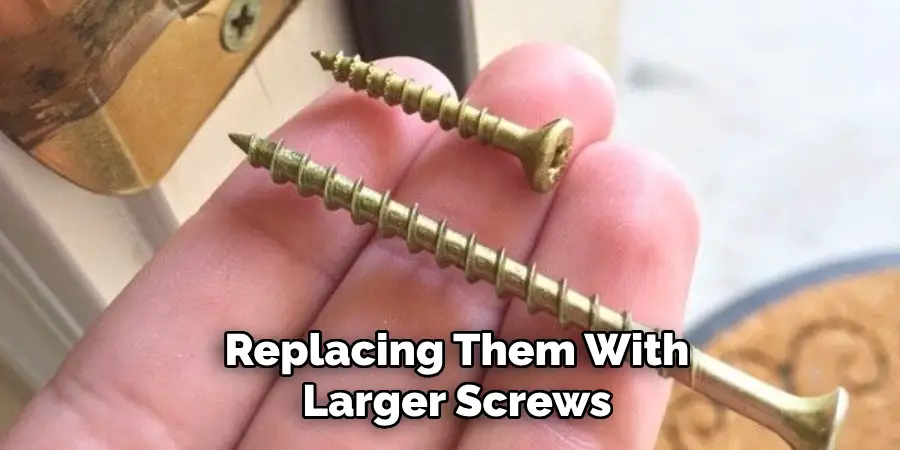
- Try a Larger Screw: Sometimes, small screws can become loose over time due to regular use. In this case, try replacing them with larger screws to provide a stronger hold.
- Clean and Lubricate: Dirt and debris can build up in the mechanism of a loose lever door handle, preventing it from functioning properly. Clean out any dirt or grime with a dry cloth, then apply a small amount of lubricant to the moving parts.
- Consider Replacing the Handle: If all else fails, it may be time to replace the entire handle. Look for a new one that is of better quality and fits properly onto the door. This will save you from having to constantly fix a loose lever door handle in the future.
These additional tips and tricks can come in handy when dealing with a loose lever door handle.
5 Things You Should Avoid When Fixing a Loose Lever Door Handle
- Do Not Over-Tighten Screws: Avoid the temptation to over-tighten the screws when attempting to fix the handle. Over-tightening can strip the threads or damage the door’s material, making the problem worse.
- Avoid Using the Wrong Tools: Using improper tools can damage both the screws and the handle. Always use the correct size screwdriver or wrench to prevent rounding off the screw heads or causing unnecessary wear.
- Do Not Ignore Manufacturer’s Instructions: If you’re installing a new handle or fixing an existing one, disregarding the manufacturer’s guidelines can lead to improper installation, which might void any warranties or fail to resolve the issue.
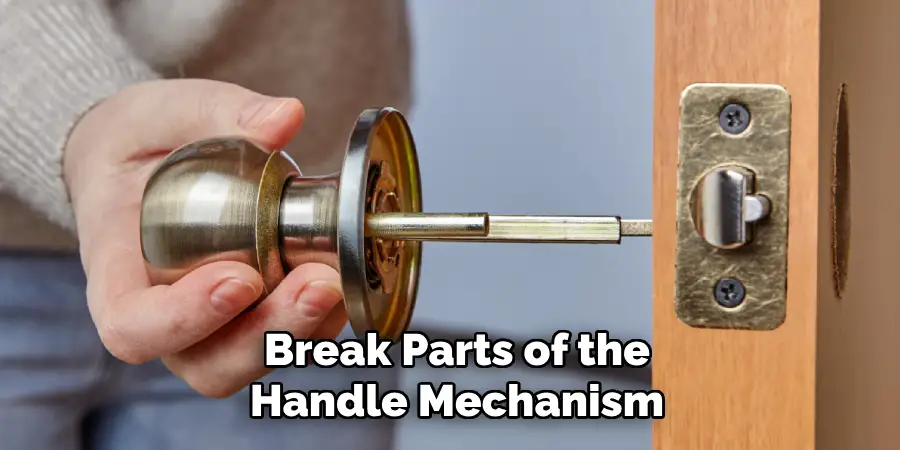
- Avoid Forcing Parts Together: If parts don’t seem to fit together easily, don’t force them. Forcing can bend or break parts of the handle mechanism, leading to more significant issues than a loose handle.
- Do Not Use Oil-Based Lubricants on Plastic Parts: While lubrication is essential for smooth operation, using oil-based products on plastic components can cause them to degrade over time. Opt for silicone-based lubricants instead to ensure longevity and proper function.
By avoiding these common mistakes, you can effectively fix a loose lever door handle without causing further damage.
Conclusion
How to fix a loose lever door handle can often be accomplished with simple tools and a bit of know-how.
By following the tips and tricks provided, such as checking the spindle, using adhesive tape for a tighter fit, opting for larger screws when necessary, maintaining the cleanliness and lubrication of moving parts, and considering a replacement when needed, you can ensure the longevity and functionality of your door handles.
It’s equally important to avoid common pitfalls like over-tightening screws, using the wrong tools, ignoring the manufacturer’s instructions, forcing parts together, and using inappropriate lubricants on plastic parts.
With patience and attention to detail, most issues with loose lever door handles can be resolved effectively, restoring security and ease of use to your doors. Remember, proper maintenance and timely repairs can save you from costlier replacements down the line.