
Are you experiencing a loose USB port on your computer or laptop? This can be frustrating, mainly if you frequently use USB devices. Luckily, there are some simple steps you can take to fix this problem and prevent it from happening again.
A loose USB port can be frustrating, hindering your ability to connect devices and recharge your electronics effectively. Over time, regular usage can cause wear and tear on the port itself, leading to connectivity problems.
This guide will provide step-by-step instructions on how to fix a loose USB port, whether it’s on a laptop, desktop, or other electronic devices. By following these methods, you can restore functionality to your USB connections and extend the life of your devices.
What Will You Need?
Before you begin, make sure to gather the necessary tools and materials. Depending on the severity of the issue, you may not need all of these items, but it’s better to have them on hand just in case:
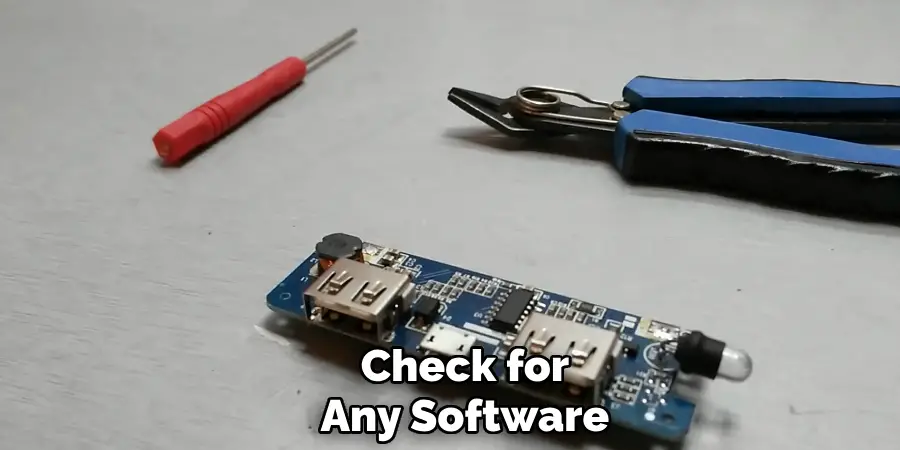
- A small Phillips head screwdriver
- Tweezers or small needle-nose pliers
- Electrical tape or hot glue gun (optional)
Once these tools are ready, you can fix your loose USB port.
10 Easy Steps on How to Fix a Loose USB Port
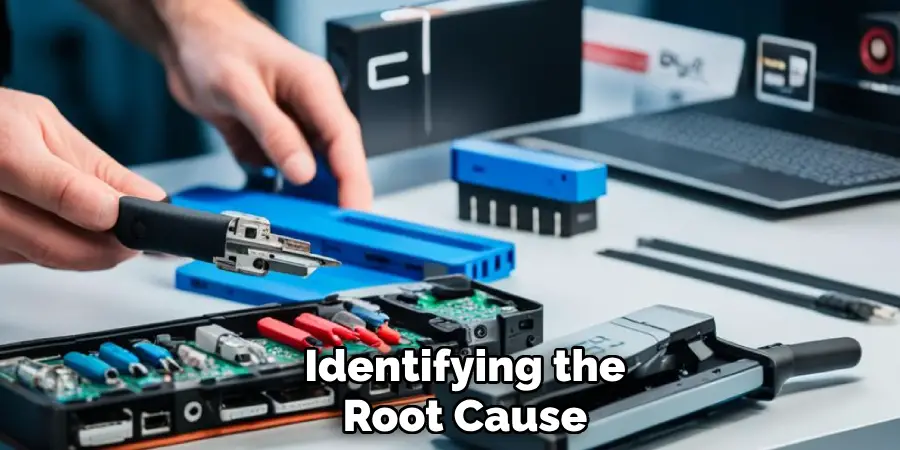
Step 1: Determine the Cause
Identifying the root cause of the loose USB port is essential before attempting any repairs. Common issues might include physical damage to the port, dirt or debris accumulation inside the port, or a malfunctioning USB connector itself. To assess the situation, carefully inspect the USB port for any visible signs of wear, such as bent pins or cracks in the housing.
If the port appears clear, try connecting different USB devices to see if the problem persists across all connectors or is limited to one particular device. The USB cables should also be examined for any signs of damage, as a frayed or broken cable can lead to connectivity issues. By understanding the specific cause of the problem, you can choose the most appropriate method to fix the loose USB port effectively.
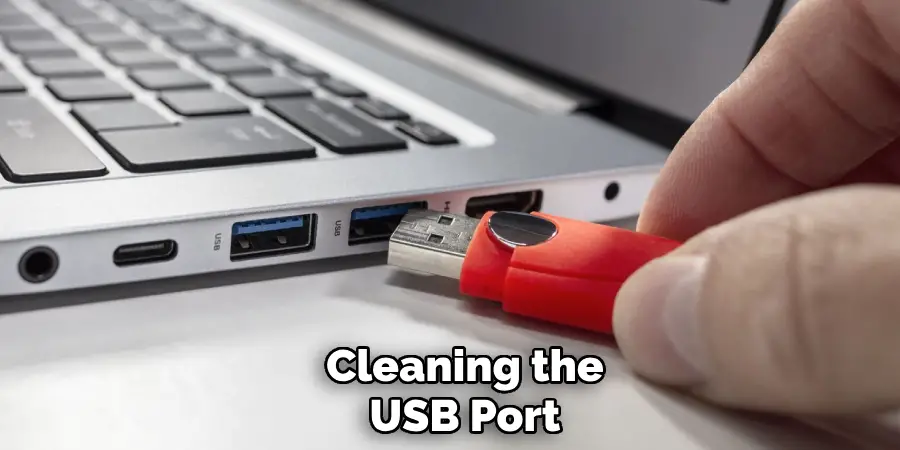
Step 2: Clean the USB Port
Once you have determined the cause of the loose connection, it’s time to clean the USB port to ensure there’s no dirt or debris affecting the connection. Start by turning off your device and unplugging it from any power source for safety. Use a can of compressed air to blow out any dust or debris from the port gently.
If necessary, take a cotton swab slightly dampened with isopropyl alcohol and carefully clean the inside edges of the USB port. Avoid using excessive moisture, as it can cause further damage. Allow the port to dry completely before proceeding to the next step. A clean port can often restore functionality and improve connectivity significantly.
Step 3: Inspect the USB Port for Damage
After cleaning the USB port, it’s crucial to inspect it closely for any signs of physical damage. Look for bent or broken pins inside the port, affecting connectivity. You can use a flashlight to get a better view of the internals.
If you see any bent pins, gently try to realign them with a small tool like tweezers, taking care not to break them. If the port itself is cracked or damaged beyond simple repair, consider replacing the USB port entirely. This step is essential, as addressing any physical issues now can prevent further complications later.
Step 4: Test the Connection
After addressing any potential physical damage, it’s time to test the USB connection. Reconnect your device and plug in a USB device to see if the issue persists. Observe whether the device is recognized correctly and if it charges or communicates as expected.
If the connection appears to be stable, you may continue to use the port as usual. However, if you still experience loose connections or connectivity problems, further steps may be necessary to secure the USB port or investigate deeper hardware issues. Note the performance during this test, as it will help inform your next steps.
Step 5: Reinforce the USB Port
If your inspection and cleaning have not resolved the loose connection, you might need to reinforce the USB port physically. One method is to use a small amount of electrical tape or a hot glue gun to secure the port. Start by applying electrical tape around the USB connector to provide additional friction, which can help stabilize the connection when a device is plugged in.
Alternatively, if you choose to use a hot glue gun, apply a small amount of glue around the outer edges of the port (be careful not to get any glue inside the port itself). Allow the adhesive to cure completely before testing the connection again. This reinforcement can help hold the USB port in place, reducing movement and improving connectivity.
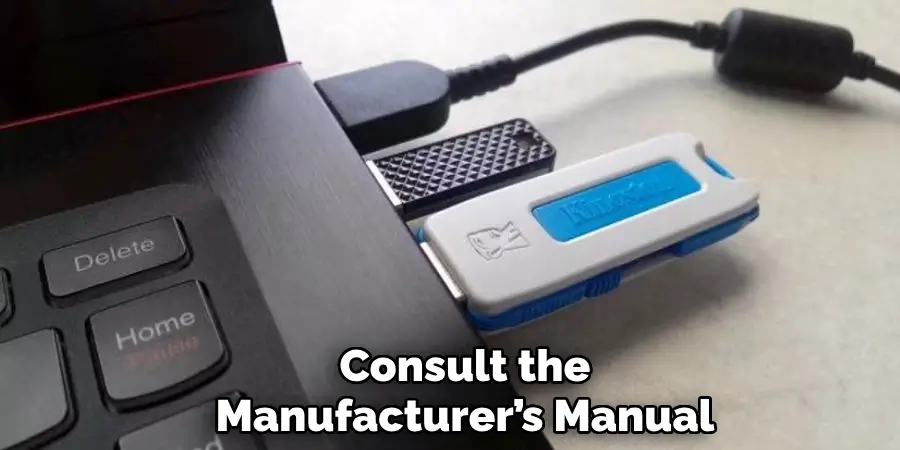
Step 6: Replace the USB Port
If the previous steps have not resolved the issue and the USB port remains loose, it may be time to replace the port entirely. This process can vary depending on the device type, so consult the manufacturer’s manual or online guides for specific instructions related to your model. Begin by carefully disassembling the device, ensuring you keep track of screws and parts.
Once you have access to the motherboard, gently detach the damaged USB port, taking care to avoid damaging surrounding components. Connect the new USB port by aligning it properly with the existing connections and securing it.
After replacing the port, reassemble your device and test the connection to ensure it functions correctly. This step may require some technical skill, so if you’re unsure, it may be beneficial to seek professional assistance.
Step 7: Update Device Drivers
After replacing the USB port, it is crucial to ensure your device’s drivers are up-to-date. Outdated or corrupted drivers can lead to connectivity issues, even if the hardware is functioning correctly. To update your drivers, go to the device manager on your operating system, locate the USB section, and check for any devices listed with a warning icon.
Right-click on these devices and select “Update driver.” Follow the prompts to search automatically for updated driver software. If updates are found, allow them to install and restart your device. This process can help resolve any lingering communication issues between your hardware and operating system.
Step 8: Run Hardware Troubleshooter
If updating the drivers does not resolve the issue with your USB port, the next step is to run the built-in hardware troubleshooter on your operating system. This tool can help identify and fix common problems related to USB connectivity. To access the troubleshooter, go to your system settings, then navigate to the ‘Update & Security’ section.
From there, select ‘Troubleshoot’ and find the option for ‘Hardware and Devices.’ Follow the prompts to run the troubleshooter, which will scan for any issues and attempt to fix them automatically.
Review any recommendations provided, as they may offer additional steps to enhance your device’s performance. Running the troubleshooter is a helpful way to ensure that all aspects of your USB functionality are being considered.
Step 9: Check for Power Management Settings
If issues with your USB port persist despite the previous troubleshooting efforts, check the power management settings on your device. Sometimes, power-saving features can unintentionally disable USB ports or reduce their functionality.
To access these settings, go to the Device Manager again, locate the Universal Serial Bus controllers section, and expand it. Right-click on each USB Root Hub or Generic USB Hub listed, and select ‘Properties.’
Navigate to the ‘Power Management’ tab and ensure that the option “Allow the computer to turn off this device to save power” is unchecked. Save any changes and restart your device. Adjusting these settings can help enhance the stability of your USB connections and prevent unexpected disconnections.
Step 10: Inspect for Interference
If your USB port issues continue after reviewing power management settings, it’s essential to consider potential interference from other devices or software. Some USB devices can interfere with each other’s operation, mainly if they draw significant power or share bandwidth.
Disconnect all non-essential USB devices and test the problematic port with only the primary device you wish to use. Additionally, check for any software that may interfere with USB functionality, such as device management tools or security software that could restrict access.
If the problem resolves with minimal devices connected, you may need to adjust your setup or consider using a powered USB hub to maintain stable connections.
By following these steps, you can troubleshoot and resolve most issues related to a loose or faulty USB port.
Conclusion
In conclusion, how to fix a loose USB port involves a series of systematic steps that can restore functionality to your device.
From simple inspection and cleaning to physical reinforcement and eventual replacement of the port, each method serves a specific purpose in diagnosing and correcting connectivity issues.
Additionally, ensuring that device drivers are up-to-date and checking power management settings can prevent future problems. Running hardware troubleshooters and inspecting for potential device interference further enhance your troubleshooting approach.
By following these outlined steps, you can successfully resolve issues with a loose USB port and maintain your device’s performance, ensuring a stable connection for all USB-related tasks.