A sudden Corsair pump failure in your liquid cooling system can be a concerning and disruptive issue, potentially impacting the overall performance and temperature management of your PC. Resolving this problem requires a systematic approach, considering both hardware and software aspects.

In this guide, we delve into how to fix corsair pump failure, offering insights into troubleshooting techniques, potential causes, and effective solutions. Whether you are an experienced PC builder or a novice enthusiast, understanding how to diagnose and fix pump failures in Corsair liquid cooling systems is crucial for maintaining optimal temperatures and preserving the longevity of your components.
From checking hardware connections to utilizing software diagnostics, this article provides a comprehensive roadmap to guide you through the process of resolving Corsair pump failures and getting your liquid cooling system back to its efficient operation.
Importance of a Functioning Corsair Pump
The significance of a properly functioning Corsair pump in a liquid cooling system cannot be overstated. It acts as the heart of the cooling system, circulating coolant throughout the components to dissipate heat effectively. This process is vital for maintaining optimal temperatures within the PC, ensuring that each component operates within its designed thermal limits.
A working pump guarantees stability, prevents overheating, and contributes to the overall health and longevity of the PC components. When the Corsair pump operates efficiently, it allows for smoother and more consistent performance, even under heavy loads or during extended gaming sessions. Thus, keeping the Corsair pump in good working condition is essential for any enthusiast looking to maintain a high-performance PC.
Signs of Corsair Pump Failure
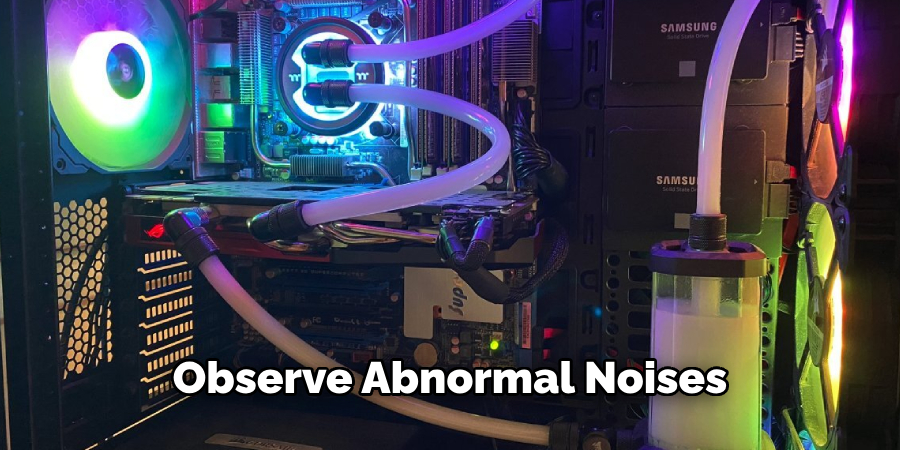
Identifying the early signs of Corsair pump failure is vital in preventing further damage to the PC and ensuring that the cooling system operates efficiently. One of the most immediate signs is an increase in the CPU or GPU temperatures, noticeable through hardware monitoring software. Users might also observe abnormal noises, such as grinding or rattling, coming from the pump area, indicating potential mechanical issues.
Another red flag is the presence of BIOS error messages or alerts related to cooling system performance. Additionally, a reduction in coolant flow rate, visible through the cooling system’s reservoir or flow indicators, can signify a pump struggling to circulate the coolant. Recognizing these symptoms promptly can be crucial in diagnosing and resolving Corsair pump failures before they impact the overall system performance.
Troubleshooting and Fixing the Corsair Pump Failure
The troubleshooting process for a Corsair pump failure begins with simple, non-invasive checks and progresses to more comprehensive diagnostic measures. The first step is to ensure the pump is receiving power by checking the connection between the pump and the motherboard. This includes verifying that the power cable is firmly connected to the correct header on the motherboard and that the BIOS settings are configured to provide the proper voltage.
If the power supply is not the issue, the next step is to examine the cooling loop for airlocks or blockages that could prevent fluid movement. Gently tilting the PC case and lightly tapping on the pump and radiator can help dislodge any trapped air bubbles, allowing the coolant to circulate properly.
In cases where these initial efforts do not resolve the issue, the next step involves using software tools such as Corsair’s iCUE to monitor pump speed and performance. Adjusting the pump speed via the iCUE software can sometimes kickstart the pump back into action. If software adjustments prove ineffective, it could indicate a hardware failure.
At this juncture, it’s important to inspect the pump and connected components for physical damage, leaks, or wear. Ideally, components showing signs of physical damage should be replaced immediately to prevent further system damage.
Finally, if all else fails, contacting Corsair support for warranty information or replacement options is advisable. It’s crucial to have proof of purchase and to check the warranty status before reaching out for support. Corsair customer service can provide guidance on the next steps, which may include sending the pump back for repair or replacement, depending on the warranty’s terms and conditions.
Causes of Corsair Pump Failure
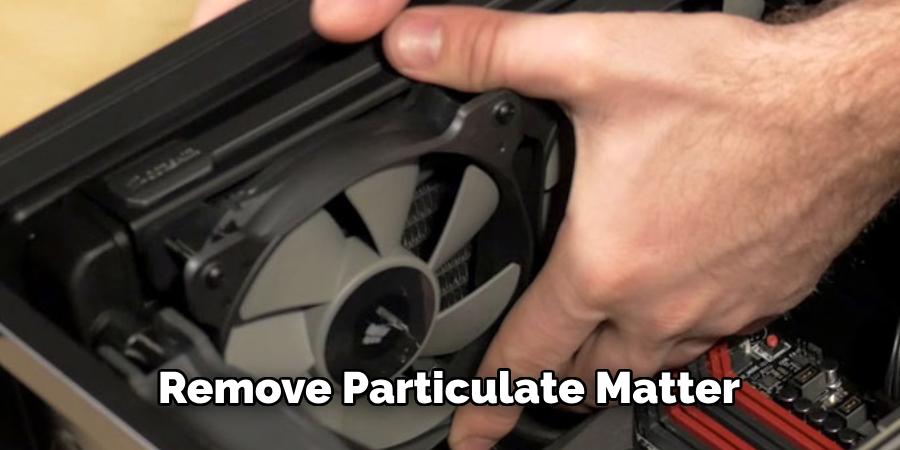
Understanding the underlying causes of Corsair pump failure is essential for preventing future issues and ensuring the longevity of your cooling system. One common cause is the buildup of debris or sediment within the cooling loop, which can obstruct the flow of coolant and strain the pump. This often results from using low-quality or incompatible coolant, or failure to regularly flush and replace the coolant to remove particulate matter.
Electrical issues, such as voltage fluctuations or power surges, can also damage the pump’s motor, leading to pump failure. Another potential cause is physical damage to the pump or cooling system components, which might occur during transport, installation, or through mishandling. Wear and tear over time is a natural cause, as the pump’s components can degrade, especially if the cooling system operates continuously under heavy loads or at high speeds.
Lastly, airlocks, which happen when air bubbles are trapped in the cooling loop, can prevent the pump from circulating coolant effectively, reducing its efficiency or causing it to fail. Addressing these causes early and conducting regular maintenance can significantly reduce the risk of pump failure and extend the life of your Corsair cooling system.
Effects of Pump Failure on System Performance
When a Corsair pump fails, its effects on system performance can be immediate and detrimental. Initially, the inability to circulate coolant effectively causes temperatures within the PC to rise significantly. This overheating affects the CPU and GPU most, as they are primary heat generators and rely heavily on liquid cooling to maintain operational temperatures.
Consequently, the system may throttle these components to prevent damage, leading to a noticeable drop in performance. In extreme cases, the system might shut down automatically to protect the hardware from overheating. Continuous operation under these conditions not only shortens the lifespan of the components but can also lead to permanent damage, necessitating costly repairs or replacements.
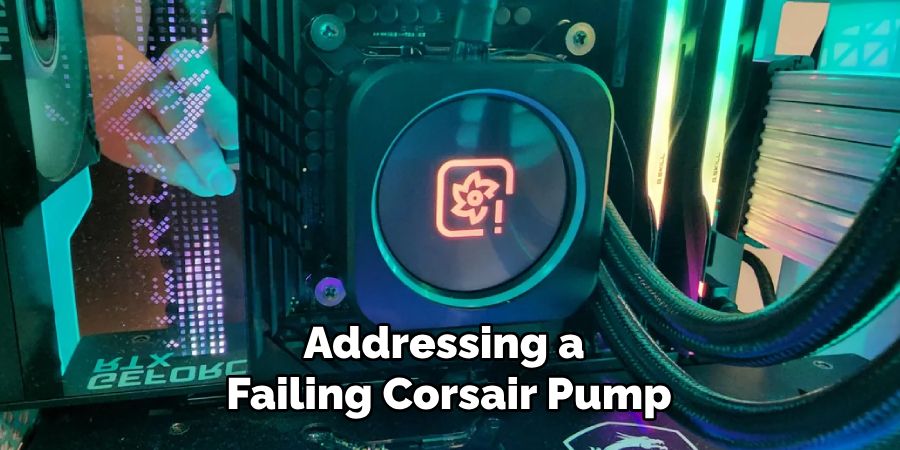
Furthermore, the stability of the system is compromised, which can result in frequent crashes, data loss, and an overall degradation in user experience. Therefore, addressing a failing Corsair pump promptly is crucial to maintaining optimal system performance and longevity.
10 Methods How to Fix Corsair Pump Failure
1. Check Power Connections:
Ensure that the pump is receiving power by checking the power connections. Confirm that the pump is correctly connected to the power supply and that there are no loose or disconnected cables. If the pump is connected to a power strip or extension cord, make sure that those connections are secure as well.
If the pump still does not have power, try using a different outlet to see if the problem lies with the original power source. If the pump is powered by batteries, check that they are correctly inserted and fully charged. It is also important to regularly check and replace the batteries as needed to ensure proper functioning of the pump.
2. Verify SATA Power Cable:
Many Corsair liquid cooling systems use a SATA power cable for the pump. Check the SATA power connection to ensure it is securely plugged into the power supply. If possible, try using a different SATA power cable. If the pump still does not turn on, it could indicate a faulty power connection or a defective pump.
If you have an AIO cooler, make sure the fan is connected to the motherboard’s CPU fan header. This will ensure that the system can regulate the fan speed based on temperature.
Additionally, check if there are any loose connections in your PC, such as unplugged cables or cards not properly seated in their slots. These can sometimes cause power issues that can affect the functioning of your liquid cooling system.
If all connections appear to be secure and there are no loose connections, it may be necessary to contact Corsair customer support for further assistance.
3. Inspect Fan Headers and USB Connections:
Verify that the pump is properly connected to the motherboard’s fan headers and USB headers. Ensure that the connections are secure, and there are no bent or damaged pins. If you are using a splitter for the fan headers, make sure it is compatible with your motherboard and that all connections are properly aligned.
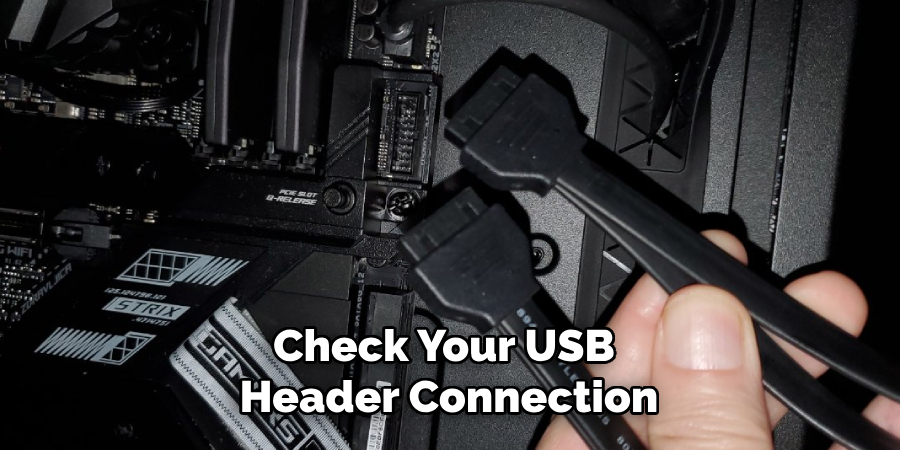
You should also check if your USB header connection is working correctly. This is important as it powers the pump and allows communication between the pump and your computer. To verify this, plug in a USB device to see if it registers on your computer. If it does not, try using a different USB header or checking for any physical damages on the connection.
It is also recommended to check your motherboard’s manual for specific instructions on how to properly connect and configure fan headers and USB connections. This can vary depending on the make and model of your motherboard, so it is important to refer to the manual for accurate information.
4. Software and Firmware Updates:
Check for software updates for Corsair’s iCUE software and update it to the latest version. Similarly, update the firmware of the Corsair pump if updates are available. Software and firmware updates often include bug fixes and improvements that may address pump issues. Additionally, keeping the software and firmware up to date ensures compatibility with the latest hardware components.
In addition to updating Corsair’s iCUE software and firmware, it is also important to regularly check for updates for other programs and drivers on your computer. This includes your operating system, graphics card drivers, and other essential software. Updating these programs can improve overall performance and stability of your computer.
Apart from updating software and firmware, it is also important to regularly clean and maintain your computer. Dust buildup can affect the performance of your components and even lead to overheating issues. Use compressed air or a soft cloth to gently remove dust from your computer’s internal components, including the pump itself. Additionally, make sure that all cables are securely connected and not obstructing airflow.
5. Restart iCUE Service:
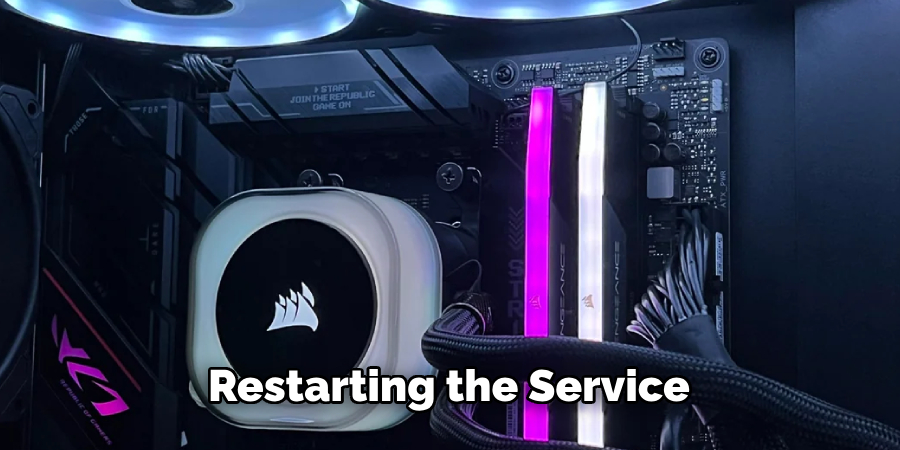
Restart the Corsair iCUE service on your computer. Sometimes, issues with the software or communication between the software and the pump can be resolved by restarting the service. However, you should only do this as a last resort, as restarting the service may cause your computer to lose connection with other Corsair devices.
6. Reinstall iCUE Software:
Uninstall the Corsair iCUE software and then reinstall it. Corrupted software installations can lead to communication issues with the pump. Reinstalling the software ensures a clean configuration. However, before reinstalling iCUE, make sure to delete any leftover files or folders from the previous installation.
7. Test Pump Operation Outside the Case:
If possible, remove the liquid cooling unit from the case and test the pump operation outside. Connect the pump to a power supply and observe whether it starts running. This can help identify whether the issue is related to the pump itself or the system configuration.
If the pump does not start running, it may be faulty and in need of replacement. However, if the pump runs normally outside of the case, then there may be an issue with how it is connected or configured within the system. In this case, double check all connections and settings to ensure proper operation.
Additionally, testing the pump outside of the case can also help in troubleshooting any potential issues with the case itself. It can help determine if there are any obstructions or faulty components within the case that may be affecting the pump’s performance.
If the pump does start running normally outside of the case, it is recommended to reassemble everything and test again within the case to ensure proper functioning before using it for extended periods of time.
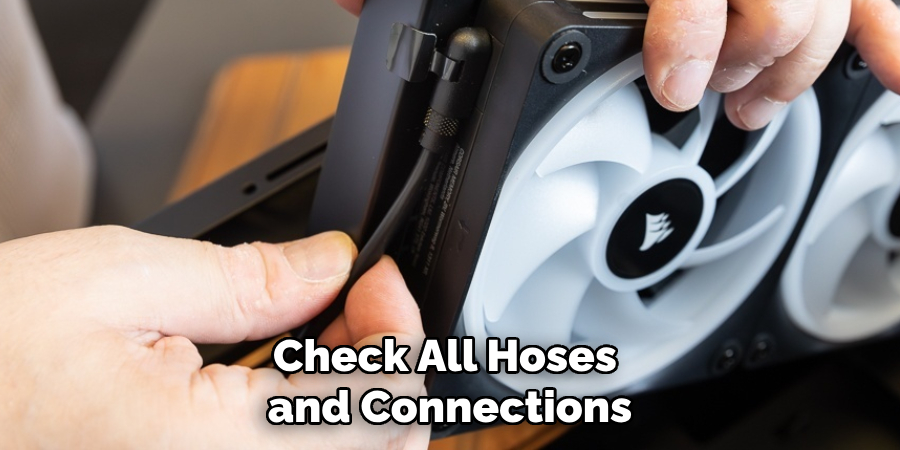
8. Inspect for Air Bubbles:
Air bubbles trapped in the liquid cooling system can impede pump operation. Tilt and rotate the case gently to dislodge any air bubbles. Additionally, ensure that the reservoir is adequately filled to prevent air from entering the pump. Additionally, check all hoses and connections for leaks that may have allowed air to enter the system.
When inspecting for air bubbles in a liquid cooling system, it is important to remember that prevention is key. Regularly checking and maintaining the coolant level in the reservoir can prevent air from entering the system in the first place. In addition, properly securing all hoses and connections will help minimize the risk of air leaks.
If you do find air bubbles in your liquid cooling system, it is important to take action immediately. Air bubbles can cause inefficiency and potential damage to the pump and other components. In some cases, they may even lead to system failure.
9. Check for Pump Blockages:
Inspect the liquid cooling system for any blockages in the pump or tubing. Remove and clean the pump if necessary. Accumulated debris or contaminants can hinder the pump’s performance. Additionally, check for any kinks or bends in the tubing that may restrict the flow of coolant. If a blockage is found, remove it carefully using appropriate tools and reassemble the pump and tubing securely.
In addition to physical blockages, it is also important to monitor for any signs of corrosion or damage to the pump or tubing. Over time, exposure to different types of coolant and other elements can cause wear and tear on the components, leading to potential blockages or leaks. Regular maintenance and inspection can help identify any potential issues before they become larger problems.
In some cases, air pockets may also cause disruptions in the cooling system’s flow. This can occur if there is not enough coolant in the system or if it has not been properly bled after maintenance. To resolve this issue, ensure that the coolant level is adequate and properly bleed the system according to manufacturer instructions.
10. Contact Corsair Support:
If all else fails, reaching out to Corsair’s customer support is a crucial step. Corsair provides excellent customer support, and their technicians can offer specific guidance based on your system’s configuration and the nature of the pump failure.
To contact Corsair support, you can visit their website and select the “Support” tab. From there, you can choose to either submit a ticket or chat with a live representative. You can also find troubleshooting guides and FAQs on their website.
If you prefer to speak with a representative over the phone, Corsair has toll-free numbers available for different regions. You can find the appropriate number for your location on their website as well.

Additionally, Corsair has a community forum where you can interact with other users and seek help from experienced members. The forums are a great resource for troubleshooting, tips, and tricks related to Corsair products.
Conclusion
In conclusion, addressing Corsair pump failure demands a systematic approach and thorough troubleshooting to restore optimal system performance. By understanding the common causes and symptoms of pump failure, users can effectively diagnose issues and implement appropriate solutions.
From checking power connections and coolant levels to resetting the pump and addressing mechanical issues, a methodical approach helps identify and resolve underlying problems. Contacting Corsair support for professional assistance or warranty coverage can also be invaluable in resolving complex issues.
Furthermore, adopting preventive measures such as regular system maintenance and monitoring coolant levels can help mitigate the risk of future pump failures. Thanks for reading, and we hope this has given you some inspiration on how to fix corsair pump failure!