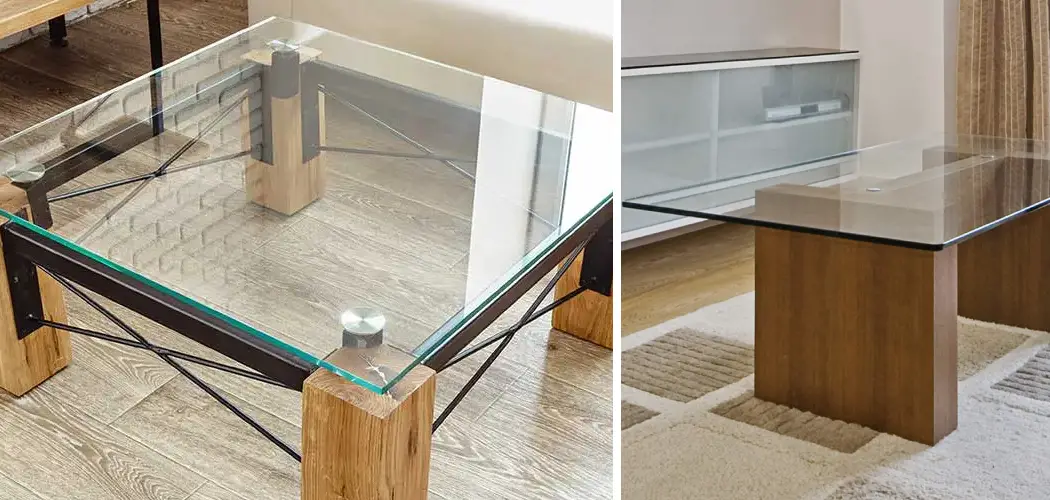
Are you tired of cracked or chipped glass on your table top? Don’t worry—you don’t have to replace the entire table. With a few simple steps, you can fix the glass and restore the beauty of your table.
Accidents happen, and dealing with a broken or damaged glass tabletop can be stressful. However, with the right tools and approach, you can restore your table’s surface to its former glory without replacing the entire piece. Whether the glass is cracked, chipped, or scratched, several methods and techniques are available to fix and maintain the tabletop.
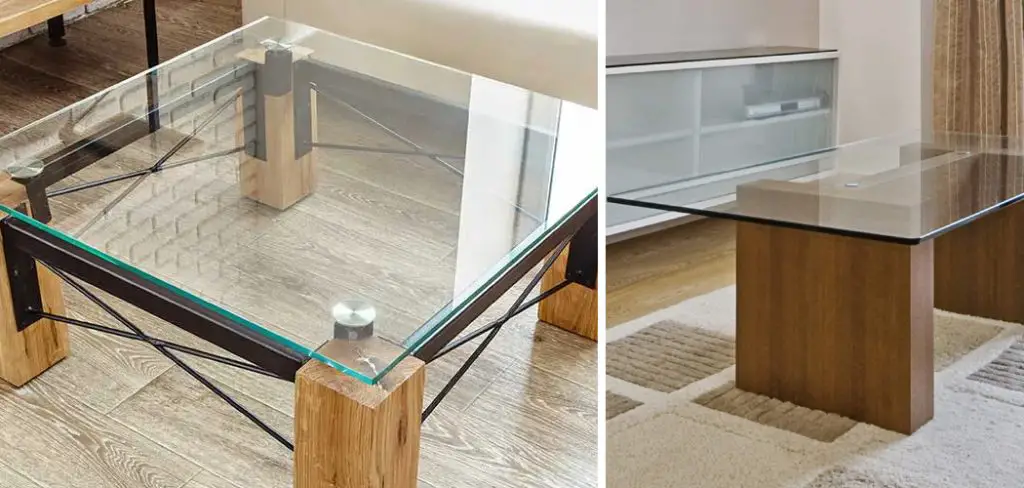
This guide will walk you through the steps on how to fix glass on table top, ensuring both a safe and aesthetically pleasing outcome. Not only will this save you money, but it will also preserve your furniture’s original beauty.
What Will You Need?
Before fixing the glass on your tabletop, ensure you have all the necessary tools and materials. You may already have some of these items at home, but if you still need to, they are easily available at most hardware stores.
- Safety goggles and gloves
- Glass cleaner
- Soft cloths or towels
- Masking or duct tape
- Clear epoxy adhesive
- Razor blade or glass cutter
- Sandpaper (fine grit)
- Acetone or rubbing alcohol
10 Easy Steps on How to Fix Glass on Table Top
Step 1: Prepare and Clean the Surface
To begin, ensure the area around the table is clear of any debris or clutter. This will provide you with ample workspace and prevent any additional damage to the glass. Wear your safety goggles and gloves to protect yourself from sharp edges and glass particles. Start by carefully removing any loose or broken pieces of glass.
Use a razor blade or glass cutter with caution to detach any stubborn fragments, ensuring not to apply excessive pressure that could worsen the damage. Once the broken pieces are cleared, thoroughly clean the glass surface using a glass cleaner and a soft cloth. This step is crucial for removing dust, grime, and any oily residues that could interfere with the adhesive’s effectiveness. After cleaning, allow the glass to dry completely.
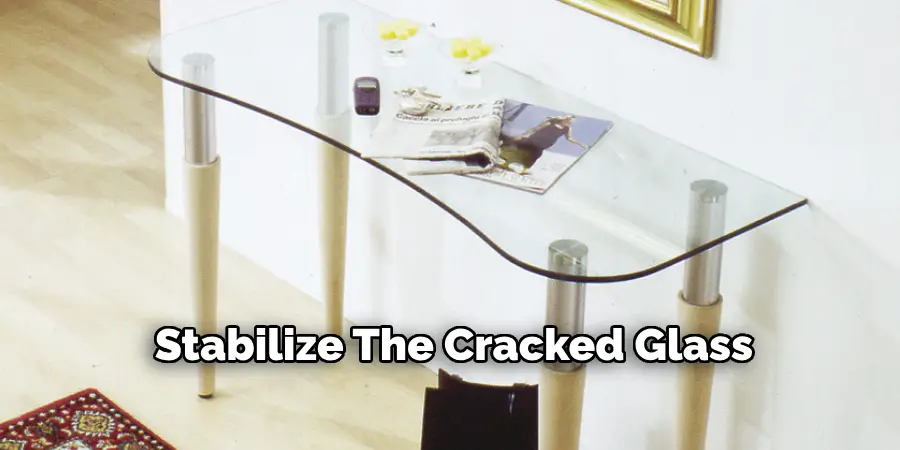
Step 2: Secure the Cracked Area
To stabilize the cracked glass and prevent it from spreading further, apply masking or duct tape over the crack. Start by cutting several strips of tape, each slightly longer than the crack. Gently press the tape over the affected area, ensuring it covers the entire crack from end to end. This temporary measure will hold the glass together as you repair it with adhesive.
Additionally, the tape will help maintain the alignment of the glass pieces during the fixing process. Be careful not to add too much pressure while applying the tape, which might exacerbate the damage. Once the tape is securely in place, you’re ready to move on to the next step, which involves applying the adhesive.
Step 3: Apply the Adhesive
You can apply the clear epoxy adhesive with the cracked area secured by tape. Begin by carefully reading the instructions on the adhesive packaging for the correct mixing and application process. Epoxy adhesives typically come in two parts that must be mixed in equal measurements. For this purpose, a disposable container and stirring tool are used. Once mixed, use a fine applicator or a small brush to apply the adhesive along the crack or chipped area,
ensuring it fills in the gaps adequately. Take care not to overapply, as excess adhesive can spill over, creating a messy finish. After application, allow the adhesive to set according to the manufacturer’s recommended curing time, ensuring a solid and durable bond. Keep the area undisturbed during this period to avoid disrupting the alignment of the pieces.
Step 4: Remove the Tape and Clean Ethe xcess Adhesive
Once the adhesive has cured, carefully remove the masking or duct tape from the glass surface. Start by gently lifting one end of the tape and slowly peeling it back to avoid sudden pulls that might disturb the new bond. After removing all the tape, inspect the repaired area for any excess adhesive that may have seeped out during the curing process. Use a precise razor blade to gently scrape away any adhesive residue, taking care not to scratch the glass surface.
For any finer cleaning, use a soft cloth dampened with a small amount of acetone or rubbing alcohol to wipe down the area, removing all leftover adhesive. This process will enhance the appearance of the repair and leave the glass looking smooth and precise. After cleaning, give the glass a final wipe with a dry cloth to eliminate any streaks or smudges before moving on to the next step.
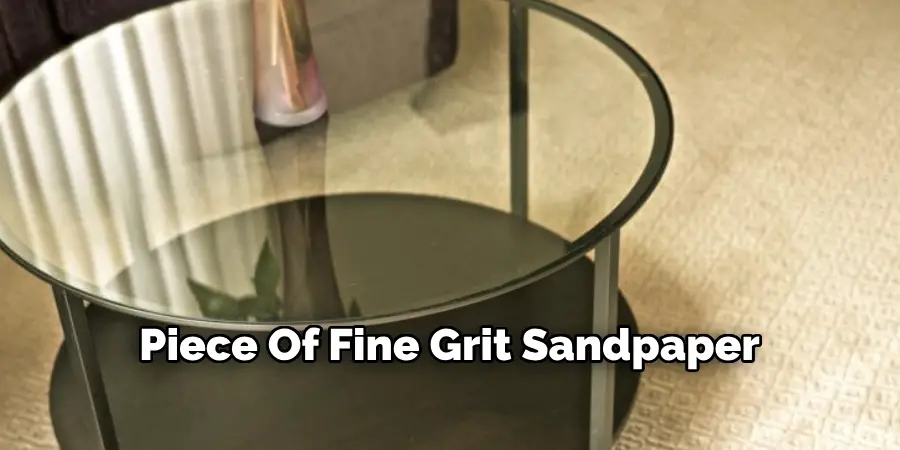
Step 5: Sand and Polish the Repaired Area
After cleaning off any excess adhesive, it’s time to sand and polish the repaired area to achieve a smooth, seamless finish. Use a piece of fine grit sandpaper to gently buff the surface of the repaired glass. Move the sandpaper in a circular motion, focusing on the edges of the repair to blend them with the surrounding glass. Be careful to apply even pressure and avoid over-sanding, which could damage the glass further. Once satisfied with the smoothness,
use a glass polish or a small amount of toothpaste on a soft cloth to buff the area. This will help to restore the glass’s original shine and eliminate dullness. Wipe away any polishing residue with a clean cloth, and admire your repaired tabletop’s even, professional-looking finish.
Step 6: Inspect and Reinforce the Repair (If Needed)
After polishing the repaired area, take a step back and carefully inspect the glass for any signs of missed cracks or weak spots. If any imperfections remain visible or the crack seems unstable, consider applying an additional layer of adhesive to reinforce the repair. Follow the same application process described in Step 3, ensuring the new adhesive bond is correctly aligned with the initial repair. According to the adhesive manufacturer’s directions, allow ample time for this new layer to cure.
Step 7: Seal the Edges of the Repair
To further enhance the durability of your repaired glass tabletop, consider sealing the edges of the repair. This step helps to protect against moisture and dirt infiltrating any small gaps and prevents the repaired area from weakening over time. A clear silicone sealant is used for this purpose, which provides a flexible yet strong barrier.
Carefully apply a thin bead of adhesive along the edges of the repair with a sealant gun or a fine applicator tip. Smooth the sealant with a gloved finger or a small piece of plastic to ensure even coverage and a neat finish. Allow the sealant to cure according to the product’s instructions, typically 24 hours before using the table. This final sealing step will contribute to the repair’s visual appeal and ensure the glass surface’s long-term integrity.
Step 8: Maintain the Repaired Glass Tabletop
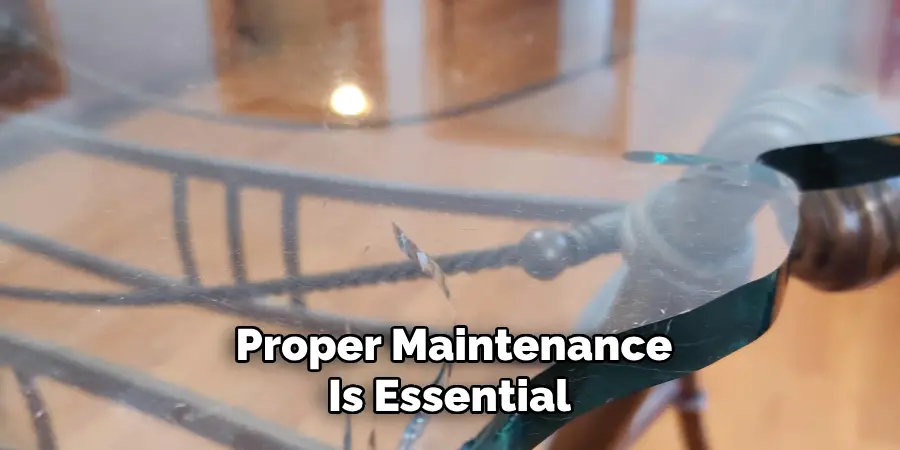
Proper maintenance is essential to prolong the life of your repaired glass tabletop and keep it looking pristine. Regularly clean the glass surface using a soft, lint-free cloth and a gentle glass cleaner. Avoid using abrasive pads or harsh chemicals, which can damage the glass or compromise the repair area. Additionally, promptly wipe up spills to prevent moisture from seeping into any unsealed areas.
Periodically check the repair site for any new signs of wear or damage, addressing them immediately to avoid further issues. Maintaining your glass tabletop properly ensures its continued functionality and visual appeal for years to come.
Step 9: Enjoy Your Restored Glass Tabletop
With the repair process complete and maintenance tips in mind, it’s time to enjoy the beauty and functionality of your restored glass tabletop. Arrange your table setting or decor to accentuate the clear, polished surface, knowing that the care and effort you’ve invested have given your glass a new lease on life.
Whether it’s a dining area centerpiece or a subtle addition to a living space, your repaired tabletop now is a testament to meticulous craftsmanship and attention to detail. Appreciate the revitalized aesthetic and the enduring strength of your handiwork as your glass table continues to serve its purpose, enhancing the ambiance of your home.
Step 10: Document the Repair Process
Documenting the repair process of your glass tabletop can be incredibly beneficial for future reference and for sharing knowledge with others who might face similar challenges. Start by taking high-quality photographs at each significant stage of the repair, capturing clear images of the steps for visual guidance. Write detailed notes on each phase, emphasizing essential techniques, tools used, and any difficulties encountered. This documentation serves as a personal reference if maintenance or further repairs are needed and as a helpful resource for those seeking advice on performing similar repairs.
Following these comprehensive steps and maintaining proper care, you can confidently restore your glass tabletop to its original beauty and functionality.
Conclusion
How to fix glass on table top requires patience, precision, and a systematic approach to ensure a successful repair.
By meticulously following each step of the process—from cleaning and preparing the surface to carefully applying adhesive to sanding, polishing, and reinforcing the area—you can effectively mend most damages and achieve a seamless finish. Sealing the repaired area adds an extra layer of protection, preventing future wear and ensuring long-lasting durability. Equally important is regular maintenance, which helps preserve the newly restored glass and prevents potential issues down the line.
Through this detailed and thoughtful approach, you not only extend the life of your glass tabletop but also renew its aesthetics, allowing it to remain a beautiful and functional part of your home.
you can also check it out Repair Water Damaged Mdf Table Top