
Sound leakage from headphones can be a bothersome issue, not just for the user but also for those nearby. This common problem occurs when others can hear the music or audio you are listening to, even at moderate volumes. It can disrupt quiet environments, reduce privacy, and sometimes even lead to uncomfortable situations in public spaces or at work. Understanding the causes of sound leakage and knowing how to address them effectively can greatly enhance your listening experience, ensuring that your audio remains personal and does not intrude on the space of others.
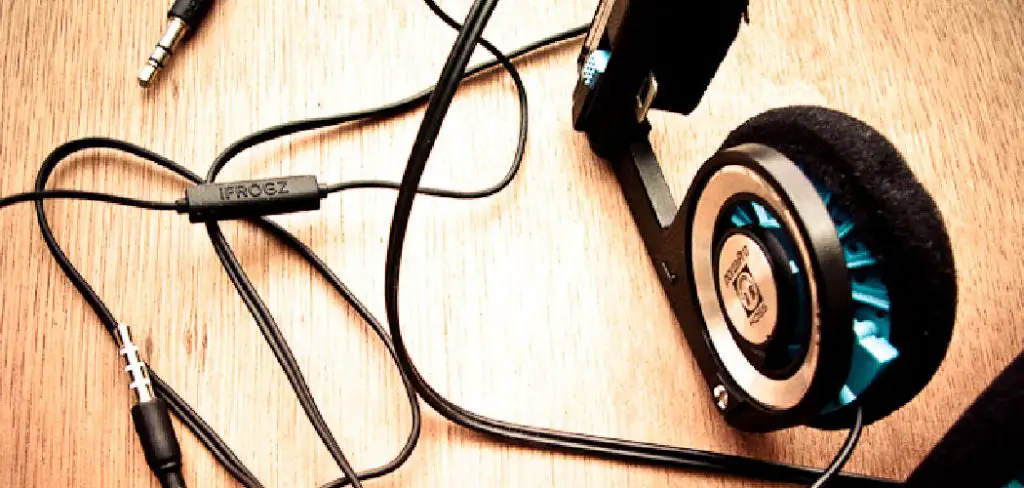
In this guide on how to fix sound leakage on headphones, we will explore various strategies and techniques to fix sound leakage, enhancing the quality and privacy of your audio experience.
Why Do Headphones Leak Sound?
Before we delve into the solutions, it is important to understand why headphones leak sound in the first place. There are a few key factors that contribute to this issue:
Poor Fit:
One of the main reasons for sound leakage is an ill-fitting pair of headphones. If they are too loose or do not create a proper seal around your ears, sound waves can escape and be heard by those around you. This is especially common with on-ear or open-back headphones that do not fully enclose the ear.
Improper Volume Levels:
Another cause of sound leakage is listening at excessively high volumes. This not only affects the quality of your audio but also amplifies the noise escaping from your headphones. It is important to find a comfortable volume level that does not disturb others.
Type of Headphones:
Different types of headphones have varying levels of sound leakage. For example, open-back headphones are designed to allow some sound to escape for a more natural sound experience, while closed-back headphones aim to minimize sound leakage by fully enclosing the ears. Understanding the type of headphones you have can help in finding a suitable solution.
Things to consider before fixing sound leakage on headphones
- Identify the Type of Headphones You Have and Their Level of Sound Leakage.
- Ensure That Your Headphones Fit Properly and Create a Seal Around Your Ears.
- Avoid Listening at Excessively High Volumes to Prevent Amplifying Sound Leakage.
- With These Factors in Mind, Let’s Explore Some Effective Ways to Fix Sound Leakage on Headphones.
9 Easy Step-by-step Guidelines on How to Daisy Chain Pc Fans
Step 1: Check the Fit
The first step in fixing sound leakage is to ensure that your headphones fit properly. Adjust the headband or ear cups to find a snug and secure fit that creates a seal around your ears. This will not only improve audio quality but also prevent sound from escaping. You can also try using headphones with different sized ear cups to find the perfect fit.
But remember, if you have on-ear or open-back headphones, some sound leakage may still occur despite a perfect fit. You may need to consider other solutions in this case. You can also consider investing in noise-cancelling headphones, which create a tight seal and prevent sound leakage.
Step 2: Try Different Volume Levels
If you tend to listen at high volumes, try reducing it and see if that makes a difference in sound leakage. Finding a comfortable volume level can greatly reduce the amount of sound escaping from your headphones. Consider using noise-canceling headphones or adding white noise to your audio to help block out external noise and distractions, allowing you to listen at lower volumes. It is also important to consider the type of audio you are listening to – for example, music with heavy bass or high treble may be more likely to leak sound compared to spoken word content. But remember, listening at excessively loud volumes can also lead to hearing damage and is not recommended.
Step 3: Consider Closed-Back Headphones
As mentioned earlier, closed-back headphones are designed to minimize sound leakage by fully enclosing the ears. This makes them a great option for those looking to listen without disturbing others. However, keep in mind that closed-back headphones may also result in a more isolated and unnatural audio experience due to their design.
You may need to find a balance between sound leakage and audio quality when considering closed-back headphones. You can also try using noise-canceling headphones or adding foam ear pads to your existing headphones to further reduce sound leakage. It may take some trial and error to find the perfect solution for your needs.
Step 4: Use Noise-Cancelling Headphones
If you frequently listen in noisy environments, noise-cancelling headphones can be a great solution. These headphones use advanced technology to actively cancel out external noise, allowing you to listen at lower volumes without any disturbance from your surroundings. They are especially effective for reducing sound leakage on open-back or on-ear headphones.
However, keep in mind that noise-cancelling headphones tend to be more expensive and may not completely eliminate sound leakage. But they can greatly improve your overall listening experience. The added benefit of noise-canceling headphones is that they also help reduce fatigue and improve audio clarity, making them a great investment for avid listeners.
Step 5: Invest in Quality Headphones
Investing in high-quality headphones can also be a solution for sound leakage. Cheaper headphones may not have the best seal or technology to prevent sound from escaping. Look for headphones with features such as noise-cancellation, closed-back design, and adjustable ear cups for a snug fit. While they may be a pricier option, they can greatly enhance your audio experience and privacy.
It is also important to read reviews and try out different headphones before making a purchase, as every person’s ears are unique and what works for one may not work for another. The extra investment will be worth it in the long run. It is also important to take care of your headphones and properly store them when not in use to maintain their quality and prevent sound leakage.
Step 6: Use an Audio Amplifier
If you have already invested in high-quality headphones but are still experiencing sound leakage, consider using an audio amplifier. This device can boost the volume of your audio without needing to turn up the volume on your headphones, thus minimizing sound leakage. It also allows for a more customized and controlled listening experience. However, keep in mind that this solution may not be suitable for all types of headphones and can result in distorted audio if used incorrectly.
However, it can be a useful tool for reducing sound leakage on closed-back and over-ear headphones. If you have already tried all of the above solutions and are still experiencing sound leakage, consider using a headphone amplifier. This small device can boost the volume of your audio without needing to turn up the volume on your headphones, thus minimizing sound leakage. It also allows for a more customized and controlled listening experience. However, keep in mind that this solution may not be suitable for all types of headphones and can result in distorted audio if used incorrectly.
Step 7: Try Using Foam Ear Pads
Foam ear pads are a simple yet effective solution for reducing sound leakage on headphones. They can be easily attached to the ear cups of your existing headphones and can significantly improve the seal around your ears. Foam ear pads also provide added comfort and can help block out external noise, allowing you to listen at lower volumes without any disturbance.
Keep in mind that foam ear pads may not completely eliminate sound leakage, but they are a cost-effective solution worth trying. You can also find foam ear pads in different sizes to fit various headphone models. It is recommended to replace foam ear pads every 6-12 months for optimal performance. The added bonus is that they are also easy to clean.
Step 8: Use Noise Isolating Headphones
Another option to consider is noise isolating headphones. These headphones use a seal or suction-like technology to isolate sound and prevent it from escaping. They can be particularly effective for those who listen at high volumes and are looking for a more natural listening experience without any sound leakage.
However, noise isolating headphones may not be suitable for those who prefer an open audio design or suffer from discomfort due to the seal around their ears. It is important to try out different types of headphones and determine what works best for you in terms of sound leakage and overall listening experience. You may also want to consider investing in a pair of noise isolating earphones for use on the go.
Step 9: Tweak Your Audio Settings
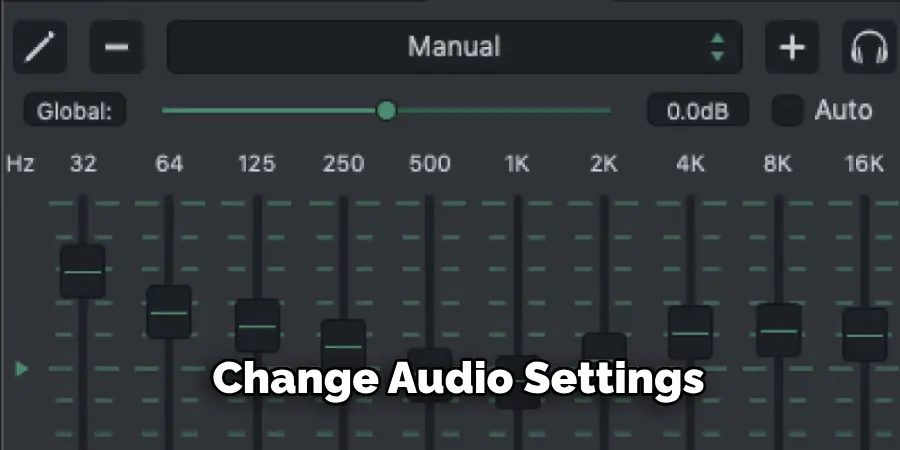
In addition to using the right headphones, tweaking your audio settings can also help reduce sound leakage. Adjusting the equalizer on your device or music streaming service can help balance out frequencies and prevent certain sounds from being too loud, thus minimizing sound escaping from your headphones. You can also adjust the volume levels for different types of audio, such as reducing bass-heavy music or increasing the volume for spoken word content. This can help create a more even playing field and reduce the chances of sound leakage.
Following these steps on how to fix sound leakage on headphones can greatly improve your listening experience and minimize sound leakage. Remember to also be mindful of the volume levels you are using, as excessively loud volumes can not only cause sound leakage but also damage your hearing. With the right headphones and adjustments, you can enjoy your audio without disturbing others around you. Invest in quality headphones and try out different solutions until you find what works best for you. Happy listening!
Preventative Maintenance and Care:
Proper maintenance and care can also help prevent sound leakage on headphones. Regularly clean your headphones to remove any dirt or debris that may be affecting their performance. Store them in a safe place when not in use, and avoid exposing them to extreme temperatures or moisture. Be gentle when handling your headphones, as rough handling can cause damage to the seal or other internal components, leading to sound leakage.
By taking care of your headphones, you can prolong their lifespan and ensure optimal audio performance. It is also recommended to regularly check for any wear and tear on the ear pads or other parts and replace them as needed to maintain a proper seal and prevent sound leakage. With the right maintenance and care, you can continue to enjoy high-quality audio without any sound leakage.
Troubleshooting Common Issues:
If you are experiencing sound leakage despite trying the above solutions, there may be an underlying issue with your headphones. Some common issues that can cause sound leakage include a faulty seal around the ear cups, damaged audio drivers, or worn-out foam pads. In such cases, it is best to consult with a professional or contact the manufacturer for assistance.
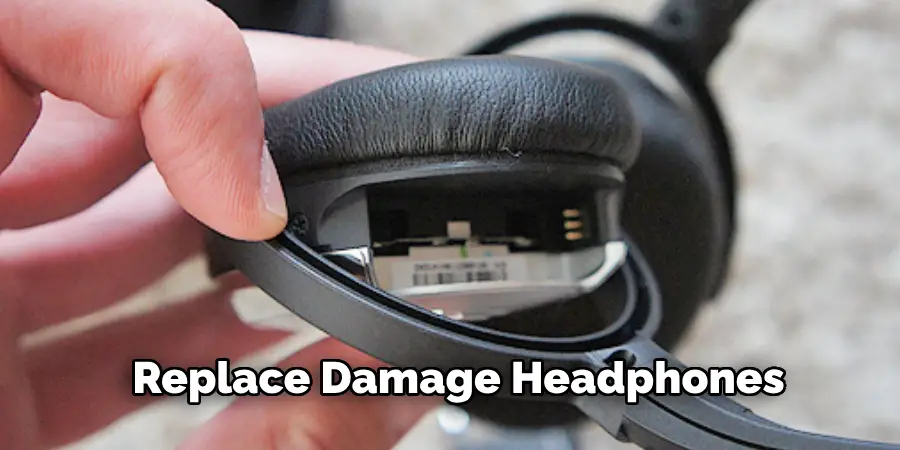
They may be able to repair or replace your headphones, depending on the warranty and extent of damage. It is also important to regularly check for any software updates for your headphones, as these can also affect their performance and lead to sound leakage. Ultimately, troubleshooting the issue with a professional can help determine the root cause and find a solution that works best for you.
Do You Need to Use Professionals?
In some cases, it may be necessary to seek professional help in resolving sound leakage on your headphones. This is especially true if the issue persists despite trying different solutions or if you are experiencing other audio problems with your headphones. A professional can diagnose the problem and provide a more tailored solution that addresses any specific issues with your headphones.
They may also be able to suggest alternative options or provide maintenance tips to prevent future sound leakage. While it may require a bit more time and investment, using professionals can ensure that your headphones are functioning at their best and provide you with the optimal listening experience. It is also important to keep in mind that regular maintenance and care can help prevent the need for professional assistance.
How Much Could It Cost?
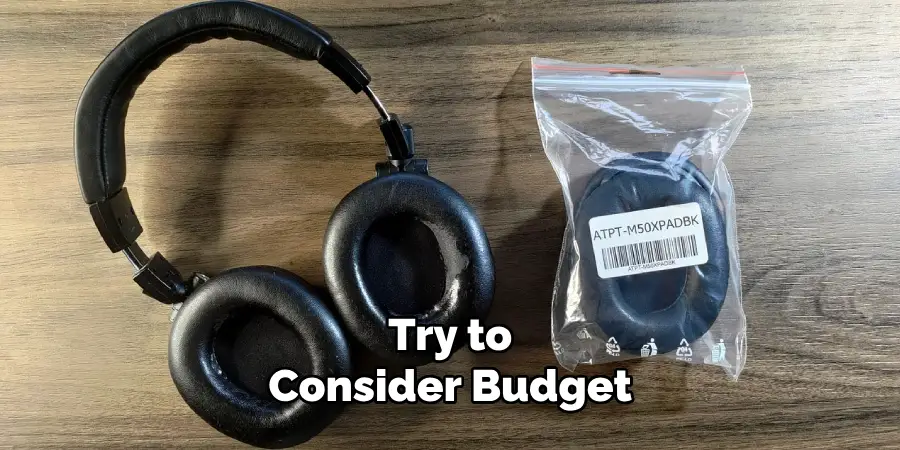
The cost of addressing sound leakage on your headphones will depend on the specific issue and the type of solution you choose. Foam ear pads, for example, can range from a few dollars to around $20 or more, depending on the brand and size. Noise-isolating headphones may be more expensive but can vary greatly in price depending on the brand and features. Seeking professional help may also come with a cost, but it can provide a more long-term solution and potentially save you money in the long run by preventing further damage to your headphones.
Ultimately, the cost of addressing sound leakage will depend on your specific needs and preferences. Consider what features are most important to you and invest in solutions that will best meet those needs while staying within your budget.
Frequently Asked Questions
Q: Can Sound Leakage Damage My Headphones?
A: Yes, excessive sound leakage can cause damage to your headphones over time. The added strain on the audio drivers and other internal components can affect their performance and shorten their lifespan. It is important to address any sound leakage issues as soon as possible to prevent further damage.
Q: Can Volume Levels Affect Sound Leakage?
A: Yes, excessively loud volumes can contribute to sound leakage by putting extra strain on your headphones. It is important to find a comfortable volume level that does not cause sound leakage or damage to your headphones.
Q: Can I Still Use My Headphones If They Have Small Sound Leakage?
A: This depends on personal preference and the extent of the sound leakage. Some people may be able to tolerate small levels of sound leakage, while others may find it too distracting. Additionally, if the issue is minor and can be easily fixed, it may be worth addressing to prevent further damage and maintain optimal audio performance.
Q: How Often Should I Clean My Headphones?
A: It is recommended to clean your headphones at least once a month or more frequently if you use them often. This will help remove any build-up of dirt or debris that can affect the seal and contribute to sound leakage. You can also clean your headphones after each use to maintain their performance and prevent any build-up. It is important to use gentle cleaning methods and avoid harsh chemicals that can damage your headphones.
Q: Can I Use Third-Party Accessories to Fix Sound Leakage?
A: It is generally not recommended to use third-party accessories as they may not be compatible with your headphones and could cause further damage. If you are experiencing sound leakage, it is best to consult with a professional or contact the manufacturer for assistance.
Conclusion
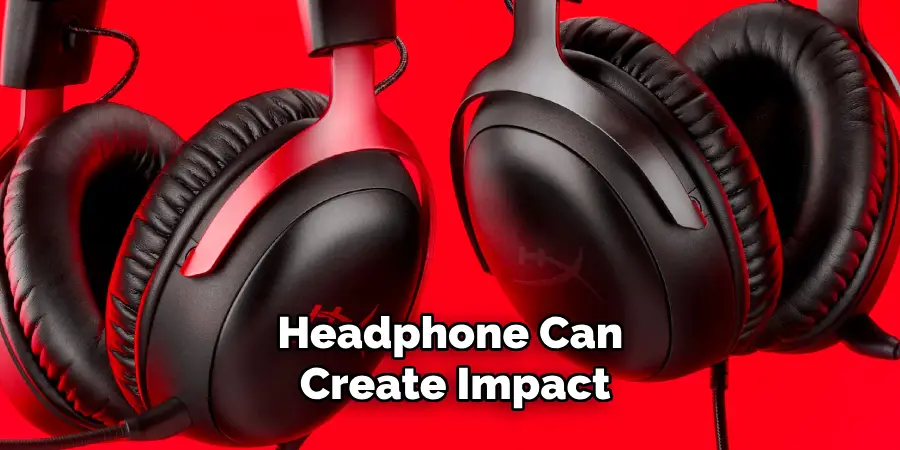
In conclusion, mitigating sound leakage from headphones is not only considerate of those around you but also enhances your personal audio experience. By selecting the right type of headphones, ensuring a proper fit, considering modifications, and utilizing sound isolation accessories, you can significantly reduce or even eliminate sound leakage.
This ensures that your music, podcasts, or any form of audio remains a personal experience, devoid of disruptions to both you and others nearby.
Remember, the key to an optimal listening experience lies in understanding your equipment and being mindful of its impact on your environment. Thanks for reading this article on how to fix sound leakage on headphones.