Printers are essential tools for both personal and professional use, delivering crisp, vibrant documents. However, issues such as yellow ink not printing properly can lead to frustration and delay. The problem may arise from a variety of factors, including clogged nozzles, low ink levels, or misaligned cartridges.

In this guide on how to fix yellow ink in printer, we will outline effective troubleshooting steps to help you resolve yellow ink issues, ensuring that your printer performs at its best and your prints maintain their intended quality.
Why is My Printer Printing Yellow?
Before diving into the solutions, it’s important to understand why your printer may be printing in yellow. A common reason could be a clogged printhead, which prevents ink from evenly flowing onto the paper. This can result in faded or streaky prints with a yellow tint. Another reason could be low ink levels, particularly in the yellow cartridge, leading to poor color quality. Additionally, if your printer has separate cartridges for each color, an empty or faulty yellow cartridge can also cause this issue.
It’s worth mentioning that outdated or damaged printer drivers may also contribute to printing problems. If you have tried all the solutions below and are still experiencing yellow ink issues, consider updating your printer drivers or seeking professional assistance.
Needed Materials
Soft, Lint-free Cloth:
A soft, lint-free cloth is necessary to clean the printhead and remove any clogs or debris. Avoid using paper towels or tissues as they may leave behind lint or fibers.
Distilled Water:
Distilled water is ideal for cleaning the printhead as it does not contain any impurities that could further clog the nozzles.

Isopropyl Alcohol:
Isopropyl alcohol can be used as an alternative to distilled water for stubborn clogs. However, it should be diluted with water before use, preferably in a 1:1 ratio.
8 Step-by-step Guides on How to Fix Yellow Ink in Printer
Step 1: Check Ink Levels
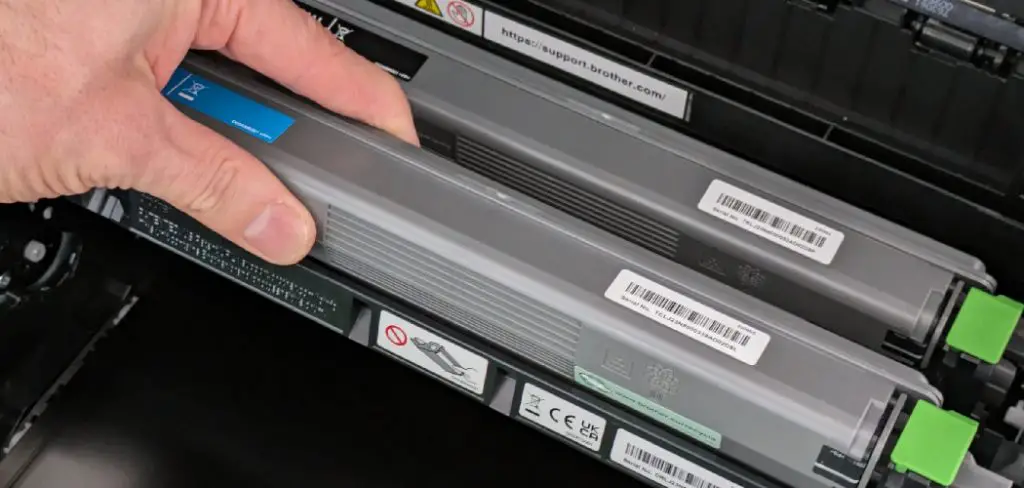
Begin the troubleshooting process by checking your printer’s ink levels. Most printers have a display panel or a software utility that allows you to easily view the current ink levels. Make sure to pay special attention to the yellow cartridge, as low ink can significantly impact print quality.
If the yellow ink level is low or empty, replace it with a new cartridge. After replacing the cartridge, perform a test print to see if the issue is resolved. If the problem persists, proceed to the next steps for further troubleshooting.
Step 2: Clean the Printhead
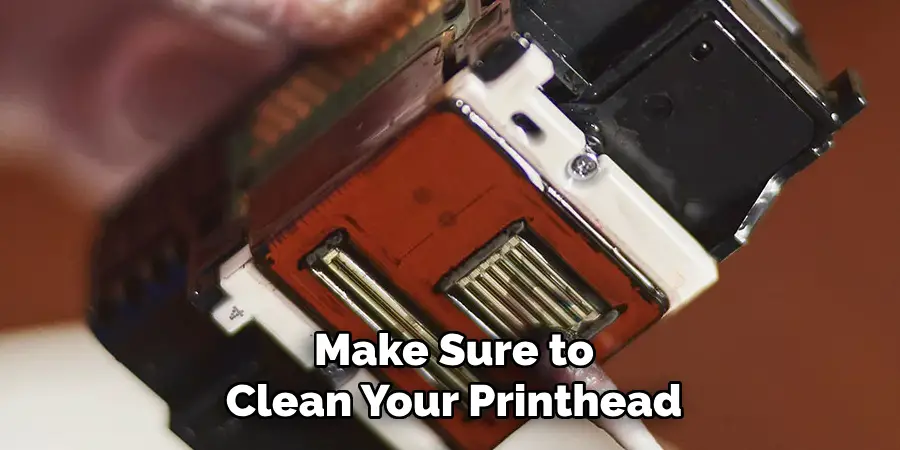
If checking the ink levels did not resolve the yellow ink issue, the next step is to clean the printhead. Over time, ink residue can dry and clog the printhead, impacting its performance. To clean it, first, turn off your printer and unplug it for safety. Remove the printhead assembly according to your printer’s manual. Dampen the soft, lint-free cloth with distilled water or diluted isopropyl alcohol. Gently wipe the printhead nozzles and surface to remove any dried ink or debris.
Be careful not to touch the electrical contacts or any other sensitive areas. Once clean, allow the printhead to dry for a few minutes before reassembling it into the printer. Finally, plug the printer back in and perform a test print to check if the yellow ink issue has been resolved.
Step 3: Run Printer Maintenance
If cleaning the printhead does not resolve the yellow ink issue, the next step is to run the printer maintenance procedures provided by your printer’s software. Most printers come equipped with built-in maintenance functions that can help diagnose and fix common issues.

Access the printer settings through your computer or the printer’s control panel. Look for options such as “Clean Printhead,” “Deep Clean,” or “Maintenance,” depending on the manufacturer. Running these routines will typically flush the ink through the nozzles and can help clear any remaining clogs. After completing the maintenance cycle, perform a test print to check if the yellow ink is now functioning correctly. If the problem persists, proceed to Step 4 for further troubleshooting.
Step 4: Align the Cartridges
If the yellow ink problem is still unresolved after running maintenance, the next troubleshooting step is to align the cartridges. Misalignment can cause color discrepancies, affecting print quality. To begin, access the printer’s settings through your computer or the printer’s control panel.
Look for an option labeled “Align Cartridges” or “Align Printheads.” Follow the on-screen instructions to complete the alignment process, which may involve printing a test page. After alignment is complete, inspect the test print for improvements in the yellow ink output. If the issue persists, proceed to Step 5 for additional solutions.
Step 5: Check for Firmware Updates
If the yellow ink issue remains unresolved after aligning the cartridges, the next step is to check for any firmware updates available on your printer. Outdated firmware can sometimes lead to functionality problems, including printing issues. To check for updates, visit the printer manufacturer’s website and navigate to their support or downloads section.
Enter your printer model to find the latest firmware version available. If a newer version exists, follow the instructions to download and install the update. After updating the firmware, restart your printer and perform a test print to see if the yellow ink is now functioning correctly. If the problem continues, move on to Step 6 for further troubleshooting.
Step 6: Conduct a Nozzle Check
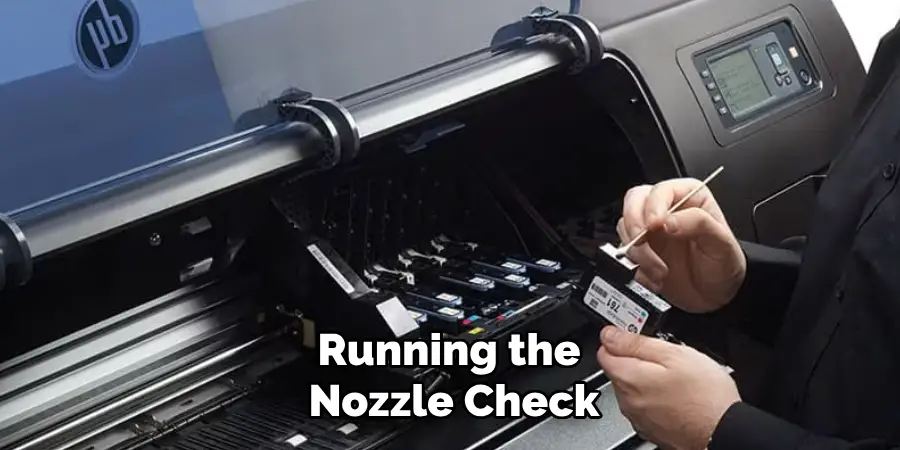
If the issue persists after updating the firmware, it is possible that there are still clogs in the printhead. Perform a nozzle check to determine if this is the case. Refer to your printer’s manual for instructions on how to conduct a nozzle check, as each printer may have different procedures.
After running the nozzle check, inspect the results for any missing or distorted yellow ink patterns. If present, repeat Steps 2 and 3 to clean and maintain the printhead until the yellow ink pattern appears correctly on the nozzle check printout. Once resolved, perform a test print to ensure that the issue has been fully resolved.

Step 7: Check for Hardware Issues
If the yellow ink issue persists despite all previous troubleshooting steps, there may be a hardware issue with your printer. This could include faulty cartridges, damaged printheads or other internal components. In this case, it is best to seek professional assistance from a certified technician who can diagnose and repair any hardware issues that may be causing the problem.
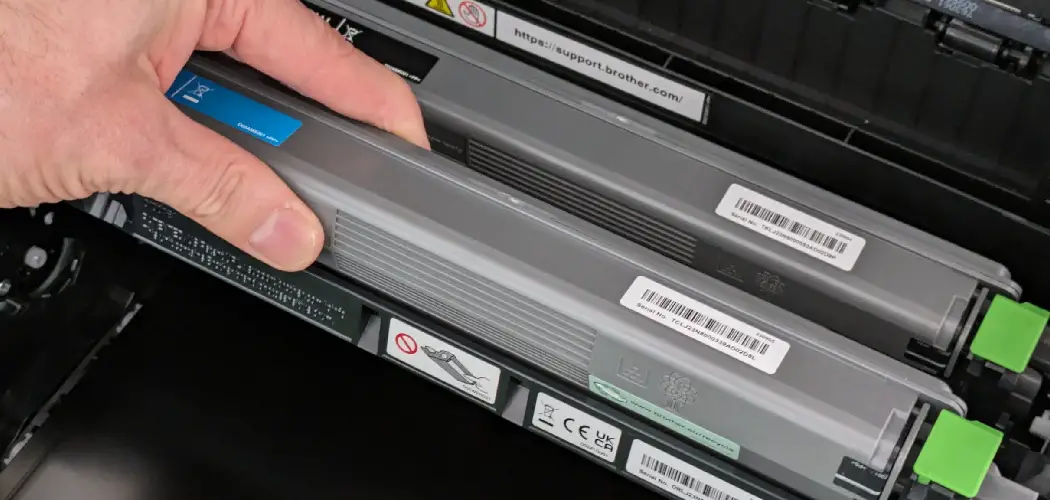
You can also try using a different yellow cartridge to see if that resolves the issue. If not, it is recommended to contact your printer’s manufacturer for further assistance.
Step 8: Perform Regular Maintenance
Once you have successfully resolved the yellow ink problem, it is essential to perform regular maintenance on your printer to prevent future issues. This includes regularly checking and replacing cartridges with low ink levels and cleaning the printhead periodically to prevent clogs. By keeping up with maintenance tasks, you can ensure that your printer continues to produce high-quality prints with accurate colors.
Following these troubleshooting steps on how to fix yellow ink in printer should help resolve any yellow ink issues you may encounter with your printer. Remember to always refer to your printer’s manual and seek professional assistance if needed. With proper maintenance and care, you can keep your printer functioning at its best for years to come.
Frequently Asked Questions
Q: Why is My Printer Printing Yellow Ink Instead of Black?
A: There could be several reasons for this, including clogged printheads, low ink levels, or misaligned cartridges. Follow the steps listed above to troubleshoot and resolve the issue.
Q: How Do I Prevent My Printer from Having Yellow Ink Problems in the Future?
A: Regular maintenance is key in preventing yellow ink problems and other printing issues. Make sure to clean your printhead periodically and replace cartridges with low ink levels to avoid clogs. Additionally, keeping your printer’s firmware up-to-date can also help prevent potential issues.

Q: Can Using Non-Genuine Ink Cartridges Cause Yellow Ink Issues?
A: Yes, using non-genuine or counterfeit ink cartridges can lead to various printing problems, including yellow ink issues. It is always recommended that genuine ink cartridges from the printer manufacturer be used to ensure optimal performance and avoid potential problems.
Q: Can I Fix Yellow Ink Issues on My Own or Should I Seek Professional Help?
A: It depends on the severity of the issue. If the troubleshooting steps listed above do not resolve the problem, it is best to seek professional assistance as there may be a hardware issue with your printer that requires expert knowledge and tools.
Conclusion
In conclusion, successfully resolving yellow ink issues in your printer requires a systematic approach, starting from basic maintenance to more complex troubleshooting steps. By following the outlined procedures on how to fix yellow ink in printer, from cleaning the printhead to checking for hardware problems, users can often restore their printer’s functionality and ensure high-quality prints.
Regular maintenance plays a crucial role in prolonging the life of the printer and preventing future ink-related challenges. Remember, when in doubt, consulting the printer’s manual or seeking professional help can save time and provide expert solutions to persistent problems. With diligence and care, your printer can remain a reliable tool for all your printing needs.

