Focusing on a projector is a crucial step in ensuring that your presentations, movies, or displays are sharp and clear.

Whether you’re setting up for a professional meeting, a movie night at home, or a classroom lecture, taking the time to adjust the focus can significantly enhance the viewing experience.
This guide on how to focus a projector will walk you through the essential steps to effectively focus your projector, troubleshoot common issues, and make the most of your visual displays.
By mastering the art of projector focusing, you’ll be able to deliver impactful presentations and enjoy your content with clarity.
Why is Focusing a Projector Important?
Focusing your projector correctly is essential for creating clear and crisp images. If the focus is off, your display may appear blurry or distorted, making it challenging to convey information effectively.
This can be especially problematic in professional settings, where a clear and sharp presentation is crucial for delivering a successful message.
Moreover, a well-focused projector can also prevent eye strain and headaches caused by trying to view a blurry image for an extended period. It ensures that viewers can comfortably engage with the content without any visual discomfort.
Needed Tools and Materials
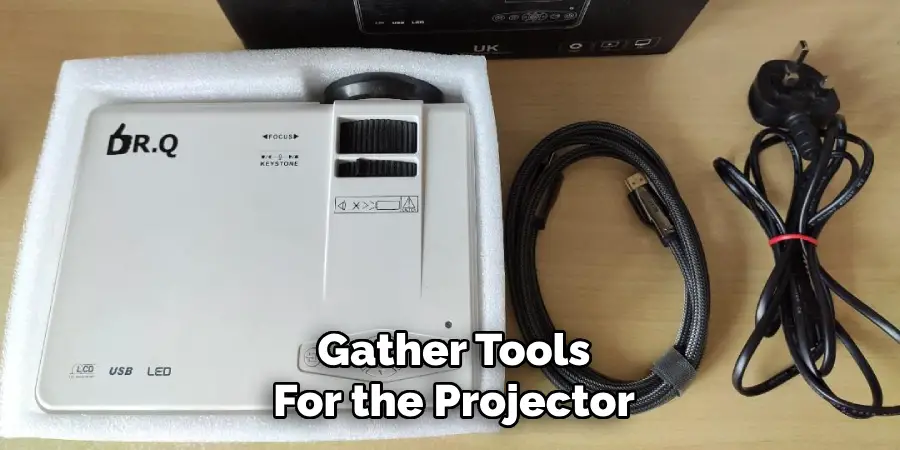
Before getting started, make sure you have the necessary tools and materials at hand. These may include:
A Projector:
The first and most obvious item needed is a projector. Ensure that it’s in good working condition before starting the focusing process.
A Screen or Wall:
You’ll need a flat and smooth surface to project your images onto. This can be a dedicated screen or even just a blank wall.
A Remote Control:
Most modern projectors come with a remote control for adjusting various settings, including focus. If your projector has this feature, make sure you have the remote nearby during the focusing process.
A Tape Measure:
To ensure accurate measurements, a tape measure can come in handy when positioning your projector and adjusting its distance from the screen or wall.
7 Step-by-step Guides on How to Focus a Projector
Step 1: Prepare Your Projector
Start by placing your projector in a location that allows it to project clearly onto your chosen screen or wall. Ensure that the projector is stable and positioned at the correct distance relative to the surface, as outlined in the projector’s user manual.
Next, plug the projector into a power source and turn it on. Allow it to warm up for a few minutes, as this can improve the clarity of the projected image.
Once the projector is powered and ready, check the lens for any dust or obstructions; if necessary, gently wipe the lens with a microfiber cloth to ensure a clean viewing experience.
Step 2: Adjust Keystone Correction
Once your projector is warmed up and the lens is clean, the next step is to adjust the keystone correction. The keystone effect occurs when a projector is not perfectly aligned with the screen, resulting in a distorted image that resembles a trapezoid rather than a rectangle.
To correct this, locate the keystone adjustment controls, which are typically found on the projector itself or within the projector’s menu settings and are accessible via the remote control.
Gently adjust the keystone correction until the projected image appears rectangular and properly aligned with the edges of the screen or wall.
If your projector offers both vertical and horizontal keystone adjustments, make sure to address both to ensure the best possible image quality.
After making these adjustments, step back and visually inspect the projected image to confirm that it is correctly aligned before moving on to the next step.
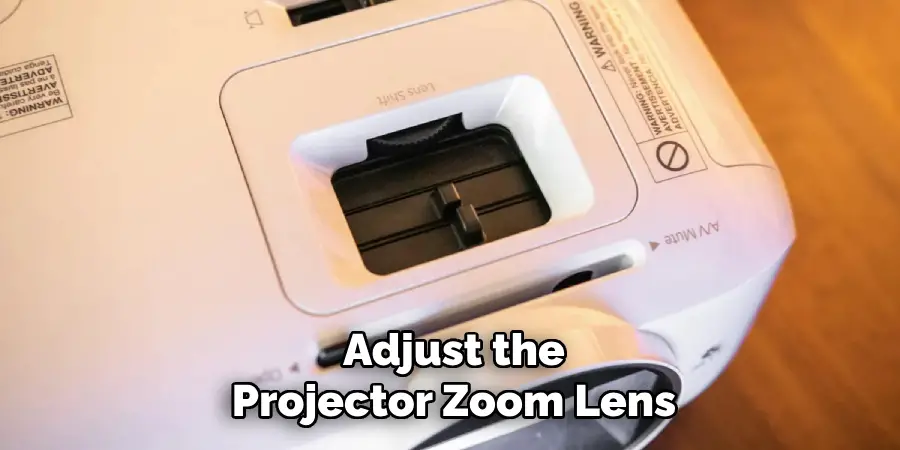
Step 3: Adjust Zoom and Focus
With the keystone correction complete, it’s time to adjust the zoom and focus. These controls are usually located next to each other on the projector or within the menu settings.
Begin by adjusting the zoom until the projected image fills your screen or designated area correctly.
Next, use the focus control to sharpen the image and make any necessary adjustments until it appears clear and crisp. Be patient during this step, as small adjustments can make a significant difference in image quality.
Step 4: Utilize Test Patterns
To ensure optimal image quality, it’s beneficial to use test patterns, which are designed to help you assess the clarity, color accuracy, and overall sharpness of the projected image.
Many projectors come with built-in test patterns that are accessible through the menu options, or you can find downloadable test patterns online.
Start by selecting a suitable test pattern that displays various shades of grey or color gradients. Project this pattern onto your screen or wall and examine how well the projector reproduces the image.
Take note of any areas that appear fuzzy or lack contrast, and adjust the focus control accordingly. You may also wish to calibrate the brightness and contrast settings of your projector if the colours seem washed out or overly saturated.
Repeat this process until the image is as sharp and vibrant as possible, ensuring that you’ll have a clear viewing experience for your presentations or movies.
Step 5: Adjust Lighting Conditions
Lighting can significantly impact the quality of your projected image. If the room is too bright, it can wash out the colors and make it difficult to see details.
On the other hand, if the room is too dark, it may strain viewers’ eyes and cause discomfort. Finding the optimal lighting conditions will depend on personal preference and the type of content being displayed.
For example, a brightly lit room may be necessary for presentations with text-heavy slides, while a darker environment may be better for watching movies or displaying images with vibrant colors. Experiment with different lighting conditions until you find what works best for your needs.
Step 6: Fine-tune Colour and Contrast
In addition to adjusting the projector’s brightness and contrast, you may also wish to fine-tune the color settings.

Most projectors offer a variety of color modes for different viewing scenarios, such as cinema mode or sRGB mode. Experiment with these modes to find the best one for your content.
You can also manually adjust the color temperature, which controls how warm or cool the colors appear on the screen. Again, test patterns can be useful in finding the ideal balance for color accuracy.
Step 7: Use Focus Test Charts
To further refine the clarity of your projected image, incorporating focus test charts can be immensely beneficial. These charts typically consist of finely detailed patterns, such as lines or grids, which allow you to assess how well the projector focuses on different areas of the screen.
Begin by locating a suitable focus test chart online or within your projector’s settings. Once you have the chart ready, project it onto your screen or wall and carefully observe the sharpness of the lines and details.
Adjust the focus control as needed, taking care to ensure that the entire projected image maintains clarity without any fuzzy or blurred sections.
It’s helpful to examine the edges of the focus test chart, as these areas often reveal any focus issues that may not be apparent in the center of the image.
After fine-tuning the focus to achieve the best results, save any custom settings if your projector allows it so you can quickly revert to this configuration for future use.
Additional Tips
- Consider using external speakers or a sound system for better audio quality.
- Use a remote control or app to avoid having to manually make adjustments to the projector.
- If possible, project onto a high-quality screen rather than a wall for better image quality.
- Regularly clean and maintain your projector for optimal performance.
- Consult the user manual or manufacturer’s website for more specific instructions on optimizing your particular projector model.
Remember that achieving optimal projection settings may take some trial and error, so be patient and keep experimenting until you find what works best for your needs.
With these steps on how to focus a projector in mind, you can ensure that your projected images are clear, vibrant, and suited to any environment or content type. Happy projecting!

Frequently Asked Questions
Q: Can I Use a Projector in a Brightly Lit Room?
A: Yes, but it may affect the image quality. Experiment with different lighting conditions to find what works best for your content and personal preference.
Q: Can I Use a Projector on Any Surface?
A: While projectors can display images on any surface, using a high-quality screen will provide better image quality and clarity.
Q: How Often Should I Clean and Maintain My Projector?
A: It’s recommended to clean or dust your projector regularly, depending on usage. Consult the user manual for specific instructions for your model.
Q: Why Do I Need to Adjust the Keystone Correction?
A: Keystone correction helps ensure that the projected image appears rectangular and not distorted due to the angle of the projector relative to the screen.
Conclusion
Properly calibrating your projector is essential to achieving the best possible image quality. By following these steps on how to focus a projector and utilizing test patterns, you can ensure that your presentations or movie nights will be clear, vibrant, and enjoyable for all viewers.
Remember to regularly clean and maintain your projector to preserve its performance and prolong its lifespan.
With a little attention to detail, you can enhance your viewing experience and make the most out of your projector’s capabilities. So keep these tips in mind and enjoy your big screen entertainment! Happy projecting! Keep shining bright!