In today’s fast-paced presentation environments, maintaining control over what your audience sees is crucial. Freezing a projector screen allows presenters to prevent unintended content from being displayed while they navigate their laptops for other files or make changes on the fly. This functionality keeps the focus on the intended presentation and helps manage sensitive information that might otherwise be revealed.
Throughout this article, we will explore various methods on how to freeze projector screen from laptop. We will cover keyboard shortcuts that can quickly activate the freeze feature, remote control options found on many modern projectors, and the use of third-party software that can enhance screen management capabilities during presentations. By understanding these techniques, you will be better equipped to deliver smooth, professional presentations without distractions.
Understanding the Screen Freeze Function
What Does “Freezing” the Screen Mean?
Freezing a projector screen means that the current image displayed on the projector remains static, allowing the presenter to continue using their laptop without revealing any ongoing changes or updates to the audience. This function is particularly useful when a presenter needs to switch between different applications or files while ensuring that the visual focus stays on predetermined content.
When to Use Screen Freeze
Screen freeze is beneficial in various scenarios during presentations. For instance, when a presenter needs to open a different document, double-check their notes, or make last-minute adjustments to the presentation, freezing the screen prevents the audience from seeing any unrelated or sensitive information. This technique enhances professionalism and maintains audience engagement by ensuring that only relevant content is visible at any given time.
How to Freeze Projector Screen from Laptop: Using Keyboard Shortcuts to Freeze the Screen
1.Windows Laptops
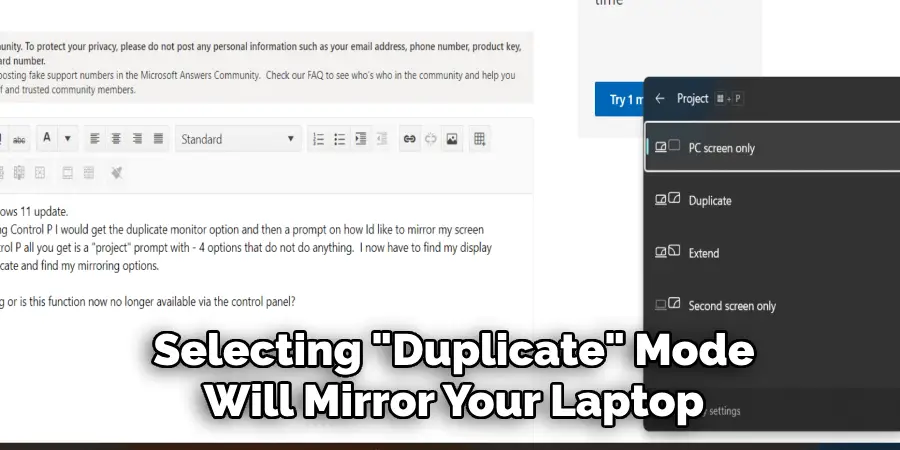
On a Windows laptop, leveraging keyboard shortcuts can simplify the process of freezing your projector screen. Start by pressing “Windows + P” to open the display settings menu. This shortcut allows you to choose between various display modes, such as “Duplicate” and “Extend.” Selecting “Duplicate” mode will mirror your laptop screen onto the projector, displaying the same content.
If the projector has a built-in freeze function, you can activate it via the remote control that accompanies the device. Additionally, suppose your laptop has compatible software installed. In that case, you can use its features to freeze the display directly from the software interface, allowing you to navigate without revealing any changes to your audience.
2.MacBooks
For MacBook users, the process differs slightly since there is no native freeze function available. To manage your displays, go to “System Preferences,” then select “Displays.” Here, you can access arrangement settings to either mirror your display or extend your desktop. While freezing the screen isn’t a built-in capability, you can utilize “Mission Control” to manage open windows conveniently. It allows you to switch between applications while maintaining a focused environment for your audience.
Alternatively, consider installing third-party applications designed for screen management; these can often provide functionalities similar to a freeze feature, helping you maintain professionalism during your presentations.
How to Freeze Projector Screen from Laptop: Using the Projector’s Remote Control
1.Locating the Freeze Button
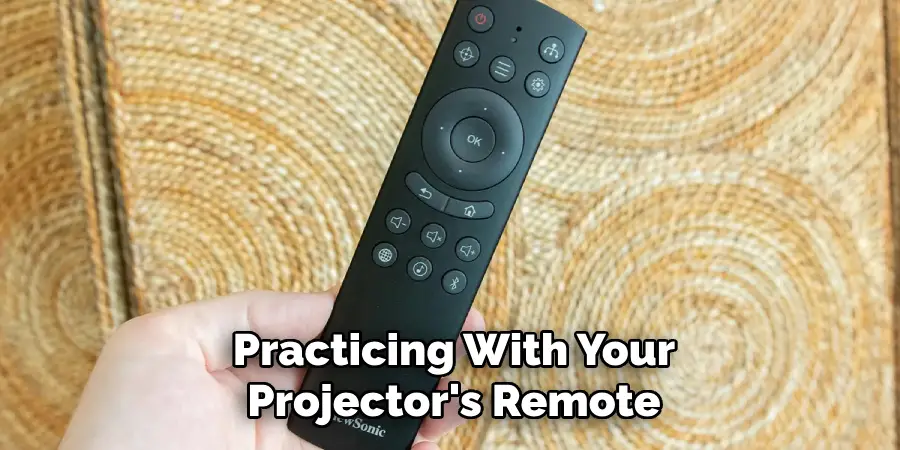
Many modern projectors come with a remote control equipped with a “Freeze” button, providing an easy way to maintain control over your presentation. To locate this button, examine the remote’s layout carefully; it is usually labeled as “Freeze,” “Hold,” or sometimes represented by an icon depicting a paused screen. Once identified, you can use this button by simply pressing it during your presentation to freeze the current image displayed.
This allows you to access other files or applications on your laptop without revealing sensitive or unpolished content to your audience. It’s advisable to familiarize yourself with the remote before your presentation to ensure confidence in its operation. By practicing with your projector’s remote in advance, you can seamlessly incorporate the freeze function into your presentation style, ensuring your audience remains focused on the intended content.
2.Using the On-Screen Display Menu
When the projector remote does not feature a dedicated “Freeze” button, you can utilize the on-screen display (OSD) menu as an alternative method to activate the freeze function. To access the OSD, look for a button on the remote or projector itself labeled “Menu” or “Set.” Once accessed, navigate through the various menu options using the arrow keys. Look for settings related to display or projection modes, where you may find the “Freeze” option listed. To activate it, highlight the freeze option by using the arrow keys and confirm your selection, typically by pressing an “Enter” or “Select” button on the remote.
This approach may vary slightly between projector brands and models, so consulting the user manual for specific instructions is always helpful. With a little practice, navigating the OSD can provide you with the same level of control as using a remote with a dedicated freeze button.
Utilizing Third-Party Software
Popular Software Options
Third-party software can significantly enhance the functionality and ease of managing projector screens, especially when freezing displays. Two popular options are DisplayFusion and UltraMon. DisplayFusion is designed to manage multiple monitors efficiently, offering features like customizable hotkeys, taskbar management across screens, and advanced display settings. Its user-friendly interface lets presenters quickly activate the freeze function without fumbling through settings.
UltraMon, on the other hand, focuses on multi-monitor support, providing simple tools to control display configurations. Features include an easy-to-use taskbar across multiple displays and the ability to set custom shortcuts for freezing and unfreezing screens. Both software solutions cater to professionals needing streamlined control over their presentations, making them invaluable tools in a dynamic environment.
Step-by-Step Installation and Use
To start with DisplayFusion, visit the official DisplayFusion website and download the installation file. Once downloaded, double-click the file to initiate the installation process. Follow the prompts on-screen to complete the setup, ensuring that any necessary permissions are allowed. After installation, launch DisplayFusion and navigate to the settings menu, where you can configure your desired keyboard shortcuts for freezing and unfreezing the projector screen.
For optimal use during a presentation, assign a straightforward hotkey that’s easy to remember, such as “Ctrl + F” or ” Enable the taskbar icon option to provide quick access to freezing functions right from your taskbar. When presenting, simply use your designated hotkey or click the icon in the taskbar to freeze or unfreeze your screen, allowing you to manage content seamlessly and maintain focus with your audience.
Troubleshooting Common Issues
Screen Not Freezing Properly
If the screen does not freeze as expected, check the projector’s firmware. Outdated firmware can lead to compatibility issues, including problems with the freeze function. Ensure that your laptop is properly connected to the projector and verify that the right input source is selected. Additionally, some projectors may have specific requirements for the freeze function; consult the user’s manual to confirm that both devices support this feature. If necessary, try restarting both the laptop and projector to reset their connection.
Lag or Delay Issues
When using third-party software or the projector’s built-in freeze function, you may experience lag or delays. To minimize these issues, consider reducing the screen resolution in both your laptop’s display and projector settings to lessen the processing load. Keeping your drivers up to date can significantly improve performance; check for updates for both your graphics card and projector. Lastly, close any unnecessary programs running on your laptop to free up system resources, ensuring a smoother presentation experience.
Freezing Only Part of the Screen
If only part of your screen is freezing, this may be linked to the specific projector model or the software configuration. Start by adjusting the display settings from your laptop to ensure the entire screen is configured to display on the projector. In some cases, changing the projection mode between ‘Mirror’ and ‘Extend’ can resolve this issue. If the problem persists, consult the projector’s manual for tailored troubleshooting steps, as different models may have unique settings or limitations regarding aspect ratios and freeze functionalities.
Best Practices for Presentations
Preparation and Testing
Thorough preparation is crucial for a successful presentation before stepping onto the stage. Testing the freeze function ahead of time can help prevent any technical hiccups during your performance. Make it a point to rehearse with the equipment you’re using, familiarizing yourself with the freezing and unfreezing process. This practice ensures you can seamlessly control your display, maintaining the flow of your presentation without interruptions.
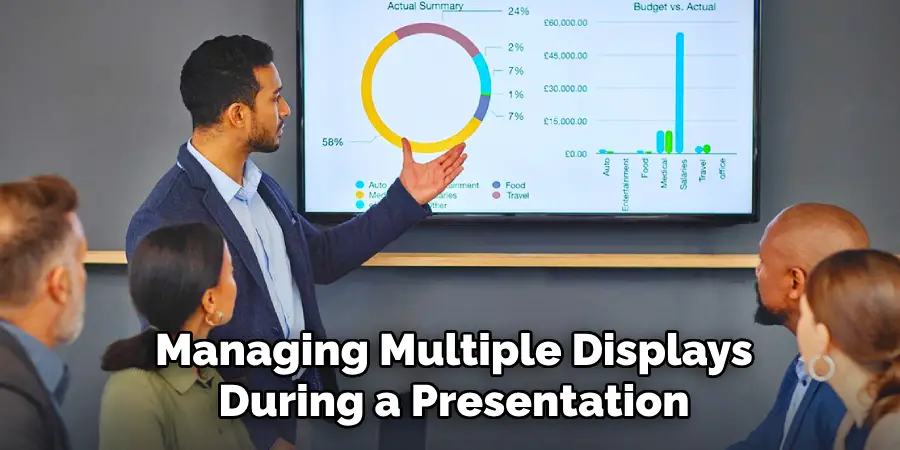
Managing Multiple Displays
Tools like “Presenter View” in PowerPoint can be invaluable when managing multiple displays during a presentation. This feature lets you keep your notes visible while the audience sees only the slides. Additionally, leveraging the freeze function can enhance professionalism by preventing distractions and keeping your presentation focused. Practice switching between modes and freezing the screen to maintain audience engagement and clarity.
Conclusion
In summary, understanding how to freeze projector screen from laptop is essential for a smooth presentation experience. Key methods include using designated keyboard shortcuts, accessing the projector remote, and utilizing third-party software such as DisplayFusion or UltraMon. Each option offers unique advantages that can significantly improve your control over what your audience sees.
To ensure success, it’s vital to practice the freeze function before your presentation and verify the compatibility of both your projector and laptop with this feature. Effective use of the freeze function maintains the continuity of your presentation and helps keep your audience engaged and focused on the crucial content being shared. By mastering these techniques, you can enhance your presentation skills, delivering a polished performance that resonates with your audience.
