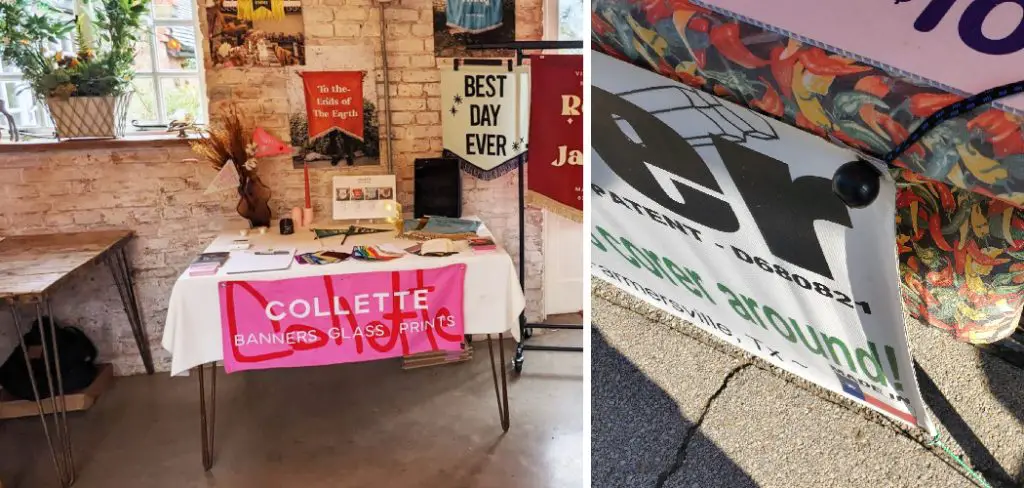
When preparing for events, presentations, or trade shows, displaying a banner on a table is an effective way to promote your brand or message. A well-positioned banner can grab attention, enhance your setup’s visual appeal, and communicate important information to attendees. This guide will walk you through how to hang banner on table, ensuring it stays in place and looks great throughout your event.
Benefits of a Well-Positioned Banner
A well-positioned banner offers numerous advantages when setting up a table display. Firstly, it ensures your branding or message is clearly visible and easily catches the attention of passersby. This boosts the likelihood of engaging potential customers or clients. Additionally, a strategically placed banner enhances the professional appearance of your table setup, creating a polished and organized look that reflects positively on your brand. It can also serve as an effective way to convey key information, such as your company name, services, or promotional offers, ensuring that attendees quickly understand your purpose or value. Overall, a well-positioned banner can greatly increase your table setup’s impact and effectiveness.
Tools and Materials Needed
To properly hang a banner on a table, you’ll need the right tools and materials to ensure it stays secure and looks professional. Here’s a list of items you may require:
- Banner with Grommets: A banner with pre-installed grommets makes attachment easier and provides a secure hold.
- Table Clips or Clamps: These are essential for holding the banner to the table without causing damage to the table’s surface.
- Bungee Cords or Zip Ties: These provide flexibility and secure attachment through the grommets.
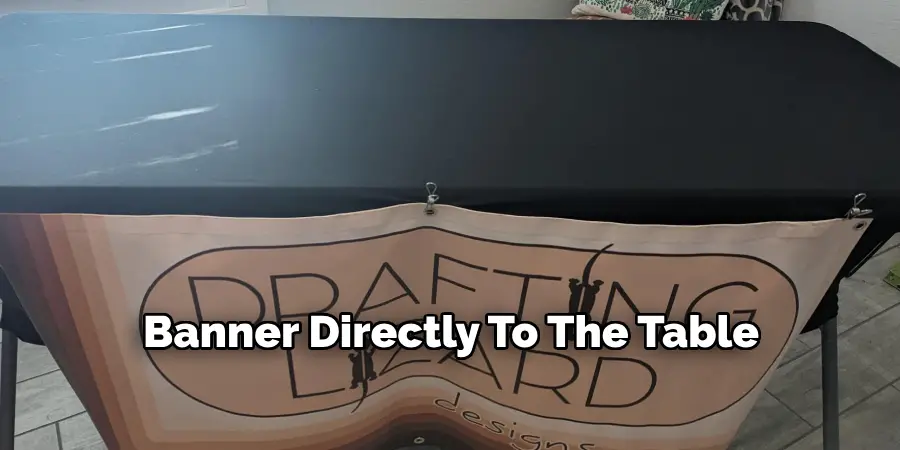
- Double-Sided Tape or Velcro Strips: Useful for banners without grommets, allowing you to adhere the banner directly to the table.
- Scissors: Handy for cutting tape, zip ties, or adjusting materials as needed.
- Measuring Tape: Ensures the banner is centered and evenly hung for a professional look.
Having these tools and materials ready will make the process smooth and ensure your banner is securely and attractively displayed.
Preparing the Table and Banner
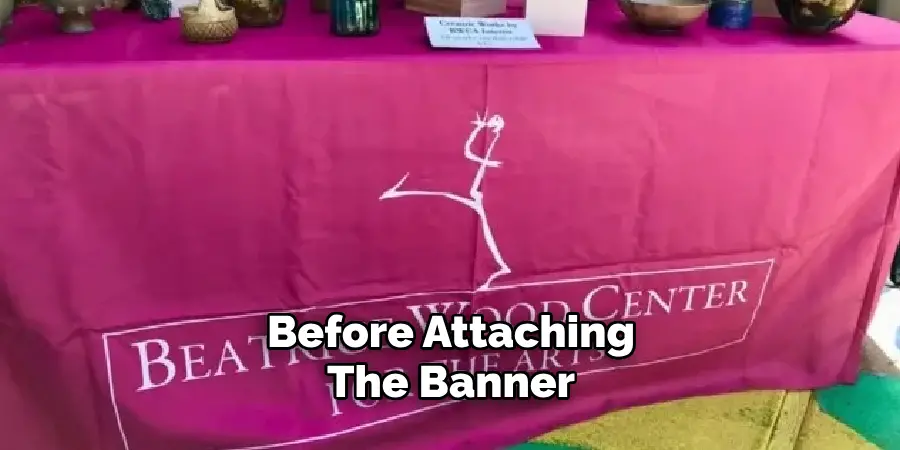
Before attaching the banner, it’s important to prepare both the table and the banner to ensure a seamless setup. Start by cleaning the table surface to remove any dust, dirt, or residue that may prevent adhesive materials, like tape or Velcro strips, from sticking properly. If using clamps or clips, check that the table edges are smooth and unobstructed to allow a secure grip.
Next, inspect the banner to ensure it is clean and free of wrinkles or creases. If the banner is wrinkled, consider laying it flat ahead of time or carefully using a low-heat iron or steamer, if the material allows, to achieve a polished appearance. Measure the width of the table and the length of the banner to determine the best placement, ensuring the banner is centered and symmetrical for maximum visual appeal. Preparing both the table and the banner properly is a key step in creating a professional and lasting display.
10 Methods How to Hang Banner on Table
1. Using Double-Sided Tape
Double-sided tape is a simple and discreet way to attach a banner to a table. Choose a heavy-duty tape to ensure it holds securely. Start by cleaning the edge of the table to remove dust or debris, which can weaken the adhesive. Apply the tape along the top edge of the banner and press it firmly onto the table’s surface. Smooth out any creases as you attach the banner to maintain a clean appearance. This method works best for lightweight banners and smooth table surfaces.
2. Securing with Velcro Strips
Velcro strips provide a reusable and adjustable option for hanging banners. Attach one side of the Velcro strip to the back of the banner and the other side to the table. Ensure the strips align properly before pressing them together. For heavier banners, use industrial-strength Velcro for added security. This method is ideal for situations where the banner may need to be removed and reattached frequently.
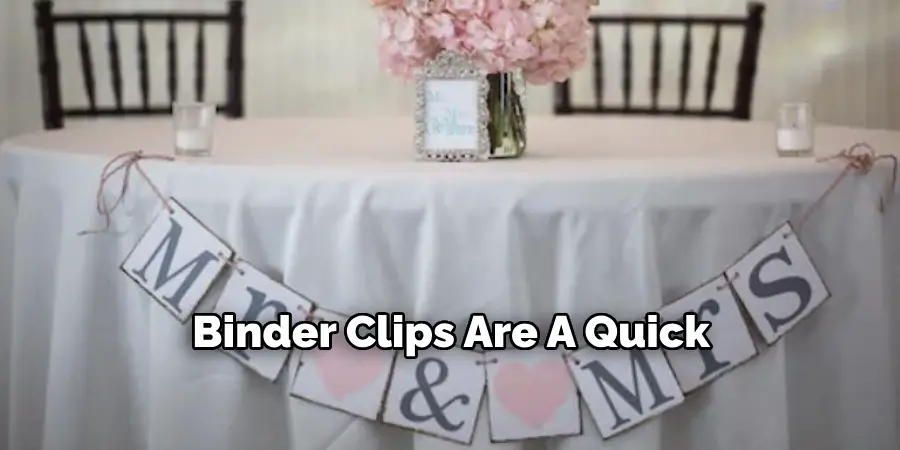
3. Clipping with Binder Clips
Binder clips are a quick and cost-effective solution, especially for plastic or vinyl table edges. Position the banner along the table’s edge and use binder clips to secure it at intervals. Place the clips evenly to prevent the banner from sagging. For a more polished look, cover the clips with decorative ribbon or fabric. This method is particularly useful for temporary setups or when other tools are unavailable.
4. Using Table Skirt Clips
Table skirt clips are specifically designed to hold fabric or plastic materials on tables. These clips grip the table edge firmly while providing a slot to slide the banner into. First, measure the length of the table and attach clips at equal intervals. Slide the banner into the clips, ensuring it hangs evenly. This method works best for banners with grommets or sturdy edges.
5. Tying with Zip Ties
Zip ties are a durable option for banners with grommets or pre-punched holes. Loop a zip tie through each grommet and secure it around the table’s edge or frame. Tighten the zip ties to pull the banner taut, ensuring it lies flat against the table. Cut off the excess tie for a neat appearance. This method is ideal for outdoor events, as zip ties hold up well against wind and weather.
6. Attaching with Magnetic Clips
For tables with metal frames, magnetic clips provide a non-invasive and secure way to hang a banner. Simply attach the magnetic clips to the table’s frame and clip the banner to them. Space the clips evenly for a smooth display. This method is particularly useful for trade shows and exhibitions where banners need to be quickly mounted and removed.
7. Weighting with Table Weights
If you’re unable to attach the banner directly to the table, consider using table weights. Lay the banner across the table’s edge and place weights, such as sandbags or decorative stones, along the top edge to hold it in place. Arrange the weights evenly to prevent the banner from sliding or shifting. This method is suitable for delicate tables where adhesive or clips might cause damage.
8. Pinning with Safety Pins
Safety pins are a traditional yet effective method for fabric banners. Attach the banner to a tablecloth or cover by pinning through both layers. Space the pins evenly along the top edge of the banner to prevent sagging. For a polished look, use decorative pins that match the theme of the event. This method is ideal for fabric tables and banners, as it minimizes visible attachments.
9. Draping Over the Table
For a seamless and professional look, drape the banner directly over the front edge of the table. Secure the top edge of the banner by tucking it under a heavy tablecloth or table runner. For added stability, use double-sided tape or adhesive strips underneath the banner. This method works well for banners that are long enough to cover the entire front of the table.
10. Securing with Adhesive Hooks
Adhesive hooks are a versatile and clean option for hanging banners. Attach the hooks to the back or underside of the table at intervals that align with the banner’s grommets or holes. Loop string, cord, or ribbon through the grommets and hang them on the hooks. This method keeps the banner firmly in place while making it easy to adjust or remove. Choose removable adhesive hooks to avoid damage to the table.
Maintenance and Upkeep
Proper maintenance and upkeep of both the banner and its hanging tools are essential to ensure a professional appearance and prolong their lifespan. After each use, inspect the banner for any dirt, stains, or damage. Clean it according to the manufacturer’s instructions—most banners can be wiped with a damp cloth, while some fabrics may require gentle washing or dry cleaning. Allow the banner to dry completely before storing it to prevent mold or mildew.
For the hanging tools, such as Velcro strips, clips, or adhesive hooks, check for wear and tear. Replace any items that are no longer functional, like worn-out Velcro or weakened adhesives, to avoid issues during the next setup. Store all materials in a clean, dry space to protect them from moisture and dust. Organizing the tools in a labeled container will make future installations smoother and more efficient. By regularly maintaining your materials, you’ll ensure your banners always look polished and professional for any event.
Conclusion
Displaying a banner effectively can significantly enhance the visual appeal and professionalism of your setup, whether for an event, trade show, or presentation. By utilizing the various methods outlined above, you can select the most suitable option based on your banner type, table surface, and event requirements. Proper installation and maintenance ensure your banner remains secure and visually striking, leaving a lasting impression on your audience. Follow these simple instructions outlined in this blog post about how to hang banner on table, and you’ll be able to get the job done with ease.
you can also check it our Repair Water Damaged Mdf Table Top