Transforming a sterile office into a space that feels personal and motivating can be a challenge. Adding art and photographs is one of the most effective ways to inject personality and warmth into a professional environment.

The right images can inspire creativity, boost morale, and make a workspace feel more like a second home. Well-placed photo frames can break up monotonous walls, reflect the company’s culture, and tell a story about the people who work there.
However, the process of hanging these frames can seem daunting. It’s about more than just a hammer and a nail; it involves careful planning, precise measurement, and an eye for design. A poorly executed display can look cluttered and unprofessional, defeating the purpose.
This guide on how to hang photo frames in an office provides a comprehensive, step-by-step process to help you hang photo frames in your office perfectly, creating a display that is both beautiful and inspiring.
8 Step-by-step Guidelines on How to Hang Photo Frames in an Office
Step 1: Curate Your Photos and Choose the Right Frames
Before you even think about picking up a tool, the first crucial step is to decide what you want to display. The images you select will set the tone for the entire space. Consider a mix of professional and personal content. You might include photos from company events, team-building activities, or candid shots of daily office life.
For a more personal touch, you could display professional headshots, abstract art that aligns with your brand colors, or motivational quotes. The goal is to curate a collection that is cohesive and tells a compelling story about your team and your company’s values. Gather all potential images and lay them out to see how they work together.
Once your images are selected, the next task is to choose the frames. The frames should complement both the photographs and the office decor. For a sleek, modern look, consider simple black, white, or metallic frames with clean lines. If your office has a more traditional or rustic aesthetic, wood frames might be a better fit.
Consistency is key to a professional look, so try to stick to a unified color scheme or style. You can vary the size of the frames to create visual interest, but keeping the material or color consistent will tie the entire display together. Also, consider the matting, as a mat can elevate the look of a simple photo and give it a more formal, gallery-like appearance.

Step 2: Plan Your Layout and Arrangement
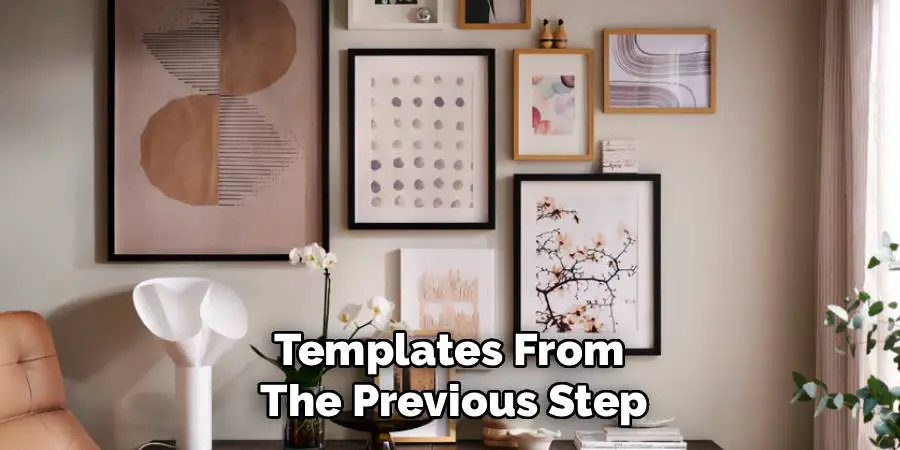
With your framed photos ready, it’s time to plan the arrangement on the wall. This planning stage is essential to avoid unnecessary holes and misplaced frames. A popular method is to use kraft paper or old wrapping paper to create templates of your frames. Trace each frame onto the paper and cut it out.
This allows you to experiment with different layouts directly on the wall without committing to any nails. You can easily tape these paper templates to the wall and move them around until you find an arrangement you love. Consider the overall shape you want to create—will it be a symmetrical grid, a staggered gallery wall, or a linear display?
When planning your layout, think about balance and spacing. The center of your entire arrangement should typically be at eye level, which is about 57 to 60 inches from the floor. This is the standard height used in galleries and ensures the artwork is comfortable to view.
If you are creating a gallery wall with multiple frames, treat the entire collection as one single piece of art when determining the center point.
Ensure the spacing between frames is consistent, usually between 2 to 5 inches, to create a clean and organized look. Use a tape measure and a level to map out your design on the wall with the paper templates before you proceed.
Step 3: Gather Your Tools and Materials
Having all the necessary tools on hand before you begin will make the hanging process smooth and efficient. There is nothing more frustrating than getting halfway through a project only to realize you are missing a crucial item. Create a checklist of everything you’ll need.
The basic toolkit should include a hammer, a tape measure, a pencil, and a level. A laser level can be particularly helpful for ensuring perfect alignment, especially for larger displays or long rows of frames. You will also need your paper templates from the previous step and some painter’s tape to hold them in place.
In addition to the basic tools, you will need the right hardware for hanging your frames. The type of hardware you choose will depend on the weight of your frames and the type of wall you are working with (drywall, plaster, or concrete). For lightweight frames, simple nails or picture-hanging hooks may suffice.
For heavier pieces, it’s essential to use more robust solutions like wall anchors or screws to ensure they are secure. Picture-hanging wire attached to D-rings on the back of the frame is another excellent option that makes leveling easier. Make sure the hardware you select is rated to support the weight of your heaviest frame.
Step 4: Measure and Mark the Wall
Precision is your best friend in this step. With your paper templates taped to the wall in your desired layout, it’s time to mark where the nails or hooks will go. This requires careful measurement. For each frame, determine the exact spot for the hanger.
If you are using a wire on the back of the frame, pull the wire taut up to the top of the frame to find the point where it will hang. Measure the distance from the top of the frame to this taut point.
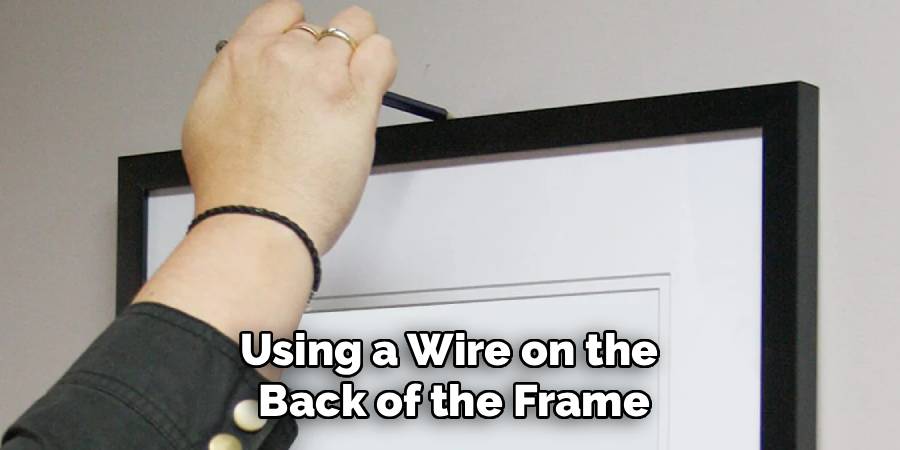
Then, transfer this measurement onto your corresponding paper template on the wall, measuring down from the top edge of the template. This mark is where your nail or screw will be placed.
Double-check all your measurements before making any permanent marks on the wall. Use your level to ensure your planned top and bottom lines for the entire arrangement are perfectly horizontal. For grid layouts, check that your vertical lines are straight as well.
Once you are confident in your measurements, make a small, precise mark with a pencil on the wall through the paper template at the spot you identified for each hook.
After marking all the spots, you can carefully remove the paper templates, leaving you with a perfect guide for installation. Taking the time to be meticulous here will pay off with a professional-looking result.
Step 5: Install the Hanging Hardware
Now that you have your precise markings on the wall, it is time to install the hardware. This is where your choice of hanging material becomes critical. If you are hanging on drywall and your frames are light, you can gently hammer a picture-hanging nail into your marked spot at a slight downward angle. This angle provides greater holding power.
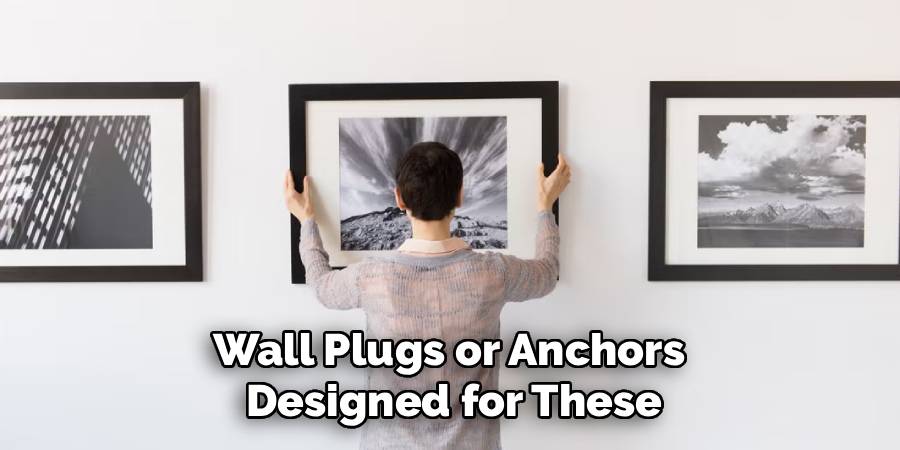
For heavier frames, you will need to use a wall anchor. To do this, you may need to drill a pilot hole first, then insert the plastic anchor into the hole until it is flush with the wall. Finally, you can drive the screw into the anchor, leaving it sticking out just enough to hang your frame.
Always refer to the instructions that come with your specific hanging hardware. If your office walls are made of plaster or concrete, the process will be different. Plaster can be brittle, so it’s often best to drill a pilot hole first to prevent cracking, even for lighter frames.
For concrete or brick walls, you will need a masonry drill bit and appropriate wall plugs or anchors designed for these hard surfaces. Whatever the wall type, ensure each piece of hardware is installed securely. Give each hook or screw a gentle tug to confirm it is firmly in place before you trust it with your artwork.
Step 6: Hang the First Photo Frame
With the hardware installed, you are ready for the rewarding part: hanging the frames. Start with a central or key frame in your arrangement. This frame will act as an anchor point for the rest of the display. Carefully lift the frame and hang it on its designated hook or screw.
If you used picture-hanging wire, it should be relatively easy to place it. If your frame has a sawtooth hanger, you may need to guide it onto the nail. Once the frame is on the wall, it’s time to check if it is level.
Place your level on top of the frame. Adjust the frame slightly to the left or right until the bubble in the level is perfectly centered between the two lines. If you used picture wire, this is usually a simple adjustment.
If you used D-rings or sawtooth hangers that require two hooks, getting it level might be more challenging, which is why precise measurement in the earlier steps is so important. Step back and look at the frame from a distance to ensure it looks straight to your eye as well. This first frame sets the precedent for the entire display, so take your time to get it just right.
Step 7: Hang the Remaining Frames and Adjust
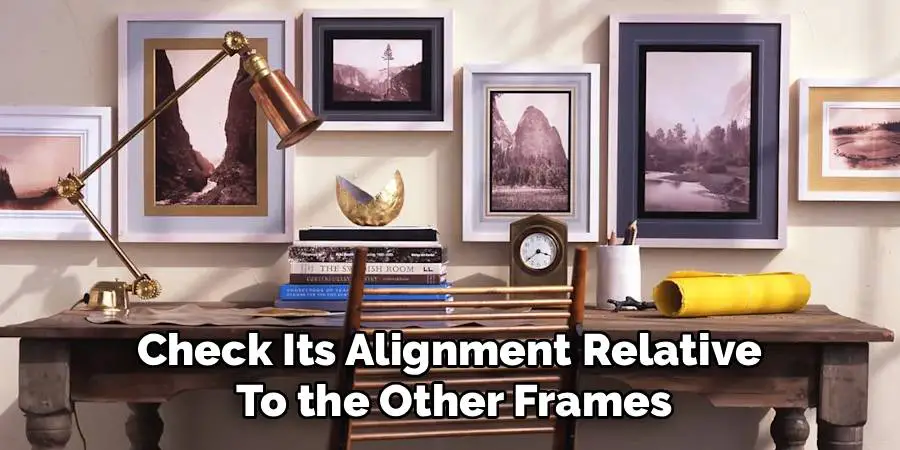
Once your first frame is perfectly hung and level, proceed with the rest of your collection. Work your way outwards from the central frame, hanging one piece at a time. As you hang each frame, use your level to check its alignment. It’s important not only to ensure that each individual frame is level but also to check its alignment relative to the other frames around it.
Use your tape measure to confirm that the spacing between the frames is consistent with your original plan. For example, if you decided on a 3-inch gap between frames, verify this spacing on all sides—top, bottom, and sides.
Small adjustments are often necessary during this stage. A frame might need to be shifted slightly to align perfectly with its neighbor. Painter’s tape can be a useful tool here; you can place small pieces of tape to mark the corners of an already-hung frame to guide the placement of the next one.
After hanging all the frames, take a final step back to view the entire arrangement from different angles in the room. This will help you spot any frames that might be slightly crooked or misaligned. Make any final, minor adjustments until you are completely satisfied with the overall look.
Step 8: Clean Up and Admire Your Work
The final step is to clean up your workspace and admire your newly transformed wall. Carefully wipe down each frame and glass with a soft, dry cloth to remove any fingerprints or dust that may have accumulated during the hanging process. Use a pencil eraser to gently remove any visible pencil marks left on the wall.
Gather all your tools, leftover hardware, and paper templates. A thorough cleanup is the finishing touch that completes the project and leaves your office space looking pristine and professional.
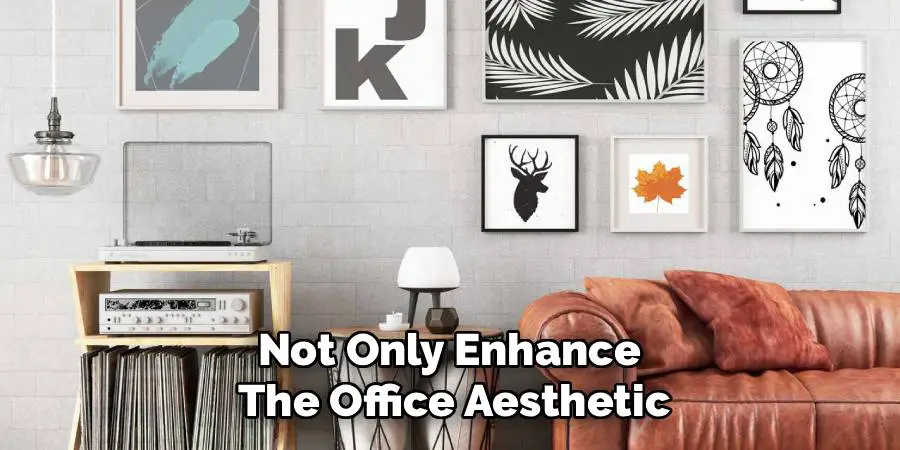
Now, take a moment to appreciate the result of your hard work. A well-executed photo display can dramatically change the atmosphere of an office, making it a more engaging and personalized environment. It serves as a visual representation of your team’s culture, achievements, and personality.
Your new display will not only enhance the office aesthetic but also act as a conversation starter and a source of daily inspiration for everyone who sees it. You have successfully created a feature wall that adds character and style to your workspace.
Following these steps on how to hang photo frames in an office will not only display your team’s achievements but also add a personal touch to the space.
Frequently Asked Questions
Q1: How Do I Choose the Right Size of Frames for My Office Wall?
A1: The right frame size depends on the size of the wall and the viewing distance. For a large, empty wall, don’t be afraid to go big with oversized frames or a large gallery wall to make a statement. For smaller walls or narrow spaces, a vertical stack of smaller frames can work well.
As a general rule, your art should take up about two-thirds of the available wall space. Before buying frames, use painter’s tape to outline the potential sizes on your wall to visualize how they will fill the space.
Q2: What Is the Best Way to Create a Cohesive Gallery Wall?
A2: Cohesion is achieved through consistency. The easiest way is to use identical frames for all your photos. If you want to mix and match different frame styles, stick to a limited color palette—for instance, all-black frames, all-wood frames, or a mix of black and white.
Another approach is to create cohesion through the photos themselves, such as using all black-and-white images or pictures with a similar color theme. A consistent mat color across different frames can also tie the whole look together.
Q3: Can I Hang Frames Without Using Nails?
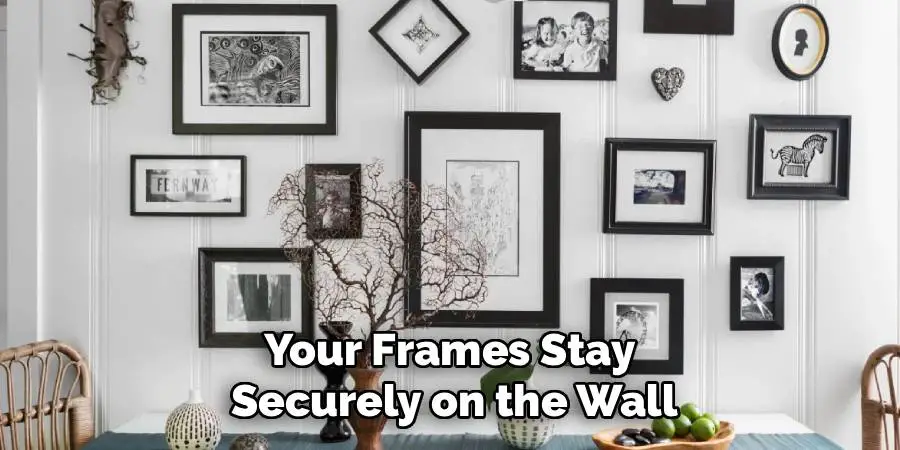
A3: Absolutely. There are several nail-free options perfect for offices, especially if you are in a rented space or want to avoid wall damage. Adhesive strips (like Command Strips) are a popular choice. They come in various sizes to support different weights and can be removed cleanly without leaving marks.
Adhesive hooks are another option. Just be sure to clean the wall surface with rubbing alcohol before applying the adhesive and follow the weight limit instructions carefully to ensure your frames stay securely on the wall.
Q4: How Should I Arrange Photos Above Office Furniture?
A4: When hanging frames above a piece of furniture like a desk, sofa, or credenza, the artwork should be visually connected to it, not floating too high above it.
A good rule of thumb is to hang the bottom of the lowest frame about 6 to 10 inches above the top of the furniture. The width of the art arrangement should ideally be about two-thirds the width of the furniture below it. This creates a balanced and anchored composition that makes the furniture and the art feel like a single, cohesive unit.
Conclusion
Hanging photo frames in an office is more than just decoration; it is an investment in your company’s culture and employee morale. By carefully curating your images, planning your layout, and following a precise installation process, you can create a stunning visual display that reflects your team’s identity and makes the workspace more inviting.
The eight steps outlined in this guide on how to hang photo frames in an office provide a clear path to achieving a professional and polished result.
By avoiding common mistakes and applying these tips, you can transform any blank wall into a meaningful and inspiring focal point. So gather your favorite photos, roll up your sleeves, and get ready to bring new life to your office walls.