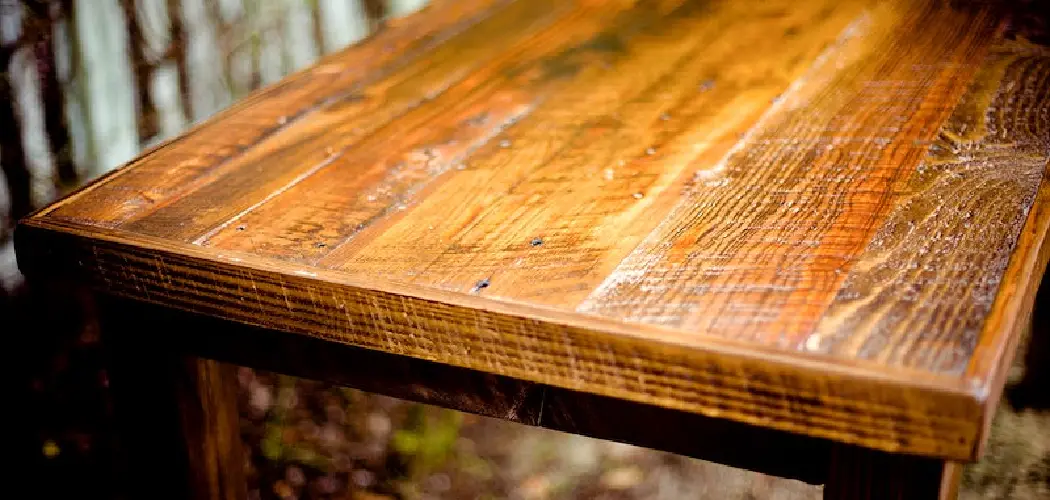
Are you tired of looking at scratches on your beautiful wood furniture? Scratches can make even the most luxurious piece of furniture look worn and old.

Wood furniture adds timeless elegance and warmth to any space, but daily use can often lead to unsightly scratches that diminish its beauty. While scratches are inevitable, they don’t have to become permanent blemishes on your cherished pieces. Fortunately, there are effective methods to conceal these marks and restore your furniture’s original charm. Whether it’s a tiny scuff or a deeper groove, learning how to hide scratches can enhance the longevity of your furniture and maintain its aesthetic appeal.
This guide will provide easy-to-follow steps on how to hide scratches in wood furniture, ensuring your furniture continues to look its best.
What Will You Need?
Before we discuss specific methods, let’s gather some essential items to hide scratches in your wood furniture.
- Soft Cloths: These will be used to clean and buff the furniture’s surface gently.
- Mineral Spirits or Denatured Alcohol: These are effective solvents for removing dirt and grime from the surface of the wood. They can also help to remove excess wax or polish buildup.
- Paste Wax: This provides a protective layer over the repaired area and adds shine to the wood.
- Touch-up Markers or Crayons: These come in various shades of brown and can effectively cover up minor scratches on darker wood finishes.
- Furniture Scratch Repair Kit: This contains all the necessary tools and materials to hide scratches in wood furniture, including filler, sandpaper, and stain.
- Wood Filler: This is essential for repairing deeper scratches or gouges in the wood.
- Sandpaper: Different grits of sandpaper will be used throughout the process to smooth out the repaired area and match it with the surrounding surface.
Having these items on hand will make it easier to address any new scratches that occur quickly.
9 Easy Steps on How to Hide Scratches in Wood Furniture
Step 1: Clean the Affected Area
Before starting any repair work, it’s crucial to thoroughly clean the affected area to remove any dirt, dust, or debris that can interfere with the repair process. Using a soft cloth, gently wipe down the surface to clear away loose particles. For a more thorough cleaning, lightly dampen the cloth with mineral spirits or denatured alcohol.
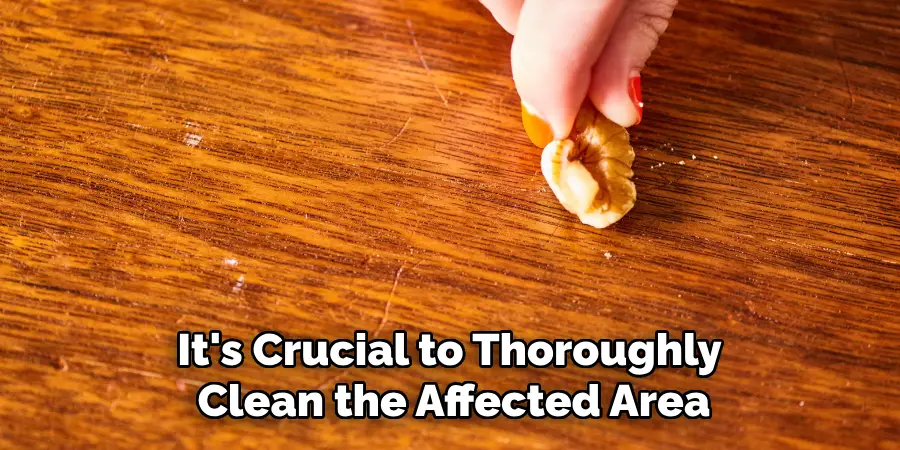
This will not only remove dirt but will also strip away any old wax or polish that could prevent the repair material from adhering properly. Be sure to work in a well-ventilated area and use gloves to protect your hands from the solvents. Allow the area to dry completely before proceeding to the next step. Cleaning sets the foundation for effectively hiding scratches and ensures the repair blends seamlessly with the rest of the furniture.
Step 2: Assess the Depth of the Scratch
With the area clean and dry, the next step is to assess the depth of the scratch to determine the best repair method. A touch-up marker or crayon in a matching color will often suffice for shallow, superficial scratches. Simply color the scratch and gently remove any excess with a soft cloth. For deeper scratches or gouges, a more in-depth repair is needed.
In such cases, using a wood filler specifically designed for furniture will be necessary. Carefully apply the filler using a putty knife, ensuring that it fills the scratch and is level with the surrounding surface. Allow it to dry thoroughly according to the manufacturer’s instructions before moving on to further refinements. Proper assessment enables the use of appropriate materials and techniques for an effective repair.
Step 3: Sand the Repaired Area
Once the filler has dried completely, it’s time to sand the repaired area to ensure a smooth and even finish. Starting with a coarse-grit sandpaper, gently sand over the filled scratch to remove excess material and create a level surface. Gradually switch to finer grits of sandpaper to refine and smooth the area, blending it seamlessly with the rest of the furniture. It’s essential to sand along the grain of the wood to avoid additional scratches. Ensure the sanded area feels smooth to the touch and is flush with the surrounding wood. After sanding, wipe away any dust particles with a clean, dry cloth, preparing it for the next stage of restoration.
Step 4: Apply Touch-Up Stain

With the surface smooth and clean, it’s time to apply a touch-up stain to help blend the repair with the surrounding wood finish. Choose a stain that closely matches the color of your furniture. Using a small brush or a cotton swab, carefully apply the paint over the sanded area, feathering it slightly into the surrounding wood to create a seamless transition. Allow the stain to penetrate for a few minutes before wiping away any excess with a clean, soft cloth. You may need to apply multiple coats to achieve the desired color, allowing each coat to dry as per the manufacturer’s instructions. Applying the touch-up stain correctly will ensure a natural appearance, making the repair virtually invisible.
Step 5: Seal the Repaired Area
Once the touch-up stain has dried completely and the color matches the rest of the furniture, sealing the repaired area is essential. Sealing provides a protective layer, preserving the repair and enhancing the finish. Use a paste wax or a clear spray varnish, applying it evenly over the stained area. If using paste wax, apply a small amount with a soft cloth and buff it into the wood using circular motions. For a spray varnish, apply it in light, even coats, to avoid drips, allowing it to dry thoroughly between applications. This protective layer will shield the repair from future damage and restore the shine and uniformity to your furniture’s surface.
Step 6: Polish the Entire Surface
With the repaired area now sealed, it’s beneficial to polish the entire furniture surface to maintain uniformity and enhance the overall appearance. Select a high-quality furniture polish appropriate for the type of wood finish you have. Using a soft, clean cloth, apply the polish evenly over the entire surface, including the repaired area, in gentle, circular motions. This step not only boosts the furniture’s shine but also offers an additional protective layer against dust and minor scratches. Polish regularly to maintain the beauty of your furniture and prolong the life of your repairs.
Step 7: Inspect the Repair
After polishing, take a moment to closely inspect the repaired area and the overall surface of the furniture. Look for any discrepancies in color or texture that indicate the need for additional touch-ups. Check that the repair is smooth and that the color blend is consistent with the surrounding wood. If any part of the repair stands out or feels rough, consider repeating some of the earlier steps, like applying more stain or lightly sanding the area to achieve a perfect blend. This careful inspection ensures that the repair meets your standards and that the furniture retains its aesthetic appeal. Attention to detail at this stage confirms the longevity and success of your repair efforts.
Step 8: Maintain Regular Care
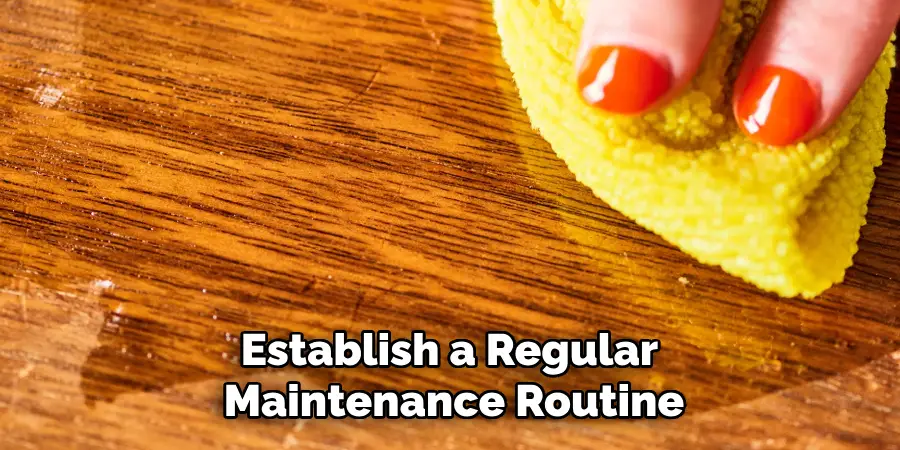
Establish a regular maintenance routine to ensure the longevity of your furniture repair and keep it looking its best. Dust your furniture regularly using a soft, lint-free cloth to prevent the buildup of dirt and grime, which can dull the finish over time. Use coasters and placemats to protect surfaces from spills and heat damage.
Periodically, polish your furniture with a high-quality product suitable for its finish to restore its luster and add a layer of protection. Avoid placing furniture in direct sunlight, as exposure can cause fading or warping. Lastly, promptly address any new scratches or damage using the techniques described above to maintain the furniture’s appeal and functional integrity. Regular care will preserve the quality and appearance of your furniture for years to come, ensuring that your repair efforts pay off in the long term.
Step 9: Consider Professional Refinishing
If your furniture has significant damage or is a valuable antique, you might consider hiring a professional for refinishing. A professional refinisher can assess the overall condition of your piece and recommend the best course of action to restore it to its original glory. They have access to specialized tools and materials to achieve a high-quality finish that might be challenging to replicate at home. In addition to repairing visible damage, professional refinishing can address structural issues and ensure the longevity of your furniture.
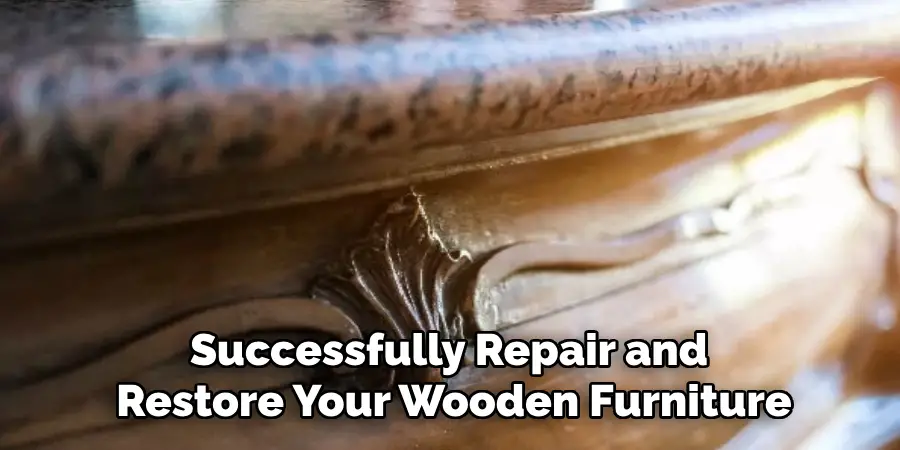
By following these steps, you can successfully repair and restore your wooden furniture at home.
Conclusion
How to hide scratches in wood furniture involves a combination of careful preparation, precise application of materials, and consistent maintenance practices.
By following a systematic approach—cleaning the area, sanding for smoothness, applying the right touch-up stain, sealing for protection, and regular polishing—you can ensure that your furniture retains its aesthetic appeal and structural integrity. If scratches are more severe or if the piece is treasured, professional refinishing is a viable option to achieve optimal results.
Maintaining a regular care routine ultimately helps preserve the beauty and function of your furniture, allowing it to remain a cherished part of your home for years to come. With these strategies, you can effectively manage minor damage and prolong the life of your wooden furniture.