When it comes to security cameras, one of the most common ways to store footage is through the use of SD cards. These small memory cards are convenient and easy to use, making them a popular choice for many security camera owners. In this guide, we will walk you through the steps on how to install SD card in security camera.

Necessary Items
Before we begin, make sure you have the following items ready:
- Security camera with SD card slot
- Micro SD card (compatible with your security camera)
- Screwdriver (if necessary)
12 Steps on How to Install SD Card in Security Camera
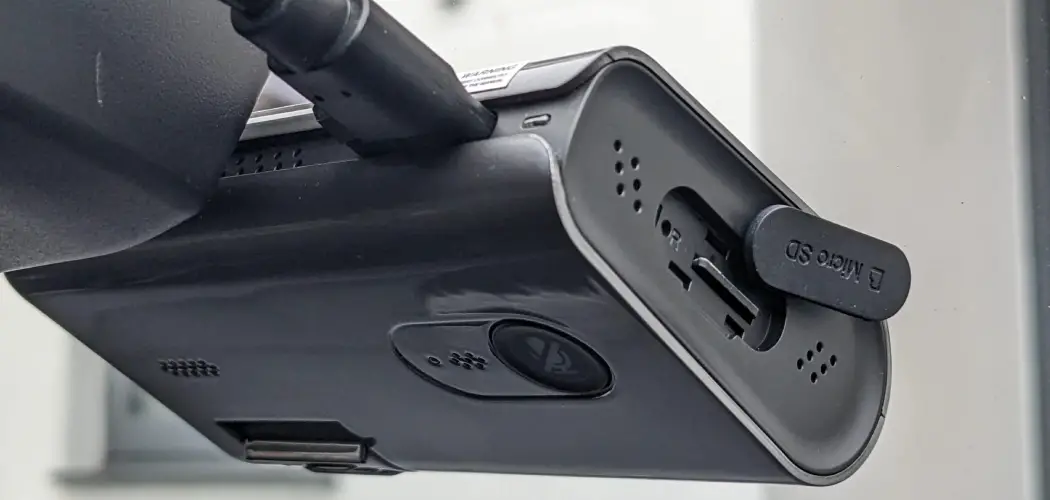
Step 1: Locate the SD Card Slot
The first step is to locate the SD card slot on your security camera. This can usually be found at the back or bottom of the camera, depending on the model. It may also be labeled as “SD” or have a small image of an SD card.
Step 2: Power Off Your Security Camera
Before inserting the SD card, make sure to power off your security camera. This will prevent any data loss or damage to the SD card. For wireless security cameras, it’s important to disconnect the power source.
Step 3: Remove Any Existing SD Card
If you have previously inserted an SD card in your camera, make sure to remove it before inserting a new one. This is to avoid any conflicts or errors with the footage stored on the previous SD card. If there is no existing SD card, skip to Step 4.
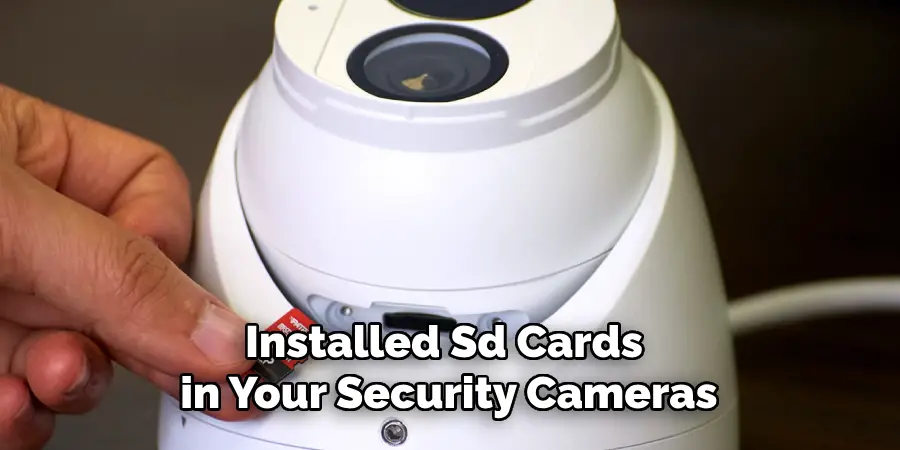
Step 4: Insert the Micro SD Card
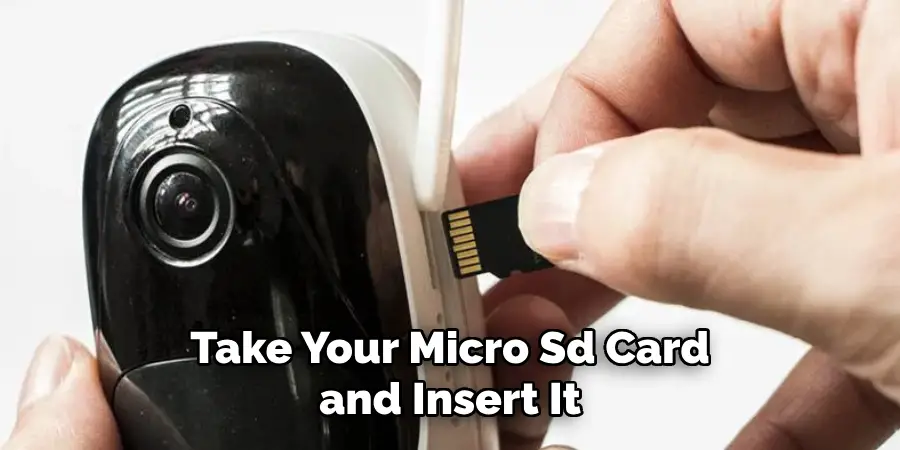
Take your micro SD card and insert it into the slot. Make sure to align the metal contacts on the card with those in the slot. Gently push it in until you hear a click or feel it securely in place. If your security camera has a cover for the SD card slot, make sure to close it afterward.
Step 5: Power On Your Security Camera
Once the SD card is inserted, you can now power on your security camera. Depending on the model, it may take a few seconds for the camera to recognize and initialize the SD card. You may also get a notification or indicator light once the SD card is successfully detected.
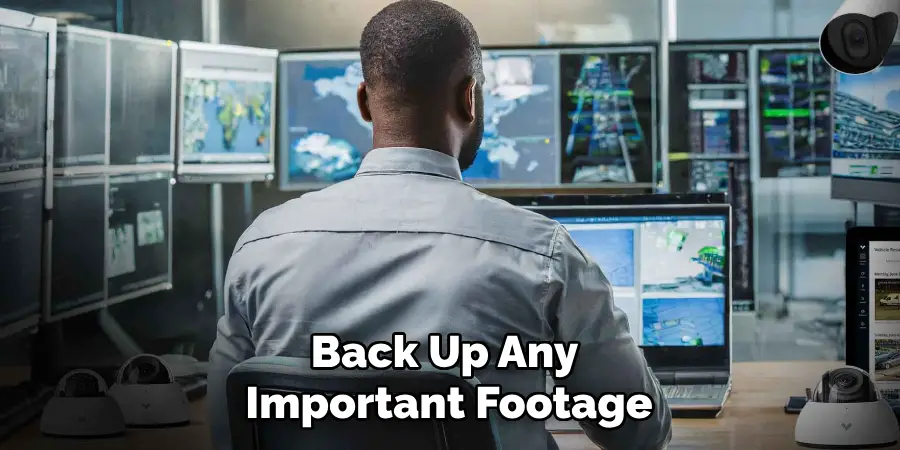
Step 6: Format the SD Card (Optional)
Some security cameras may require you to format the SD card before use. This will erase any existing data on the card, so make sure to back up important footage first. You can usually format the SD card through your camera’s settings menu.
Step 7: Check the Storage Capacity
Once the SD card is inserted and recognized, you can check its storage capacity through your camera’s settings. This will give you an idea of how much footage can be stored on the SD card. If necessary, you can also adjust the video quality or resolution to optimize storage space.
Step 8: Configure SD Card Recording Settings
In your camera’s settings, you may also have the option to choose how footage will be recorded on the SD card. This includes continuous recording, motion detection recording, or scheduled recordings. Choose the option that best suits your needs and save any changes.
Step 9: Test Recording
To ensure that the SD card is functioning properly, you can do a test recording. Simply trigger the camera to record (through motion or manually) and check if the footage is saved on the SD card. If not, there may be an issue with the SD card or its compatibility with your security camera.
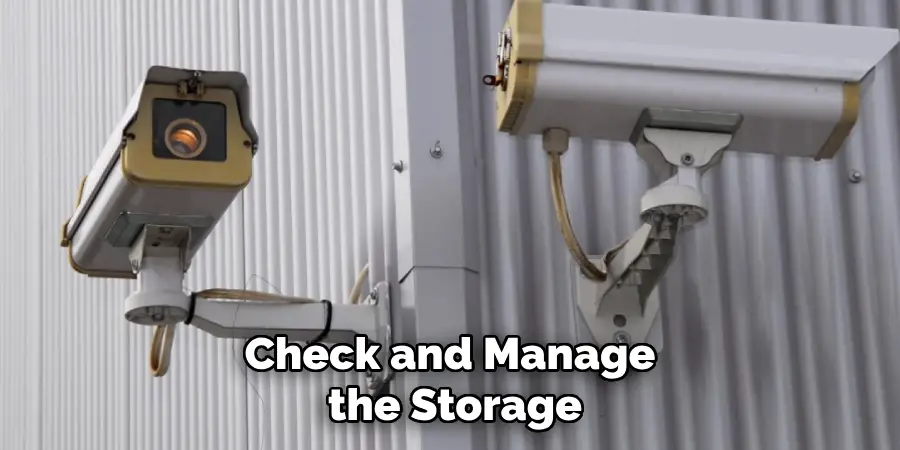
Step 10: Regularly Check and Manage SD Card Storage
As your security camera records footage, the SD card will eventually run out of space. It is important to regularly check and manage the storage on the SD card. You can do this by either deleting old footage or transferring it to a computer for backup.
Step 11: Eject and Remove SD Card (Optional)
If you need to remove the SD card for any reason, make sure to eject it properly through your camera’s settings or by using the “safely remove hardware” function on your computer. This will ensure that no data is lost or corrupted.
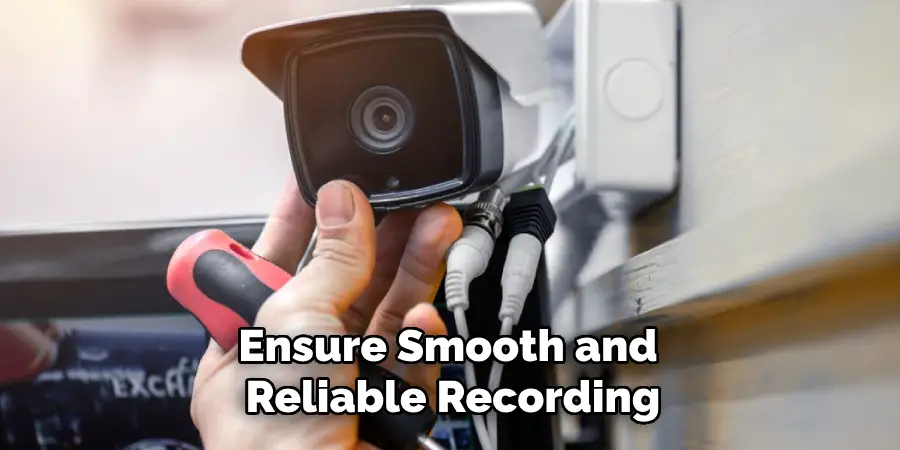
Step 12: Repeat Process When Necessary
If you need to replace the SD card, simply repeat this process. It is recommended to use high-quality and compatible SD cards for your security camera to ensure smooth and reliable recording.
By following these 12 simple steps, you can easily install an SD card in your security camera. Remember to regularly manage the storage on the SD card and choose a card that is compatible with your camera for optimal performance. With an SD card, you can have peace of mind knowing that your security footage is safely stored and easily accessible when needed.
9 Safety Measures to Take When Installing SD Card in Security Camera
While installing an SD card may seem like a simple task, there are some safety measures you should take to ensure the process goes smoothly and avoid any potential issues:
1) Wear Anti-Static Gloves
When handling the SD card, it is important to wear anti-static gloves to prevent any static electricity from damaging the card. As SD cards are sensitive electronic devices, this is an important precaution to take.
2) Use a Screwdriver (if necessary)
If your security camera has a cover for the SD card slot that requires screws to be removed, make sure to use a screwdriver of the correct size. This will prevent any damage to the screws or the camera itself.
3) Avoid Bending or Twisting the SD Card
When inserting the SD card, make sure to gently push it in without bending or twisting it. This could damage the metal contacts or break the card. So, handle the SD card with care. If you encounter resistance, double-check that the card is aligned properly.
4) Power Off Your Security Camera
As mentioned in Step 2, it is important to power off your security camera before inserting an SD card. This will prevent any data loss or damage to the SD card and ensure a smooth installation process.
5) Remove Any Existing SD Card
Before inserting a new SD card, make sure to remove any existing one. This is to avoid conflicts or errors with the footage stored on the previous SD card. Always remember to properly eject and remove the SD card before replacing it.
6) Check Compatibility
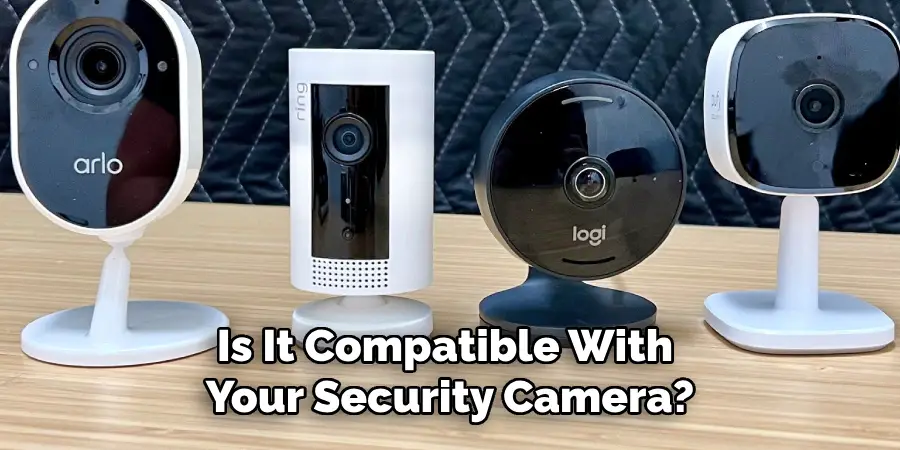
It is important to check that the SD card you are using is compatible with your security camera. Refer to your camera’s manual or manufacturer’s website for recommended SD card types and capacities.
7) Format the SD Card (if needed)
If your security camera requires you to format the SD card before use, make sure to back up any important footage first. This will erase all data on the card, so it is important to double-check before proceeding with formatting.
8) Clean the SD Card Slot
If your security camera has a cover for the SD card slot, make sure to clean it before inserting the SD card. This will prevent any dust or debris from getting into the camera and potentially causing issues.
9) Regularly Check and Manage Storage
As mentioned in Step 10, it is important to regularly check and manage the storage on the SD card to ensure smooth recording. This will also prevent the card from becoming full and potentially causing issues with recording or playback.
By taking these safety measures on how to install SD card in security camera, you can ensure a successful and safe installation of an SD card in your security camera. Remember to always handle electronic devices with care and refer to your camera’s manual for specific instructions.
Be cautious and follow the necessary steps to avoid any potential issues. Stay safe and secure with properly installed SD cards in your security cameras.
8 Things to Avoid When Installing an SD Card in Your Security Camera
While installing an SD card in your security camera can greatly enhance its functionality, there are some things you should avoid to ensure proper installation and prevent any potential issues:
1) Using Incompatible SD Cards
Using an incompatible SD card can lead to errors, data loss, or even damage to your security camera. Always make sure to refer to your camera’s manual or manufacturer’s website for recommended SD card types and capacities.
2) Skipping the Power Off Step
As mentioned in Step 4, it is important to power off your security camera before inserting an SD card. This will prevent any data loss or damage to the SD card and ensure a smooth installation process.
3) Forgetting to Eject the SD Card
It is important to properly eject and remove the SD card before replacing it, as mentioned in Step 5. This will prevent any conflicts or errors with the footage stored on the previous SD card. Always remember to eject the SD card properly before removing it from your computer.
4) Bending or Twisting the SD Card
Avoid bending or twisting the SD card when inserting it into the camera. This could damage the metal contacts or break the card, which can render it unusable. So, handle the SD card with care and make sure to insert it gently without any resistance.
5) Using Damaged or Dirty SD Cards
Using damaged or dirty SD cards can lead to errors, data loss, or even damage to your security camera. Make sure to clean and maintain your SD cards regularly and replace them if they become damaged.
6) Formatting Without Backing Up Important Footage
If your security camera requires you to format the SD card, make sure to back up any important footage first. This will erase all data on the card and cannot be undone. Forgetting to back up important footage can lead to irreversible data loss.
7) Not Checking for Proper Alignment
Before inserting the SD card, make sure it is properly aligned with the slot. Inserting it at an angle or forcing it in can cause damage to the camera or the SD card itself. Always double-check for proper alignment before proceeding.
8) Neglecting to Regularly Check and Manage Storage
As mentioned in Step 10, it is important to regularly check and manage the storage on the SD card to ensure smooth recording. Neglecting this step can lead to storage becoming full and causing issues with recording or playback. Make sure to regularly transfer footage onto a computer or other device, or use larger capacity SD cards if needed.
By avoiding these common mistakes, you can ensure a successful and safe installation of an SD card in your security camera. Remember to always handle electronic devices with care and refer to your camera’s manual for specific instructions. Stay safe and secure with properly installed SD cards in your security cameras.
8 Additional Tips for Installing an SD Card in Your Security Camera
In addition to the steps and precautions mentioned above, here are 8 more tips to help you install an SD card in your security camera with ease and efficiency:
1) Use a Memory Card Reader
Using a memory card reader can make it easier to transfer footage onto a computer or other device. It also eliminates the need to constantly insert and remove the SD card from the camera, which can reduce wear and tear on both the camera and the card.
2) Keep Spare SD Cards
It is always a good idea to keep spare SD cards on hand in case of emergencies or if you need to quickly swap out a full card. Make sure to label them properly so you know which ones are empty and which ones have footage.
3) Keep Track of SD Card Storage Capacity
It is important to keep track of how much storage space you have left on your SD card. This will help you determine when it’s time to transfer footage or replace the card with a larger capacity one. As a general rule, it is recommended to leave at least 10-20% of the card’s capacity free for smooth operation.
4) Use High-Quality SD Cards

Investing in high-quality SD cards can ensure better performance and durability. They may be more expensive but are worth the investment in the long run. Like any electronic device, using high-quality components can lead to better overall functioning and longevity.
5) Use Proper Storage for SD Cards
When not in use, it is important to store your SD cards properly. Avoid exposing them to extreme temperatures or moisture. You can also purchase protective cases or sleeves specifically designed for storing SD cards.
6) Label Your SD Cards
To avoid confusion or mix-ups, it is helpful to label your SD cards with the date, camera model, and storage capacity. This will make it easier to keep track of which card belongs to which camera and when footage was recorded.
7) Optimize File Naming and Organization
When transferring footage from your SD card onto a computer or other device, it is helpful to optimize your file naming and organization system. This can make it easier to find specific footage or determine when it was recorded.
8) Keep Your Camera Firmware Updated
Regularly updating your camera’s firmware can ensure compatibility with newer SD card types and fix any potential bugs or issues with the SD card functionality. Check for updates on your manufacturer’s website and follow their instructions for updating the firmware.
By following these additional tips on how to install SD card in security camera, you can make the most out of your SD card and have a more efficient and organized security camera system. Remember to always handle SD cards with care and regularly maintain them for optimal performance.
So go ahead and confidently install an SD card in your security camera, knowing that you are equipped with all the necessary knowledge and precautions.
Frequently Asked Questions
Can I Use Any Brand of SD Card for My Security Camera?
It is recommended to use the same brand or a high-quality, compatible SD card that is recommended by your camera’s manufacturer. This can ensure better compatibility and performance. Consult your camera’s manual for specific recommendations.
How Often Should I Replace My SD Card?
The lifespan of an SD card depends on various factors, such as usage, storage conditions, and quality. It is generally recommended to replace SD cards every 2-3 years to ensure optimal performance and avoid potential issues.
Can I Use a Micro SD Card in My Security Camera?
It is important to check your camera’s specifications before using a micro SD card. Some security cameras may only be compatible with full-sized SD cards or have specific requirements for micro SD cards.
Can I Use an Old SD Card in My New Camera?
You can use an old SD card in a new camera as long as it meets the compatibility and storage capacity requirements. However, it is recommended that the card be formatted before using it in a new camera to avoid any potential issues.
Can I Use an SD Card for Continuous Video Recording?
SD cards can be used for continuous video recording, but it is important to regularly manage the storage and ensure there is enough free space for uninterrupted recording. Larger capacity cards may be needed for longer recording periods. So, regularly check and manage the storage on your SD card to ensure smooth and continuous recording.
Conclusion
Installing an SD card in your security camera is a simple but important step in setting up a reliable and efficient security system. By following the steps outlined in this guide on how to install SD card in security camera, as well as the additional tips and precautions mentioned, you can successfully install and maintain an SD card in your security camera.
Keep your footage safe and organized with a properly installed and managed SD card, and enjoy the added peace of mind that comes with a well-functioning security camera system. Stay vigilant, stay secure. So go ahead and confidently install an SD card in your security camera, knowing that you have all the necessary knowledge to do so effectively.