
Are you tired of constantly worrying about the safety and security of your home or business property? Do you want a reliable surveillance system that is cost-effective and easy to install? Look no further!

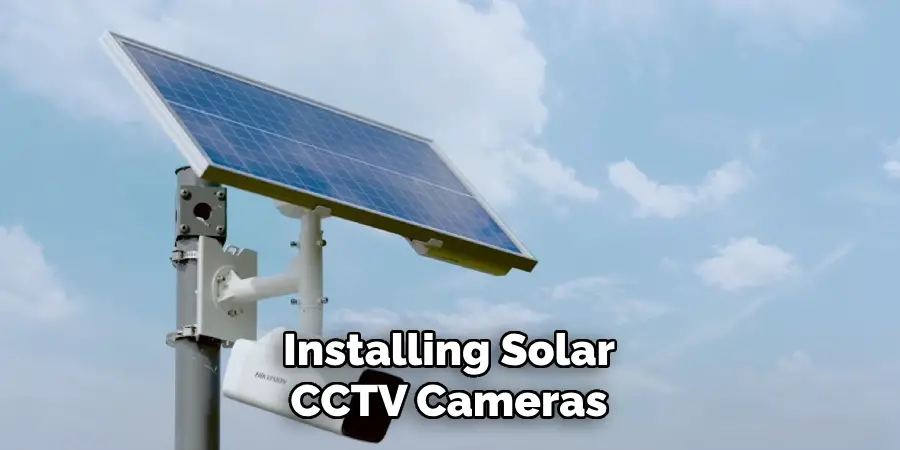
How to install solar CCTV camera is a forward-thinking approach to ensuring the security of your property while promoting environmental sustainability. This guide will provide you with a straightforward, step-by-step process to efficiently install solar-powered surveillance in your desired location.
Solar CCTV cameras harness the power of the sun, making them an eco-friendly solution that can operate independently of the power grid. This not only reduces energy consumption but also ensures that your surveillance system remains active during power outages.
With advancements in technology, installing these devices has become more accessible and affordable, making it an excellent option for those looking to enhance their security measures with minimal environmental impact.
What are the Benefits of Installing Solar CCTV Cameras?
Installing solar CCTV cameras offers numerous benefits, making it a popular choice among homeowners and businesses. Firstly, the use of renewable energy sources reduces carbon emissions, contributing to a cleaner environment. Additionally, solar-powered cameras require minimal maintenance and have no recurring costs, making them cost-effective in the long run.
Moreover, these cameras can be installed in remote locations or areas with no access to electricity, providing surveillance in places that would otherwise be difficult to monitor. This feature is particularly useful for construction sites, farms, and other outdoor locations.
Furthermore, solar CCTV cameras can also function as a visual deterrent to potential intruders or criminals, significantly reducing the risk of theft or vandalism on your property. With high-quality footage and remote monitoring capabilities, these cameras provide peace of mind and enhanced security measures.
What Will You Need?
Before beginning the installation process, it is essential to gather all the necessary materials. These include:
- A solar CCTV camera kit
- Mounting brackets and screws
- Solar panel and mounting bracket
- Power cord
- Drill and drill bits
- Ladder or scaffolding (if necessary)
Now that you have all the materials let’s dive into the installation process!
10 Easy Steps on How to Install Solar CCTV Camera
Step 1. Choose the Location:
Choosing the right location for your solar CCTV camera is crucial for maximizing its efficiency and effectiveness. The ideal spot should have a clear view of the area you wish to monitor without obstructions like trees, buildings, or other structures that could potentially block the camera’s line of sight.
Additionally, the location needs to receive ample sunlight throughout the day to ensure the solar panel can generate enough power to operate the camera continuously.
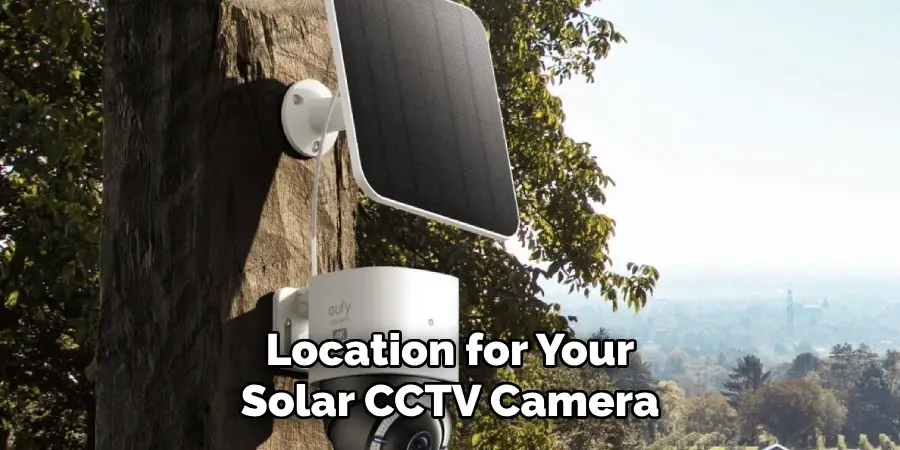
Consider positioning the camera at a high vantage point to cover a broader area and deter potential vandals or thieves, who are less likely to tamper with a camera that is out of reach. The south-facing direction typically receives the most sunlight in many regions, making it a preferred direction for mounting the solar panel.
Step 2. Mount the Solar Panel:
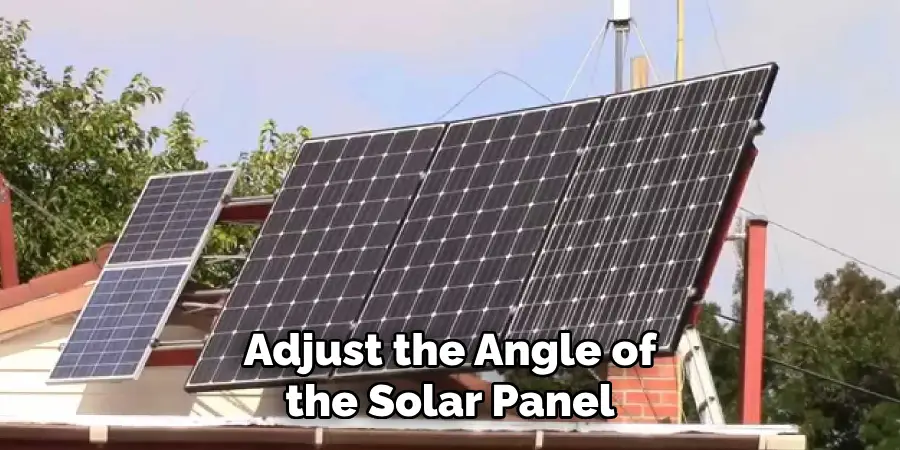
After choosing the perfect location for your solar CCTV camera, the next step is to mount the solar panel. Begin by securely attaching the mounting bracket to the solar panel using the provided screws. When positioning the bracket, make sure it is oriented in a way that allows the panel to maximize sunlight exposure throughout the day.
Use a drill to fix the bracket onto your chosen surface, ensuring that the panel faces the optimal direction for sunlight absorption, typically south. It is crucial to install the solar panel at an angle that aligns with your geographical location’s recommended solar angle to optimize energy efficiency and ensure your camera system receives a reliable power supply.
Step 3. Install the CCTV Camera:
With the solar panel securely in place, your next step is to install the CCTV camera itself. First, attach the mounting bracket for the camera to your chosen surface, ensuring it provides a clear and comprehensive view of the area you wish to monitor.

Use the drill and screws to secure the bracket firmly. Once the bracket is installed, you can then attach the camera to the bracket. Make sure the camera is oriented correctly to capture the desired field of view accurately. Adjust the camera angle as needed to ensure optimal coverage of the area. Finally, connect the camera to the solar panel using the power cord, ensuring a tight and secure connection to facilitate an uninterrupted power supply.
Step 4. Connect to a Power Storage Device:
Although your solar CCTV camera primarily operates on solar power, connecting it to a power storage device ensures continuous operation during the night or on cloudy days. This step is crucial for maintaining uninterrupted surveillance.
Choose a compatible power storage unit, such as a battery pack or a solar power storage system, that can store sufficient energy for your camera’s needs. Connect the solar panel’s output to the input of your storage device using the appropriate cables and connectors. Ensure all connections are secure and protected from the elements to prevent damage and ensure efficient energy transfer.
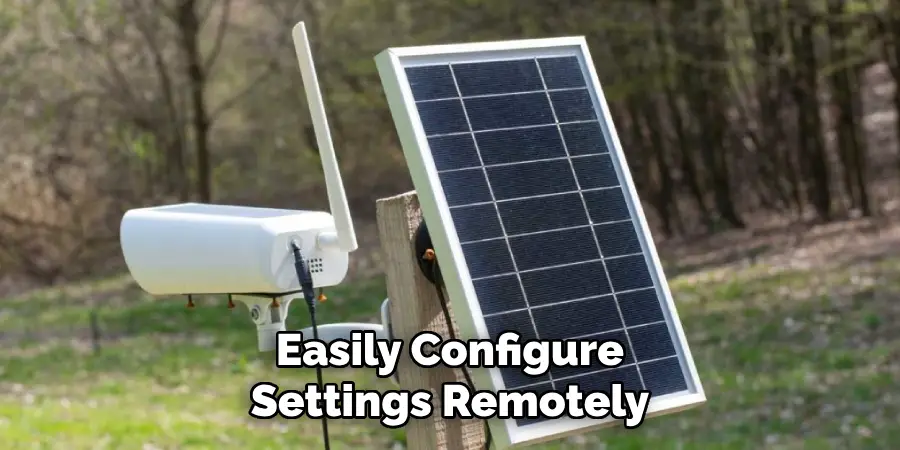
Step 5. Configure the Camera Settings:
Once your solar CCTV camera is physically installed and connected to a power storage device, the next crucial step is to configure the camera settings according to your security needs. This process typically involves adjusting the camera’s resolution, angle, and motion detection settings.
Many modern solar CCTV cameras come with a mobile app or desktop software, allowing you to easily configure settings remotely. This step is vital for ensuring that your camera captures high-quality footage and provides alerts as needed.
It’s also the perfect time to set up any additional features your camera may have, such as night vision, live streaming, or two-way audio. Make sure to test the camera’s functionalities thoroughly to ensure everything is operating as expected.
Step 6. Test Your Solar CCTV Camera:
After completing the installation and configuration of your solar CCTV camera, it’s crucial to test the system to ensure it operates correctly. During the day, check that the solar panel adequately powers the camera and that the power storage device is charging efficiently.
At night or on cloudy days, verify that the camera switches seamlessly to the power storage device for its energy needs. Monitor the live feed to ensure the camera provides a clear and stable image, and test any motion detection or alert features to confirm they are working as intended. This step is essential for identifying and resolving any potential issues before relying on the camera for security monitoring.
Step 7. Secure the Installation:
After thoroughly testing your solar CCTV camera and ensuring it operates without issues, it’s essential to secure the installation to prevent tampering or theft. This involves checking all mounted components—including the camera, solar panel, and power storage device—to ensure they are firmly fixed and cannot be easily removed or adjusted by unauthorized individuals.
Consider using security screws or tamper-proof mounts for added protection. Additionally, ensure that all cables are neatly tucked away and, if possible, enclosed within the protective casing to prevent damage from weather or animals. Taking these precautions will help extend the lifespan of your CCTV system and maintain its reliability.
Step 8. Regular Maintenance and Inspection:
Regular maintenance and inspection are imperative to ensure the longevity and optimal performance of your solar CCTV camera system. Schedule periodic checks to clean the solar panel and camera lens, removing any dust, debris, or bird droppings that could impair their functionality.
Inspect all hardware for signs of wear and tear or corrosion, particularly the mounting brackets, screws, and cable connections. Additionally, it’s advisable to review the system’s performance and settings, adjusting the angle of the solar panel and camera as necessary to account for changes in the environment or your security requirements.
Lastly, test the battery life and capacity of the power storage device to ensure it can still hold an adequate charge for your needs. By adhering to a consistent maintenance schedule, you can preemptively address any issues that might compromise your surveillance capabilities.
Step 9. Upgrade System as Needed:
Over time, technological advancements may provide new opportunities to enhance the efficiency and effectiveness of your solar CCTV camera system.
Whether it’s incorporating newer, higher-resolution cameras, expanding your system with additional cameras to cover more areas, or upgrading the solar panel and storage device for greater energy efficiency, it’s important to stay informed about the latest developments in solar security technology. Regularly assess the performance of your system and consider upgrades that could improve surveillance capabilities or energy use.
Step 10. Review and Update Security Protocols:
As the final step in ensuring your solar CCTV system remains effective, regularly review and update your security protocols. This may involve reassessing who has access to the camera feeds, updating passwords to prevent unauthorized access, and ensuring that the software and firmware for your cameras and storage devices are up-to-date with the latest security patches.
Additionally, it’s prudent to reevaluate your overall security strategy periodically to ensure it aligns with any changes in your premises or shifts in potential security threats. Establishing a routine for reviewing these protocols will help safeguard the integrity of your surveillance system and protect the assets and individuals it is designed to monitor.
By following these steps, you can successfully install and maintain a solar CCTV camera system that will provide reliable security for your home or business.
5 Additional Tips and Tricks
- Ensure Clear Field of View: To get a clear view of the area you intend to monitor, ensure there are no obstructions in front of the camera. It’s important to test the field of view before finalizing the installation spot.
- Optimize the Solar Panel Angle: For optimal sunlight absorption, adjust the angle of the solar panel according to your geographic location and the sun’s path. This adjustment significantly affects the charging efficiency and battery life of the camera.
- Add Additional Lighting: Consider adding additional lighting, such as motion sensor lights in the camera’s field of view, for better visibility at night. This can also help deter criminal activities.
- Secure Wires and Cables: Properly secure any wires or cables to prevent them from being tampered with or cut. You can use cable clips or conduit pipes to keep them neat and organized.
- Use Tamper-Proof Mounting: For added security, use tamper-proof mounting methods such as bolted or cemented brackets to prevent thieves from removing or damaging the camera. This will also ensure that the camera stays in place during extreme weather conditions.
These additional tips and tricks will not only help you install a solar CCTV camera efficiently but also improve its performance and durability.
5 Things You Should Avoid When Installing a Solar CCTV Camera
- Ignoring Weather Conditions: Do not overlook the importance of installing your camera in a location that offers protection against harsh weather conditions. Exposure to extreme weather can impair the camera’s functionality and longevity.
- Placing the Camera in Low-Light Areas: Avoid installing the solar CCTV camera in areas that receive insufficient sunlight. Adequate exposure to sunlight is crucial for the solar panel to charge effectively and ensure continuous operation.
- Forgetting to Test the System: Skipping the step to thoroughly test the camera and its setup before finalization can lead to overlooked issues that might affect surveillance quality and effectiveness.
- Neglecting Local Privacy Laws: Ensure that your camera placement does not inadvertently violate any local privacy laws or regulations. Respecting neighbors’ privacy and avoiding pointing cameras at their properties without consent is fundamental.
- Overlooking Regular Maintenance: Failing to regularly clean and maintain the solar panel and camera can lead to reduced efficiency and performance. Dust, debris, and bird droppings can obstruct sunlight and compromise the system’s capability to charge efficiently.
By avoiding these common mistakes, you can ensure the successful installation and operation of your solar CCTV camera for enhanced security.
Do Solar Security Cameras Need Wi-fi?
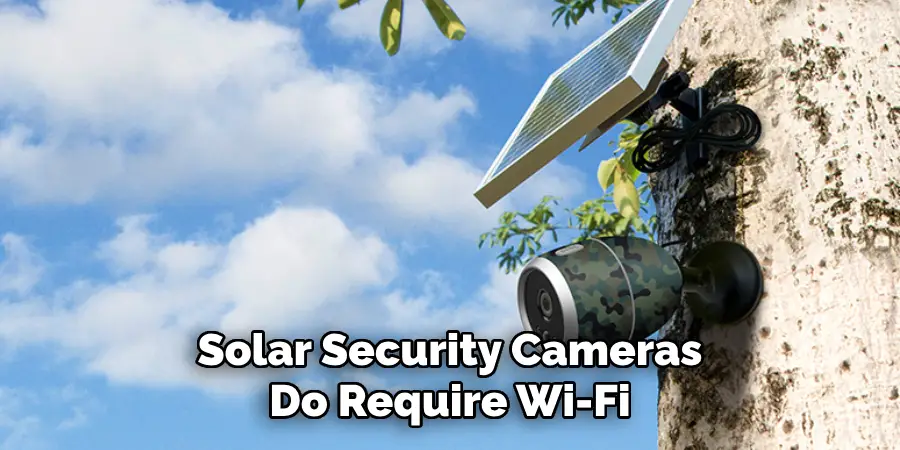
Yes, solar security cameras do require Wi-Fi to operate as they connect to your home network and transmit live footage to your smartphone or computer. The Wi-Fi connection is also necessary for remote access and control of the camera’s settings. However, some models offer the option for cellular connectivity in areas where Wi-Fi might be unavailable, providing an alternative means of connection.
Additionally, Wi-Fi is needed for the camera to receive software updates and notifications, making it an essential component of a solar CCTV camera system. For optimal performance, it’s important to ensure that your home network has a strong and stable Wi-Fi signal in the area where you plan to install the camera.
What is the Disadvantage of Solar CCTV?
While solar CCTV cameras have numerous advantages, there are some disadvantages that should be considered before making a purchase:
- Dependence on Sunlight: Solar CCTV cameras rely on sunlight to charge their batteries, so they may not function properly during prolonged periods of cloudy or rainy weather. This could leave your property vulnerable to security threats.
- Initial Cost: The initial cost of purchasing a solar CCTV camera may be higher compared to traditional wired cameras. However, over time, the savings on electricity costs and installation fees can make up for the upfront expense.
- Limited Placement Options: Solar CCTV cameras need to be installed in an area that receives adequate sunlight, restricting placement options. This could be challenging for properties with limited exposure to sunlight or shaded areas.
- Maintenance Requirements: As with any technology, solar CCTV cameras require regular maintenance to ensure efficient performance. This includes cleaning the solar panel and regularly checking for any technical issues.
Overall, while there are some drawbacks to using solar CCTV cameras, they offer numerous benefits, such as eco-friendliness, remote access, and long-term cost savings. Carefully consider your specific needs and potential limitations before deciding if a solar CCTV camera is the right choice for you.
Can Sunlight Damage Security Cameras?
Yes, direct sunlight can cause damage to security cameras over time. Continuous exposure to sunlight can lead to overheating and potential malfunctions in the camera’s components. It can also result in fading or discoloration of the camera’s exterior casing.
To prevent damage from sunlight, it’s important to consider the camera’s placement and its exposure to direct sunlight throughout the day. Choosing a location with some shade or using a camera cover can help protect the camera from excessive sunlight.
Overall, it’s essential to regularly check and maintain your solar CCTV camera to ensure its longevity and optimal performance. So, always consider these additional tips for the successful installation and maintenance of your solar CCTV camera system.
Conclusion
In conclusion, the successful installation of a solar CCTV camera involves meticulous planning and consideration of both the device’s capabilities and the environment in which it operates. From ensuring a clear field of view to optimizing the solar panel’s exposure to sunlight, each step is crucial in enhancing the camera’s effectiveness and longevity.
Additionally, by avoiding common pitfalls such as neglecting weather conditions and local privacy laws, you can ensure that your surveillance system operates seamlessly while respecting the rights of others.
Regular maintenance is also key to sustaining optimal performance. Ultimately, by following these tips and avoiding the outlined mistakes, you’ll be well-equipped to secure your property with a reliable, efficient solar-powered surveillance system.
Hopefully, the article on how to install solar CCTV camera has provided you with valuable insights and helped you understand the essential considerations for a successful installation. Good luck!