Installing wall cabinets without studs may seem like a daunting task, but it’s a skill that can be incredibly valuable in maximizing storage and design possibilities within your living spaces. While traditional wall studs provide secure anchors for mounting cabinets, situations often arise where these wooden supports are absent, leaving homeowners wondering how to proceed.
Whether you’re dealing with plaster walls, metal studs, or simply want to position your cabinets in a specific location, this guide will equip you with the knowledge and techniques of how to install wall cabinets without studs.
By exploring alternative mounting solutions, such as wall anchors and toggle bolts, we’ll delve into the step-by-step process of safely and securely affixing cabinets to various wall types. So, if you’re ready to embark on a DIY adventure that will expand your home’s storage options and design possibilities, read on to discover the secrets of installing wall cabinets without studs.
The Importance of Wall Cabinets in Home Organization
Wall cabinets are a great way to organize your home and maximize the use of space. Such furniture pieces can be used to store items such as books, dishes, and even clothing. Wall cabinets also add a touch of elegance to any room in the house.
However, if you do not have access to studs behind the drywall, it might seem impossible to install wall cabinets. Fortunately, there are several methods you can use to safely install wall cabinets without studs.
Before installing the cabinet, it is important to make sure that both the drywall and mounting surface are clean and free of any debris or dust. This will ensure that a strong bond is created between the two surfaces. If necessary, apply caulk to seal the cracks and crevices between the drywall and mounting surface.
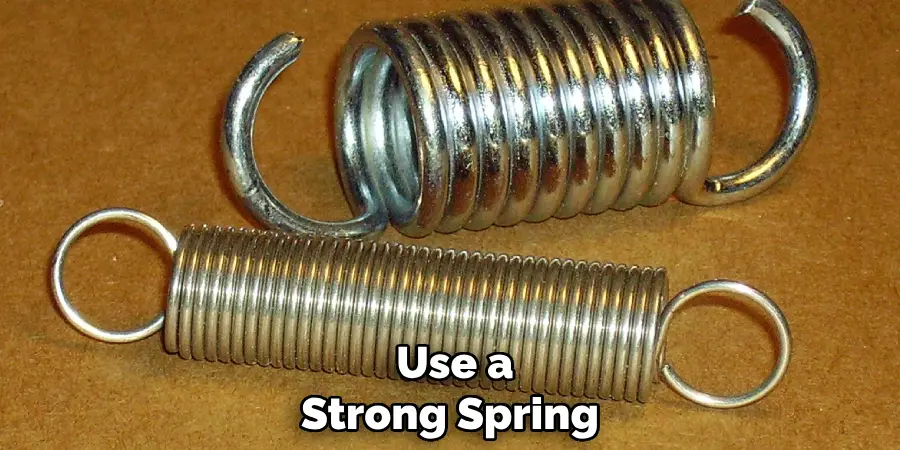
The most common way to install wall cabinets without studs is using toggle or molly bolts. Toggle bolts use a strong spring-loaded mechanism that expands when inserted into the wall, allowing it to secure itself even in hollow walls. Once the bolt has been placed, you can then attach the cabinet to it using the appropriate screws.
If you are installing heavier cabinets, then it is best to use molly bolts instead of toggle bolts. Molly bolts have a metal sleeve that expands when inserted into the wall, allowing them to bear more weight than toggle bolts. However, they also require more time and effort to install as they need to be drilled in at an angle before they can be secured.
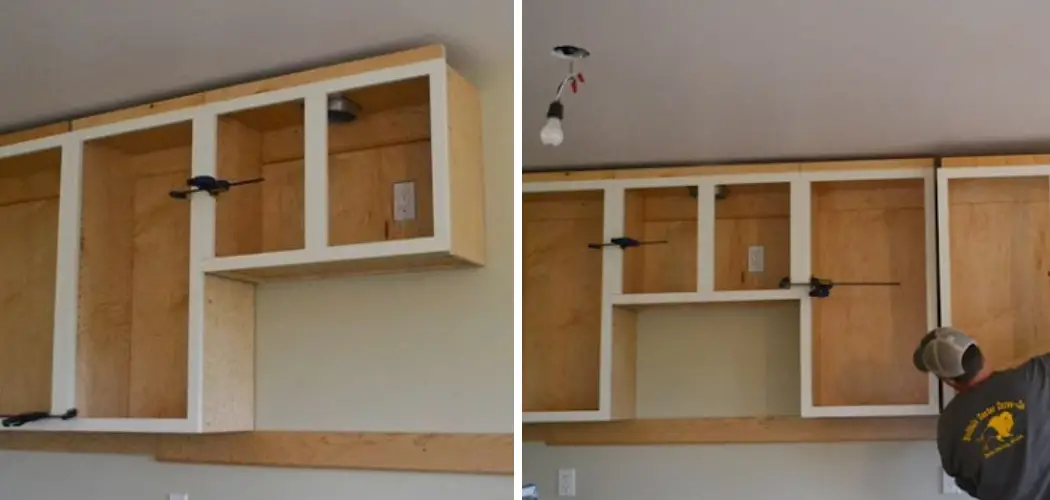
The Challenge of Installing Wall Cabinets Without Studs
Installing wall cabinets can be a challenge even for experienced DIYers. But when the wall you’re working with doesn’t have studs, it can be an especially tricky task. Without studs, the cabinets will need to be secured in another way and that’s where this guide comes in.
This guide will show you how to effectively install your new cabinets without relying on studs. We’ll walk you through the steps for choosing the right wall anchors, mounting your cabinets and ensuring they stay secure. So let’s get started.
Understanding Different Types of Wall Anchors
Installing wall cabinets without the security of studs can be daunting, but it’s not impossible. To install your wall cabinet without studs, you’ll need to use different types of wall anchors that are designed for drywall and other materials. Let’s look at a few common types:
- Toggle Anchors: These are among the strongest wall anchors out there, and are often used to support items that require a lot of weight. They are designed with two spring-loaded wings that expand when inserted into the wall and lock in place once they press against the backside of the drywall.
- Molly Bolts: These anchors have a round head with internal threads that allow you to screw in a machine bolt or lag screw. They are easy to install and can hold up to 100 pounds.
- Plastic Anchors: These are the most common type of wall anchors, and they come in a variety of sizes. Unlike toggle anchors, these don’t require any special tools or expertise, as you simply insert them into a pre-drilled hole. However, they aren’t designed for heavy items and can only hold up to 25 pounds.

It’s important to choose the right type of wall anchor for your project, as not all anchors work with all materials. Be sure to read the instructions carefully to ensure a secure installation. Once you’ve got the right anchor in place, it’s time to install your cabinets!
10 Steps How to Install Wall Cabinets Without Studs
1. Measure the Wall
The first step in installing wall cabinets without studs is to measure the wall where you plan to install them. You’ll want to make sure that there are no obstructions like pipes or wires that could interfere with the installation process. Additionally, you should measure the height of the wall so you know how much space you have to work with.
2. Mark Your Spot
Once you’ve measured the wall, it’s time to mark your spot for installation. Use a level and a pencil to draw a straight line across the wall where you plan to install the cabinets. Make sure that this line is level and that it is centered on your chosen spot.
3. Attach Anchors
Next, attach anchors to the wall using an electric drill and screws. These anchors will provide support for your cabinets and will ensure that they remain secure even if there are no studs behind them. Make sure that each anchor is securely fastened to the wall before moving on to the next step.
4. Install Brackets
Once all of your anchors are in place, it’s time to install brackets onto them. These brackets will be used to hold up your cabinets and should be installed at least two inches away from any edges or corners of the cabinet frame so as not to interfere with its structural integrity.
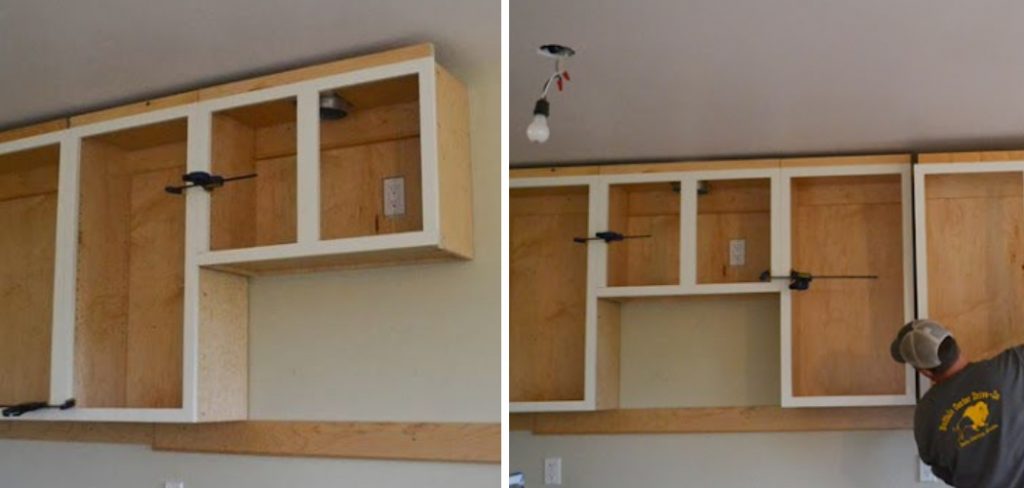
5. Secure Cabinets
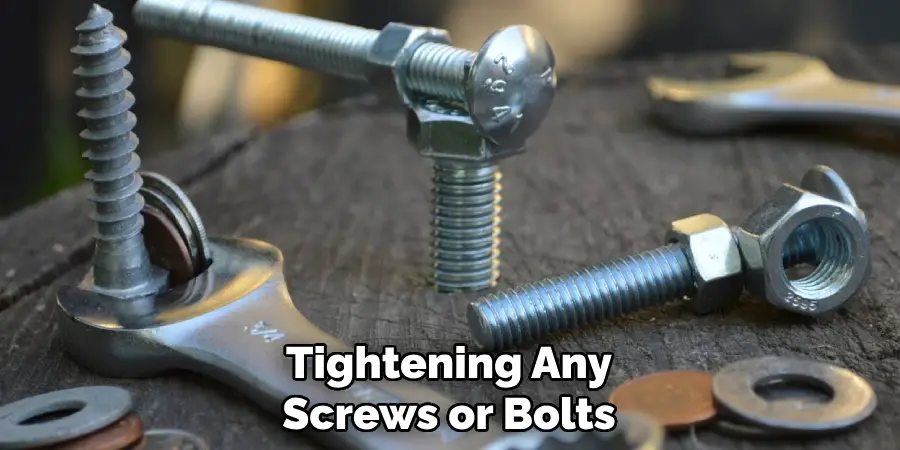
After installing all of your brackets, it’s time to secure your cabinets in place by placing them onto the brackets and tightening any screws or bolts that may be present on them. Make sure that each cabinet is properly secured before moving on to the next step in order to ensure its stability over time.
6. Install Hanging Hardware
Once all of your cabinets are secured in place, you can now install hanging hardware such as shelf supports or drawer slides onto them so you can hang items from their frames or store items inside drawers respectively.
This hardware should be installed based on manufacturer instructions for best results; otherwise, it may not function properly over time due to improper installation techniques being used initially.
7. Attach Cabinet Doors
Now it’s time to attach cabinet doors! Begin by measuring out where each door will go along with its hinges and handles before drilling holes into both sides of each door frame using an electric drill and screws so they fit perfectly when attached later on down the road.
Once all holes have been drilled out properly, attach each door one by one using either wood glue or screws depending on what type of hinges were used during installation earlier on.
8. Attach Countertop
The next step is attaching countertops! Before doing this, make sure that all countertops are cut correctly according to measurements taken earlier during the installation process; otherwise, they may not fit properly once attached later down the road.
Once everything has been cut correctly, use wood glue or construction adhesive along with nails or screws depending on what type of material was used during the initial construction process.
9. Install Trim Pieces
Finally, install trim pieces around the edges of cabinet frames! This will help provide additional support while also making the entire set look more aesthetically pleasing overall.
Start by cutting trim pieces according to measurements taken earlier before nailing them into place around the edges using a hammer nailer tool. Once finished here, sand down any rough edges before painting over the entire surface area for finishing touches!
10. Check Installation Quality
The final step is checking the quality of the entire installation process! Go through each individual component one by one making sure everything fits together properly while also ensuring nothing has loosened up over the course of the past few hours since beginning the project initially. If everything looks good here then congratulations –you have successfully installed wall cabinets without studs!
Conclusion
Installing wall cabinets without studs can be tricky and daunting, but with the right tools and materials as well as a comprehensive understanding of the steps involved, it is a relatively easy endeavor. With a little patience and some good old DIY know-how, you too can make installation of wall cabinets simpler than ever before while achieving an outstanding final look.
Whether you’re looking to upgrade your office, living room, or any other space in your home, knowing how to install wall cabinets without studs provides the extra edge to ensure that even those hard-to-reach spots deliver on both form and function.