Are you having trouble loading paper into your printer? Fret not, this guide will provide you with step by step instructions on how to load paper in printer.
Loading paper in a printer may seem straightforward, but doing it correctly is essential for optimal printing results. Proper paper loading ensures that your printer operates smoothly, reduces the likelihood of jams, and contributes to the overall quality of your printed documents. This guide will cover the steps necessary to load various types of paper into your printer, considering different printer models and paper sizes.
Whether you are preparing to print important documents, photos, or newsletters, understanding how to load paper correctly will enhance your printing experience and help you achieve professional results every time.
What Will You Need?
Before we dive into the steps for loading paper, make sure you have the following items ready:
- Your printer
- Paper of your choice (e.g., A4, letter size, glossy paper)
- Printer manual (optional)
It is always a good idea to check your printer manual for specific instructions on loading paper, as some models may vary in their loading mechanisms.
10 Easy Steps on How to Load Paper in Printer
Step 1: Prepare Your Printer
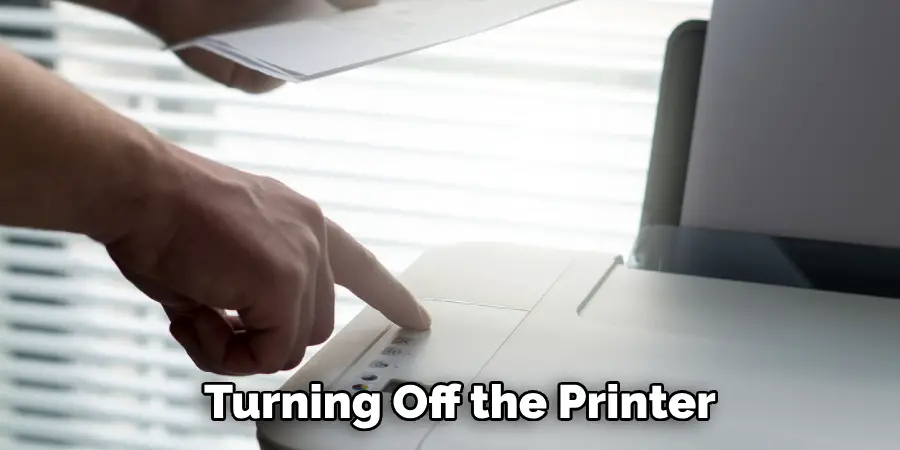
Before you begin loading paper, it’s essential to ensure that your printer is in the proper condition for optimal performance. Start by turning off the printer and unplugging it from the power source. This is a reasonable safety precaution to avoid any unexpected movements or electrical issues while working. Next, open the printer’s paper tray or compartment, typically located at the front or the back of the printer.
Check for any remaining paper or debris in the tray—if there are any stuck sheets, remove them to prevent paper jams. Additionally, inspect the rollers and guides for dirt or dust; clean them gently with a soft, lint-free cloth if necessary. Lastly, confirm that you are using the correct type and size of paper for your printer to ensure compatibility.
Step 2: Choose the Right Paper
Selecting the appropriate type of paper is crucial for achieving high-quality prints. Consider the nature of your print job—whether it’s a simple text document or a vibrant photo. For standard documents, plain or inkjet paper of the correct size (like A4 or letter) is typically suitable.
Opt for glossy or photo paper to enhance color saturation and detail if you’re printing images. Make sure that the paperweight is compatible with your printer; heavier paper may require specific handling. Always verify the paper specifications outlined in your printer’s manual to avoid potential issues.
Step 3: Adjust the Paper Guides
Before placing your paper in the tray, adjust the paper guides to fit your chosen size. Most printers have adjustable guides on each side of the paper tray. To change, gently slide the guides outward to make room for the paper. Then, align the guides with the size markings on the tray. This step is crucial as it helps align the paper, reducing the risk of misfeeds or jams during printing.
Step 4: Stack and Align Your Paper
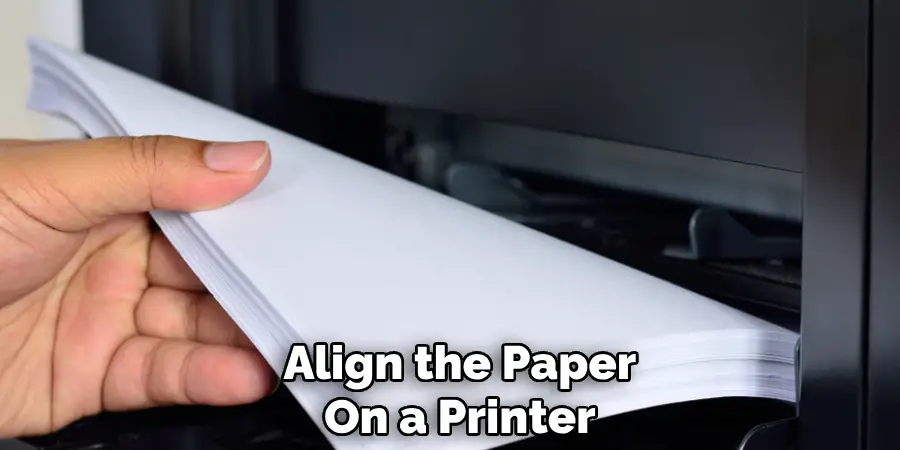
Take your ream of paper and ensure it’s not curled or bent, as this can lead to problems during the printing process. If necessary, gently flex the stack to straighten it out. Next, tap the stack on a flat surface to align the edges. Place the paper into the tray, ensuring it’s oriented correctly—most printers have a label indicating which side should face up. The front edge of the paper should be snug against the tray’s front.
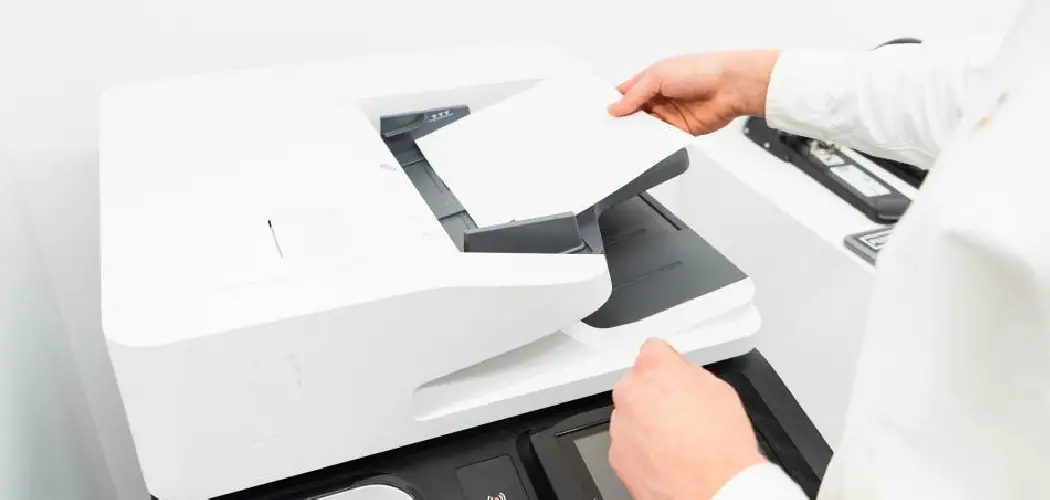
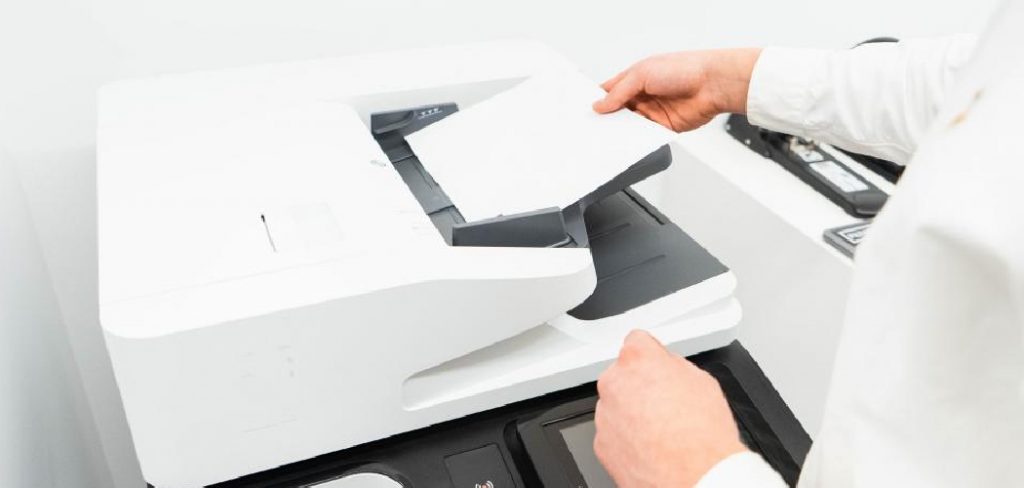
Step 5: Load the Paper into the Tray
Carefully slide your stack of paper into the tray, ensuring it is pushed back against the rollers. Refrain from overloading the tray; consult the paper capacity markings to avoid exceeding the recommended number of sheets. Overloading can lead to jams and uneven printing. Once your paper is loaded, make sure the paper guides are snug against the edges of the paper without bending it.
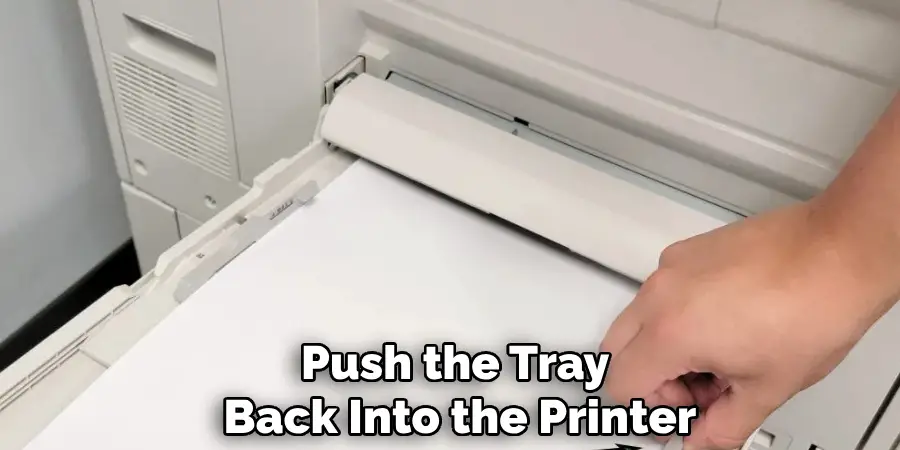
Step 6: Close the Paper Tray
Once the paper has been appropriately loaded and aligned, the next step is to close the paper tray securely. Ensure that no paper is sticking out or misaligned as you gently push the tray back into the printer. Most printers will have an audible click or a slight resistance when the tray is fully closed, indicating it’s in the correct position.
Closing the paper tray protects the loaded paper from dust and environmental factors and ensures that the printer is prepared to engage the paper-feeding mechanism efficiently. After closing it, take a moment to double-check that the paper guides are still snug against the edges of the paper; improper alignment could still lead to problems during printing. Lastly, plug the printer back into the power source and turn it on, setting the stage for a smooth and successful printing experience.
Step 7: Test the Paper Feed
With the paper loaded and the tray closed, it’s essential to test the paper feed to ensure everything is functioning correctly. Start by selecting a simple document or page to print from your computer. As you initiate the print command, observe the printer’s operation closely. Pay attention to how the printer pulls the paper from the tray; it should move smoothly without any hesitation or noise.
If you notice any unusual sounds or the paper does not feed correctly, it may indicate that the paper is misaligned or that another issue may be at play. If this occurs, repeat the previous steps to ensure proper alignment and feeding before attempting to print again.
Step 8: Monitor the Printing Process
As your document begins to print, remain attentive to the printer’s operations. Watch for any signs of issues, such as paper jams or misalignment, which could disrupt the printing flow. If the printer encounters problems, it may display an error message or make unusual noises.
In such cases, cancel the print job and check the paper loading and alignment. Ensuring that the printer’s settings correspond to the type of paper being used can also enhance print quality. If everything appears to be functioning normally, enjoy watching your document come to life on paper.
Step 9: Collect Your Prints
Once the printing process is complete, retrieve your printed documents from the output tray. Take a moment to review the prints for quality and alignment, ensuring that everything looks as expected. If you encounter any issues, consider adjusting your techniques or settings for future print jobs. Proper handling is essential—avoid stacking prints immediately on top of one another, as this can lead to smudging or indents, especially with inkjet prints.
Step 10: Clean Up
After printing, it’s an excellent practice to tidy up your workspace. Reorganize any leftover paper, ensuring it’s stored flat and in a dry location to maintain its quality for future use. If your printer has accumulated dust or debris during the process, gently wipe down its exterior and the paper trays with a soft cloth.
Lastly, consult your printer’s manual for any recommended maintenance procedures, which may include cleaning the print head or optimizing performance settings to ensure it remains in top condition for your next printing project.

By following these steps, you can ensure that your printer is loaded correctly and ready for successful printing.
5 Things You Should Avoid
- Avoid Overloading the Paper Tray: Exceeding the recommended paper capacity can lead to jams and misfeeds, resulting in printing errors. Always consult the tray markings to ensure you’re loading the correct amount.
- Don’t Mix Different Paper Types: Loading various paper types or weights in the same tray can cause feeding issues and affect print quality. Stick to one type of paper per loading.
- Never Load Wet or Damp Paper: Using any paper that is not completely dry can cause it to stick together or jam in the printer. Always ensure that your paper is clean and moisture-free.
- Avoid Bending or Curling the Paper: Using warped, bent, or curled paper can lead to misalignment and printing problems. Handle the paper carefully to keep it flat and straight.
- Don’t Ignore Printer Settings: Failing to adjust your printer settings according to the type of paper being used can result in poor-quality prints or even paper jams. Always verify that your settings match your paper specifications before printing.
By avoiding these common mistakes, you can ensure that your printer runs smoothly and produces high-quality prints every time.
Conclusion
Successfully loading paper into your printer is a simple yet crucial process that directly impacts print quality and efficiency.
By following the outlined steps on how to load paper in printer—ensuring the correct paper type and size, properly aligning the paper in the tray, and regularly maintaining your printer—you can enhance your printing experience. Additionally, being mindful of common pitfalls, such as overloading the tray and using damp paper, will help prevent issues like jams or misalignments.
With these best practices in mind, you can maximize reliability and enjoy seamless printing results, ensuring your documents always come out as intended.