Loading receipt paper properly is crucial for ensuring smooth operation and preventing damage to your printer. This guide will walk you through the necessary steps to load receipt paper into your point-of-sale (POS) printer safely and efficiently. This guide explores the key aspects of how to load receipt paper.
Understanding the correct method will help maintain printer performance and extend the lifespan of your equipment, ultimately enhancing your business’s productivity.
Understanding Receipt Paper and Its Common Uses
Receipt paper is a specialized type of thermal paper used primarily in point-of-sale (POS) systems for printing transaction records. Unlike regular paper, receipt paper is coated with a chemical that changes colour when exposed to heat, making it ideal for quick, high-volume printing without the need for ink.
Common uses for receipt paper include generating sales receipts, tickets, and invoices in retail shops, restaurants, and service-based businesses. Its durability and ease of use make it a preferred choice for merchants looking to provide customers with tangible proof of purchases while ensuring smooth operation of their printing equipment.
Types of Receipt Printers
When selecting a receipt printer for your business, it’s essential to understand the different types available, as they cater to various needs and environments. The most common types include thermal printers, impact printers, and hybrid printers.
Thermal Printers
Thermal printers are the most widely used type for POS applications. They operate by using heat to print directly onto thermal paper, making them fast and quiet. These printers are ideal for high-volume environments, like retail and restaurants, where speed and efficiency are paramount. They require less maintenance and do not use ink cartridges, which can lower operating costs.
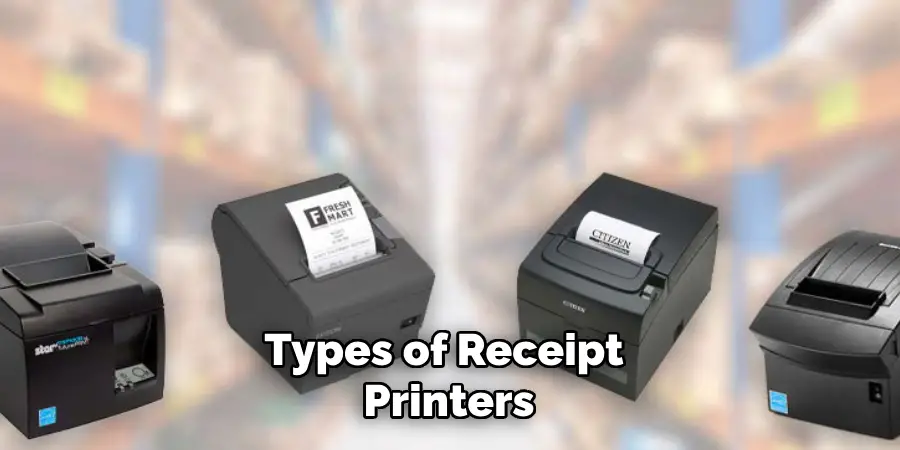
Impact Printers
Impact printers, also known as dot matrix printers, use a ribbon to create impressions on the paper. While they are less common in modern retail environments due to their noise levels and slower speed, they are still useful in specific applications like multi-part forms and invoices. Impact printers can also handle different types of media, including multiple copies of receipts.
Hybrid Printers
Hybrid printers combine features from both thermal and impact printers, offering greater versatility. They can print on various media types and are suitable for businesses that require both speed and the ability to produce multi-part documents. These printers can serve as an excellent solution for businesses with diverse printing needs.
By understanding the types of receipt printers available, you can select the one that best fits your operational requirements, ensuring efficient printing and improved customer service.
10 Methods How to Load Receipt Paper
1. Identify the Correct Type of Receipt Paper
Before loading receipt paper into a printer, it’s crucial to ensure that you’re using the correct type of paper. Receipt printers typically use thermal paper, which is specially coated to react to heat and produce print without the need for ink. To identify thermal paper, look for a shiny or slightly glossy side, which should face up when loaded into the printer. Using the correct paper type prevents issues like poor print quality and jamming. Ensuring that the paper roll matches the printer’s specifications, including width and diameter, is also essential for proper operation.
2. Turn Off the Printer
Safety is paramount when handling any electronic device. Before loading receipt paper, turn off the printer to prevent any electrical mishaps or accidental paper feed issues. Turning off the printer ensures that you won’t accidentally trigger the print mechanism while loading paper, which could lead to paper jams or misalignment. Additionally, powering down the device protects its internal components and reduces the risk of damage during the loading process.
3. Open the Printer Cover
Most receipt printers have a top cover or compartment that needs to be opened to load paper. To access this, locate the latch or button that releases the cover. Depending on the printer model, the cover may lift up, swing open, or slide back. Opening the cover fully exposes the paper compartment, making it easier to remove the old roll and load a new one. Be sure to open the cover gently to avoid damaging any delicate parts of the printer.
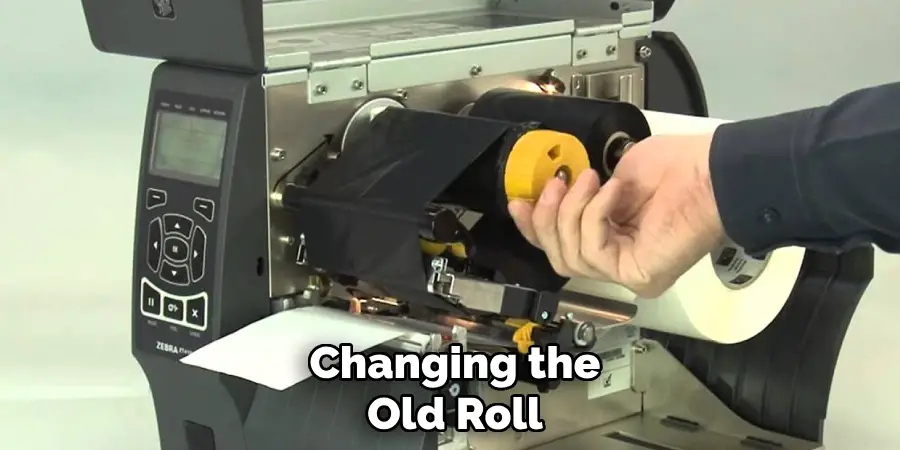
4. Remove the Old Roll (If Applicable)
If there is an old paper roll still inside the printer, it’s important to remove it before loading a new one. Carefully pull out the remaining paper, being cautious not to tear or jam it inside the printer. If the paper is jammed, refer to the printer’s manual for specific instructions on how to safely remove it. Removing the old roll ensures that the new paper feeds correctly and prevents issues such as double-feeding or misalignment during printing.
5. Position the New Paper Roll Correctly
When loading the new receipt paper, proper positioning is key to ensuring that it feeds correctly through the printer. Place the roll into the compartment with the paper feeding from the bottom. The shiny or glossy side of the thermal paper should face up, as this is the side that reacts to the printer’s thermal print head. Incorrect positioning can result in blank receipts or print on the wrong side of the paper. Make sure the paper roll sits snugly in the compartment to prevent it from moving or slipping during printing.
6. Feed the Paper Through the Printer Mechanism
After placing the paper roll in the compartment, you need to feed the paper through the printer’s feed slot. Pull a small length of paper from the roll and align it with the slot, ensuring it’s straight and centered. Gently feed the paper into the slot until you feel resistance or see it emerge from the printer’s output tray.
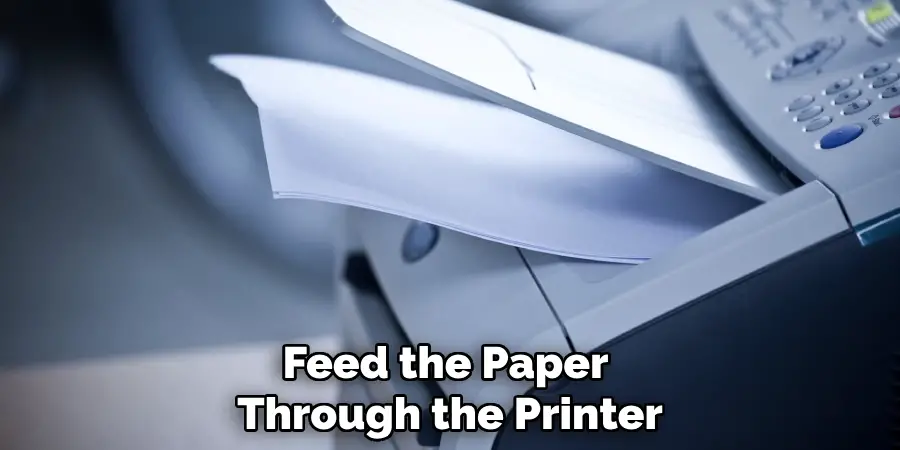
Some printers have an automatic feed feature that pulls the paper through once it’s aligned correctly, while others may require you to manually turn a feed knob or press a feed button. Proper feeding ensures that the paper will advance smoothly during printing.
7. Close the Printer Cover
Once the paper is fed through the mechanism, carefully close the printer cover. Ensure that the cover is securely latched or locked in place to prevent it from opening during operation. A properly closed cover protects the internal components of the printer and ensures that the paper remains aligned and ready for use. If the cover isn’t closed correctly, the printer may not function, or the paper may become misaligned, leading to print errors.
8. Test the Paper Feed
After loading the paper and closing the cover, it’s a good idea to test the paper feed to ensure everything is functioning correctly. Turn on the printer and press the paper feed button, if available. The printer should advance the paper smoothly without any resistance or jamming. This test helps you confirm that the paper is properly aligned and that the printer is ready for use. If the paper doesn’t feed correctly, open the cover and check for any misalignment or obstructions.
9. Check for Paper Jams or Misfeeds
If the paper doesn’t feed correctly during the test, or if the printer displays an error message, there may be a paper jam or misfeed. Open the printer cover again and inspect the paper path for any obstructions. If you find a jam, carefully remove the paper, making sure not to tear it. Reposition the paper roll and feed it through the mechanism again. Properly addressing any jams or misfeeds ensures that the printer will function smoothly during regular operation.
10. Adjust Printer Settings (If Necessary)
Some receipt printers allow you to adjust settings such as paper length, width, and print density. After loading the paper, it may be necessary to check these settings to ensure they match the specifications of the new paper roll. For example, if you’ve switched to a different paper size or type, you’ll need to adjust the printer settings accordingly to prevent issues like cut-off receipts or faded prints.
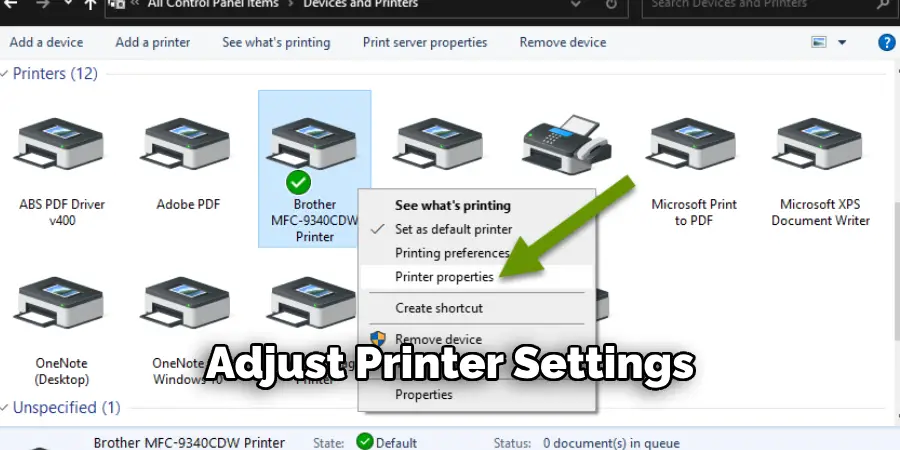
Refer to the printer’s manual for instructions on how to access and adjust these settings. Proper configuration ensures that your printer delivers high-quality receipts that meet your business needs.
Conclusion
Loading receipt paper into a printer is a straightforward task, but it requires attention to detail to ensure smooth operation and high-quality prints. Whether you’re working in a busy retail environment or handling transactions in a restaurant, following these ten methods will help you load receipt paper correctly and efficiently.
From identifying the correct paper type to adjusting printer settings, each step plays a crucial role in maintaining the reliability and performance of your receipt printer. By mastering these techniques, you can minimize downtime, prevent errors, and ensure that your business runs smoothly.
Hopefully, this article gave you some helpful tips about how to load receipt paper successfully, so now that you have the proper knowledge on how to get the job done, why not give it a try today?