
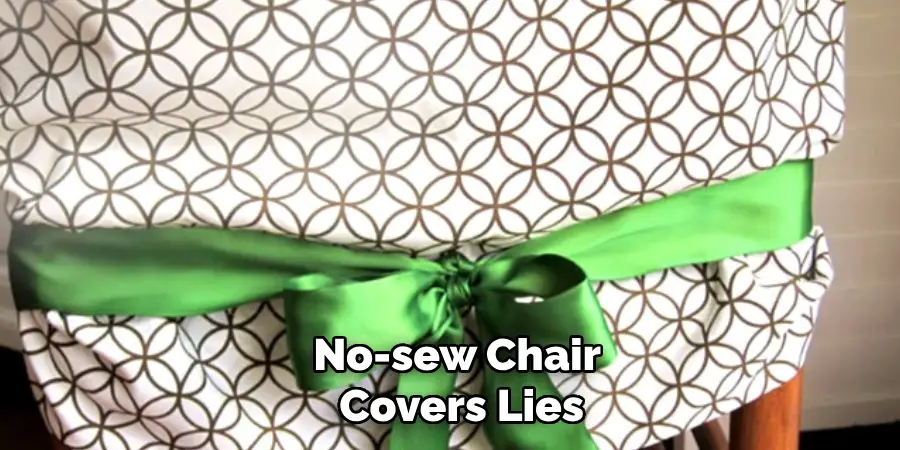
If you’re looking for a quick and affordable way to refresh your furniture, no-sew chair covers are the perfect solution. This simple DIY project eliminates the need for sewing, making it an excellent choice for beginners or anyone short on time. The appeal of no-sew chair covers lies in their ease and convenience—they’re budget-friendly, require minimal supplies, and can be completed in just a few steps.
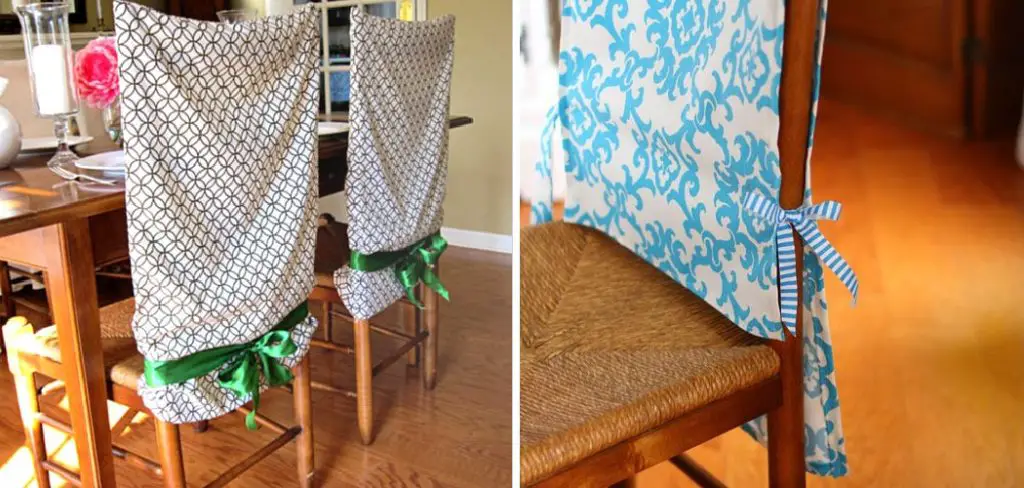
By learning how to make no sew chair covers, you can transform your chairs to suit any style, season, or occasion. The process is straightforward: measure your chair for an ideal fit, select a fabric that aligns with your aesthetic, cut it to size, and securely attach it using fabric glue, tape, or other no-sew techniques.
With just a little creativity and effort, you can achieve a polished, custom look that breathes new life into your furniture.
Gathering Materials and Tools
Before starting your no-sew chair cover project, gathering all the necessary materials and tools is essential to ensure smooth execution. Here’s what you’ll need:
Materials Needed
- Fabric: Choose a fabric that suits your décor and is easy to work with, such as cotton, polyester, or stretchy fabric.
- Fabric glue or double-sided fabric tape: These are essential for securing the fabric without sewing.
- Scissors: Sharp scissors are necessary for precise fabric cutting.
- Measuring tape: To ensure accurate measurements for a perfect fit.
- Pins or fabric clips: These will help hold the fabric in place while working.
- Decorative trim or embellishments (optional): Use these to add a stylish touch to your chairs.
Choosing the Right Fabric
When selecting fabric, consider key factors like durability, stretch, and ease of cleaning. Opt for a fabric that can withstand daily use while maintaining its appearance. Fabrics with a slight stretch, like blended polyester or spandex-cotton mixes, offer flexibility and ease in fitting various chair shapes. Choose a color or pattern that complements your home décor style to ensure a cohesive look.
By starting with the right materials, your no-sew chair covers will be functional and add a unique and appealing aesthetic to your space.
Measuring the Chair
Accurate Measurements
To achieve a professional and snug fit for your no-sew chair covers, it is crucial to take accurate measurements of your chair. Begin by measuring the chair seat’s height, width, and depth. This is followed by measuring the backrest, noting its width and height, and determining any curves or angles that might affect the fabric’s fit.
If the chair has armrests, measure their height and width as well, accounting for their shape. Mark down these dimensions carefully using a measuring tape, as precise measurements are the foundation for a flawless result.
Creating the Pattern
Once you’ve gathered all your measurements, use those numbers to create a simple pattern or template for cutting your fabric pieces. Lay out a large sheet of paper or fabric-friendly material and sketch the outline of each chair section based on your dimensions. To ensure there is enough material to work with, add a few extra inches to each side of your pattern.

This allowance will help fold, tuck, or adjust the fabric around edges and corners during installation. A well-prepared pattern simplifies the process and minimizes errors, ensuring your finished chair cover fits perfectly while enhancing the overall look of your chair.
How to Make No Sew Chair Covers: Cutting the Fabric
Cutting to Size
Lay the fabric flat on a large, clean surface to avoid any creases or folds that could distort your measurements. Using the pattern you’ve created, carefully mark the outline of each section onto the fabric with chalk or a fabric marker. Double-check your measurements to ensure accuracy before cutting.
Once satisfied, use sharp fabric scissors to cut along the marked lines. Clean, precise cuts are essential for achieving a professional finish, especially for pieces that will be joined or folded around corners.
Trimming Excess Fabric
When cutting, leave an extra 1-2 inches of fabric around the edges to allow for adjustments and secure coverage during installation. This excess fabric serves as a margin for folding or reinforcing seams, ensuring a tidy and polished appearance once the cover is in place. For straight edges, guide your scissors steadily for even cuts.
Pay close attention to your lines for curved or intricate areas, trimming carefully to maintain smooth, consistent curves. Taking your time during this step will save you adjustments later, allowing the fabric to wrap around the chair’s shape with ease while achieving a snug, tailored fit. Proper cutting is the key to ensuring your chair cover looks seamless and professional.
How to Make No Sew Chair Covers: Attaching the Chair Cover
Fitting the Fabric
Begin by draping the cut fabric over the chair, ensuring it covers all visible areas, including the back, sides, seat, and any other exposed surfaces. Adjust the fabric to align with the chair’s contours, smoothing out wrinkles or folds. Take care to tuck excess fabric around corners or edges for a clean fit. This step is crucial for assessing the overall placement and identifying any final adjustments needed before securing the cover.

Using Fabric Glue or Tape
For a no-sew finish, consider using fabric glue or double-sided fabric tape as simple and effective methods to attach the cover. Apply a thin line of fabric glue along the edges where the fabric meets the chair, working in sections for better control. Cut it into appropriate lengths using fabric tape and attach it to the fabric’s underside along the same edges.
Both options prevent sewing while achieving a neat, seamless look. Fabric glue provides a durable, long-lasting hold, while double-sided tape is ideal for temporary installations or adjustments.
Securing the Cover
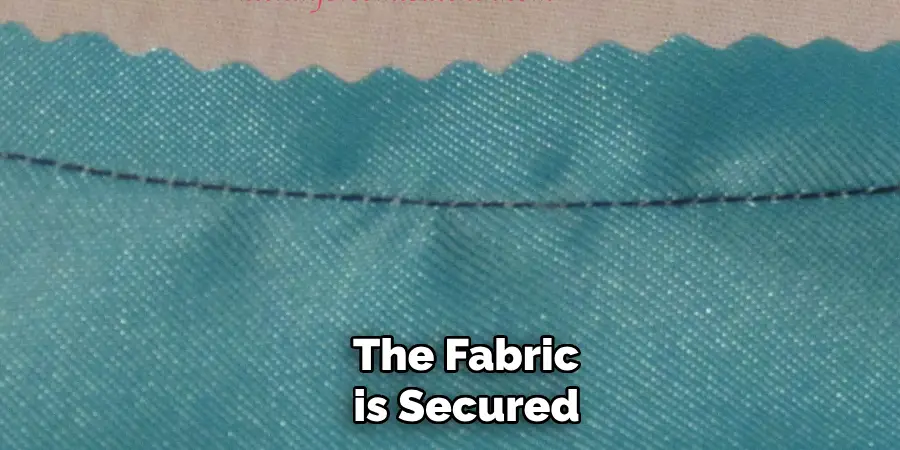
To secure the fabric, press down firmly along the glued or taped edges, ensuring strong adhesion to the chair. For additional stability, while the glue dries, use pins or clips to hold the fabric in place temporarily. Be mindful of keeping the fabric taut as you work to prevent sagging or misalignment.
Once the adhesive has been fully set, carefully remove the pins or clips and inspect the cover for any areas needing further adjustment. Properly securing the fabric ensures the chair cover maintains a snug, tailored appearance that enhances the overall aesthetic of the chair.
Fitting and Adjusting the Cover
Tucking and Adjusting
Once the fabric is secured, focus on tucking any excess material into crevices and around the edges of the chair. This step is crucial for creating a smooth and clean look that enhances the chair’s overall appearance. Pay attention to areas like corners or seams, where excess fabric tends to gather. If necessary,
use fabric glue to secure spots that require extra attention or a tighter hold, ensuring the cover stays firmly in place. This will help achieve a polished and professional finish.
Ensuring a Snug Fit
After tucking and securing, evaluate the overall fit of the cover. A proper fit is essential—it should be snug enough to stay in place during use but not so tight that it pulls the material out of shape or causes stress on the fabric. Smooth out any visible wrinkles or looseness by gently adjusting the fabric.
If additional tightening is needed, revisit the edges or crevices to retuck or secure the material as required. Ensuring a well-fitted cover maintains both function and aesthetic appeal, creating a tailored and refined look for your chair.
Adding Decorative Touches
Trimming and Embellishments
One simple but effective way to elevate the appearance of your chair cover is by adding decorative trims, fringes, or piping along the edges. These embellishments create a polished and stylish look, enhancing the overall aesthetic of the piece. Choose trims that complement the fabric and the room’s decor, whether it be a classic lace edge or a bold contrasting piping.
To attach these features securely, use fabric glue or double-sided tape specifically designed for textiles. Ensure that the trim or embellishment is applied evenly to achieve a neat, professional finish.
Personalizing the Cover
Personalization adds a unique and creative touch to your chair cover, making it stand out as a reflection of your personal style. Fabric paint and stenciling are excellent options for creating custom patterns or designs directly on the fabric. Alternatively, iron-on patches or decals offer a quick yet eye-catching solution for customization.
Consider sewing or gluing fabric-covered buttons or small accessories, such as bows or appliqués, onto the cover for added elegance. These thoughtful details can transform an ordinary chair cover into a personalized statement piece while ensuring it complements your taste and your space’s decor.
Adding Decorative Touches
Trimming and Embellishments
Enhancing the edges of your chair covers with decorative trims can instantly elevate its aesthetic appeal. Options like tassel fringe, elegant piping, or playful pom-poms can add texture and character to your design. These trims can be easily attached using fabric glue or double-sided tape, ensuring a secure and clean finish.
When selecting embellishments, consider your room’s existing decor to maintain a cohesive look. Whether you’re aiming for a minimalist design or a more intricate style, the right trims can serve as the perfect finishing touch, giving your chair cover a polished and professional appearance.
Personalizing the Cover
Adding personal touches to your chair cover transforms it from a simple utility item into a unique statement piece. Experiment with fabric paints to create custom designs or use stencils for intricate patterns. Iron-on patches are another creative option, providing the opportunity to incorporate images or themes that resonate with your personal style.
Incorporate small yet impactful details like fabric-covered buttons, bows, or decorative appliqués for added dimension. These embellishments can be strategically placed to complement the overall design without overwhelming it, ensuring a balance of style and subtlety. Customizing your chair cover showcases your creativity and guarantees a one-of-a-kind result that reflects your taste and individuality.
Maintaining No-Sew Chair Covers
Cleaning and Care
Proper care is essential to ensure the longevity and appearance of your no-sew chair cover. Begin by checking the fabric care instructions, as different materials may have unique requirements. For minor stains, spot-clean the affected area immediately with a damp cloth and mild detergent to prevent permanent marks.
If deeper cleaning is necessary, carefully hand wash the fabric or follow the manufacturer’s recommended washing guidelines. Always allow the cover to air-dry completely before reusing it to preserve its shape and quality.
Re-adjusting the Fit
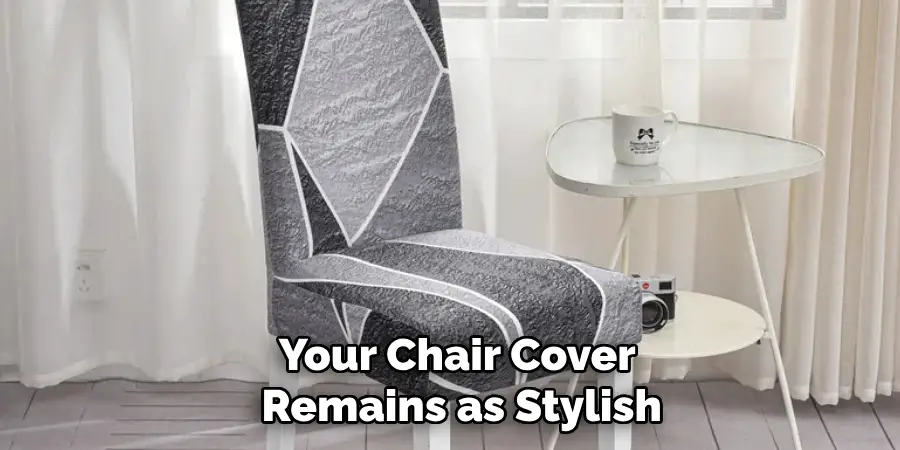
Over time, no-sew chair covers may shift or lose their snug fit with frequent use. Periodically check the cover to ensure it remains properly secured and aligned. If the fabric loosens or slips, reapply fabric glue or double-sided tape to restore a firm hold. These quick adjustments will help maintain a polished and professional appearance, ensuring your chair cover remains as stylish as intended.
Conclusion
Creating no-sew chair covers is a simple and efficient way to give your furniture a fresh, stylish update without the need for sewing skills or expensive materials. This quick DIY project allows for endless customization, enabling you to match any style or room by choosing fabrics and decorative elements that reflect your personality.
Learning how to make no sew chair covers empowers you to experiment and craft a unique piece that enhances your space. With just a few supplies and some creativity, you can transform your chairs with no-sew slipcovers in no time!