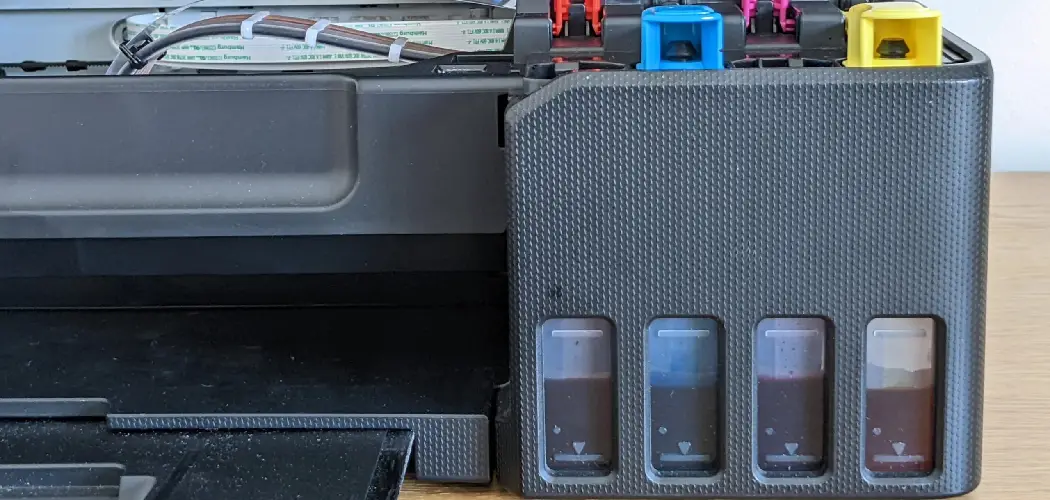
In today’s world, many are looking for ways to save money and reduce their environmental impact, so learning how to make printer ink can be valuable. Whether you’re seeking cost savings, aiming to reduce reliance on commercial products, or finding yourself in a pinch when the ink runs out unexpectedly, creating your own ink can be both practical and economical.
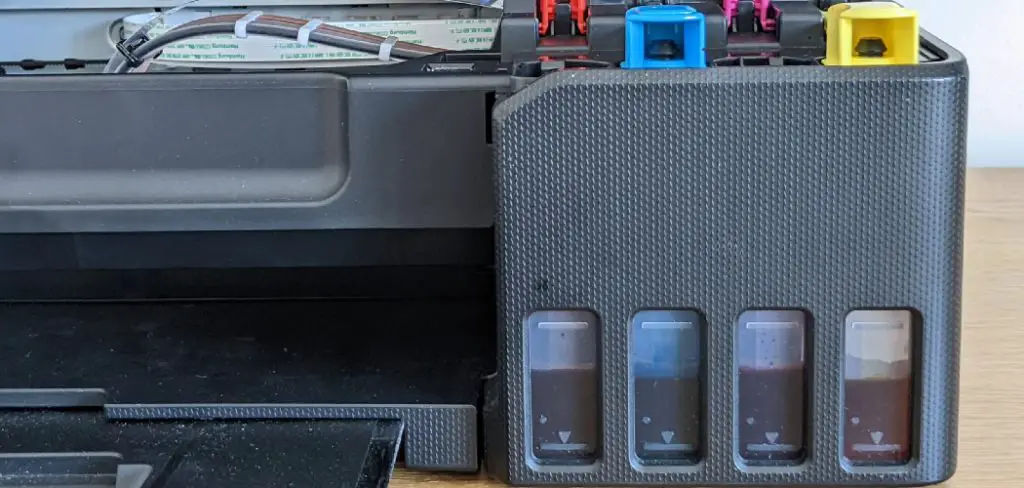
This article will guide you through the process, detailing the steps from gathering essential materials to implementing crucial safety precautions and successfully mixing your ink. By understanding how to make printer ink, you empower yourself to customize colors and formulations to suit your needs while enjoying the creativity of DIY projects.
Understanding Printer Ink Composition
Components of Printer Ink
Printer ink typically comprises several key components: pigments or dyes, solvents, and additives. Pigments are solid particles that provide color, while dyes are soluble materials that create vibrant hues when dissolved in a liquid medium. The solvent, usually water or a mixture of water and alcohol, ensures that the ink can flow smoothly through the printer and facilitates drying.
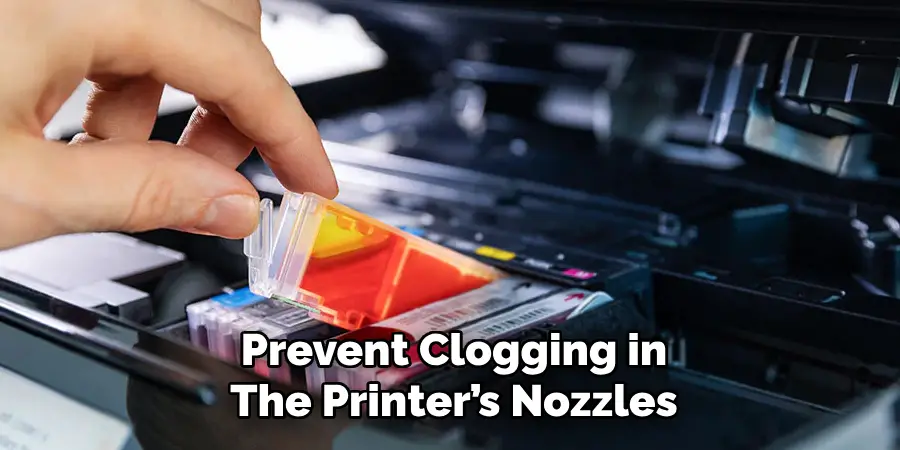
Additives, such as surfactants and stabilizers, are incorporated to improve the ink’s performance by enhancing its viscosity, improving adhesion to paper, and preventing clogging in printer nozzles. Each of these components plays a crucial role in determining the final qualities of the ink, including its color intensity, drying time, and overall fluidity, making a thorough understanding of these ingredients vital for successful ink formulation.
Differences Between Dye-Based and Pigment-Based Inks
When it comes to printer inks, the distinction between dye-based and pigment-based formulas is significant. Dye-based inks are known for their vibrant colors and are typically absorbed into the paper, making them suitable for photograph-quality prints. However, they can be less water-resistant and may fade over time when exposed to light. On the other hand, pigment-based inks consist of solid particles suspended in a liquid and sit on top of the paper, providing superior durability and resistance to fading and water damage.
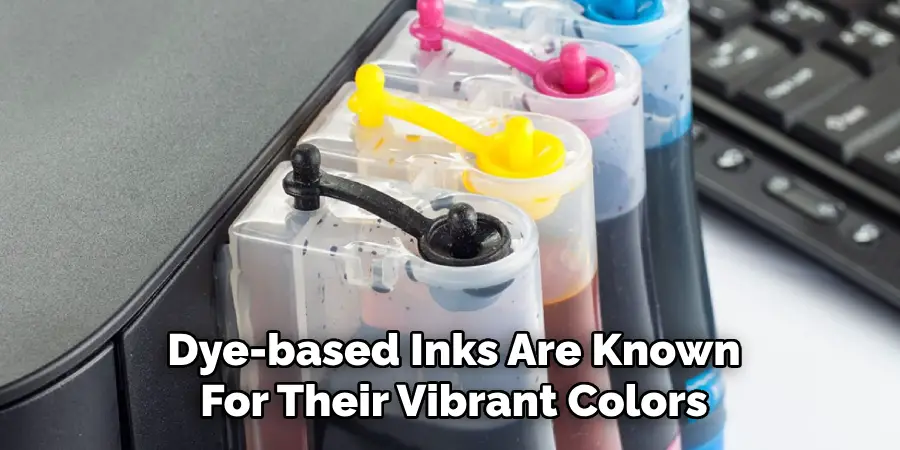
They tend to yield richer, deeper colors and are ideal for archival purposes. Understanding these differences is crucial when learning how to make printer ink at home, as dye-based inks are generally easier to replicate due to their simpler formulation, while pigment-based inks may require more precision and advanced techniques.
Gathering Materials and Ingredients
Required Ingredients for Dye-Based Ink
To create dye-based ink, you’ll need a few essential ingredients: distilled water, food coloring or fabric dye, glycerin, and isopropyl alcohol. Distilled water is preferred as it lacks impurities that could interfere with the ink’s performance. Food coloring offers a vibrant range of hues, while fabric dye can provide stronger pigmentation, making it a suitable alternative. Glycerin acts as a humectant, helping to keep the ink moist and improving its flow.
Isopropyl alcohol is included to adjust the drying time of the ink and enhance its viscosity. Most of these ingredients can be sourced from local grocery stores or craft supply shops. When selecting dyes, look for high-quality options with strong pigmentation to ensure your ink results in vibrant prints.
Required Ingredients for Pigment-Based Ink
You’ll need powdered pigments, distilled water, and a dispersant such as glycerin or gum arabic for pigment-based ink. The powdered pigments are the key players in this formulation, providing rich color that sits on the paper’s surface. Choosing high-quality pigments that are lightfast and water-resistant is crucial to achieve long-lasting results. The challenges of working with pigments often lie in their tendency to clump together; therefore, achieving proper dispersion is vital to prevent clogging in the printer.
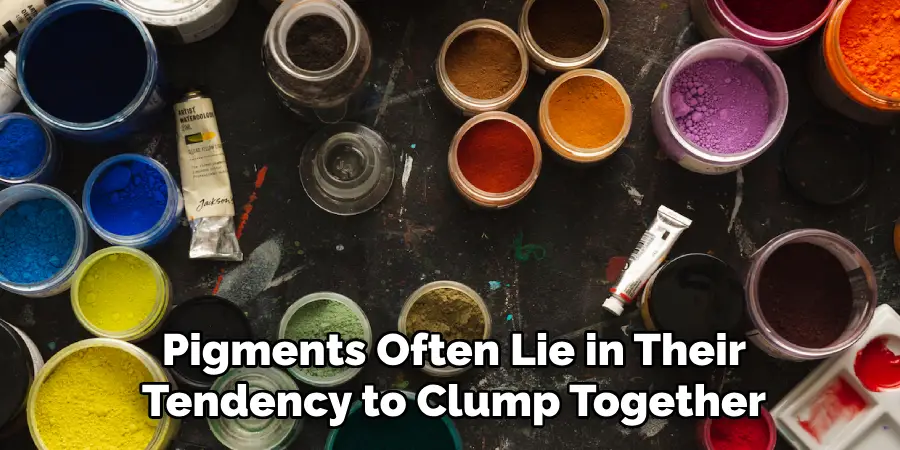
This is where the dispersant comes into play, as it allows for even pigment distribution in the water. Both glycerin and gum arabic function effectively in this role, ensuring the pigment particles are suspended evenly throughout the mixture. Careful preparation and understanding how to make printer ink with pigments can lead to impressive and durable results.
Safety Precautions
Protective Gear
Safety should be a top priority when embarking on the journey of making printer ink. It’s essential to wear protective gear, including gloves, goggles, and an apron, to shield yourself from potentially harmful chemicals and staining substances. Gloves protect your skin from dyes and solvents, while goggles prevent splashes from reaching your eyes. Additionally, an apron helps keep your clothing stain-free. Always ensure you’re working in a well-ventilated area to mitigate the inhalation of fumes and maintain a safe environment.
Handling Chemicals Safely
Proper handling and storage of the chemicals used in ink making is crucial for safety. Keep all materials out of reach of children and pets to prevent accidental ingestion or exposure. Avoid inhalation by ensuring good airflow and wearing a mask if necessary. Always follow the instructions provided for each ingredient carefully to avoid accidents, and never mix chemicals without understanding their properties. Taking these precautions allows you to enjoy the creative process while prioritizing safety.
How to Make Printer Ink: Making Dye-Based Printer Ink
Step 1: Mixing the Dye Solution
Dissolve food coloring or fabric dye in distilled water to create the base of your dye-based printer ink. Begin by measuring out about 1 cup (240 ml) of distilled water in a clean container. Add the food coloring or fabric dye slowly, starting with about one teaspoon (5 ml) of dye, and stir the mixture thoroughly. Continue to add dye incrementally, testing the concolorous until you reach your desired concentration.

Remember that the color may appear more intense once applied to paper. After achieving the desired hue, it’s important to filter the solution to remove any undissolved particles. Use a fine mesh strainer or a coffee filter placed in a funnel, pouring the dye solution through to capture any solid remnants. This step ensures a smooth ink that will not clog your printer.
Step 2: Adding Glycerin and Isopropyl Alcohol
Once your dye solution is filtered, you’ll need to adjust its viscosity and drying characteristics by adding glycerin and isopropyl alcohol. For every 1 cup (240 ml) of your dye solution, add two tablespoons (30 ml) of glycerin. Glycerin acts as a humectant, keeping the ink moist and enhancing its flow, which is crucial for a seamless printing experience.
Next, incorporate one tablespoon (15 ml) of isopropyl alcohol into the mixture. This addition speeds up the drying time of your ink on paper and helps prevent clogging in the printer nozzles. Stir the mixture thoroughly to ensure that all ingredients are well combined. The glycerin and isopropyl alcohol will help achieve a balanced ink that flows easily while maintaining the desired vibrancy of color.
Step 3: Storing the Ink
Properly storing your homemade dye-based ink is essential to maintain its quality and prevent evaporation or contamination. Transfer the ink into airtight containers, such as small glass or plastic bottles with tight-sealing lids. For optimal preservation, consider using dark glass bottles to shield the ink from light exposure, which can fade the color over time.
Be sure to label each container with the date of creation and the specific color of the ink for easy identification. Store the ink in a cool, dry place away from direct sunlight to prolong its shelf life. By following these storage tips, you can ensure that your custom-made dye-based printer ink remains fresh and effective for your printing needs.

How to Make Printer Ink: Making Pigment-Based Printer Ink
Step 1: Dispersing the Pigment
To begin creating your pigment-based printer ink, accurately measure out the powdered pigment and disperse it in distilled water. Start with about two tablespoons (30 grams) of powdered pigment and mix it with approximately 1 cup (240 ml) of distilled water. Add your chosen dispersant, which can be glycerin or gum Arabic, at a ratio of 1 tablespoon (15 ml) per cup of water.
Carefully whisk the mixture to break down any clumps and achieve a uniform consistency. This step is crucial, as a well-dispersed pigment prevents clogging in the printer’s nozzles, ensuring an even flow during printing. Spend enough time mixing until the pigment particles are thoroughly suspended, as any undispersed pigment can lead to inconsistent print quality.
Step 2: Mixing the Ink Base
Once you have a smooth mixture, it’s time to incorporate additional water and a small amount of alcohol, which will help adjust the ink’s viscosity and drying time. Gradually mix in another 1/4 cup (60 ml) of distilled water and one tablespoon (15 ml) of isopropyl alcohol into your dispersed pigment solution. Stir the mixture thoroughly, ensuring that all components blend seamlessly.
Testing the consistency is essential; dip a clean brush or paper into the ink to check if it flows smoothly without being too thick or too runny. If the ink is too thick, you may add a little more distilled water, while a thicker paste might need more alcohol. Continuously test and adjust until you achieve the desired consistency, making certain that the ink will work effectively in your printer.
Step 3: Filtering and Storing the Ink
After achieving the right consistency, filter the ink through a fine mesh strainer or filter paper to remove any clumps or undissolved particles that could cause clogging. This step ensures that your final product is smooth and ready for printing. Pour the filtered ink into clean, airtight containers, such as small glass bottles or plastic jars with secure lids. When storing your pigment-based ink, keep it in a cool, dark place to prevent degradation caused by light exposure.
Labeling each container with the color and date of creation is important. Before each use, shake the container well to re-suspend any settled pigment, ensuring an even flow during printing. By following these steps, you can create high-quality pigment-based ink that meets your printing needs.
Testing and Using Homemade Ink
Testing the Ink in a Printer
Before committing to a full print job, it’s essential to test your homemade ink using old or inexpensive printer. Start by filling a small ink cartridge with a small amount of the ink. Print a test page and observe how well the ink flows. Look for consistency in color and clarity; ensure there are no clogs or misfiring nozzles. Take note of how the ink interacts with the paper, including drying time and any smudging that may occur.
Adjusting the Formula
You may need to tweak your ink formula based on the test results. If the ink appears too light on the paper, consider adding a bit more pigment to deepen the color. Conversely, incorporate additional distilled water or glycerin to improve its viscosity if the ink is too thick and doesn’t flow well. Continuous testing and adjustments will help you balance your specific printing needs perfectly.
Troubleshooting Common Issues
Ink Clogging the Printer
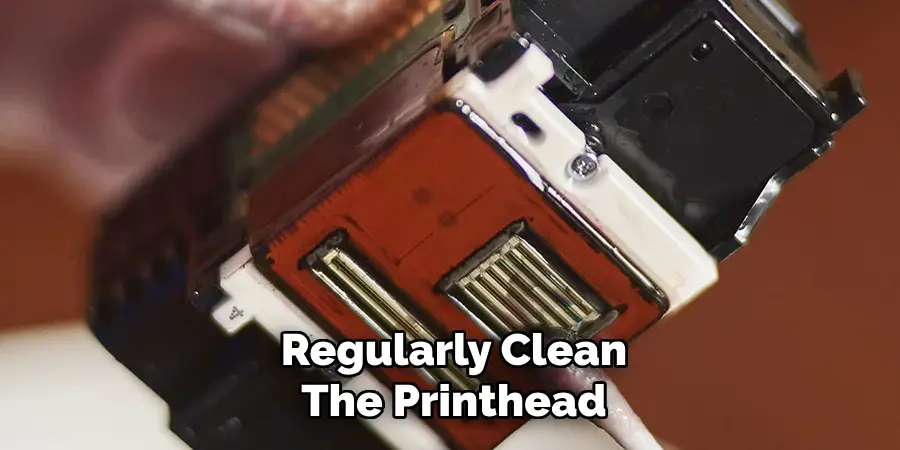
Ink clogs can be a frustrating issue when using homemade inks. To mitigate this problem, consider using a thinner ink formula by adding more distilled water or glycerin, which can enhance fluidity. Regularly clean the printhead with a soft, lint-free cloth and designated cleaning solution to prevent dried ink buildup. Additionally, if switching between different ink formulations, use a cleaning solution to flush the old ink from the printer, ensuring optimal performance with the new ink.
Ink Fading or Smudging
Using higher-quality pigments that offer better lightfastness is advisable to prevent ink fading or smudging. Incorporating additional glycerin can also help maintain moisture and improve adhesion to the paper. Moreover, adjusting the drying time by adding a small amount of isopropyl alcohol can facilitate quicker drying, reducing the risk of smudging. Conducting tests on various papers can help identify the best combination for achieving vibrant and long-lasting prints.
Conclusion
Creating your own printer ink can be an enriching and cost-effective endeavor. Throughout this guide, we’ve explored how to make printer ink, covering crucial steps such as gathering materials, dispersing pigments, mixing the ink base, and filtering for consistency. Testing the ink is essential to achieve optimal performance and refine your formula based on your results.
As you embark on this journey, remember to experiment with small batches, making adjustments as needed to perfect your ink. The benefits of homemade ink extend beyond savings; you can customize colors and formulations to suit your unique printing needs. While making printer ink can pose challenges, the creative rewards and satisfaction of producing high-quality, personalized ink are well worth the effort. With practice, you can master this process and enjoy the art of printing with your very own creations.

