
Tapered table legs are a timeless element in furniture design, admired for their sleek and modern aesthetic that effortlessly elevates any piece. The gradual narrowing of the leg from top to bottom creates an elegant silhouette, enhancing the table’s visual appeal without overpowering its overall design. This style has become increasingly popular due to its ability to complement both traditional and contemporary spaces, adding a touch of sophistication to any room.
Tapered legs are a favorite choice for tables and other furniture pieces because they offer a stylish yet sturdy support structure. They are versatile enough to fit various design themes, making them a preferred option for designers and DIY enthusiasts alike. This article aims to provide a comprehensive step-by-step guide on how to make tapered table legs from scratch, ensuring you can create a custom, professional-quality set of legs for your next furniture project.
Materials and Tools Needed
Materials Overview
Choosing the right materials is essential when crafting tapered table legs. The type of wood you select—whether hardwood, pine, or plywood—will influence the final appearance and durability of the legs. Tools such as a circular saw, jigsaw, or table saw will prove invaluable for cutting the wood to size. To achieve a smooth finish, you’ll need sandpaper or an electric sander to ensure the legs look polished and professional. Applying a wood finish like sa tain, paint, or a clear coat enhances the wood’s natural beauty while providing protection. Additionally, wood glue and screws are necessary for seamless assembly and a secure fit.
Tools Overview
Having the right tools makes the tapering process more efficient and precise. A miter saw, or table saw is ideal for making the necessary angled cuts to achieve the taper. A router or jigsaw will help shape the taper accurately. Precision tools such as a measuring tape and square are crucial for precise measurements and marking. Clamps are essential for holding the legs in place during cutting and assembly, ensuring safety and accuracy throughout the process.
Understanding the Tapering Process
What is Tapering?
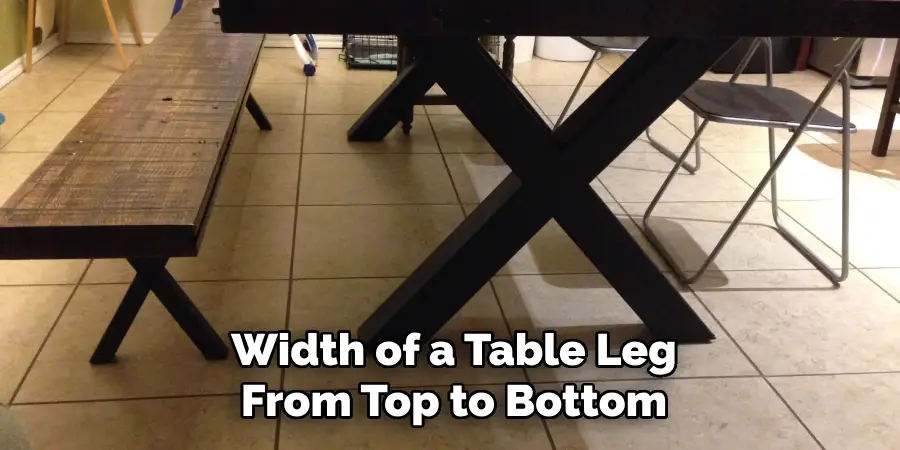
Tapering refers to the gradual reduction in width of a table leg from top to bottom, creating an elegant, streamlined appearance. This method balances aesthetics and functionality, giving the table a lighter look without compromising stability. There are various tapering styles to consider, such as the straightforward straight taper or a more dynamic angled taper, each contributing a distinct flair to the table’s design.
Types of Tapers
Several taper styles are available, each offering a unique aesthetic. Simple tapers feature a uniform reduction in width, providing a clean, minimalist look. More intricate designs, like curved or angular tapers, add complexity and grace to the table’s appearance. Selecting the right style depends largely on the desired design and aesthetic of the furniture piece, allowing for personalization that complements the surrounding décor.
Measuring and Marking the Taper
Marking the Legs for Cutting
To ensure precision in your tapered table legs, start by accurately measuring the leg length and marking the taper lines. First, use a measuring tape to determine the desired length of each leg. With this information, draw the taper lines carefully, marking the narrowest part at the bottom and the widest at the top. Utilize tools such as a square and a pencil to ensure straight, clean lines. These tools are crucial for maintaining accuracy and alignment throughout the process, setting the stage for a successful tapering process.
Determining the Degree of the Taper
Calculating the degree of taper is essential for achieving the desired look. For example, a common taper might involve a 1-inch reduction in width over a 24-inch leg. To maintain consistency across all legs, it’s vital to use a protractor or a tapering jig. These devices help you achieve uniform angles, which are critical for the table’s aesthetics and stability. Establishing a consistent taper ensures that the table maintains balance and symmetry, complemented by the sleek, designed tapering effect.
How to Make Tapered Table Legs: Cutting the Taper
Preparing the Leg for Cutting
Proper preparation is key to cutting a precise taper. Secure each leg to your work surface using clamps, which hold the wood firmly in place while you work. Before you begin cutting, check the grain and orientation of the wood to ensure it aligns with the planned taper. Correct alignment adds to the structural integrity and final appearance of the leg. This attention to the grain enhances aesthetic appeal and prevents potential weak spots in the leg, ensuring strength and durability once the table is assembled.

Cutting with a Saw or Jigsaw
With the legs secured, proceed to cut the tapers using a miter saw or table saw. For straight cuts, these power tools provide both precision and efficiency. It is important to follow a step-by-step approach, cutting slowly to ensure accuracy. A jigsaw is the preferred tool for curved tapers or more intricate designs. Its versatility allows for greater creativity in shaping the legs, accommodating more complex styles. Regardless of the chosen tool, maintain a steady hand and follow the marked lines to achieve clean, precise cuts.
Tips for a Smooth Cut
Consider applying painter’s or masking tape along the cutting line to avoid splintering and ensure a clean, accurate cut. This simple technique reduces chipping and promotes smooth edges. Additionally, maintaining sharp blades on your cutting tools is crucial for achieving professional-grade results, providing a seamless finish for your tapered legs.
Sanding and Shaping the Legs
Sanding the Tapered Surface
To achieve a professional finish on your tapered table legs, it’s essential to sand the surface evenly, smoothing out any rough edges or uneven spots. Begin by using a power sander for efficiency, especially on larger surfaces, choosing a medium-grit sandpaper to start. Gradually transition to a finer grit to refine the surface, ensuring it feels smooth to the touch. A sanding block allows for greater precision and control for tighter corners or detailed areas. Handling these tools carefully and patiently is key to obtaining a polished, high-quality result.

Shaping and Finishing the Top and Bottom of the Legs
Focus on shaping the top and bottom of the legs for an elegant and cohesive design. The top, where the leg connects to the table, should be flat and smooth to ensure a secure attachment. Sand this area thoroughly to prepare it for assembly. For the bottom, consider rounding the edges slightly for a softer appearance, which also helps prevent splintering over time. Optionally, add bevels or decorative elements to enhance the leg’s visual appeal, tailoring the design to match your personal or stylistic preferences.
Attaching the Legs to the Table
Attaching the Legs to the Table Base
Begin by drilling pilot holes in both the legs and the table base to simplify the attachment process, preventing the wood from splitting. Position the legs precisely against the table frame before using screws or bolts to fasten them securely. Employ a power drill to drive the fasteners efficiently, ensuring each leg is aligned correctly with the frame. Confirm the stability of each leg by gently wiggling it, making any necessary adjustments before fully tightening the screws or bolts, resulting in a durable and stable table.
Reinforcing the Legs
To further reinforce the leg connections, consider using wood glue in conjunction with screws or bolts, particularly where wood surfaces meet. This additional adhesive support creates a stronger bond. Incorporate brackets or corner braces for enhanced stability, particularly for larger or heavier tables. These reinforcement elements help maintain the structure and alignment of the legs over time. By ensuring that each leg is firmly secured and aligned, you achieve a balanced and long-lasting table capable of easily enduring everyday use.
Finishing and Sealing the Legs
Applying Wood Finish
To apply a wood stain or paint to the tapered legs, first ensure the surface is clean and smooth. Use a clean brush or cloth to apply the finish in even strokes, following the wood grain for uniform coverage. Applying thin coats ensures an even texture and minimizes drips. After each coat, allow ample drying time as recommended by the manufacturer to achieve the best results. Properly applied, this finish will enhance the natural beauty of the wood.
Sealing the Wood
Apply a clear coat such as polyurethane or lacquer to protect the finish and ensure durability. Use a high-quality brush or spray applicator for smooth, even application. Ensure the workspace is well-ventilated, and allow the sealant to dry completely before handling the legs. To maintain the appearance of the table legs, regularly dust them and keep them out of direct sunlight to prevent fading, thus preserving the table’s elegance over time.

Conclusion
The process of making tapered table legs involves careful measurement, precise cutting, thorough sanding, and attentive finishing. Each step requires precision and attention to detail, which are crucial for achieving a professional look and sturdy construction. Crafting tapered legs enhances the aesthetic appeal and adds functionality to the table. Don’t hesitate to experiment with various designs and finishes to create a unique piece that reflects your personal style. Understanding “how to make tapered table legs” opens a world of creative possibilities in custom furniture making.