Are you considering upgrading your computer’s cooling system with a new case fan? Before making a purchase, it is essential to know the size of your current case fan to ensure compatibility with your computer.
Measuring the size of a case fan is essential in ensuring optimal airflow and cooling efficiency for your computer system. Whether upgrading an existing fan or installing a new one, knowing the correct dimensions can help you select compatible components that fit your case.

This guide will walk you through the simple process of measuring case fan size, outlining the key measurements to take, and providing tips to make the task easier. By understanding how to measure case fan size, you’ll be better equipped to enhance your computer’s performance and longevity.
What Will You Need?
To measure your case fan size, you will need:
- A ruler or measuring tape
- A pen or pencil
- Access to your computer’s case
10 Easy Steps on How to Measure Case Fan Size
Step 1: Measure the Width
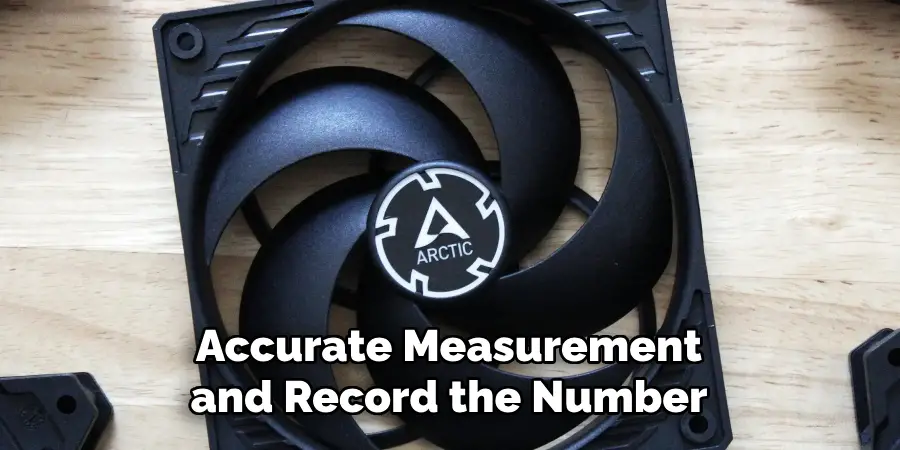
The first measurement you’ll need to take is the width of the case fan. This refers to the distance across the center of the fan from one end of the blades to the other. Place your ruler or measuring tape across the middle of the fan to get an accurate measurement and record the number in millimeters (mm). If your fan is slightly oval, measure at its widest point.
Step 2: Measure the Height
Next, you will need to measure the height of the case fan. This measurement is similar to the width but focuses on the vertical distance from the top edge of the fan blades to the bottom edge. Again, use your ruler or measuring tape to find this measurement, and ensure it is recorded in millimeters (mm). As with the width, if the fan has an irregular shape, measure at the tallest point to ensure accuracy. If your fan has a square shape or is round, the height will be the same as the width.
Step 3: Measure the Depth
Now, it’s time to measure the depth of the case fan. This dimension is critical as it determines how much space the fan occupies within your computer case. To measure the depth, you must find the distance from the front of the fan (where the blades are) to the back (where the motor is housed). Use your ruler or measuring tape to carefully gauge this distance and record it in millimeters (mm). Remember that depth can vary between different fan models, which can influence airflow performance and sound levels. Accurately measuring the depth will ensure the fan fits snugly into the designated mounting area without obstruction.
Step 4: Check the Mounting Hole Pattern
After measuring your case fan’s width, height, and depth, the next step is to check the mounting hole pattern. This involves identifying the positions of the screw holes on the fan that will align with your computer case. Using your ruler or measuring tape, measure the distance between each hole and from the holes to the edges of the fan. Standard configurations include square or rectangular patterns, and knowing this will help ensure proper installation. Record these measurements in millimeters (mm) to guarantee compatibility with the mounting points in your case.
Step 5: Determine the Fan Type
In addition to measuring the physical dimensions of your case fan, it’s essential to determine the type of fan you have. Generally, case fans are classified into 3-pin and 4-pin fans. The distinction lies in the number of wires and the type of connector used for power and speed control. A 3-pin fan typically allows for voltage control, while a 4-pin fan supports PWM (Pulse Width Modulation) for more precise speed regulation. Identifying the type of fan you are measuring will aid in selecting a replacement that matches not only the size but also your system’s performance and compatibility requirements.
Step 6: Measure the Voltage Rating

Understanding the voltage rating of your case fan is essential for compatibility and performance. Most case fans operate on either 5V or 12V DC; this specification can often be found on a label affixed to the fan. Use this information to ensure that any replacement fan you consider is compatible with your computer’s power supply. To measure, check the fan’s documentation or inspect the label for voltage specifications. Awareness of the voltage requirements will help ensure your new fan operates efficiently and safely within your system.
Step 7: Take Note of the Fan Speed
Another important measurement is the fan speed, usually expressed in revolutions per minute (RPM). The speed of a case fan directly impacts its cooling efficiency; faster fans can often deliver better airflow but may also produce more noise. Check the fan’s specifications, which are typically located on the fan’s label or in the manufacturer’s documentation. Record the RPM value, as this will help you compare different fan options based on performance and noise levels when selecting your replacement. Understanding the fan speed is crucial for maintaining a balance between effective cooling and a quiet operation for your system.
Step 8: Evaluate Airflow Rating
The airflow rating of your case fan, often measured in cubic feet per minute (CFM), is a critical factor in determining its cooling performance. To find this measurement, consult the fan’s specifications, usually listed on the manufacturer’s label or documentation. Understanding the airflow rating is essential, indicating how effectively the fan can move air through your computer case. When selecting a replacement fan, you’ll want to compare this rating with your current fan to ensure optimal airflow and cooling efficiency, which is vital for maintaining system performance and component longevity.

Step 9: Consider Noise Levels
Noise levels, typically measured in decibels (dB), are another essential aspect to consider when measuring and selecting a case fan. Most fans come with specifications detailing their noise levels at certain RPMs. A quieter fan can be beneficial for maintaining a serene working environment, mainly if your computer will be used for long periods or in noise-sensitive settings. Be sure to compare the noise ratings of potential replacement fans and balance them against their airflow capabilities to find a fan that meets your performance and acoustic preferences.
Step 10: Final Compatibility Check
Once you have gathered all the necessary measurements and specifications, it’s time to perform a final compatibility check. Ensure that the dimensions, mounting pattern, voltage, fan type, airflow rating, and noise levels all align with your system’s requirements and the specifications of the new fan you plan to purchase. Double-check all recorded measurements and notes before making a decision. By following this thorough process, you can confidently select a case fan that fits perfectly and enhances your computer’s cooling performance and overall efficiency.
Following these steps, you can quickly and accurately measure your computer case fan and select the perfect replacement for optimal performance. Always consult the manufacturer’s documentation or label for specific measurements and specifications, as different fan models may have varying sizes and requirements.
5 Things You Should Avoid
- Ignoring Manufacturer Specifications: Always consult the manufacturer’s documentation before measuring. Skipping this step can lead to inaccuracies, as specifications can vary significantly between different models and sizes.
- Rushing the Measurement Process: Take time when measuring the dimensions, mounting holes, and other specifications. Quick measurements can result in errors that may cause compatibility issues, so be thorough and patient.
- Using Inaccurate Tools: Avoid using tools that are not precise, such as rulers or tape measures. Instead, opt for digital calipers or other accurate measuring tools to ensure the most precise measurements possible.
- Not Considering Your System’s Requirements: Make sure to check your system’s specifications and requirements before selecting a replacement case fan. Compatibility is key for optimal performance and avoiding any potential damage to your components.
- Neglecting Noise Levels: While airflow is crucial for cooling effectiveness, noise levels should also be considered when selecting a case fan. Choosing a fan with low noise levels can lead to a more pleasant working environment and prevent potential distractions in noise-sensitive settings.

By avoiding these common mistakes and following the proper measuring process, you can confidently select a replacement case fan that meets your system’s needs and improves its overall performance.
Conclusion
How to measure case fan size accurately is crucial for ensuring compatibility and performance in your computer system.
Begin by measuring the fan’s dimensions—width, length, and depth—using precise tools to avoid discrepancies. Next, take note of the mounting pattern, which is essential for securing the fan in place. Assess the voltage rating and fan speed to ensure they match your power supply and cooling needs. Additionally, consider the airflow rating and noise levels to strike a balance between effective cooling and quiet operation. Finally, perform a thorough compatibility check against your system’s specifications before selecting a replacement.
By following these clear steps and being diligent in your measurements, you can select a case fan that not only fits but also enhances your overall computing experience.