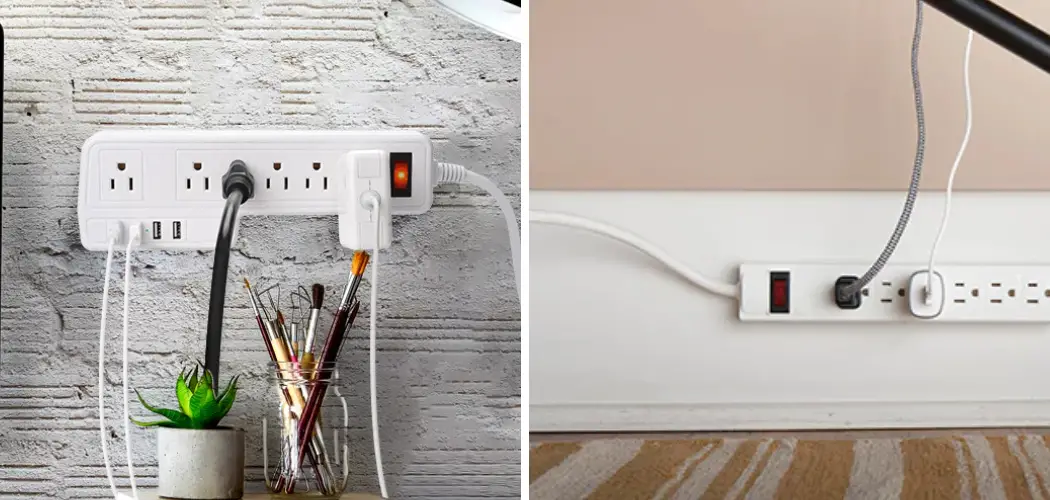
Do you need to mount a power strip securely to the wall, but don’t want to use up precious space with screws and anchors? Well, look no further! This blog post will discuss how to mount power strip to wall without screws or other complicated fastening methods.

Here, we’ll cover the differences between various types of adhesives and how they hold up in different conditions so that you can choose which option is best for your needs.
We’ll also go over some tips on properly prepping the wall before sticking your power strip onto it and what precautions should be taken after installation is complete.
So whether you’re a beginner looking for an easy way to get started with mounting items or an experienced hand seeking new ideas for clever & efficient solutions – keep reading and learn all about mounting your power strips without relying on traditional hardware today!
Supplies You Will Need to Mount Power Strip to Wall Without Screws
- Power strip
- Adhesive strips or mounting tape
- Rubbing alcohol
- Paper towels or a clean cloth
- Level (optional)
- Pencil or marker (optional)
- Measuring tape (optional)
- Scissors (depending on the adhesive used)
Step-by-step Guidelines on How to Mount Power Strip to Wall Without Screws
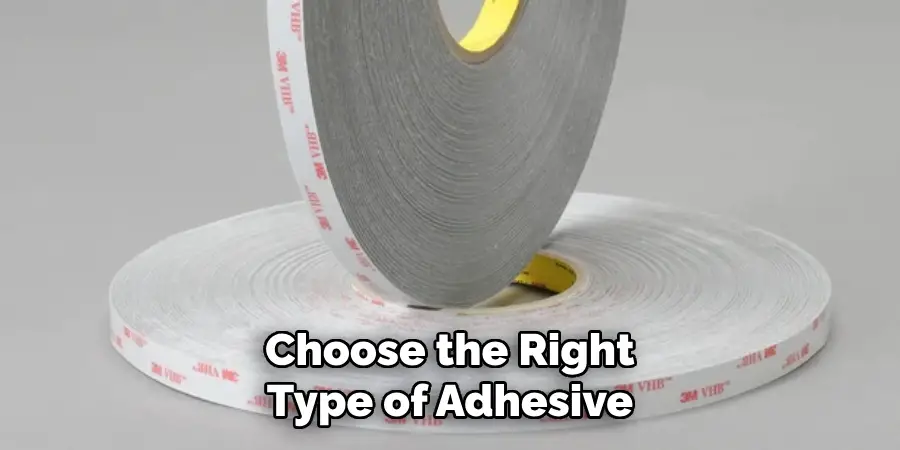
Step 1: Choose Your Adhesive
The first step to mounting your power strip without screws is to choose the right type of adhesive. Some common options include adhesive strips, double-sided foam tape, and mounting putty. Each has its own strengths and weaknesses, so it’s important to select one that will be able to support the weight of your power strip and withstand any potential environmental factors.
You can also refer to the manufacturer’s instructions for specific recommendations on which adhesive works best with your power strip.
Step 2: Prep the Wall
Before sticking anything onto your wall, it’s important to properly prep the surface. This will help ensure that the adhesive sticks and holds onto the wall securely. Start by wiping down the area with rubbing alcohol to remove any dirt or debris.
Then, dry the area with paper towels or a clean cloth. While preparing the wall, also take this time to measure and mark where you want your power strip to be mounted if you’re using a level or pencil.
Step 3: Measure and Mark Your Placement (Optional)
For those who want their power strip to be mounted in a specific location, it may be helpful to measure and mark the placement before attaching the adhesive. This will help ensure that your power strip is level and centered on the wall. Measuring and marking are optional, but they may be useful for those who are particular about the placement of their power strip.
Step 4: Attach Adhesive to Power Strip
Once your wall is prepped and you have measured and marked your desired placement, it’s time to attach the adhesive to your power strip.
If using adhesive strips or double-sided foam tape, simply cut the strips to the desired length and apply them to the back of your power strip. If using mounting putty, roll a small amount into a ball and press it onto the back of your power strip.
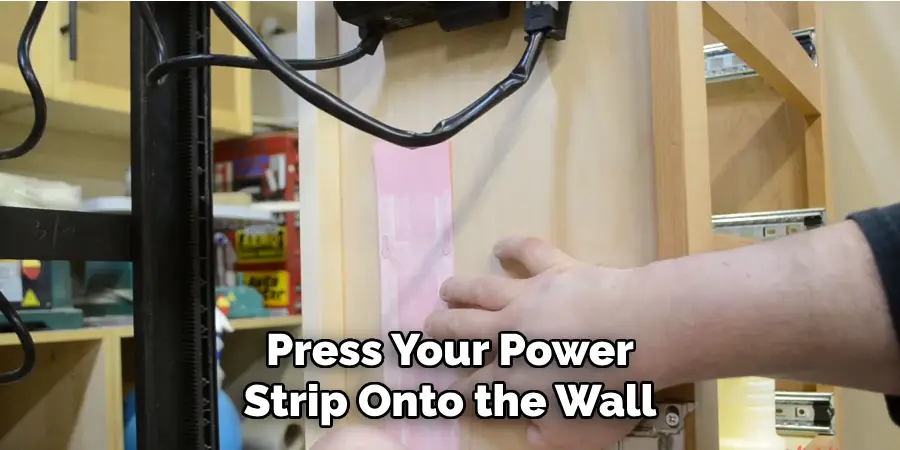
Step 5: Stick Power Strip onto the Wall
Carefully press your power strip onto the wall in the desired location, making sure it is level if you have marked your placement beforehand. Hold the power strip against the wall for a few seconds to ensure that the adhesive makes good contact with the surface. Make sure to apply even pressure across the entire surface of the power strip to ensure a secure hold.
Step 6: Secure Power Strip (Optional)
If you want added security, you can secure your power strip further by using additional adhesive or mounting putty on the corners of the power strip. This will help prevent any accidental removal or movement of the power strip. However, be mindful not to use too much adhesive as it may make removal difficult in the future.
Step 7: Wait for the Adhesive to Set
Depending on the type of adhesive used, you may need to wait a certain amount of time before plugging in your devices and using your newly mounted power strip. Check the manufacturer’s instructions or the packaging of the adhesive for specific wait times.
Step 8: Test and Adjust as Needed
Once the adhesive has been set, test your power strip by plugging in a device. If it holds up securely, then congratulations – you have successfully mounted your power strip without using screws! However, if it feels loose or falls off when you plug in a device, try reapplying the adhesive or using a stronger adhesive type.
Following these steps will help you mount your power strip to the wall without using screws. Keep in mind that adhesives may not hold as securely on certain surfaces such as brick or textured walls, so always test the strength of the adhesive before relying on it for heavy electronics.
Now you can enjoy a clutter-free and organized space without sacrificing any wall space! So go ahead and try this method out for yourself – you’ll be surprised at how easy and effective it can be. Happy mounting!
Additional Tips and Tricks to Mount Power Strip to Wall Without Screws
- Always use power strips with surge protectors to avoid potential fire hazards and electrical shorts.
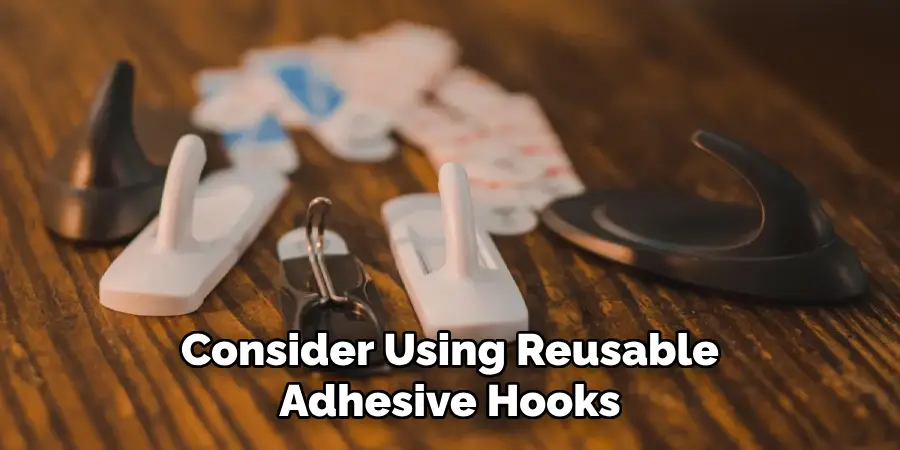
- Consider using reusable adhesive hooks or Velcro straps for attaching the power strip to the wall, as they can be easily removed without damaging the surface.
- If you are mounting the power strip in a high-traffic area, make sure it is secure enough to withstand accidental bumps or pulls. You can reinforce the adhesive hooks with additional screws for added stability.
- For a more permanent solution, you can also use heavy-duty command strips or wall-mounting brackets specifically designed for power strips without screws.
- Before attaching the power strip to the wall, make sure to clean and dry the surface thoroughly to ensure maximum adhesion.
- If you are using Velcro straps or adhesive hooks, make sure to evenly distribute the weight of the power strip to avoid strain on one specific point.
- For added safety, consider using cable ties or clips to secure and organize the cords coming from the power strip.
- To minimize tripping hazards, try to mount the power strip at a higher level on the wall rather than near ground level.
- If you have pets or small children, consider using a cord cover to prevent them from tampering with the cords and potentially causing harm.
- Regularly check the adhesive of your chosen mounting method to ensure it is still secure and replace it if necessary.
Following these tips and tricks will help you safely and securely mount your power strip to the wall without the need for screws. Happy organizing!
Frequently Asked Questions
How Do I Mount a Power Strip to the Wall Without Using Screws?
There are several methods you can use to mount a power strip to the wall without screws. Some of these include using adhesive strips, mounting brackets, or cable ties. These methods are perfect for situations where you cannot drill holes into the wall, such as in rented properties, or if you want a temporary solution.
Can Adhesive Strips Hold a Power Strip on the Wall?
Yes, adhesive strips can hold a power strip on the wall. However, you must ensure that the adhesive strips you are using are strong enough to support the weight of your power strip and all its plugged-in devices. It is also essential to follow the instructions provided by the manufacturer when applying these adhesive strips.
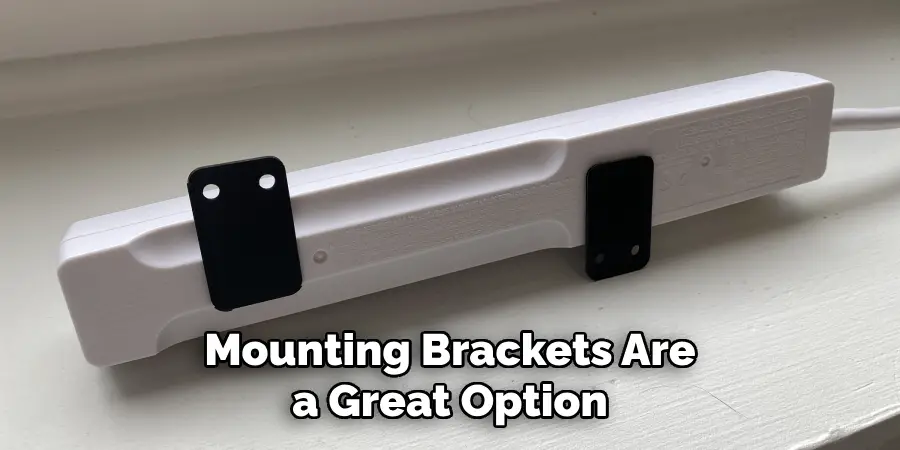
Are Mounting Brackets a Secure Option for Mounting Power Strips?
Mounting brackets are a great option for mounting power strips because they provide strong and secure support. These brackets come with screws that can be easily mounted onto the wall, making them a more permanent solution than other methods. They also allow you to neatly organize your cords and cables, giving your setup a cleaner look.
Can I Use Cable Ties to Mount My Power Strip?
Yes, you can use cable ties to mount your power strip. This method is not as secure as using adhesive strips or mounting brackets, but it can still be effective.
To ensure proper support, make sure to use multiple cable ties and space them out evenly along the length of the power strip. It is also important to securely tie the cable ties to a sturdy object, such as a nail or hook on the wall.
Conclusion
All in all, knowing how to mount power strip to wall without screws can come in handy when dealing with limited space or temporary setups. With the right tools and methods, you can safely and securely mount your power strip onto the wall without damaging it.
Remember to always follow the manufacturer’s instructions for any mounting method you choose to use, and make sure to test the stability of your setup before plugging in any devices. Happy mounting!