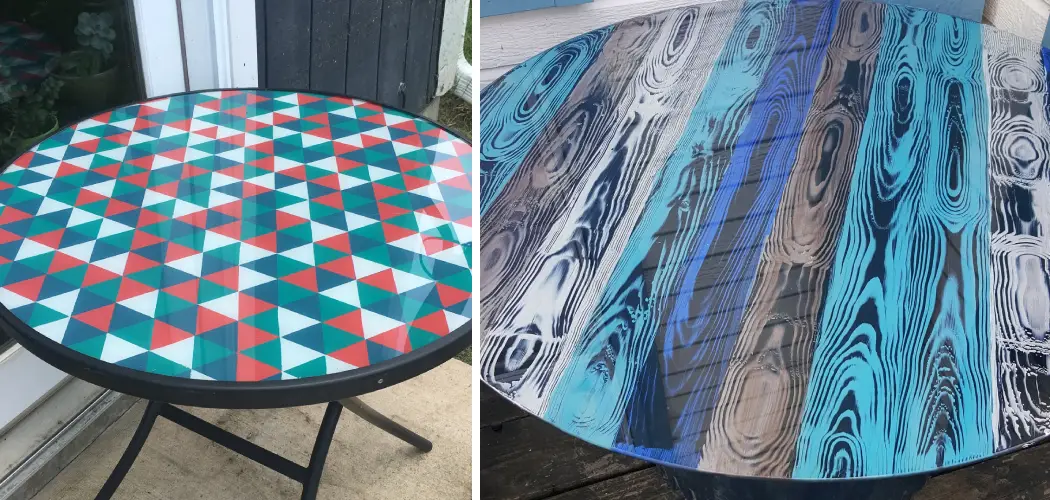
Are you looking for a creative way to revamp your old glass table? Painting the glass table top can give it a new look and make it stand out in any room.
How to paint a glass table top can be an excellent way to revitalize your furniture and add a personalized touch to your home decor. Whether you’re aiming for a subtle frosted look or a bold, colorful design, this DIY project allows for intricate creativity and versatility. Following a few essential steps and using suitable materials can transform a plain glass table into a stunning centerpiece. This guide will walk you through the process, providing tips and techniques to ensure a smooth and professional finish.

Whether you’re a seasoned DIY enthusiast or a beginner, painting your glass tabletop can be a rewarding endeavor that showcases your unique style.
What Will You Need?
Before you begin, gather all the necessary materials to paint your glass table top. You can find most of these items at your local hardware or craft store.
- Glass Cleaner and Paper Towels: It’s important to start with a clean surface to ensure proper paint adhesion.
- Painter’s Tape: This will be used to create designs or sections on the tabletop that you want to keep clear of paint.
- Fine-grit Sandpaper: This will help roughen up the surface of the glass, allowing for better paint adhesion.
- Primer: A good quality primer specifically designed for glass surfaces is essential for achieving a professional finish.
- Acrylic or Enamel Paints: These paints are recommended for painting glass surfaces as they dry with a hard, glossy finish.
- Paintbrushes: Choose brushes specifically designed for use with acrylic or enamel paint.
- Clear Coat Sealant: This will protect your painted design and provide a smooth and durable finish.
Once you have gathered all your materials, it’s time to start painting!
10 Easy Steps on How to Paint a Glass Table Top
Step 1: Prepare the Glass Surface
Begin by thoroughly cleaning the glass table top using a glass cleaner and paper towels. It’s crucial to remove all dust, fingerprints, and grime to ensure the paint adheres properly. After cleaning, wipe the surface dry with a lint-free cloth.

If your tabletop has any existing paint or coatings, gently sand it with fine-grit sandpaper to create a slightly roughened surface, which will help the new paint adhere better.
Step 2: Mask Off Areas with Painter’s Tape
Using painter’s tape, carefully mark off any areas of the glass table top you want to keep clear of paint. This could include creating designs and patterns or protecting the table’s edges. Make sure the tape is applied firmly to prevent paint from seeping underneath it.
This step allows you to achieve clean lines and a professional-looking design, so take your time to ensure the tape is positioned precisely where you want it. Once you have finished applying the tape, your tabletop is ready for the next step in the painting process.
Step 3: Apply the Primer
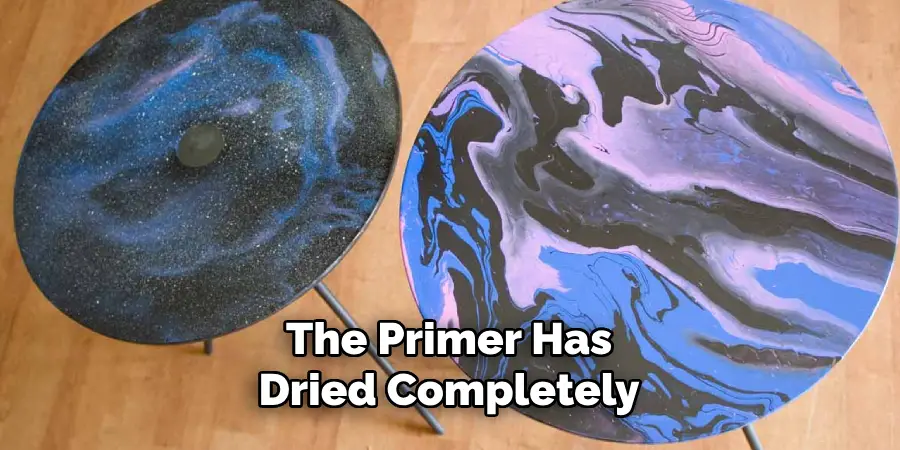
Now that the surface is prepared and protected, it’s time to apply the primer. Choose a primer specifically formulated for glass surfaces to ensure optimal adhesion. Apply a thin, even coat of primer using a paintbrush or foam applicator, working in smooth, even strokes. Allow the primer to dry completely according to the manufacturer’s instructions before proceeding to the next step.
This layer is crucial as it provides a foundation for the paint to adhere to, ensuring a long-lasting and professional finish. Ensure there are no drips or uneven spots by checking your work carefully and lightly sanding any imperfections, if necessary, once the primer has dried.
Step 4: Paint the Design
Once the primer has dried completely, you can paint your design onto the glass table top. Select the acrylic or enamel paints you want and apply them using appropriate brushes. Start with a light touch, building up colors slowly to achieve the desired opacity and vibrancy. Be mindful of the paint’s consistency, as thicker applications may result in dripping or uneven surfaces.
If you’re working with multiple colors or layers, allow each coat to dry fully before applying the next to prevent smudging and ensure clean, crisp lines. Use any artistic techniques that suit your design, such as blending colors for gradient effects or stippling for texture. Take your time to create a unique and personalized piece that reflects your style, and enjoy the creative process as you bring your vision to life.
Step 5: Allow the Paint to Dry
After completing your design, it’s essential to let the paint dry thoroughly before moving on. Depending on the type of paint used and the environmental conditions, such as humidity and temperature, drying time can vary. Refer to the paint manufacturer’s instructions for specific drying times.
place the glass table top in a safe, dust-free area to ensure your design isn’t disturbed during this process. Avoid touching the surface or placing objects on it, as even slight disturbances can mar the freshly applied paint. Patience at this stage is critical to achieving a smooth and professional finish.
Step 6: Seal the Design with a Clear Coat
With the paint fully dried, it’s time to protect your finished design by applying a clear coat sealant. This step is crucial to ensuring the durability of the painted surface and providing a glossy, polished finish. Choose a clear coat compatible with acrylic or enamel paints, and apply it in thin, even layers using a clean brush or spray applicator. Be sure to cover the entire painted area to seal it effectively
Allow each coat to dry completely before applying additional layers, as the sealant manufacturer recommends. This not only enhances the longevity of the design but also adds a professional sheen to the tabletop, making it resistant to scratches and everyday wear. Once the final layer is dry, your newly transformed glass table is ready to exhibit, showcasing your creativity and crafting skills.
Step 7: Remove Painter’s Tape
After the clear coat sealant has dried completely, carefully remove the painter’s tape from the glass table top. Doing this step slowly and deliberately helps avoid removing any paint that might have seeped under the edges or damaged your design. Start at a corner and gently peel back the tape at a 45-degree angle.
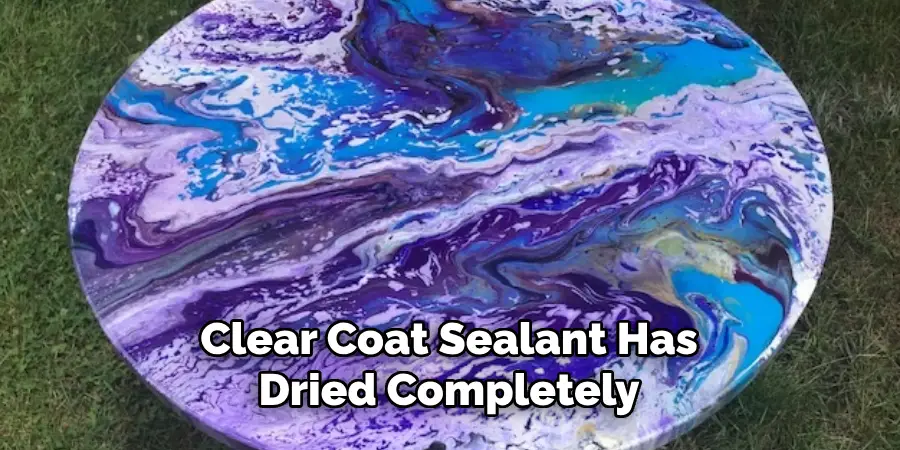
If any tape is stubborn or doesn’t come off cleanly, use a craft knife or razor blade to cut along the paint line gently. This will ensure your painted design remains sharp and intact. Once all the tape is removed, inspect the edges to see if any touch-ups are needed and make them as necessary. Now, your table is ready for use, showcasing your artistic effort in every detail.
Step 8: Enjoy Your Newly Painted Glass Table
Congratulations on completing the painting project! Now that your glass table top is ready find the perfect spot to showcase it. Whether you place it in your dining room, patio, or living room, let it be a focal point that draws attention. Consider adding decorative elements, such as coasters or centerpieces,
that complement your design and accentuate its beauty. This newly painted glass table is a practical piece of furniture and a unique work of art that reflects your style and creativity. Enjoy the satisfaction of turning an ordinary piece into something extraordinary, and take pride in the craftsmanship you’ve displayed throughout the entire process.
Step 9: Maintain Your Painted Glass Table
To ensure your newly painted glass table remains vibrant and damage-free, it’s important to maintain it properly. Regular dusting with a soft, lint-free cloth will help keep the surface clean without scratching the paint. For periodic deep cleaning, use a mild soap and water solution, wiping gently to avoid damaging the painted design.
Avoid using harsh chemicals or abrasive cleaners that could strip away the sealant or fade the paint. If your table is placed in a high-traffic area, consider using placemats or coasters to protect the surface from spills and scratches. Monitoring environmental conditions, like exposure to direct sunlight, can also help in maintaining the integrity and longevity of your painted masterpiece.
Step 10: Display and Celebrate Your Work
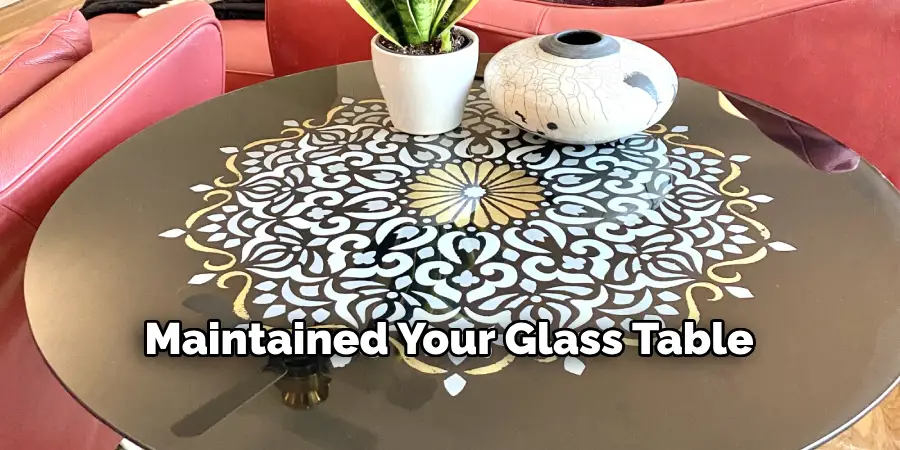
Now that you have successfully painted and maintained your glass table, it’s time to display and celebrate your artistic achievement proudly. This step involves finding a suitable location for your table where everyone can admire and appreciate it. Consider positioning it in a well-lit area to highlight the colors and details of your design. Gather your family and friends to showcase your creation, and share how you transformed a simple glass tabletop into an artistic centerpiece.
By following these steps and tips, you can confidently transform any glass table into a unique and personalized piece that reflects your style and creativity.
Conclusion
How to paint a glass table top is a rewarding project that allows for creativity and personalization in home decor.
By carefully following a series of steps, from preparing the surface to sealing the finished design, you can achieve a professional-looking result that enhances your space. Patience and attention to detail are crucial at each stage, ensuring that the paint adheres well and remains durable over time. Whether you opt for bold patterns or subtle shades, your painted glass table will serve as a functional piece and a testament to your artistic skills.
Enjoy the beauty and uniqueness of your creation, and take pride in transforming an everyday object into a stunning work of art that reflects your style.
you can also check it out Repair Water Damaged Mdf Table Top