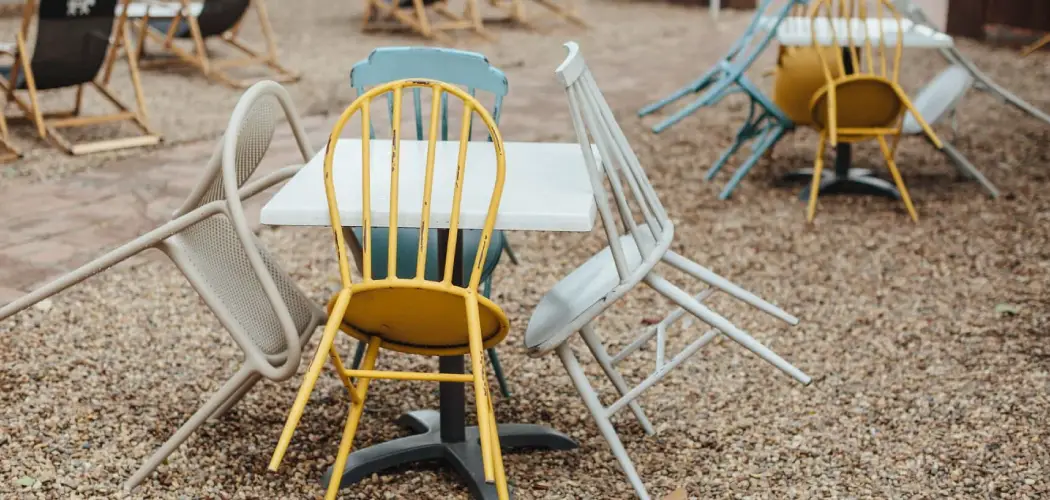
Painting metal chairs is a simple yet effective way to refresh old, worn-out furniture and give it a new lease on life. Whether for indoor or outdoor use, painted metal chairs can enhance the aesthetic appeal of your space while providing a personalized touch that aligns with your style. One of the primary benefits of painting metal chairs is the added protection against rust and wear,
ensuring their durability over time. Additionally, a fresh coat of paint can help restore their appearance, making them look as good as new.

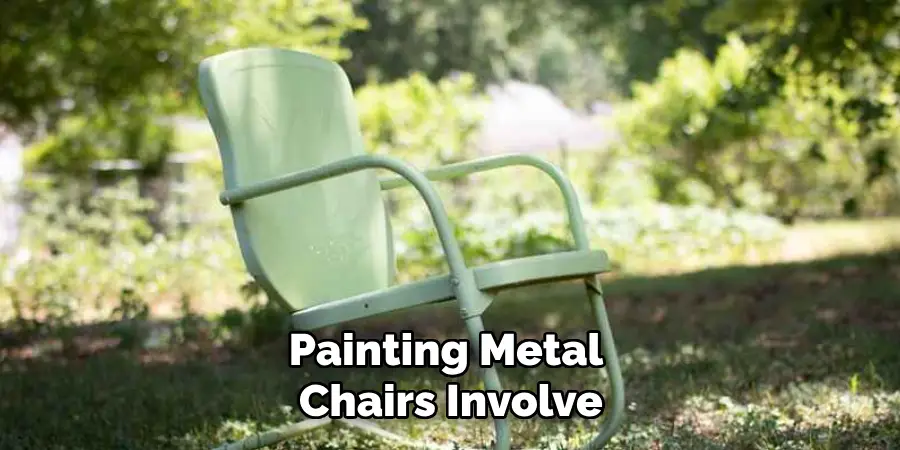
The process of painting metal chairs involves a few straightforward steps that anyone can follow with the right tools and materials. These include preparing the chair by cleaning and sanding, applying a primer for better adhesion, painting with your chosen color, and finally sealing the surface for a long-lasting finish. If you’re looking to learn how to paint metal chairs, this guide will walk you through every step to achieve professional results.
Gathering Materials and Tools
Before starting the process of painting your metal chair, gathering all the necessary materials and tools is essential to ensure a smooth and successful update. Proper preparation will save time and effort while giving you the best possible outcome.
Materials Needed
- Metal chair (to be painted).
- Sandpaper (medium and fine grit) – for smoothing the surface and removing rust or peeling paint.
- Primer (specifically for metal surfaces) – to help the paint adhere better and provide an even finish.
- Spray paint or metal paint – choose a durable, weather-resistant type that suits your intended use (indoor or outdoor).
- Clear sealer or topcoat (optional) – for added protection and longevity of the paint.
Tools Required
- Painter’s tape – to cover areas you don’t want to be painted, such as chair feet or hardware.
- Drop cloth or plastic sheeting – to protect surrounding areas and catch drips or overspray.
- Paintbrush – for touch-ups, corners, or small, intricate sections.
- Cleaning supplies – soap, water, and rags to thoroughly clean the chair before painting.
Safety Equipment
- Gloves and safety goggles – to protect your hands and eyes from paint and debris.
- Ensure a well-ventilated area for spraying paint to avoid inhaling harmful fumes.
Gathering these materials and tools ahead of time will simplify the process and set you up for a successful makeover of your metal chair.
Preparing the Metal Chair
Cleaning the Chair
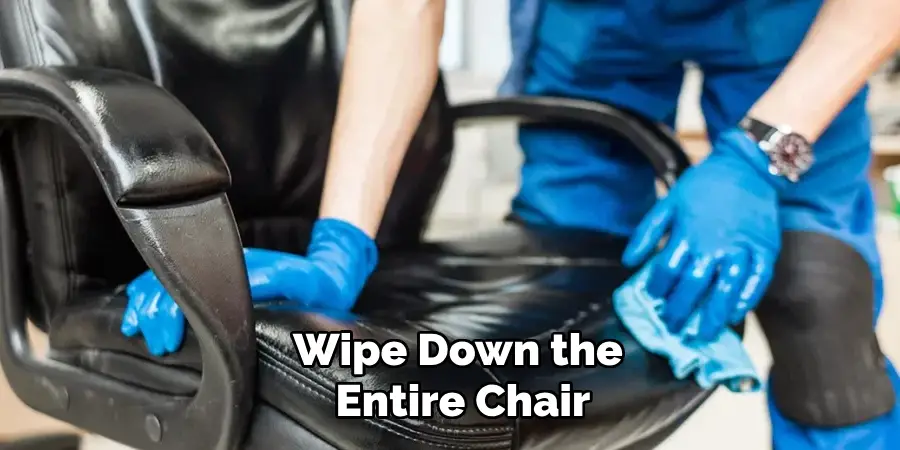
Start by thoroughly cleaning the chair using soap and water. This step is essential for removing layers of dirt, grease, or grime that may interfere with the paint adhering properly. Use a sponge or soft cloth to scrub the chair, focusing on crevices and hard-to-reach areas. Once cleaned, rinse any soap residue with water and dry the chair using a clean, dry cloth.
Ensuring the chair is entirely dry is crucial to prevent moisture from causing the paint to peel or rust to form later.
Removing Old Paint and Rust
If the chair has old, chipped, or peeling paint, it’s important to remove it before painting. Use sandpaper or a wire brush to scrape off as much of the loose paint as possible. Additionally, inspect the metal for signs of rust. Rust can be removed using a wire brush or sanding block—gently scrape until the rust is eliminated, exposing the clean metal underneath. Removing these imperfections will ensure a smooth and durable finish once painted.
Sanding the Surface
To prepare the chair for priming and painting, lightly sand the entire metal surface with medium-grit sandpaper. This step helps roughen the surface slightly, allowing the paint to adhere better. Once the initial sanding is complete, follow up with fine-grit sandpaper to smooth out any rough edges or imperfections.
Finally, use a damp cloth to wipe down the entire chair, removing any dust created during the sanding process. A clean and smooth surface is now ready for the next steps of the makeover process.
Applying Primer
Choosing the Right Primer
Selecting the appropriate primer is crucial in ensuring a long-lasting, professional finish. Choose a metal-specific primer designed to enhance paint adhesion and prevent rust formation. If the chair is intended for use outdoors, opt for a rust-inhibiting primer to provide added durability and resistance to weathering elements. This will form a strong base layer, protecting the metal against moisture and corrosion.
Applying the Primer
When it comes to application, you have two primary options—using a spray primer or a brush. A spray primer is ideal for achieving a smooth, even coat over large areas, while a brush allows for greater control when working on intricate details or smaller sections of the chair. Regardless of the method used, apply thin, even layers of primer,
starting with a light mist or thin coat to create better adhesion for subsequent layers. Be sure to work in a well-ventilated area or outdoors to ensure safety and facilitate proper drying.
Drying Time
Allow the primer to fully dry before moving on to the painting stage. Most primers require at least 30 minutes to 1 hour of drying time between coats, but it’s always best to consult the specific instructions provided by the manufacturer for optimal results. Patience during this step is vital—ensuring the primer is completely dry will prevent uneven paint application later and ensure a smooth, flawless finish.
How to Paint Metal Chairs: Painting the Metal Chair
Choosing the Paint
Select a high-quality spray paint specifically designed for metal surfaces, ensuring proper adhesion and durability. If the chair will be used outdoors, consider weather-resistant paint to protect it from the elements and prevent rusting. Additionally, choose a paint color and finish that complements your design preferences—options include matte, gloss, or metallic finishes, depending on the desired look.
Applying the Paint
Before beginning, shake the spray paint well for at least one minute to ensure the paint is evenly mixed. Hold the can approximately 6-12 inches away from the chair and apply the paint in light, even coats, starting with a sweeping motion. Begin each spray pass slightly off to the side of the chair to avoid uneven blobs or drips, and move steadily across the surface.
Allow each coat to dry fully before applying the next, which generally takes 20-30 minutes, but check the manufacturer’s instructions for precision. Two to three coats are typically recommended for even, opaque coverage. For touch-ups or reaching intricate areas, a small paintbrush and metal-specific paint can be used to ensure perfect detail.
Alternative Method: Using a Brush
If you prefer not to use spray paint or have intricate areas to cover, using a brush with metal paint is a reliable alternative. Opt for a high-quality brush to limit streaks and maintain smooth application. Apply the paint toward the metal’s grain for even coverage and better adhesion. While this method may take a bit more time,
it allows for greater control over smaller areas and detailed chair sections. Regardless of your chosen method, ensure the paint is completely dry before moving forward to enjoy a professional and durable finish.
Sealing the Paint
Why Seal the Paint?
Sealing the paint with a clear coat or topcoat is an essential step to protect your work from wear and tear and exposure to various weather conditions. The sealant acts as a protective barrier, preventing scratches and chips while enhancing the overall durability of the paint. Additionally, a clear sealer adds a finished touch by providing a sleek, glossy appearance, elevating the painted chair’s aesthetic and ensuring a long-lasting result.
Applying the Clear Sealer
Once the paint has dried completely—usually after 24 hours—you can begin applying the clear sealer or topcoat. Depending on your preference and the finish you aim to achieve, you can use either a spray-on sealer or a brush-on option. Apply two to three light coats evenly across the chair, allowing each coat to dry thoroughly before proceeding to the next. This will ensure a smooth, flawless finish and optimal protection for the painted surface.
Drying Time
After the final coat of sealer has been applied, allowing the chair to dry entirely before use is crucial. Depending on the type of sealer used, drying can take anywhere from 24 to 48 hours. Proper drying ensures the sealant fully cures, offering maximum protection and providing you with a polished, professional, and durable finish.
Reassembling and Touching Up
Reassembling the Chair
If the chair has removable parts, such as cushions, legs, or other components, it is time to reassemble them. Begin by carefully fitting each piece back into place, ensuring that all parts align properly. Tighten any screws, bolts, or fasteners securely to guarantee the chair is stable and functional. If the chair includes fabric elements like cushions, consider cleaning or replacing them if necessary to complement the refreshed painted surfaces.
Touching Up
Once the chair is fully reassembled, inspect the painted surface closely for any missed spots, thin areas, or imperfections. Using a small, fine-tipped brush, carefully touch up any flaws or uneven sections to ensure a consistent and flawless finish. Take your time to blend touch-up paint seamlessly with the surrounding area for a professional look. Allow the touch-up areas to dry before performing any additional refinements if necessary.
Allowing Final Drying Time
After completing the touch-ups and ensuring everything is securely in place, it is crucial to allow the chair to cure fully. Set the chair aside in a safe, well-ventilated area and allow it to rest for a minimum of 24 hours. This ensures the paint and sealer have completely set, providing durability and a polished appearance. Proper curing time is the final step in achieving a long-lasting, refreshed chair that is ready to use.
Maintaining Painted Metal Chairs
Cleaning Painted Chairs
Regularly clean the chair with a soft cloth and mild soap to maintain its appearance and keep it looking fresh. Avoid using abrasive cleaning tools or harsh chemicals, as these can scratch or damage the paint finish, diminishing its durability and charm over time.
Touching Up Over Time
If the paint begins to chip or fade, address the issue promptly to prevent further damage. Lightly sand the affected area to smooth out any imperfections before applying touch-up paint. Be sure to reapply a sealer or topcoat to preserve the paint and provide protection against wear and tear.
Protecting the Chair
For outdoor chairs, take steps to protect them from the elements. Using furniture covers or placing the chairs in a sheltered area during harsh weather conditions, such as heavy rain or snow, will help maintain the paint’s integrity and prolong the life of the chairs.
Conclusion
Learning how to paint metal chairs involves a straightforward process that can bring remarkable transformation. You can achieve a fresh, vibrant finish by carefully preparing the chair, cleaning and sanding the surface, applying primer, and painting with your chosen color. Sealing the chair ensures durability, while proper maintenance, like regular cleaning and touch-ups, helps preserve its appearance.
Painting metal chairs improves their aesthetic appeal and extends their lifespan. Don’t hesitate to explore various paint colors and finishes to reflect your personal style. With a little time and effort, you can breathe new life into your metal chairs and enjoy them for years to come!