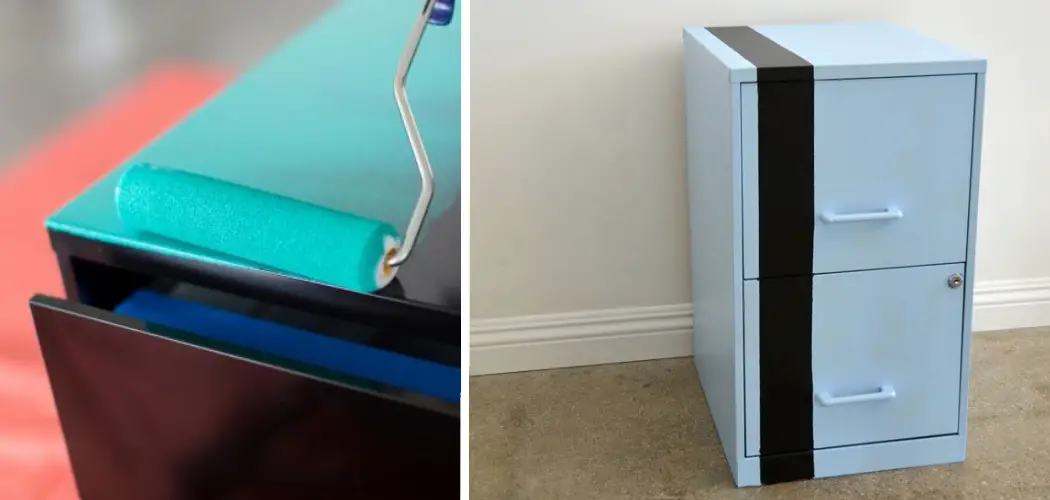
If you’re in the market for a new file cabinet and want something with a little more personality than your average metal filing cabinet, consider painting it! Painting your cabinet is a great way to give it a fresh look, and it’s not as difficult as you might think. This post will show you how to paint metal file cabinets. So if you’re ready to give your old filing cabinet a makeover, keep reading to learn more!
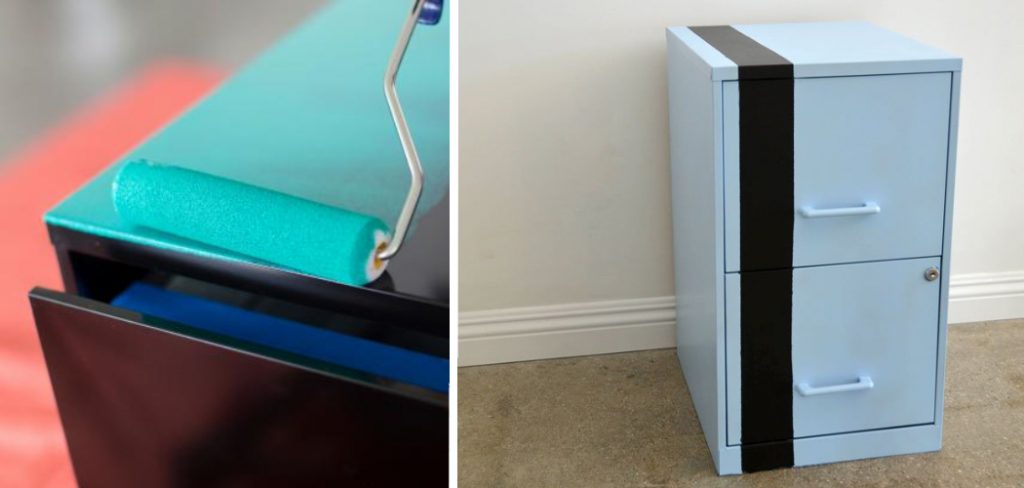
Why Paint Your Metal File Cabinet?
Before we get into the nitty-gritty of how to paint your metal file cabinet, let’s first discuss why you might want to do this in the first place. After all, a filing cabinet is a functional piece of office furniture, so why bother painting it? Well, there are a few reasons. First of all, painting your cabinet is a great way to add a pop of color to your office.
If your space feels a little bland, a brightly-colored cabinet can liven things up. Another reason to paint your cabinet is to protect it from rust. If you live in an area with high humidity, your metal filing cabinet is at risk of developing surface rust. Painting it will help to create a barrier between the metal and the moisture in the air, which will protect your cabinet from rusting.
Finally, painting your cabinet is simply a great way to give it a fresh look. If your filing cabinet looks a little worse for wear, a fresh coat of paint can make it look new again.
Things You’ll Need
Now that we’ve discussed why you might want to paint your metal file cabinet let’s talk about what you’ll need to do the job. Here’s what you’ll need:
- Sandpaper
- Primer
- Paint
- Paintbrush
- Disposable gloves
- Dust mask
Step by Step How to Paint Metal File Cabinet
1. Prepare Your Cabinet
The first step in painting your metal file cabinet is to prepare the surface. If your cabinet has any old paint or varnish on it, you’ll need to remove it before you can start painting. Next, use a piece of sandpaper to sand the surface of your cabinet lightly. This will help the new paint to adhere better. If your cabinet is particularly dirty, you may want to wipe it down with a damp cloth before sanding.
2. Remove the Hardware
Next, you’ll need to remove all of the hardware from your cabinet. This includes the handles, hinges, and any other removable parts. It’s important to remove the hardware before painting because it will be much easier to paint the surface of your cabinet without these pieces in the way. Once you’ve removed the hardware, set it aside in a safe place where it won’t get lost.
3. Clean the Cabinet
Once you’ve removed the hardware from your cabinet, it’s time to clean it. This will help to remove any dust or debris that may have accumulated on the surface. To do this, wipe down your cabinet with a damp cloth. Once you’ve finished cleaning, be sure to dry the surface completely before moving on to the next step.
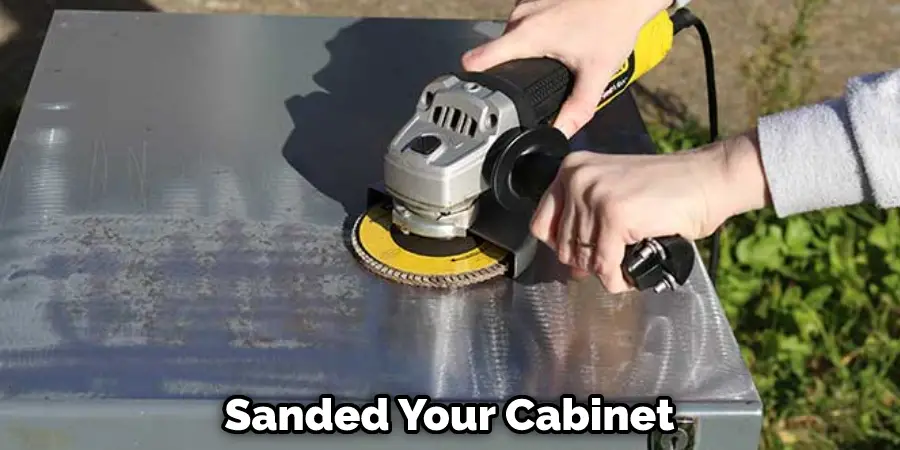
4. Sand the Cabinet
Once your cabinet is clean and dry, you’ll need to sand it. This will help to create a smooth surface for the new paint to adhere to. Use a piece of sandpaper to sand the entire surface of your cabinet lightly. If you’re planning on painting your cabinet a light color, you may want to sand it more heavily to create a smooth finish. Sanding is an important step, so be sure not to skip it!
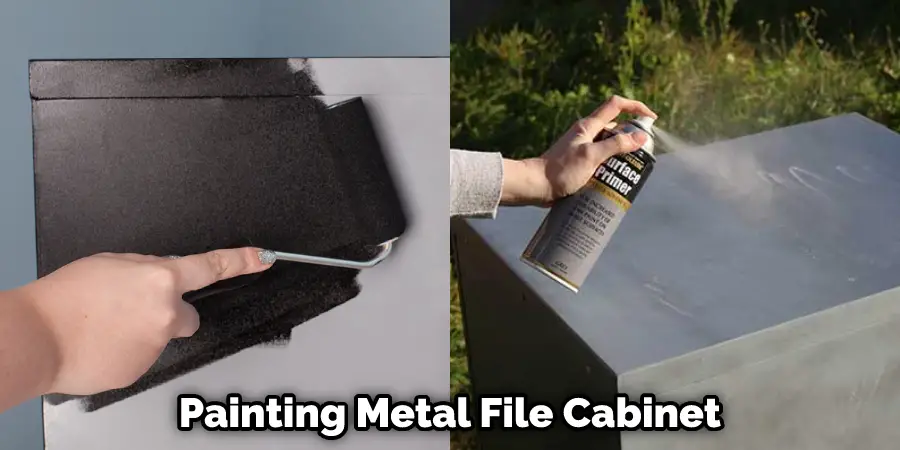
5. Apply Primer
After you’ve sanded your cabinet, it’s time to apply primer. Primer is a special type of paint that helps the new paint to adhere better and prevents it from chipping or peeling. Apply a thin layer of primer to the entire surface of your cabinet using a paintbrush. Once you’ve applied the primer, allow it to dry completely before moving on to the next step. If you’re unsure of how long to wait, consult the manufacturer’s instructions.
6. Paint the Cabinet
Once the primer is dry, it’s time to paint your cabinet. Choose a paint color that you love and start painting! Be sure to apply the paint evenly and in thin layers. First, apply a thin layer of paint to the entire surface of your cabinet. Once the first layer is dry, apply a second layer if necessary. Allow the paint to dry completely before moving on to the next step.
7. Replace the Hardware
Once your cabinet is completely dry, it’s time to replace the hardware. Reattach all the handles, hinges, and other removable parts you removed in step two. Once everything is back in place, your cabinet will be ready to use.
8. Enjoy Your Newly Painted Cabinet
You did it! You successfully painted your metal file cabinet and gave it a whole new look. Now, it’s time to enjoy your beautiful new piece of furniture. Be sure to show it off to all of your friends and family. They’re sure to be impressed with your handiwork.
Tips and Warnings on How to Paint Metal File Cabinet
Tips:
1. Sand the file cabinet with medium-grit sandpaper to remove any glossy finish and roughen the surface for paint adhesion. If your file cabinet is new, you may be able to skip this step.
2. Wipe down the file cabinet with a damp cloth to remove any dust from sanding.
3. Apply a coat of primer to the file cabinet with a paintbrush or roller, making sure to cover all surfaces evenly.
4. Let the primer dry completely before proceeding to the next step.
5. Paint the file cabinet with a paintbrush or roller, using your desired paint color. Apply multiple thin coats for best results, letting each coat dry completely before adding the next.
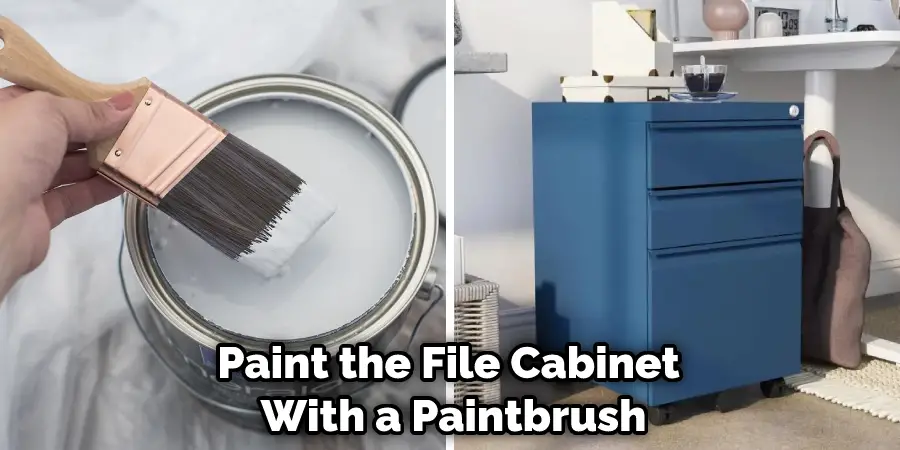
6. Let the final coat of paint dry completely before using the file cabinet.
Warnings:
1. Use a drop cloth or other protective covering when painting to avoid messy cleanup later.
2. Wear gloves and a respirator mask when sanding and painting to protect yourself from fumes and debris.
3. Work in a well-ventilated area when painting to avoid inhaling fumes.
4. Follow the manufacturer’s instructions for your specific type of paint and primer.
5. Do not place objects on top of the file cabinet while it is trying to avoid smudging the paint.
How Do You Prepare Metal Filing Cabinets for Painting?
If you’re looking to spruce up your office space, repainting metal filing cabinets can be an easy and budget-friendly way to do just that. The first step in preparing the cabinets for painting is thoroughly cleaning them with soap and water.
This removes any dirt, grease, or grime that may be present on the surface. Next, sand the surface of the cabinets with fine-grit sandpaper to help rough up the surface, making it easier for the paint to adhere.
Applying a coat of primer to the surface of the cabinets is the next step. This will help to prevent rust and provide a good base for the paint. Once the primer is dry, apply a thin coat of paint using a spray can or brush, making sure to apply the paint evenly and smoothly.
Allow the paint to dry completely before applying a second coat if needed. Finally, reattach any removed hardware or handles before painting, and your metal filing cabinets are ready to make a statement in your space.
Frequently Asked Questions
How Much Does It Cost to Paint a Metal File Cabinet?
The cost of painting a metal file cabinet will vary depending on the size of the cabinet, the type of paint used, and the number of coats of paint required. Generally, you can expect to spend anywhere from $50 to $100 on materials. The cost will be higher if you hire a professional to paint your cabinet. Normally, professionals charge by the hour, so the final cost will depend on how long it takes them to complete the job.
How Often Should You Paint a Metal File Cabinet?
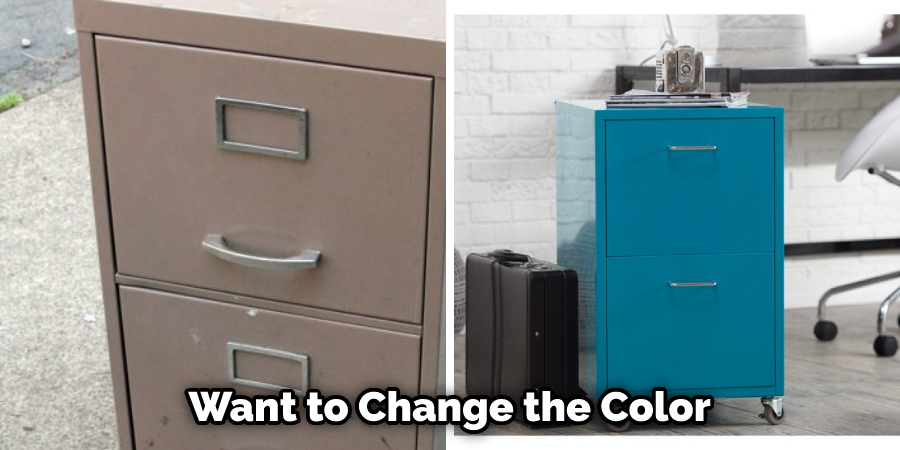
It would be best if you painted your metal file cabinet whenever you want to change the color or when the existing paint starts to chip or peel. You’ll need to repaint your cabinet every few years to keep it looking its best. If you live in an area with a lot of moisture, you may need to repaint your cabinet more frequently.
What Type of Paint Should You Use to Paint a Metal File Cabinet?
The type of paint you use to paint a metal file cabinet is important. First, you’ll want to choose a paint that is specifically designed for use on metal surfaces. These types of paints are usually labeled as “metal” or “enamel” paints. They’re designed to adhere well to metal surfaces and provide a durable finish.
Try to avoid using latex paint on your metal file cabinet, as it may not adhere well and could chip or peel over time. If you’re unsure of which type of paint to use, consult a professional at your local hardware store.
Can You Spray Paint Metal Cabinet?
Yes, you can spray paint a metal cabinet. But before starting, sand the file cabinet with medium-grit sandpaper to remove any glossy finish and roughen the surface for paint adhesion. If your file cabinet is new, you may be able to skip this step.
Conclusion
This article has provided you with a step-by-step guide on How to Paint Metal File Cabinet. Metal file cabinets can be a great addition to any office, but they can also be quite plain and boring. Using some paint and creativity, you can give your metal cabinet a new look that will brighten up the room and make it more inviting.
Follow these simple steps to give your metal cabinet a beautiful new coat of paint. If you have any questions, write them down in the comment section below, and we’ll answer them as soon as possible. Thanks for reading!
You Can Check It Out to Unlock a File Cabinet

