
Are you tired of your old, worn-out butcher block table? Do you want to give it a fresh new look without spending a lot of money on a brand-new one?
How to refinish a butcher block table is a rewarding project that can breathe new life into an essential piece of kitchen furniture. Over time, wear and tear from daily use can lead to scratches, stains, and a dull appearance. Instead of replacing the table, refinishing offers a cost-effective and eco-friendly way to restore its natural beauty and functionality.
In this guide, we will walk through the steps necessary to transform your worn-out butcher block into a stunning centerpiece. Whether it’s a smaller kitchen island or a larger dining table, the refinishing process is similar and can be done in just a few simple steps.
Materials You Will Need
Before you start the refinishing process, gather all the necessary materials. Here are some of the essential items you will need:
- Sandpaper (grit 80, 120, and 220)
- Wood stain or oil-based paint
- Paintbrushes
- Plastic sheeting or drop cloth
- Painter’s tape
- Clean rags
- Mineral spirits or denatured alcohol
- Gloves and safety glasses
It’s important to note that the exact materials needed may vary depending on the condition and size of your butcher block table.
10 Easy Steps on How to Refinish a Butcher Block Table
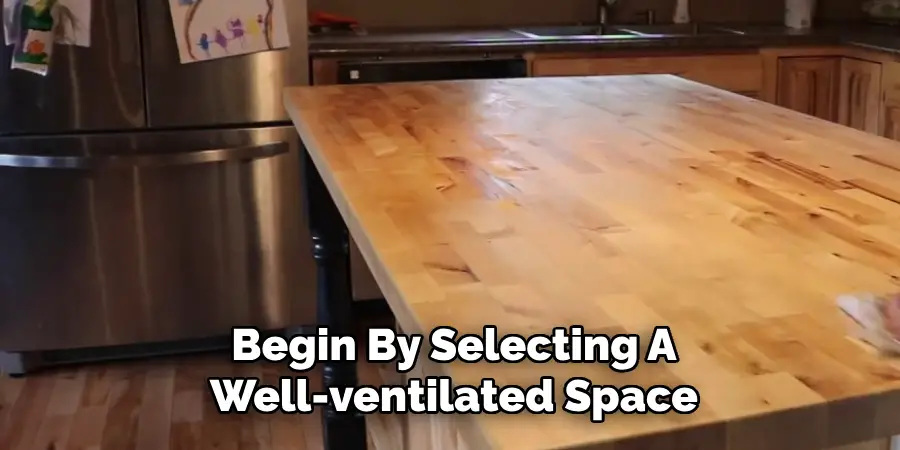
Step 1: Prepare the Work Area
To prepare your work area, begin by selecting a well-ventilated space to minimize inhalation of dust and fumes during the sanding and staining processes. Lay down plastic sheeting or a drop cloth to protect the floor from spills and dust. Ensure you have enough space around the table to move freely and work efficiently.
Remove any items on or near the table that could get in the way or become damaged. Use painter’s tape to secure the plastic sheeting in place and to cover any surrounding surfaces that need protection from dust and splatters. It is essential to wear gloves and safety glasses to protect your hands and eyes from wood particles and chemicals. With your workspace properly prepared, you set the stage for a smooth and safe refinishing process.
Step 2: Clean the Table Surface
Begin by thoroughly cleaning the table surface to remove any dirt, grime, or grease that may interfere with refinishing. Use a clean rag dampened with water and mild detergent to wipe down the entire table. Be gentle to avoid saturating the wood with too much moisture. Once the initial dirt has been removed, go over the surface again with a rag dampened with mineral spirits or denatured alcohol.
This will eliminate any greasy residues or cleaning product residues, leaving the surface ready for sanding. Allow the table to dry completely before moving on to the next step. A clean and dry surface is crucial for achieving a smooth and even finish with the subsequent phases of refinishing.
Step 3: Sand the Surface
Once the table is clean and dry, it’s time to sand the wood surface to remove any existing finish, scratches, or imperfections. Begin by using 80-grit sandpaper to sand along the grain of the wood. This coarse grit will help quickly strip away the old finish and smooth out any deep scratches. After the initial sanding, switch to 120-grit sandpaper to refine the surface further, preparing it for the final sanding stage.
Finish up with 220-grit sandpaper for a silky smooth finish that effectively absorbs the stain or oil. Be sure to sand evenly across the entire table surface, paying particular attention to edges and corners. Remember to wipe away dust particles with a clean rag or vacuum them off to ensure a dust-free surface, which is essential for the next steps in the refinishing process.
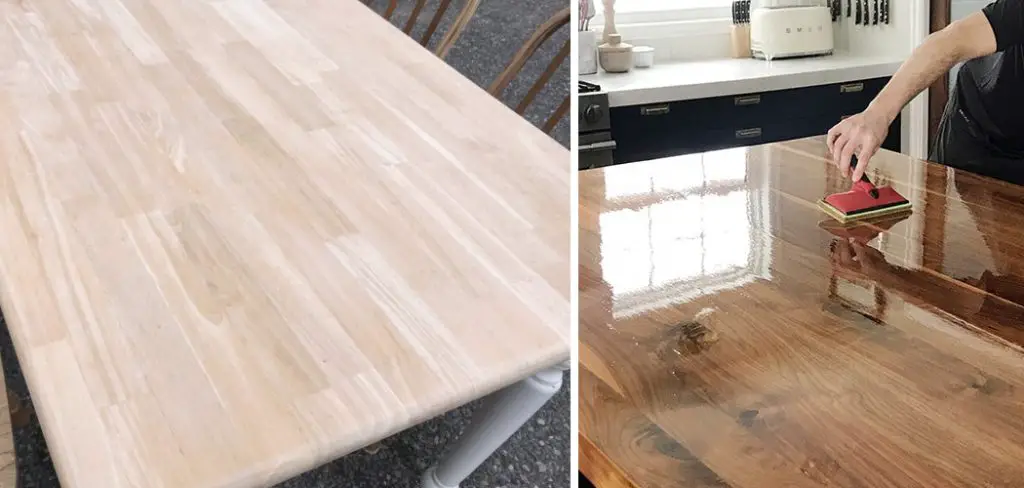
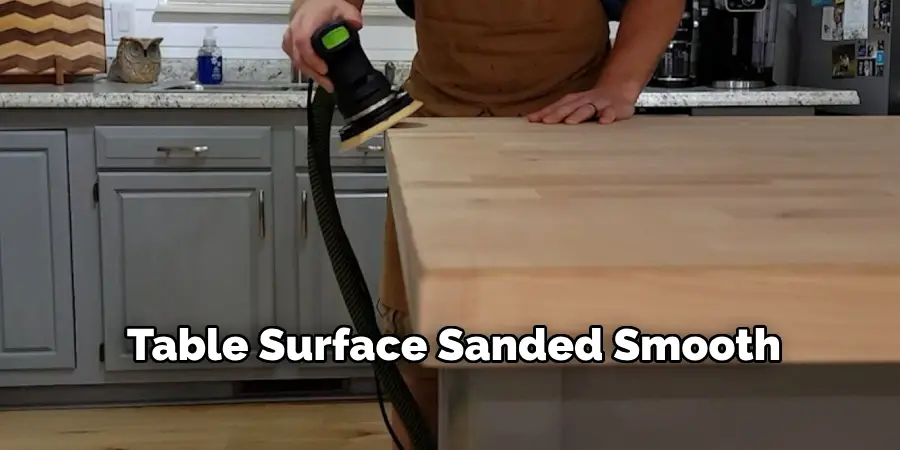
Step 4: Apply the Wood Stain or Finish
With the table surface sanded smooth, it’s time to apply the wood stain or finish of your choice. Start by mixing the stain thoroughly to ensure an even color. Apply a thin, even coat along the wood grain using a clean paintbrush. Work systematically across the table surface to avoid uneven application. If you prefer a darker shade,
consider applying a second coat after allowing the first one to dry completely, according to the manufacturer’s instructions. For an oil-based finish, follow the same steps, ensuring the entire surface is uniformly coated.
Step 5: Wipe Off Excess Stain or Finish
Once the wood stain or finish has been applied, wiping off any excess is essential to achieve a consistent and smooth result. After allowing the stain or finish to sit on the wood for the recommended time—usually a few minutes—use a clean, dry rag to wipe away the excess gently. Be sure to work along the grain to maintain a uniform appearance. Removing excess stains helps prevent blotchy areas and ensures the finish dries evenly.
If any sections appear darker than desired, continue wiping until you achieve the preferred shade. Allow the table to dry completely according to the manufacturer’s instructions before moving on to the final steps of the refinishing process. This careful attention to detail will enhance the beauty and durability of your butcher block table.
Step 6: Apply a Protective Topcoat
After the stain or finish has dried completely, it’s time to apply a protective topcoat to seal and protect the wood surface. You can choose between a polyurethane, varnish, or natural oil finish, depending on your preference and the desired gloss level.
Start by stirring the topcoat gently to avoid introducing bubbles. Using a clean paintbrush or foam brush, apply a thin, even layer over the entire surface, following the direction of the wood grain. Be cautious to avoid drips or puddles. Allow the first coat to dry as per the manufacturer’s specifications, then lightly sand the surface with 220-grit sandpaper to ensure a smooth finish for subsequent layers. Wipe away any dust before applying a second or even third coat if necessary, drying completely between applications.
Step 7: Buff the Surface
Once the final topcoat has dried thoroughly, the next step is to buff the surface to achieve an ultra-smooth finish. Use a clean, soft cloth or an electric buffer, if available, to gently polish the surface in circular motions. Buffing enhances the table’s sheen and ensures that the protective layer is sealed tightly, increasing durability.
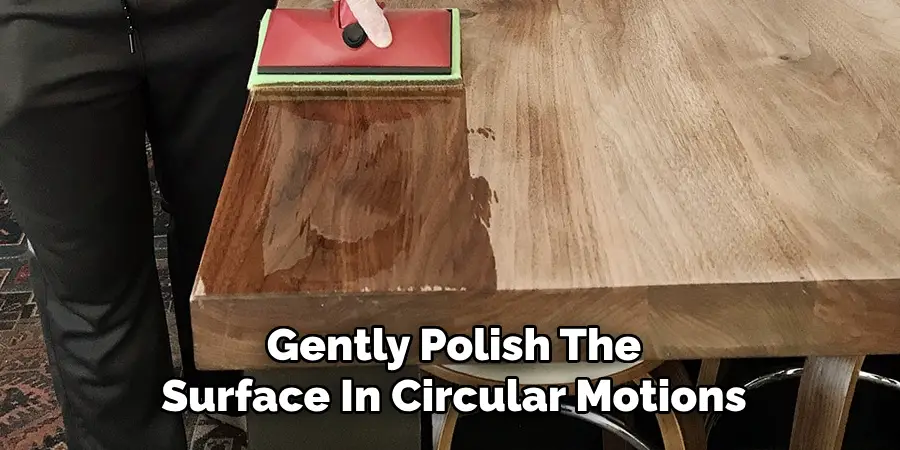
Care to reach every corner and edge, ensuring no spot is overlooked. Apply a small amount of finishing wax to the cloth before buffing to add extra shine and protection. The result will be a beautifully refined and polished butcher block table, ready for use or display.
Step 8: Final Inspection and Touch-Ups
After meticulously following the previous steps, it’s crucial to conduct a final inspection to ensure every inch of the butcher block table is well-finished and meets your satisfaction. Examine all surfaces, edges, and corners for consistent color and finish. Look for any areas needing additional sand, stain, or protective topcoat application.
If any imperfections are detected, address them selectively with the appropriate materials. Clean any dust or residue left from the finishing process using a soft, lint-free cloth. Finally, admire your handiwork, as this final step not only perfects your refinishing efforts but also allows the table to shine with its newly restored beauty.
Step 9: Allow the Finish to Cure
After completing the final inspection and touch-ups, it’s essential to let the finish cure fully before using the butcher block table. Curing makes the finish harden and reach its maximum durability, ensuring lasting protection for your table. Follow the manufacturer’s recommendations for curing time, ranging from a few days to a week.
Avoid placing objects on the table during this period to prevent marks or dents. Ensuring proper curing will not only enhance the table’s longevity but also preserve its restored elegance for years to come.
Step 10: Maintain the Butcher Block Table
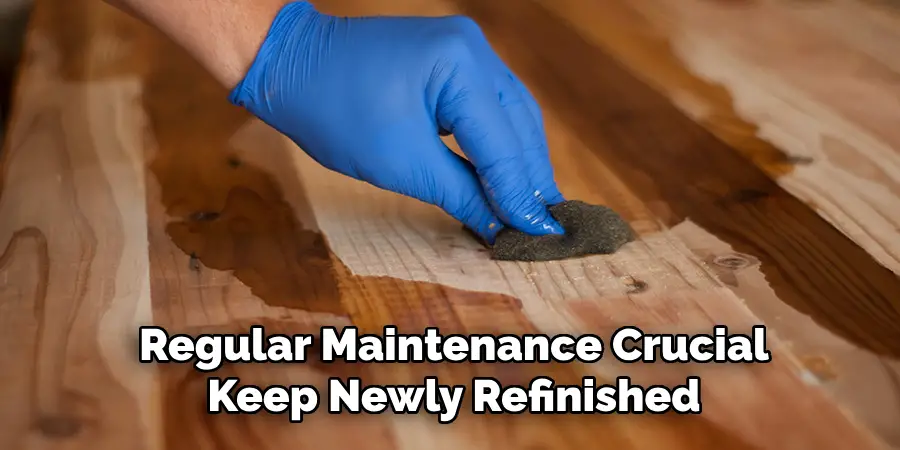
Regular maintenance is crucial to keep your newly refinished butcher block table in pristine condition. Clean the surface with a damp cloth and mild soap, avoiding abrasive cleaners that can damage the finish. Every few months, reapply a food-safe mineral oil or butcher block conditioner to nourish the wood and maintain its luster. This will prevent drying and cracking. Coasters and placemats should also be used to protect the surface from heat and moisture. By performing these simple upkeep routines, you will ensure that your table remains a beautiful centerpiece in your home for many years.
With these ten steps, you can transform your old and worn butcher block table into a stunning piece of furniture.
Conclusion
How to refinish a butcher block table is a rewarding project that breathes new life into this classic piece of furniture.
You ensure a durable and attractive finish by meticulously following each step, from preparing the surface and applying stains to sealing and buffing. Properly caring for your refinished table with regular maintenance extends its longevity and beauty. Whether it’s a beloved family heirloom or a new addition to your home, a well-refinished butcher block table enhances your living space. It reflects your craftsmanship and attention to detail.
With patience and the suitable materials, transforming your table into a stunning centerpiece is entirely achievable.
you can also check it out Protect Hardwood Floors From Chairs