Removing a hard-wired smoke alarm may seem like a daunting task, but with the right guidance, it can be done safely and efficiently. Whether you’re replacing an old smoke alarm with a new one or making renovations to your home, knowing how to properly remove a hard-wired smoke alarm is essential.

In this article, we’ll explore step-by-step instructions and best practices for how to remove a hard wired smoke alarm. From turning off the power supply to disconnecting the wiring and removing the mounting bracket, you’ll learn everything you need to know to successfully remove a hard-wired smoke alarm without causing damage to your home or compromising your safety.
The Importance of Smoke Alarms in Home Safety
The significance of smoke alarms in ensuring home safety cannot be overstated. They act as the first line of defense against the dangers of fire, giving residents early warnings that can mean the difference between life and death. By detecting smoke and emitting loud alerts, these devices provide individuals with the crucial minutes needed to evacuate safely before a fire spreads.
Statistics continually underscore the efficacy of smoke alarms in reducing fatalities and injuries from house fires. However, their effectiveness hinges on proper installation, regular maintenance, and timely replacement. Thus, understanding how to handle these devices, including safely removing and replacing them, is vital for maintaining the safety net they provide.
Understanding Hard-Wired Smoke Alarms
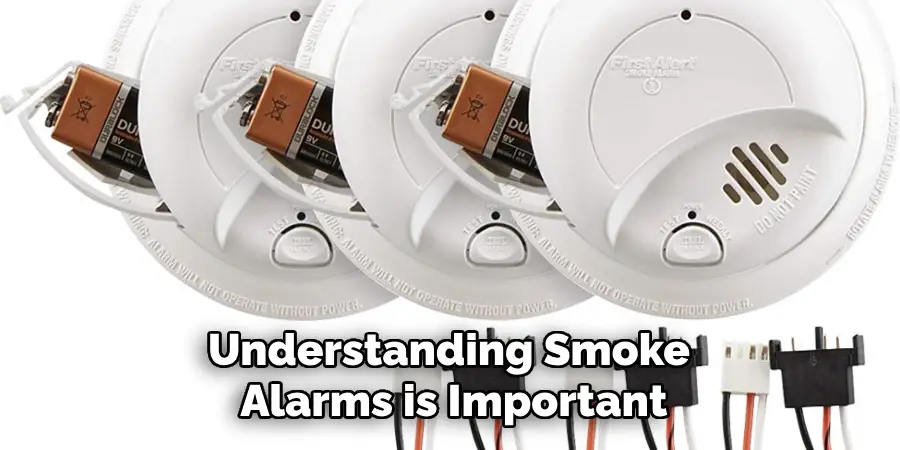
Hard-wired smoke alarms are connected directly to a home’s electrical system, offering a reliable power source that eliminates the worry of dead batteries in critical moments. However, unlike battery-operated alarms, they also include a backup battery to ensure functionality during power outages, maintaining constant protection. It’s this dual-power approach that distinguishes hard-wired models from their battery-operated counterparts.
Additionally, hard-wired smoke alarms can be interconnected, meaning when one detects smoke, all alarms in the network will sound. This interconnected feature ensures that alerts are heard throughout the house, significantly increasing the chances of timely evacuation. Understanding these key attributes is crucial when installing, testing, and removing hard-wired smoke alarms, as it influences the approach to maintenance and ensures the safety protocols are correctly followed.
The Components of a Hard-Wired Smoke Alarm System
A hard-wired smoke alarm system consists of several key components that work together to detect smoke and alert occupants of potential danger. These components include:
- Smoke Detector: This is the primary component of the system. It houses the sensing technology—either ionization or photoelectric sensors or a combination of both—that detects smoke particles in the air.
- Alarm Horn: When smoke is detected, the alarm horn emits a loud, piercing sound designed to alert occupants of the danger, allowing them to evacuate the premises.
- Mounting Bracket: This component secures the smoke detector to the ceiling or wall, providing stability and ensuring the smoke detector remains in its designated position.
- Wiring Harness: The wiring harness connects the smoke detector to the home’s electrical system, providing a continuous power supply. It typically includes a quick-connect power connector for easy installation and removal.
- Backup Battery: To ensure the smoke alarm remains operational during power outages, a backup battery is included. This battery is either replaceable or a long-life battery, depending on the model.
- Test Button: Located on the smoke detector, the test button allows homeowners to manually test the functionality of the smoke alarm to ensure it is working correctly.
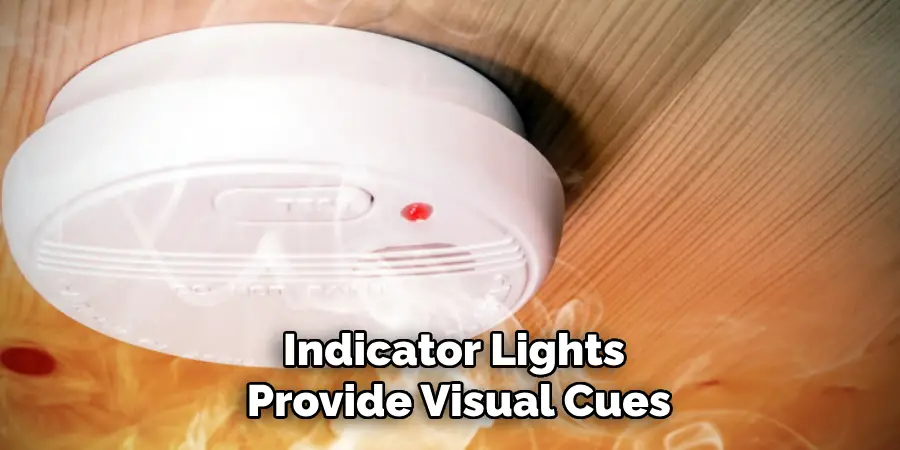
- Indicator Lights: These lights provide visual cues regarding the smoke alarm’s status. A green light often indicates that the alarm is receiving power, while a red light can indicate that the alarm has detected smoke or is experiencing a malfunction.
Understanding these components is crucial for anyone looking to maintain, troubleshoot, or remove a hard-wired smoke alarm system, as it helps identify potential issues and ensures the proper steps are taken for safe and effective handling.
Importance of Regular Maintenance and Testing
Regular maintenance and testing of hard-wired smoke alarms are critical practices that ensure these devices function correctly when needed most. Dust, debris, and even small insects can accumulate over time, potentially obstructing the smoke alarm’s sensors and affecting its sensitivity to smoke.
Thus, periodic cleaning, as per the manufacturer’s instructions, is necessary to maintain optimal performance. Testing the smoke alarm monthly by pressing the test button verifies both the power supply and the alarm’s ability to sound loudly and clearly.
Additionally, the backup battery should be replaced at least once a year or as recommended, even if the alarm has not emitted low-battery signals. Interconnection testing, if applicable to your system, ensures that all alarms in the network sound off when one detects smoke, thus maintaining the integrity of your home’s safety network.
The approach to maintenance not only extends the life span of your smoke alarms but also fortifies your home’s defense against the threat of fire, ensuring peace of mind.
Preparing to Remove the Smoke Alarm
Before initiating the removal of a hard-wired smoke alarm, it’s crucial to take proper safety measures to avoid electrical hazards and damage to your home’s wiring system. The following step-by-step guide ensures a safe and efficient removal process:
- Turn Off the Power: Locate your home’s electrical panel and switch off the circuit breaker corresponding to the smoke alarm’s circuit to prevent electrical shock.
- Inform Household Members: Notify everyone in your household that you will be testing and removing the smoke alarm, which will temporarily deactivate the fire alarm system. This is important to avoid confusion or panic.
- Gather Required Tools: Ensure you have all necessary tools at hand, including a screwdriver, wire nuts, electrical tape, and a sturdy ladder. Having everything nearby can streamline the removal process.
- Test the Smoke Alarm: Before touching any wiring, press the test button on the smoke alarm to ensure the power is indeed off. If the alarm sounds, double-check your circuit breaker to ensure you’ve turned off the correct one.
- Prepare a Safe Work Area: Position your ladder securely and make sure the area around you is clear of any obstacles that could cause tripping or falling. Safety should always be your top priority.
By following these preparatory steps, you can ensure that the removal process of your hard-wired smoke alarm is conducted safely, efficiently, and without risking harm to yourself or your home.
Ensuring Safety Precautions
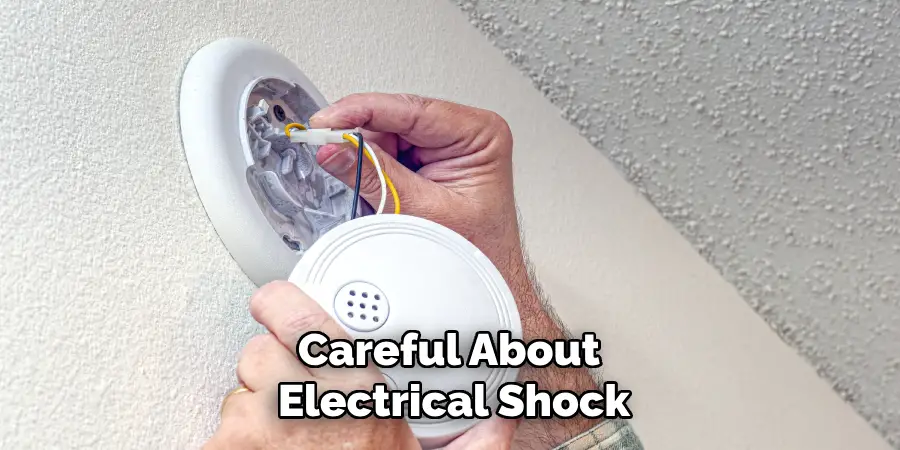
Safety precautions are paramount when handling electrical devices, especially when dealing with hard-wired smoke alarms. Given their direct connection to the home’s electrical system, a careful and informed approach is necessary to mitigate any risks of electrical shock or damage.
Here are essential safety tips to adhere to during the removal process:
- Wear Protective Gear: Always wear rubber-soled shoes and use insulated tools when working with electrical components to reduce the risk of electrical shock. Protective gloves and eyewear are also recommended to safeguard against any unexpected hazards.
- Verify Power is Off: Even after turning off the circuit breaker, it’s crucial to use a non-contact voltage tester near the alarm’s wires to confirm there’s no live current before proceeding with any work. This step ensures that the power is indeed off and provides an additional layer of safety.
- Handle Wires with Care: Be gentle when disconnecting wires. Pulling too hard or twisting can damage the wire or its connection to the alarm, creating potential hazards. Use wire nuts to cover exposed wire ends once the alarm is disconnected to prevent accidental contact.
- Avoid Water Exposure: Ensure the area is dry and avoid handling the smoke alarm or electrical components with wet hands or in a moist environment. Water is a conductor of electricity, and its presence increases the risk of electrical shock.
- Dispose of or Recycle Properly: Once removed, dispose of the smoke alarm according to local regulations or consider recycling if possible. Some components of smoke alarms, particularly certain types of sensors, may contain materials that should not be disposed of in regular household waste.
Following these safety precautions can help prevent accidents and ensure a smooth removal process. Never hesitate to consult a professional electrician if you’re unsure about any step or if the setup seems more complicated than anticipated. Safety should always be the overriding concern when dealing with electrical systems in your home.
10 Methods How to Remove a Hard Wired Smoke Alarm
1. Turn Off Power:
Before you begin removing the smoke alarm, it’s crucial to turn off the power supply to the alarm circuit. Locate the circuit breaker or fuse box in your home and switch off the circuit that powers the smoke alarm. Verify that the power is off by testing the alarm or using a non-contact voltage tester to ensure there is no electrical current flowing to the alarm. This step is essential for your safety and to prevent damage to the alarm.
It’s also important to note that if you have a hardwired smoke alarm, turning off the power will disable any interconnected alarms in your home. This means that if one alarm goes off, all of the others will not sound. To avoid this, it’s recommended to inform other household members of the temporary power outage or to use a battery-powered smoke alarm in the meantime.
2. Remove the Alarm Cover:
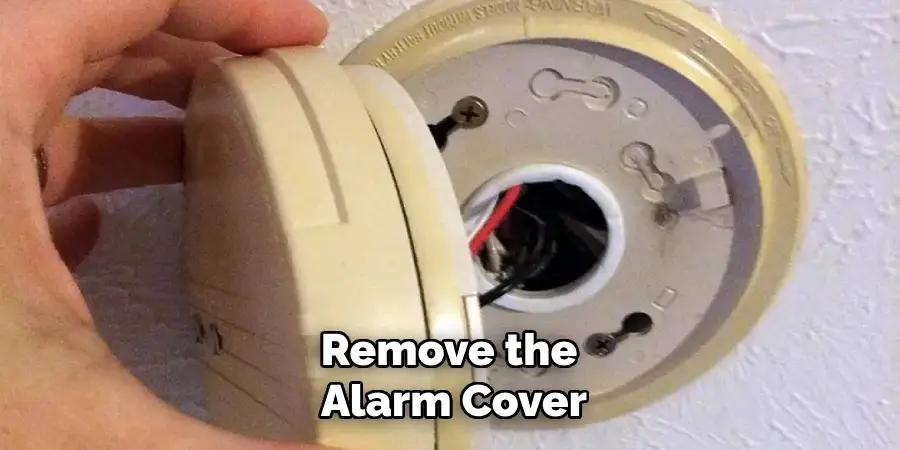
Once the power is off, use a screwdriver to remove the screws holding the cover or faceplate of the smoke alarm in place. Carefully detach the cover from the alarm housing to expose the internal components. Be gentle to avoid damaging the cover or the alarm housing.
It is important to remove the alarm cover before cleaning or replacing the batteries as it allows for easier access to the internal components. This also ensures that you can properly clean and maintain the alarm, which is crucial for its effectiveness in detecting smoke or fire.
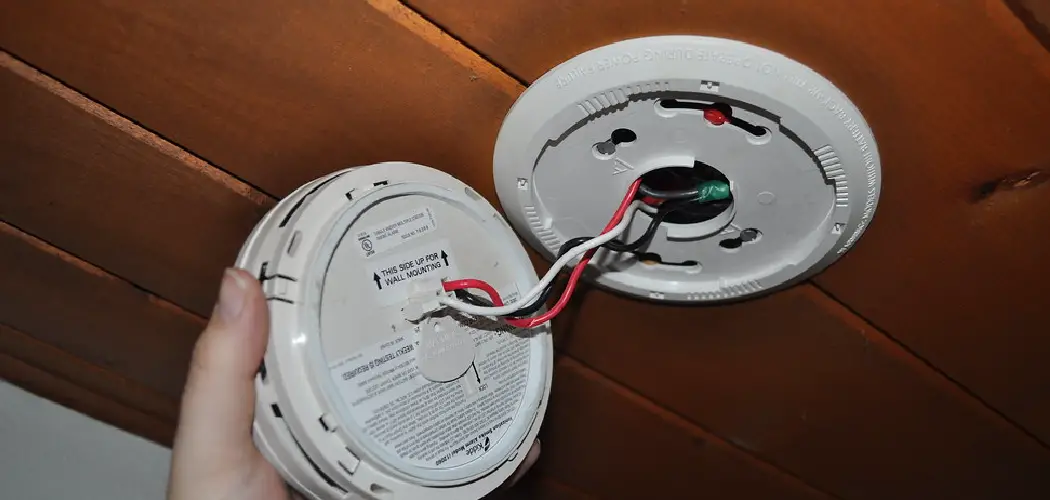
3. Disconnect Wiring:
After removing the cover, locate the wiring connections on the back of the smoke alarm. Typically, hard-wired smoke alarms are connected to the electrical wiring in your home via wire nuts or terminal screws. Use a screwdriver to loosen the screws or twist the wire nuts counterclockwise to disconnect the wires from the smoke alarm.
It is important to make sure the wires are completely disconnected and not touching each other to avoid any electrical shock. If you are unsure about which wires to disconnect, consult a professional electrician for assistance.
Once the wiring connections have been safely disconnected, you can remove the mounting bracket from the ceiling or wall by unscrewing it with a screwdriver. Be careful not to damage any surrounding surfaces while removing the bracket.
4. Label Wires:
Before disconnecting the wires, it’s a good idea to label them to ensure proper reconnection later. Use masking tape or adhesive labels to mark each wire with its corresponding terminal or color designation. This step will simplify the reinstallation process and help prevent wiring errors. However, if the wires are not labeled, don’t panic. You can still determine their proper placement by referencing the wiring diagram for your specific make and model of car.
When labeling the wires, it’s important to use clear and concise labels that won’t easily fall off or become unreadable. It’s also helpful to label both ends of each wire to avoid any confusion when reconnecting them.
It’s also a good idea to take pictures of the wiring before disconnecting it. This can serve as an additional reference point in case you forget where a wire is supposed to go or if there are multiple wires with similar colors.
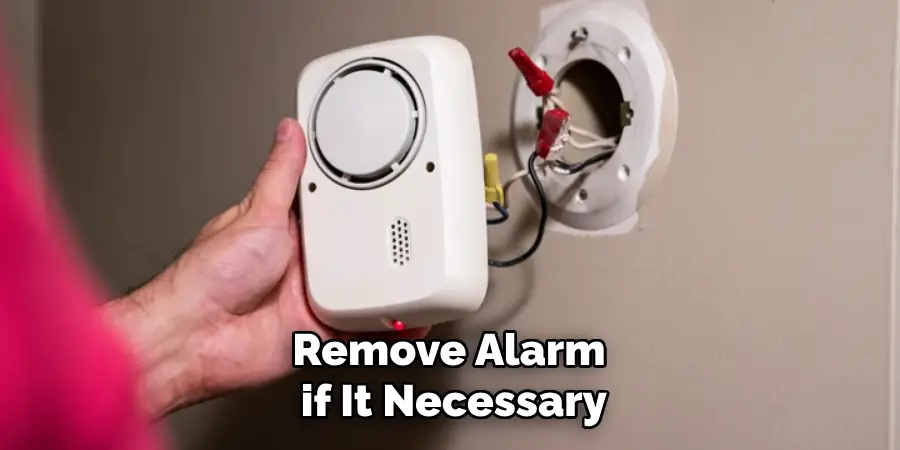
5. Remove Mounting Bracket:
Once the wires are disconnected, you can remove the mounting bracket that secures the smoke alarm to the ceiling or wall. Depending on the model of the smoke alarm, the mounting bracket may be held in place with screws or locking tabs. Use a screwdriver to remove any screws or release the tabs, then carefully detach the bracket from the ceiling or wall.
It is important to note that some smoke alarms may have a tamper-resistant feature which prevents the mounting bracket from being easily removed. In this case, you may need to consult the manufacturer’s instructions or contact a professional for assistance.
After removing the mounting bracket, make sure to keep it in a safe place as you will need it when reinstalling the smoke alarm. It is recommended to store the bracket with the smoke alarm itself, so they are both easily accessible when needed.
6. Disconnect Interconnect Wiring (if applicable):
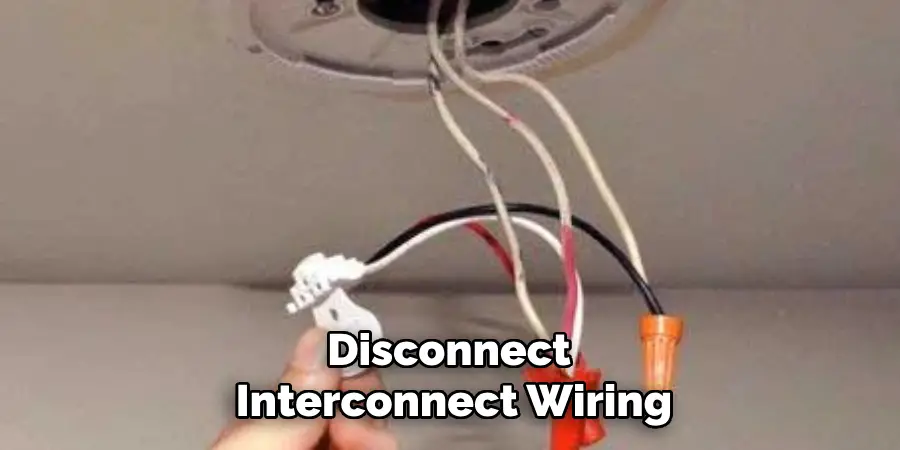
If your hard-wired smoke alarm is part of an interconnected system, it may be connected to other smoke alarms in your home via interconnect wiring. In addition to the power wires, there will be additional wires for interconnect communication. Disconnect these wires following the same procedure as the power wires, ensuring that each wire is labeled for reconnection.
Interconnected smoke alarms offer an extra level of safety as they can all sound off together in the event of a fire, providing early warning to occupants throughout the home. However, if you need to replace or move one of these interconnected alarms, it’s important to properly disconnect and label the interconnect wiring.
7. Remove Backplate (if applicable):
Some smoke alarms have a separate backplate that attaches to the mounting bracket. If your smoke alarm has a backplate, remove it by loosening the screws or releasing the locking tabs. Once the backplate is detached, you can remove the mounting bracket from the ceiling or wall.
8. Inspect Wiring and Connections:
Before installing a new smoke alarm or leaving the area, take a moment to inspect the wiring and connections for any signs of damage or wear. Look for frayed wires, loose connections, or corrosion that may indicate a potential issue with the electrical wiring. If you notice any problems, consult a qualified electrician for further inspection and repair.
9. Patch Mounting Holes:
After removing the smoke alarm and mounting bracket, you may be left with unsightly holes in the ceiling or wall. Use spackling compound or drywall patching compound to fill in the holes and smooth out the surface. Once the compound is dry, sand it down and repaint the area to match the surrounding ceiling or wall.
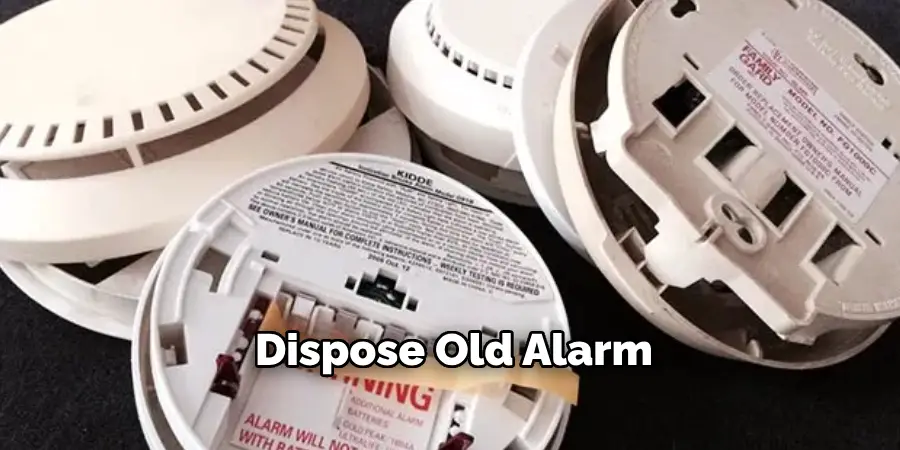
10. Dispose of Old Alarm Properly:
Finally, dispose of the old smoke alarm properly according to local regulations and guidelines. Many municipalities have specific requirements for the disposal of electronic waste, including smoke alarms. Check with your local waste management authority or recycling center for instructions on how to safely dispose of the old smoke alarm.
Conclusion
In conclusion, knowing how to safely remove a hard-wired smoke alarm is essential for maintaining home safety and functionality. By following the step-by-step guide and considerations outlined in this article, individuals can confidently tackle the removal process with ease and caution. Whether it’s preparing for removal, disconnecting electrical wiring, or properly disposing of the old smoke alarm, taking proactive steps ensures a smooth and safe procedure.
Additionally, considering testing and replacement options post-removal contributes to maintaining optimal smoke alarm performance and protection. Thanks for reading, and we hope this has given you some inspiration on how to remove a hard wired smoke alarm!