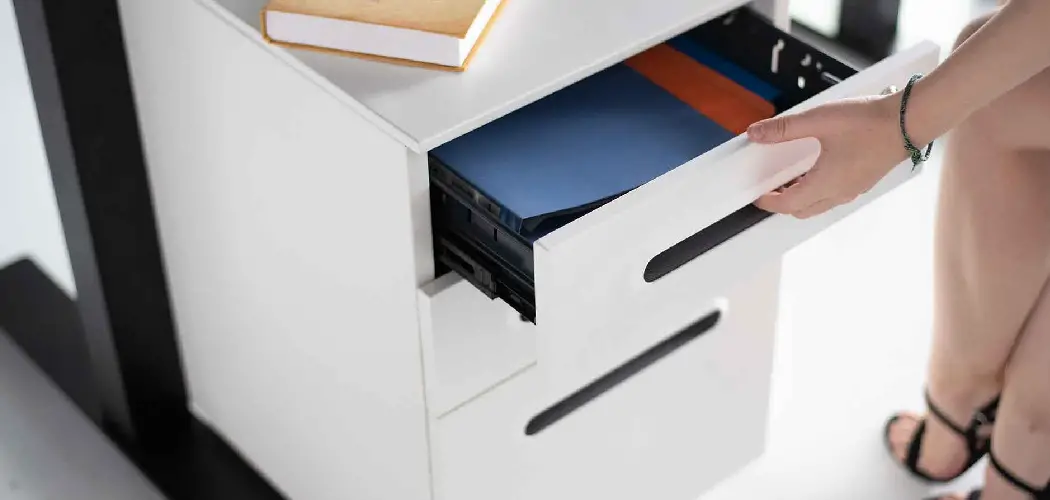
Removing a file drawer from a desk can seem like a daunting task, especially if you’re unfamiliar with the mechanism or design. However, with the right approach and a few simple tools, the process can be straightforward and hassle-free.

This guide will walk you through how to remove file drawer from desk, ensuring your desk remains intact and ready for future use. Whether you’re repairing, replacing, or simply reorganizing, these instructions will help make the task manageable.
Common Desk Drawer Mechanisms
Before you begin removing the file drawer, it’s important to identify the type of mechanism your desk uses. Most file drawers operate using one of the following common mechanisms:
- Side-Mounted Ball Bearing Slides – These are metallic rails with small ball bearings that allow the drawer to move smoothly in and out. They are commonly used for heavier drawers due to their durability.
- Undermount Slides – These are located beneath the drawer, offering a clean and modern appearance by hiding the hardware. They often include soft-close features to prevent slamming.
- Wooden Runners – Found mostly in traditional or antique desks, this mechanism involves wooden grooves and tracks, which require the drawer to slide in and out manually without additional hardware.
- Push-to-Open Mechanisms – These are found in more modern designs. The drawer opens when pressed lightly, thanks to a spring-loaded system.
- Friction Slides – These rely on friction and are typically the simplest type of mechanism. They lack extra features like bearings or soft-close functionality but are straightforward and easy to work with.
Understanding the mechanism will help you follow the appropriate steps for safe and easy removal of the file drawer.
Tools and Materials Needed
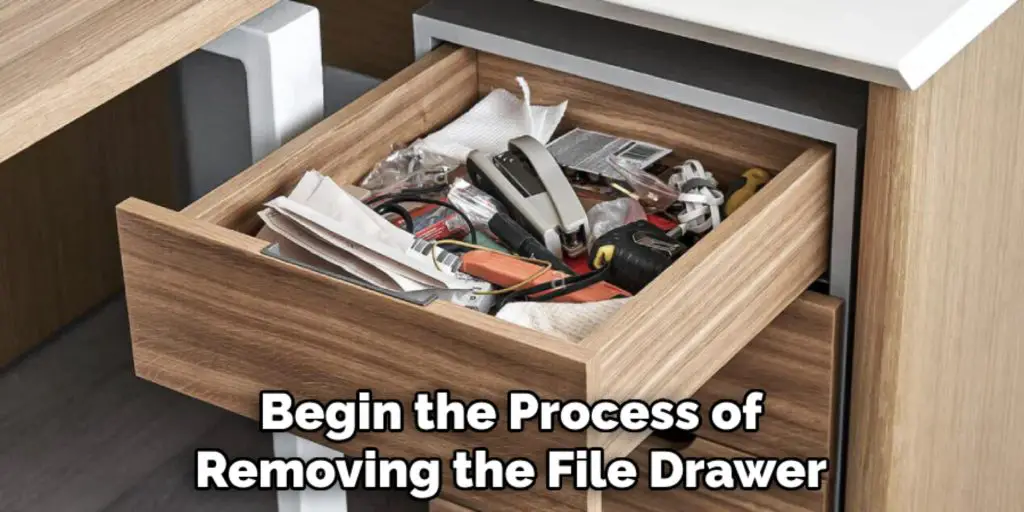
Before you begin the process of removing the file drawer, gather the necessary tools and materials to ensure a smooth and efficient experience. Here’s what you may need:
- Screwdriver (Phillips or flathead, depending on the screws used in your desk mechanism)
- Flashlight (to help you see inside dark areas or behind the drawer)
- Pliers (for gripping or removing stubborn hardware pieces)
- Rubber Mallet (optional, for gently tapping parts into place without causing damage)
- Cleaning Cloth (to wipe away any dust or debris from the drawer or slides)
- Lubricant (optional, for easing movement of stuck mechanisms or reassembly)
Having these tools on hand will help you address any challenges you encounter, whether it’s removing screws, aligning rails, or simply cleaning up the workspace.
10 Methods How to Remove File Drawer from Desk
1. Inspect the Drawer and Desk Mechanism
Before attempting to remove the drawer, take a moment to inspect its construction and mechanism. Most file drawers operate on one of three systems: side-mount, center-mount, or under-mount slides.
Additionally, some may have locking mechanisms or anti-tip features. Look for visible screws, latches, or clips along the sides or underside of the drawer. Understanding how the drawer operates will guide your approach and help you avoid unnecessary force.
2. Empty the Drawer
Always empty the drawer of its contents before removal. File drawers can be heavy, especially when filled with documents, binders, or other items.
Removing the contents not only reduces weight but also prevents objects from shifting and causing damage during the removal process. Once emptied, ensure the drawer is free of loose papers or small items that could obstruct the sliding mechanism.
3. Extend the Drawer Fully
Most file drawers are designed to stop at a specific point to prevent them from being pulled out accidentally. To remove the drawer, you’ll need to extend it fully.
Gently pull the drawer outward until it reaches the built-in stop. At this point, you’ll encounter resistance, which typically indicates the location of the locking mechanism or release levers.
4. Locate and Activate the Release Levers
Many modern file drawers are equipped with release levers located on the slides. These levers are usually small plastic or metal tabs found along the sides of the drawer.
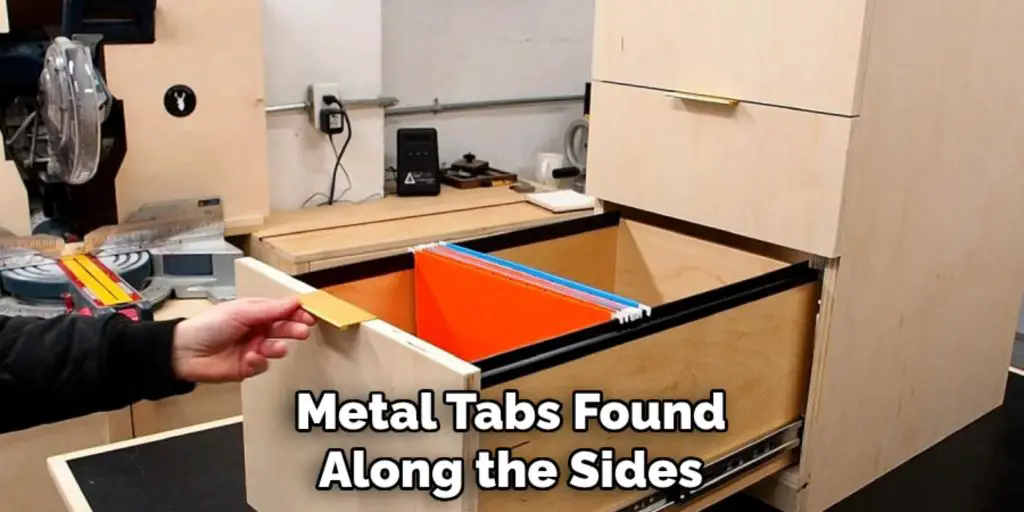
To remove the drawer, press or lift the levers simultaneously while pulling the drawer outward. Some drawers may have one lever on each side, while others might have a single lever controlling both slides. Consult the manufacturer’s instructions if the levers are not immediately visible.
5. Use the Push-Down or Pull-Up Mechanism
Some drawers use a push-down or pull-up mechanism instead of release levers. In these cases, you’ll find small tabs or catches near the slides. Push the tabs downward or lift them upward while pulling the drawer outward.
This method requires a bit of coordination but is straightforward once you identify the correct points to manipulate.
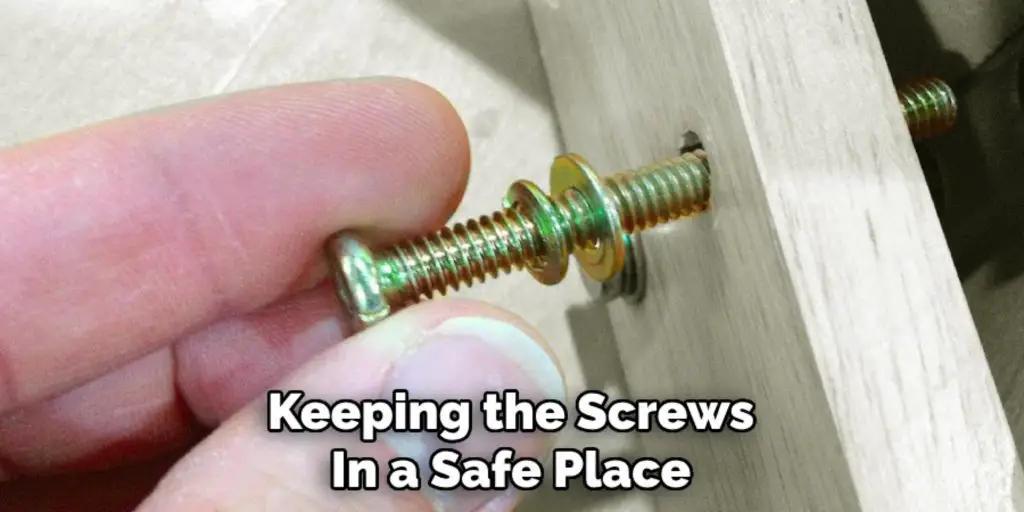
6. Remove the Screws or Bolts
If the drawer doesn’t slide out easily, it might be secured with screws or bolts. Check for fasteners along the sides, back, or underside of the drawer. Use a screwdriver or wrench to remove them, keeping the screws in a safe place for reassembly if needed. Once the screws are removed, gently slide the drawer out of the desk frame.
7. Disengage Anti-Tip Mechanisms
Many file drawers, especially those in multi-drawer units, feature anti-tip mechanisms that prevent more than one drawer from being opened simultaneously.
These mechanisms often involve interlocking components that must be disengaged before the drawer can be removed. Check for a locking bar or rail along the side or back of the desk and move it out of the way to free the drawer.
8. Manipulate Ball-Bearing Slides
File drawers with ball-bearing slides require a slightly different approach. These slides often include a small latch or tab at the end of the slide track. To remove the drawer, locate the latch, press it inward or outward, and carefully slide the drawer out of the track. Ball-bearing slides are smooth and durable, but they can be tricky to handle if the latch mechanism is hidden or stiff.
9. Lift and Tilt the Drawer
If the drawer is not designed with release levers or screws, lifting and tilting it might be necessary. Pull the drawer out as far as it will go, then lift the front edge slightly to disengage it from the slides.
Tilt the drawer downward or upward, depending on the slide design, to release it completely. Be cautious during this process to avoid damaging the slides or the drawer itself.
10. Consult the Desk Manual or Manufacturer
If all else fails, refer to the desk’s manual or contact the manufacturer for guidance. Manuals often include detailed diagrams and instructions for drawer removal, specific to the desk model.
If the manual is unavailable, the manufacturer’s customer service team can provide advice or replacement parts if needed. This method ensures you’re using the correct technique and avoids trial-and-error damage.
Things to Consider When Removing a File Drawer
When attempting to remove a file drawer, it’s essential to keep a few considerations in mind to ensure the process is smooth, safe, and damage-free. Here are some key points to think about:
- Weight of the Drawer
File drawers, especially when full, can be deceptively heavy. Always empty the drawer before starting the removal process to avoid strain or accidents during handling.
- Condition of the Mechanism
Check for wear and tear on the drawer slides, locking mechanisms, or fasteners. Damaged components can make removal more challenging and may require extra care or replacement parts.
- Workspace Preparedness
Clear the surrounding area before working to ensure you have enough space to extend and remove the drawer safely. This also helps prevent tripping or accidental damage to other items in the vicinity.
- Drawer Material
Consider the type of material the drawer is made from—wood, metal, or plastic—as this may affect how delicate or forceful you need to be while removing it.
- Tools and Supplies
Having the right tools at hand, as highlighted earlier, is essential. Ensure your tools are appropriate for the drawer’s design to minimize the risk of stripping screws, damaging mechanisms, or causing alignment issues.
- Safety Precautions
Wear protective gloves if needed, especially when dealing with sharp edges or heavy materials. Be mindful of your posture and avoid overexerting yourself when lifting or maneuvering large drawers.
Taking these factors into account helps ensure a safe and successful drawer removal process while minimizing potential damage to the desk or the drawer mechanism.

Conclusion
Removing a file drawer may seem daunting at first, but with the right approach and tools, it’s a manageable task.
By following the specific steps outlined—such as identifying the drawer’s mechanism type, using appropriate tools, and taking necessary safety precautions—you can ensure the process is completed efficiently and without damage.
Always prioritize careful handling and consult the desk’s manual or manufacturer when in doubt. With patience and attention to detail, you’ll be able to remove the drawer successfully and prepare it for any required maintenance, rearrangement, or replacement.
Thanks for reading our blog post on how to remove file drawer from desk! We hope you found it helpful and informative.