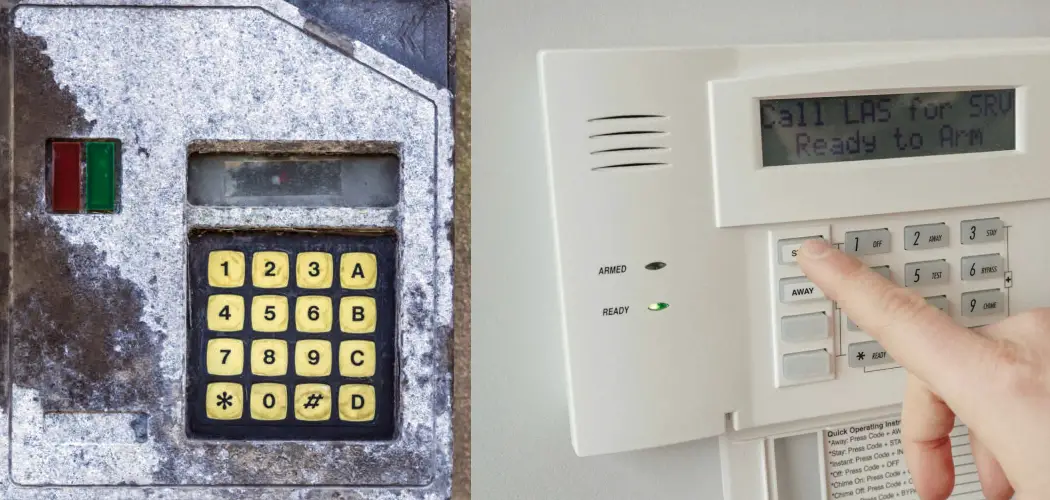
Are you looking to replace your old security system? Or do you simply want to remove it altogether? No matter your reason, removing an old security system can seem like a daunting task.
Removing an old security system can often seem like a daunting task, fraught with the potential for technical pitfalls and unforeseen complications. However, the process can be streamlined and straightforward with the right approach and a systematic method. Whether you’re upgrading to a more modern system, moving to a new location, or simply decluttering, understanding the basics of safely and effectively dismantling your old security setup is crucial.
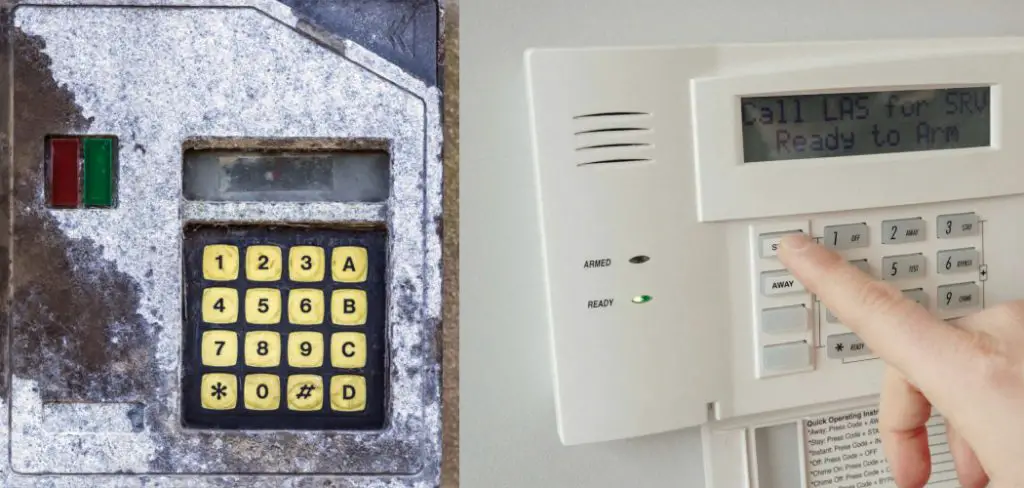
This guide on how to remove old security system, aims to equip you with the knowledge and steps necessary to remove your old security system with confidence, ensuring a smooth transition to your new security solution.
What Will You Need?
Before you get started, it’s important to have all the necessary equipment and tools on hand. Depending on your security system setup, these may include:
- Screwdriver (Phillips or flathead)
- Wire cutters/strippers
- Electrical tape
- Ladder or step stool (if needed for hard-to-reach areas)
- User manual for your security system (if available)
Having the right tools will make the process much easier and help avoid any potential damage to your property or security system components.
10 Easy Steps on How to Remove Old Security System
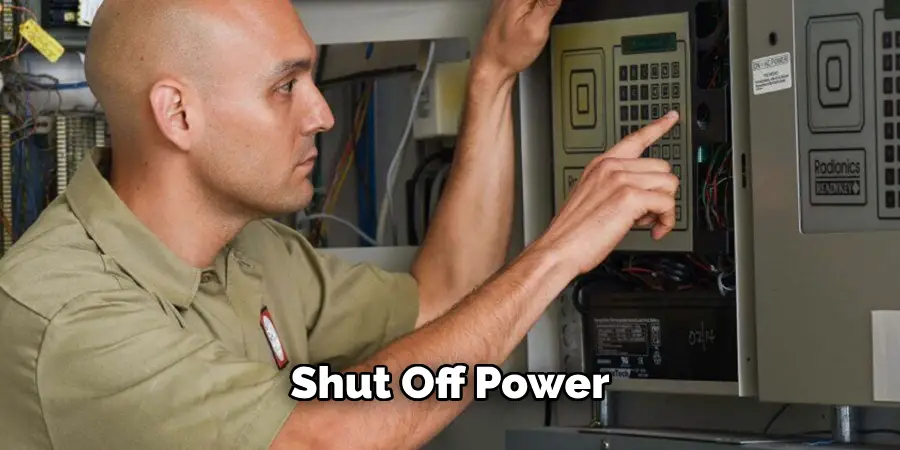
Step 1: Shut Off Power
Before you attempt to remove any part of your old security system, it’s crucial to shut off the power source. This will prevent any electrical shocks or accidents from occurring. Locate the main power supply for your security system and turn it off. Additionally, make sure to unplug any battery backup or backup power supply that may be connected.
Step 2: Identify and Disconnect All Components
After shutting off the power, your next step involves carefully identifying and disconnecting each component of the security system. Start by locating the central control panel, as this acts as the hub for your system and is connected to all other components. Once located, open the panel using your screwdriver. Inside, you’ll find various wires and possibly circuit boards – these connect the panel to sensors, cameras, and other system elements.
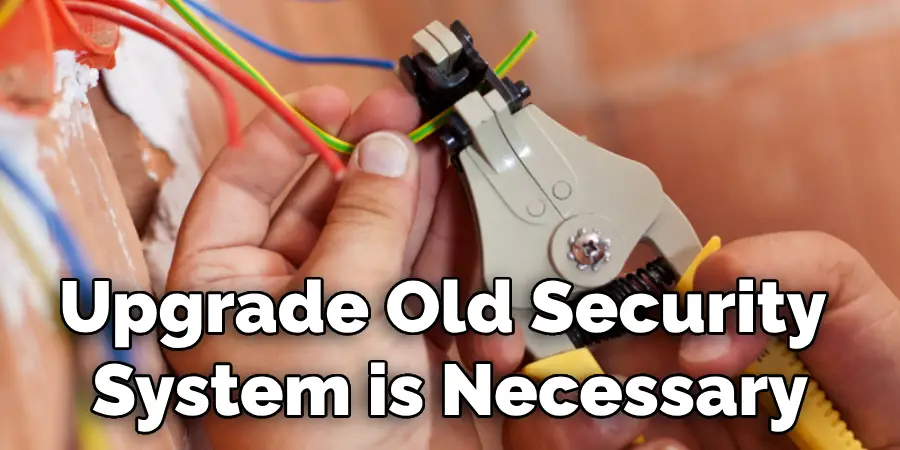
Use your wire cutters or strippers to disconnect these wires. While doing so, it’s a good idea to label each wire or take a picture before removal to keep track of connections, especially if you plan to install a new system later. Remember to handle all components gently to prevent damage to the wiring or connectors, which could be crucial if the system is reinstalled or repurposed.
Step 3: Remove Sensors and Cameras
Once all components are disconnected from the central control panel, proceed to remove the individual sensors and cameras. These are typically attached to walls, ceilings, or door frames. Using your screwdriver, carefully unscrew and remove each device. For sensors that are adhered to surfaces with adhesive strips or pads, gently pry them off with a flat tool.
Some sensors and cameras may also have mounting brackets; be sure to remove these as well. Place all removed components in a safe area where they won’t get damaged during the disassembly process. Remember to handle each piece with care, especially cameras and motion sensors, which contain delicate parts.
Step 4: Gather and Label Cables
After removing all sensors and cameras, you will likely have a collection of cables and wires that were connected to various parts of the security system. It’s important to gather these cables and, if not done already, label them according to where they were connected. This step is crucial for several reasons.
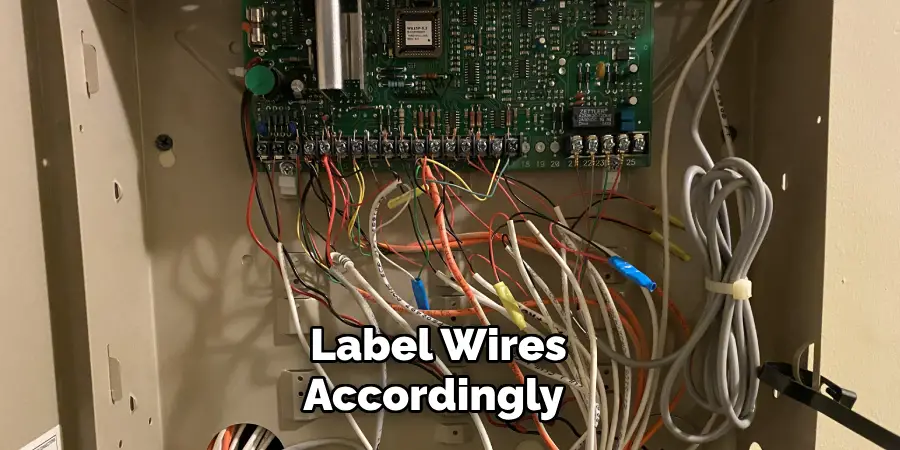
Firstly, if you’re planning to install a new security system that might reuse some of the existing wiring, having them labeled will simplify the installation process. Secondly, proper identification will help in the proper disposal or storage of these components. Use electrical tape and a marker to create simple labels for each set of cables. Store them neatly to avoid tangling, which could damage the wires and complicate future use.
Step 5: Uninstall the Control Panel
With all sensors, cameras, and cables properly disconnected and removed, the next step is to uninstall the control panel itself. This is often mounted on a wall or located in a cabinet or closet. Using your screwdriver, remove any screws or bolts securing the panel in place. Carefully lift the panel away from the wall, being mindful of any wires or cables that may still be connected.
If the control panel is linked to a monitoring service, be sure to notify them in advance that you will be removing the system to avoid any potential confusion or alarms. Once removed, place the control panel with the other components you have already taken down. This ensures everything is accounted for and can either be disposed of properly, reused, or recycled.
Step 6: Deal with the Wiring
After all the main components have been disconnected and removed, you will need to decide what to do with the leftover wiring. If you plan to install a new security system, you might be able to reuse some of the existing wires, which can save you time and effort. Assess the condition of the wires; if they are in good shape and compatible with your new system, label them and store them carefully.
On the other hand, if you decide not to reuse the wiring or if it’s outdated, it’s important to remove it safely. Start by detaching any wires from the walls or ceilings, using wire cutters to cut free any that are stapled down, and being careful not to damage the surfaces. Once removed, roll up the wires and tie them together for disposal or recycling. Always check local regulations regarding the disposal of electronic waste to ensure you are complying with relevant laws and guidelines.
Step 7: Patch and Repair Any Damage
After the security system components and wiring have been fully removed, you may notice holes, marks, or minor damages left on walls, ceilings, or other surfaces. The next step involves patching these areas to restore the aesthetic appearance of your space. For small holes, such as those left by screws or mounting brackets, you can use spackle or wall filler. Apply the filler according to the product instructions, and then allow it to dry completely.
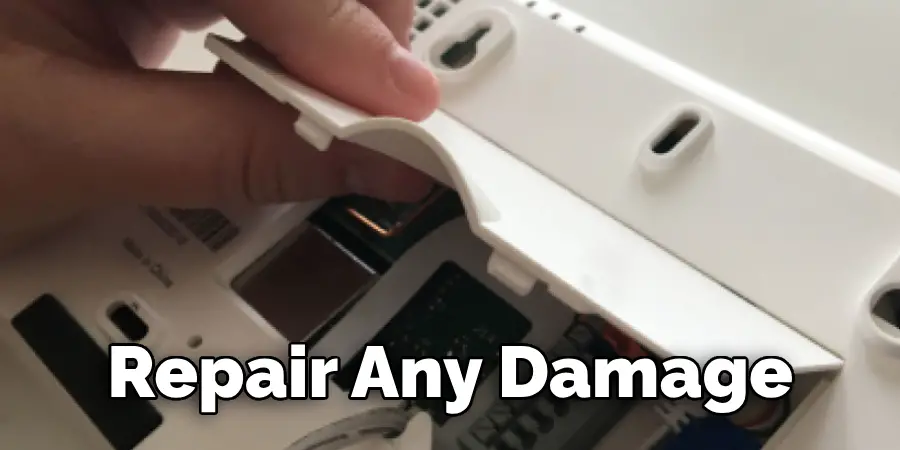
Once dry, sand the area smooth to match the surrounding surface. For marks or adhesive residues, use a gentle cleaner or adhesive remover to clean the surfaces carefully, avoiding damage. If the paint has been chipped or if there are larger areas of damage, you may need to repaint or perform more substantial repairs. This step ensures that your space looks well-maintained and visually appealing once the old security system is removed.
Step 8: Final Inspection and Cleanup
After repairing any damages and ensuring your space has been restored, conduct a final inspection to confirm that all components of the old security system have been removed and that the area is clean and organized. Check for any leftover parts, tools, or debris that might have been overlooked during the disassembly and cleanup process. It’s also a good opportunity to organize and safely store any pieces of the system you plan to reuse or sell.
Ensuring the site is clean not only facilitates a better working environment for installing a new system but also helps prevent any safety hazards. Gather all tools and dispose of or recycle any waste materials according to local regulations. This step concludes the removal process, leaving your space ready for any new installations or for other uses you have in mind.
Step 9: Evaluate and Plan for the New System Installation
After the complete removal and cleanup of the old security system, it’s time to evaluate your space and plan for the installation of a new system. Begin by considering the security needs of your premises, factoring in any changes or upgrades you want to implement. This could involve upgrading to a more advanced system or incorporating smart technology for enhanced security and convenience.
Assess the layout of your space to determine the optimal placement for sensors, cameras, and the control panel, ensuring comprehensive coverage. If you plan to reuse some of the existing wiring, verify its compatibility with the new system and plan the installation accordingly. Additionally, explore the possibility of integrating other smart home devices for a unified home automation system. Consulting with a security professional can provide valuable insights and help tailor a security solution that meets your specific needs. This step lays the groundwork for a seamless transition to a new and improved security system.
Step 10: Choose and Purchase Your New Security System
After assessing your security needs and planning the layout, the next step is to choose and purchase your new security system. When selecting a system, consider factors such as ease of installation, compatibility with existing wiring or devices if you plan to reuse them, and the level of security provided. Deciding between a DIY system and a professionally installed one is also important.
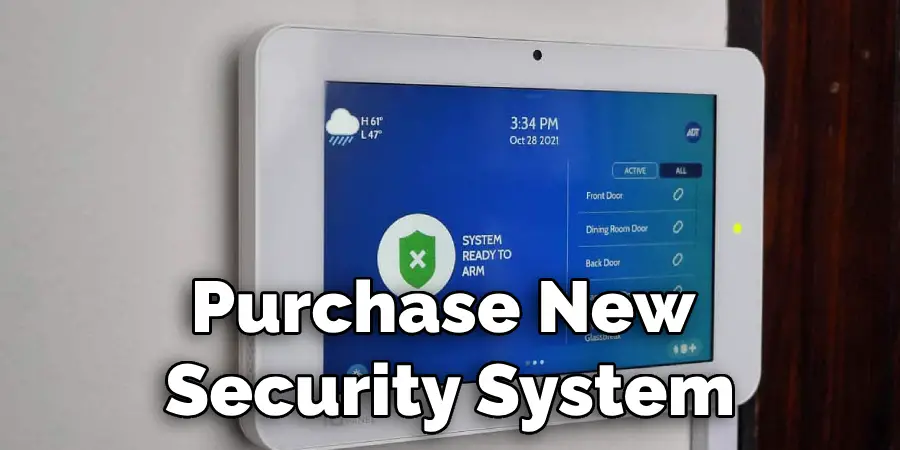
DIY systems can be less expensive and allow for immediate customization, whereas professional systems often come with ongoing support and monitoring services. Compare different models and brands, paying close attention to customer reviews and ratings to ensure reliability and satisfaction. Lastly, ensure the system you choose fits within your budget while still meeting your security requirements. Once selected, purchase your new security system and prepare for installation, following the manufacturer’s instructions or scheduling a professional installation if required.
By following these steps, you can successfully remove an old security system and prepare your space for the installation of a new one. It is important to approach the removal process with caution and care, ensuring all components are properly disconnected and disposed of following local regulations.
5 Additional Tips and Tricks
- Consult the Original Installation Manuals: Before starting the removal process, it’s beneficial to consult any available manuals or documentation related to your old security system. These documents can provide pivotal information about the system’s architecture, potentially simplifying the disassembly process.
- Power Down Safely: Ensure that the security system is fully powered down before attempting removal. This step is crucial for preventing any electrical mishaps. It may involve unplugging the system from the power source or turning off any dedicated circuit breakers.
- Use Appropriate Tools: Having the right tools on hand, such as screwdrivers, wire cutters, and a voltage tester, can make the removal process smoother and safer. The voltage tester, in particular, is essential for ensuring that no active electrical currents are running through the system components.
- Label and Organize Components: If you plan on reusing or selling parts of the old security system, carefully label and organize its components during disassembly. This organization can assist with reinstallation or serve as a helpful guide for the system’s next owner.
- Consult a Professional for Complex Systems: If the security system is particularly complex or integrated into your home’s infrastructure, consider professional assistance. A professional can ensure that the removal is conducted safely and without damaging your home.
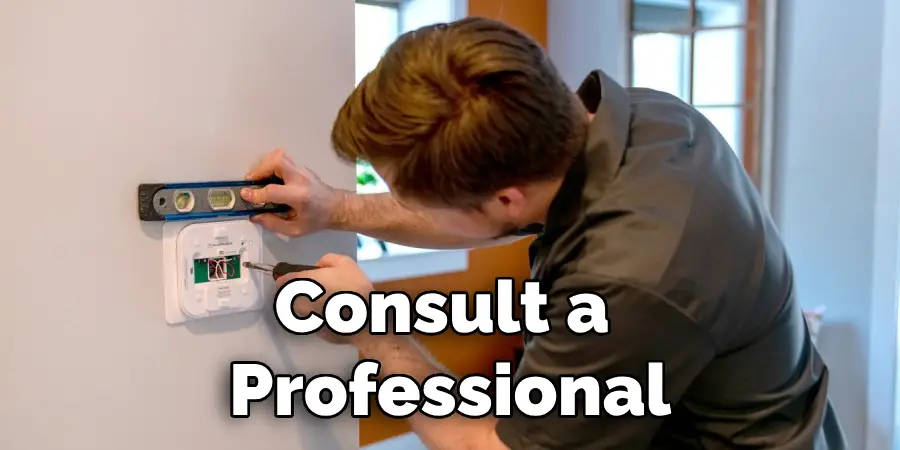
With these extra tips and tricks, you can confidently remove your old security system without any hassle.
5 Things You Should Avoid When Removing an Old Security System
- Do Not Rush the Removal Process: Taking shortcuts or rushing through the disassembly can lead to mistakes, such as damaging your home’s wiring or the system itself. Patience is key to ensuring a smooth and damage-free removal.
- Avoid Handling Components Without Proper Knowledge: Attempting to remove or tamper with parts of the security system without understanding their function can be dangerous. This is particularly true for components connected to the electrical system or those with a backup power supply.
- Do Not Ignore Safety Precautions: Failing to wear appropriate safety gear, like gloves and eyewear, or neglecting to use a voltage tester before handling wires can result in personal injury. Always prioritize safety over speed.
- Avoid Discarding Components Prematurely: Throwing away parts before the entire system has been assessed and removed may lead to losing important components or tools that could be beneficial for the installation of a new system or for reuse in other projects.
- Do Not Overlook Environmental Disposal Guidelines: According to local environmental regulations, some components of your old security system, especially batteries and electronic devices, may require special disposal methods. Improper disposal can harm the environment and may lead to fines or penalties.
By avoiding these mistakes, you can ensure that your old security system’s removal is done safely and efficiently.
Can You Cut Old Security Wires
Cutting old security wires can be tricky and potentially dangerous. In most cases, it is recommended to consult a professional before attempting to cut any wires connected to your old security system. If you are confident in your skills and knowledge, there are some things to consider before cutting the wires:
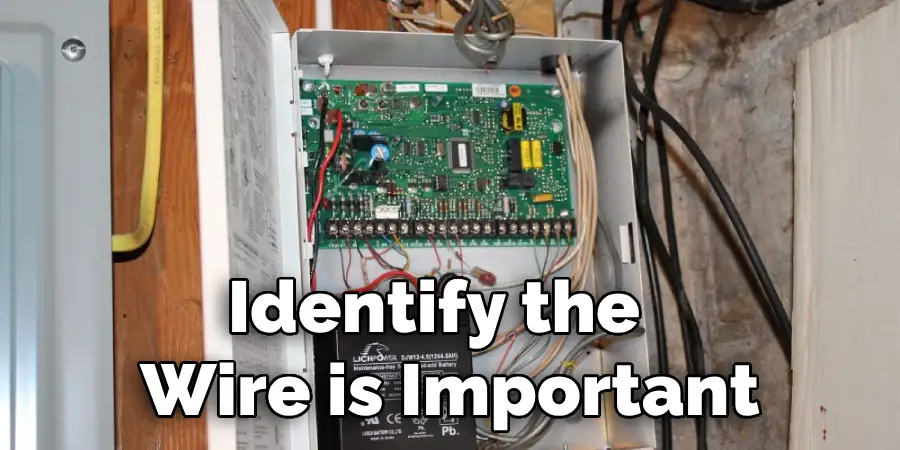
- Identify the Function of Each Wire: Before cutting any wires, make sure you understand their purpose and function within the security system. This will prevent accidental damage to important components or connected systems.
- Turn Off Power: Always make sure the power is off before cutting any wires. Use a voltage tester to ensure that there are no live electrical currents running through the wires.
- Use Appropriate Tools: When cutting old security wires, it’s crucial to use the right tools, such as wire cutters or strippers. This will ensure a clean and safe cut without damaging the wires or other components.
- Consider Reusing Wires: If you plan on installing a new security system, you can reuse some of the existing wires. Before cutting them, carefully assess their condition and determine if they are suitable for reuse.
In summary, cutting old security wires can be done safely with proper precautions and tools. However, it’s always best to consult a professional before attempting any electrical work.
Can Security Systems Be Jammed
Yes, security systems can be jammed. A jamming attack on a security system involves disrupting its signal or blocking its communication, making it unable to detect and report any potential threats. There are several ways in which a security system can be jammed:
- Radio Frequency Jammers: These devices emit strong radio signals that interfere with the frequency used by wireless security systems, making them unable to transmit data.
- Power Outage: Disrupting the power supply to a security system can render it useless because it will no longer have any energy to function.
- Hacking and Tampering: Skilled hackers can manipulate security systems’ software or hardware, rendering them ineffective in detecting threats.
To prevent jamming attacks on your security system, ensure that it has strong encryption and secure communication protocols. Regularly update your system’s software to patch any vulnerabilities and add additional layers of security, such as motion sensors or cameras.
Conclusion
How to remove old security system can be a daunting task, especially for those unfamiliar with electrical systems or the specific setup of their home security. However, by following a systematic approach that prioritizes safety and organization, homeowners can effectively eliminate their outdated systems with minimal risk.
Ensure you have the right tools for the job, consult professionals when necessary, and adhere to local disposal guidelines to protect the environment. Additionally, understanding the potential for security system jamming and preparing for it in future installations can further enhance your home’s safety.
With these considerations in mind, the process of removing an old security system can be straightforward, setting the stage for an upgrade to a more modern and efficient home security solution.

