
Are you tired of dealing with your Vivint window sensor? Do you want to remove it for good? How to remove Vivint window sensor may seem like a daunting task, but with the right tools and knowledge, it can be done easily.
Removing a Vivint window sensor is a straightforward process that homeowners might need to undertake for various reasons, such as replacing a faulty sensor, painting or repairing a window frame, or upgrading to a new system.
The sensors play a critical role in the home security setup by alerting homeowners to unauthorized entry through windows. Hence, handling the removal process with care is essential to avoid damaging the sensor or window, or compromising your home’s security.
This guide is designed to walk you through each step of removing a Vivint window sensor efficiently and safely, ensuring you can perform the task with confidence.
What are the Benefits of Removing a Vivint Window Sensor?
Before we discuss how to remove a Vivint window sensor in detail, let’s first consider why you may want to do so.
- Replacement: As mentioned earlier, one of the main reasons for removing a window sensor is to replace it with a new one. If your current sensor is not functioning properly, removing it and installing a new one can help restore your home’s security.
- Window Maintenance: Another common reason for removing a window sensor is to carry out maintenance or repairs on the window frame. This could include painting, replacing broken glass, or fixing any other issues with the window.
- Upgrading to a New System: If you are upgrading your home security system to a new Vivint model or switching to a different brand, you will need to remove the old sensors from your windows.
These are a few of the reasons why you may need to remove a Vivint window sensor. Whatever your reason may be, it is essential to follow proper removal procedures to ensure no damage is done and your home’s security remains intact.
What Tools Do You Need?
To successfully remove a Vivint window sensor, you will need the following tools:
- Screwdriver (typically Phillips’s head)
- Flathead screwdriver
- Pliers
- Razor blade or box cutter
- Ladder (if necessary)
It is best to gather all these tools before starting the removal process to avoid any delays or interruptions.
10 Easy Steps on How to Remove Vivint Window Sensor
Step 1. Turn Off Your Vivint System:
Before attempting to remove the window sensor, ensure that your Vivint home security system is turned off. This is crucial to prevent triggering an alarm or sending false alerts to your monitoring service. You can turn off the system via the main control panel or the Vivint app on your mobile device.

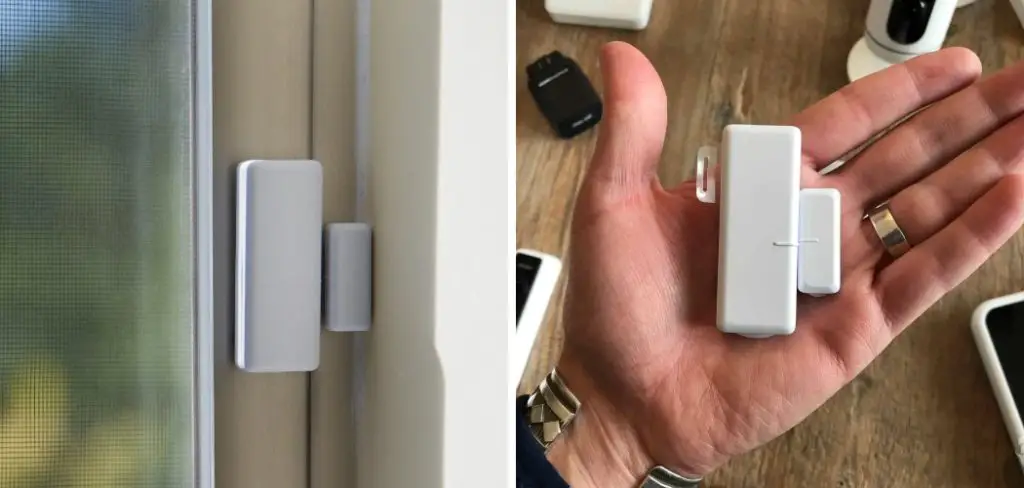
Step 2. Locate the Sensor and Magnet:
The next step in removing your Vivint window sensor is to locate both the sensor and its accompanying magnet. Typically, the sensor is attached to the window frame or the top part of the window, and the magnet is attached to the window itself or the movable part of the window frame.
Understanding the placement is crucial for a smooth removal process. Look for a small, rectangular device – this is usually the sensor, while the magnet is often a smaller counterpart.
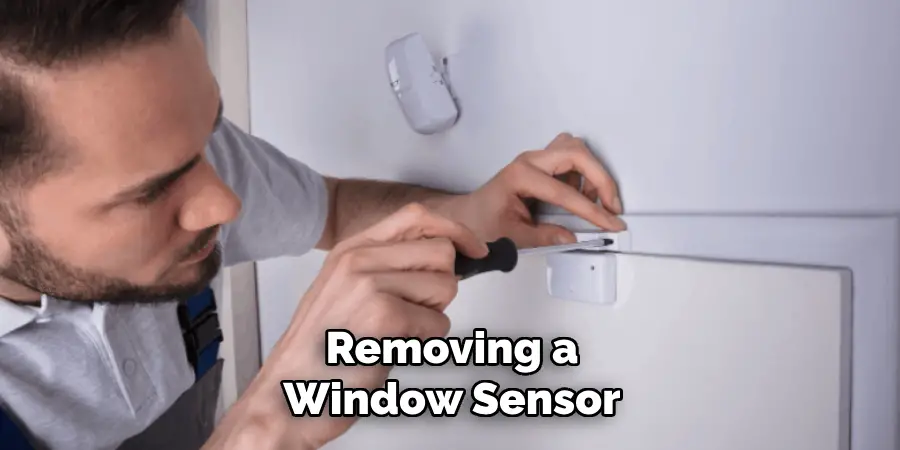
Step 3. Use a Screwdriver to Open the Sensor Casing:
Once you have located the sensor and magnet, use a Phillips head screwdriver to carefully unscrew and remove the casing of the window sensor. Some models may not have visible screws and, instead, might require gently prying open with a flathead screwdriver. Proceed with caution to avoid damaging the sensor casing or the window frame.
Step 4. Disconnect the Battery:
After opening the sensor casing, you’ll find a battery inside that powers the sensor. It is essential to disconnect the battery to ensure safety and prevent any electrical issues. Carefully remove the battery from its compartment.
If the battery is secured with a clip or connector, gently release it using pliers or your fingers. Be sure to note the battery type and orientation if you plan to replace the sensor later, as this information will be helpful during reinstallation.
Step 5. Remove the Sensor from its Mounting Bracket:
After the battery has been disconnected, the next step is to remove the sensor from its mounting bracket. In most cases, the sensor is either clipped or screwed onto the bracket. If it’s clipped in, gently press down on the release mechanism (usually located on one side of the sensor) and pull the sensor away from the mount.
If the sensor is screwed in, use your Phillips head screwdriver to unscrew it. Be careful not to apply excessive force that could damage the sensor or the window frame.

Step 6. Carefully Detach the Magnet:
With the sensor removed, the next focus is on detaching the magnet part of the setup. The magnet is typically secured to the window or frame via an adhesive backing or, in some cases, with small screws.
If it’s attached with adhesive, use a razor blade or box cutter to gently peel the magnet away from its surface. For magnets screwed in, a Phillips head screwdriver should be used to carefully remove the screws. Be mindful not to damage the window or frame during this process.
Step 7. Clean the Area:
After successfully removing the sensor and magnet, it’s important to clean the area where they were mounted. Residue from adhesive or markings from the mounting bracket can be unsightly and may prevent proper installation of new equipment.
Use a mild cleaner or adhesive remover on the window frame and window itself to remove any residue. Be sure to be gentle to avoid damaging the surface. If you used a razor blade or box cutter in the previous step, ensure that no scratches are left on the window or frame.
Step 8. Inspect the Window and Frame for Damage:
After cleaning the area, inspect the window and frame for potential damage. This includes looking for cracks, scratches, or any other harm that may have occurred during the removal process.
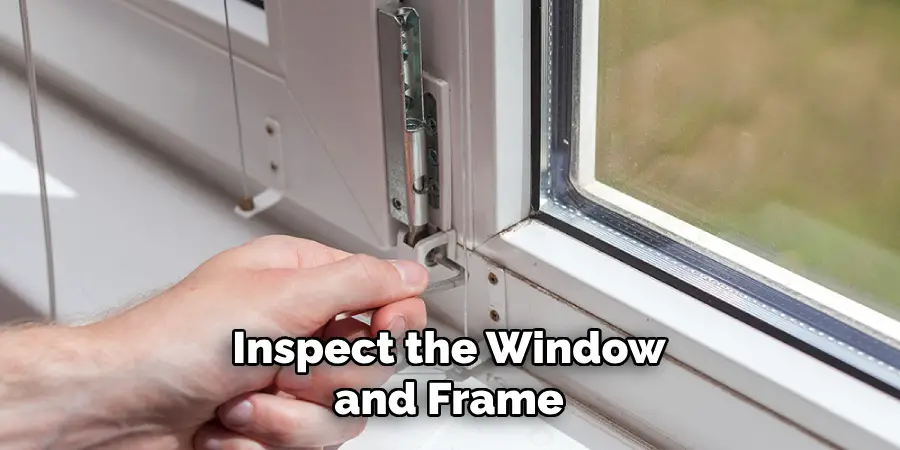
If you find any damage, assess whether it’s minor and can be easily repaired or if professional help is needed. It’s essential to address these issues before installing a new sensor or performing any other modifications to ensure a secure fit and maintain the aesthetic of your window.
Step 9. Prepare for New Sensor Installation:
Now that you’ve successfully removed the old Vivint window sensor and cleaned the area, it’s time to prepare for the next step. If you’re planning to install a new sensor or any other type of window security equipment, ensure that the window and frame are in good condition for mounting.
Check the manufacturer’s instructions for any specific requirements or recommendations for installation locations. If you’re conducting maintenance or repairs on the window, now is the ideal time to proceed with those tasks, ensuring everything is in order before installing new security equipment.
Step 10. Maintenance:
Proper removal of a Vivint window sensor is essential to keep your home security system functioning correctly. This task may seem daunting at first, but following these ten easy steps will make it smoother and more manageable. Remember to be careful when handling the equipment and tools during the process, and if you encounter any issues or difficulties, don’t hesitate to seek professional help.
By following these steps and taking proper care during the process, you can safely remove your Vivint window sensor and continue enjoying a secure and protected home.
5 Additional Tips and Tricks

- Consult the User Manual: Before attempting to remove the sensor, it’s essential to consult the Vivint user manual or the support section of their website. These resources often contain model-specific instructions and precautions that can be invaluable.
- Power Down: Ensure the system is powered down or placed in test mode before attempting removal. This can prevent an alarm from being triggered or false alerts sent to your monitoring service.
- Use the Right Tools: Small flathead screwdrivers or a plastic pry tool can be beneficial for gently prying the sensor away from the window frame without causing damage. Using the right tools can make a significant difference in preventing damage to both the sensor and the window frame.
- Handle with Care: Vivint window sensors contain delicate components that can be easily damaged if not handled with care. Always grasp the sensor firmly but gently to avoid breaking any parts.
- Label and Organize: If you plan to reinstall the sensor later or replace it with a new one, label the sensor and take notes or photos of the original installation. This can be incredibly helpful for troubleshooting or if you need to reference the original setup at a later date.
With these additional tips, you can successfully remove and reinstall a Vivint window sensor without causing any damage or triggering false alarms.
5 Things You Should Avoid
- Avoid Using Excessive Force: Applying too much force when trying to remove the sensor can damage both the sensor and the surface it’s attached to. Always use gentle, steady pressure when separating the sensor from the window frame.
- Don’t Ignore Safety Warnings: Skipping over or ignoring any safety warnings in the user manual can result in personal injury or damage to the sensor. These warnings are there for a reason, and it’s important to follow them closely.
- Avoid Rushing the Process: Trying to remove the sensor in a hurry can increase the risk of breaking it or damaging the attached surface. Take your time and follow the recommended steps carefully to ensure a smooth removal process.
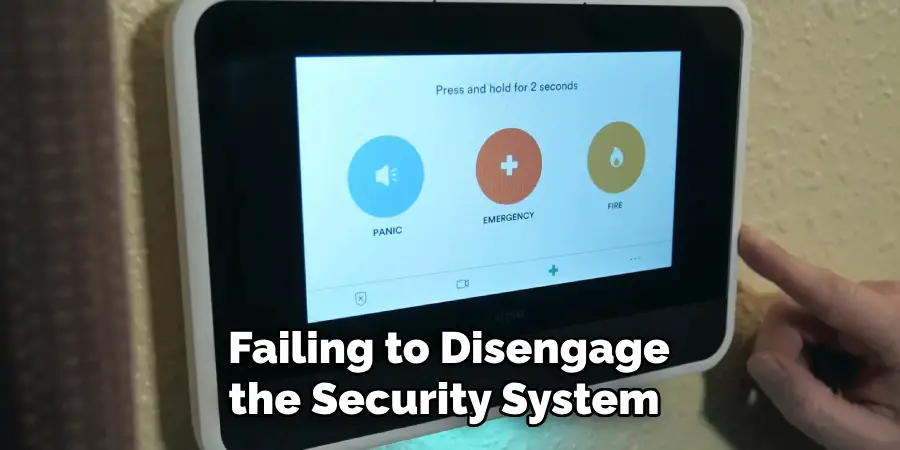
- Don’t Forget to Disengage the System: Failing to disengage the security system or placing it in test mode before attempting to remove the sensor can trigger an alarm and possibly alert your monitoring service unnecessarily. Always ensure the system is properly set before starting the removal process.
- Avoid Using Improper Tools: Sharp or improper tools, such as knives or metal screwdrivers, can scratch or damage both the sensor and the window frame. Stick to using the recommended tools, such as plastic pry tools or small, flat-head screwdrivers, to prevent unnecessary damage.
By avoiding these potential pitfalls, you can successfully remove a Vivint window sensor without any issues.
Some Frequently Asked Questions
1. How Do You Test if a Sensor is Working?
To test if a Vivint window sensor is working properly, you can follow these steps:
- Check the Indicator Light: Most Vivint sensors have a small indicator light that should be illuminated when the sensor is functioning correctly. If the light is not on, it could indicate an issue with the sensor.
- Trigger the Sensor: Gently tap or shake the window or door where the sensor is installed. This should trigger the sensor and show an alert on your control panel or mobile app.
- Test the Communication: If you have a monitoring service, try setting off the alarm to see if it successfully communicates with them. You can also test communication by tampering with the sensor and then resetting it.
- Check Battery Life: If the sensor uses batteries, ensure they are not dead or low. Replace them if necessary.
If any of these tests show that the sensor is not working correctly, you may need to troubleshoot further or contact Vivint customer support for assistance. It’s important to regularly test your sensors to ensure they are functioning properly and providing adequate security for your home.
2. How Do You Reset a Window Sensor?
If you need to reset a Vivint window sensor, follow these steps:
- Remove the battery from the sensor by gently prying off the cover and taking out the old battery.
- Wait 10 seconds before reinserting a new battery into the sensor.
- Hold down the tamper switch for 3-5 seconds until you see a green light flash on the sensor.
- The sensor is now reset and ready to be reinstalled or used with a new security system.
It’s important to note that resetting a window sensor will erase any previous programming, so you may need to reprogram it before use. Additionally, if the sensor still does not work after following these steps, it may be necessary to contact Vivint customer support for further assistance. Overall, proper handling and following instructions carefully can ensure a successful removal and reset process for Vivint window sensors.

3. Why is Your Window Sensor Not Working?
There could be several reasons why your Vivint window sensor is not working properly. Here are a few common troubleshooting tips to try:
- Check the Battery: The first thing to check is the sensor battery. Make sure it’s inserted correctly and has enough power.
- Clear any Obstructions: Dirt or debris can sometimes block the sensor’s path, preventing it from functioning correctly. Clean the sensor and surrounding area to remove any potential obstructions.
- Reposition the Sensor: If the sensor is not installed correctly or has been moved, it may not be able to detect open and closed windows accurately. Try repositioning the sensor for a better connection.
- Check for Interference: Other wireless devices in the home, such as baby monitors or Wi-Fi routers, can sometimes interfere with the window sensor’s signal. Try moving these devices away from your security system or installing a wireless repeater to strengthen the signal.
If none of these troubleshooting tips resolve the issue, it’s best to contact Vivint customer support for further assistance. They can troubleshoot any technical issues or provide a replacement sensor if necessary. With proper care and maintenance, your Vivint window sensors should function effectively to keep your home safe and secure.
4. What are the Signs of a Faulty Window Sensor?
Some common signs that your Vivint window sensor may be faulty or in need of replacement include:
- Frequent False Alarms: If you notice your security system is frequently triggering false alarms related to the window sensor, it could be a sign that the sensor is malfunctioning.
- Inconsistent Connection: A faulty window sensor may have an unstable connection to the security system, causing it to intermittently lose communication or not detect open and closed windows properly.
- Physical Damage: If the sensor has visible damage, such as a cracked casing or broken parts, it’s likely that it will need to be replaced.
- Battery Issues: A failing battery can also cause issues with the performance of a window sensor. If the battery is draining quickly or not providing enough power, it may be time to replace it.
If you notice any of these signs, it’s best to contact Vivint customer support for assistance in troubleshooting or replacing the faulty sensor.
Conclusion
In conclusion, how to remove Vivint window sensor requires careful attention to detail and adherence to specific steps to ensure the process is completed without damaging the sensor or the surrounding area.
Homeowners can successfully remove Vivint window sensors when necessary by understanding the importance of safety, possessing the right tools, and following the guidance provided. It’s essential to avoid common pitfalls such as using excessive force or improper tools, which can lead to damage.
Whether you’re upgrading your home security system, replacing a faulty sensor, or simply performing maintenance, the ability to safely remove and reinstall these devices is invaluable.
Remember, if you feel unsure about the process or encounter difficulties, it is advisable to contact Vivint customer support for assistance to prevent any mishaps.