
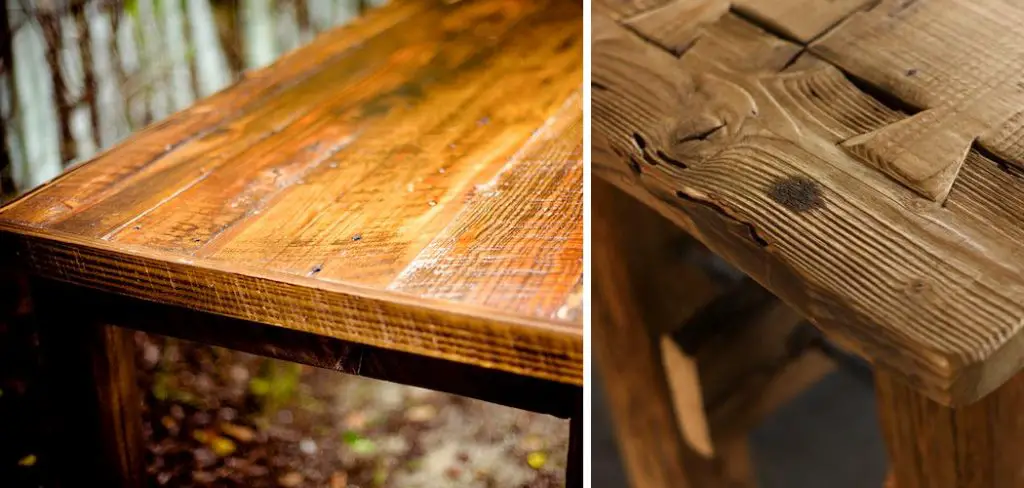
Epoxy table tops are known for their durability and stunning finish, but they can occasionally develop scratches, chips, or other minor damage over time. Repairing an epoxy table top might seem daunting, but with the right tools and steps, you can restore its original beauty. This guide will walk you through the process of how to repair epoxy table top.
Common Issues That May Require Repair
Despite their resilient nature, epoxy table tops can experience a few common issues that may require repair. These include:
- Scratches: While epoxy is scratch-resistant, heavy or sharp objects can sometimes leave visible marks on the surface.
- Chips or Cracks: Accidental impacts or dropping heavy items on the table can cause small chips or cracks in the epoxy layer.
- Bubbling: Improper curing or sustained exposure to heat can lead to bubbles forming under the surface.
- Discoloration: Prolonged sun exposure or the use of harsh cleaning agents can cause the epoxy to yellow or fade over time.
- Uneven Surface: Over time, wear and tear might lead to an uneven finish, making the surface less smooth than desired.
Identifying the specific issue is the first step toward repairing your epoxy table top and ensuring its longevity.
Importance of Proper Repair
Properly repairing an epoxy table top is crucial to maintain its appearance, functionality, and longevity. Ignoring minor damages like scratches or chips can lead to further deterioration, which may compromise the structural integrity of the surface. Timely repairs ensure that the table top remains smooth, preventing potential safety hazards such as sharp edges or uneven surfaces. Additionally, addressing discoloration or bubbling not only restores the aesthetic appeal of the table but also preserves its protective properties. By taking the time to repair issues correctly, you can prolong the life of your epoxy table top and keep it looking as stunning as the day it was first created.
Tools and Materials Needed
To successfully repair your epoxy table top, you will need the right tools and materials. Gathering these in advance will ensure a smoother and more efficient repair process. Here’s a list of essentials:
- Sandpaper: Various grits (e.g., 120, 220, or even finer) for smoothing out scratches, chips, or imperfections.
- Epoxy Resin: A quality epoxy resin designed for repairs to fill chips, cracks, or bubbles seamlessly.
- Mixing Cups and Sticks: For accurately measuring and mixing the epoxy resin and hardener.
- Putty Knife or Plastic Spreader: To apply and level the epoxy mixture over the damaged area.
- Heat Gun or Torch: To remove any air bubbles during the epoxy application process.
- Protective Gear: Gloves, safety goggles, and a mask to protect yourself from fumes and contact with resin.
- Painter’s Tape: To mask off areas around the damage and prevent resin from spreading.
- Polishing Compound: For buffing and restoring a glossy finish after the repair process.
- Clean Cloth or Microfiber Towel: To clean the surface and remove dust or debris before and after the repair.
Having these tools and materials on hand will make repair work more effective and contribute to a smooth and professional-looking finish.
10 Methods How to Repair Epoxy Table Top
1. Filling Small Scratches with Epoxy Resin
Small scratches on an epoxy table top can disrupt its smooth surface, but they can be filled easily using a fresh layer of epoxy resin. Clean the surface thoroughly to remove dirt or grease, as contaminants can affect the repair. Mix a small batch of epoxy resin according to the manufacturer’s instructions. Use a small brush or applicator to fill the scratches with resin, ensuring it is level with the surrounding surface. Allow the resin to cure fully before lightly sanding and buffing to blend the repair seamlessly.
2. Polishing for Superficial Scuffs
For minor scuffs and light surface scratches, polishing can restore the table’s glossy finish without additional epoxy. Start by cleaning the surface to remove debris. Use a fine-grit sandpaper (e.g., 800–1200 grit) to sand the affected area gently in a circular motion. Apply a high-quality polishing compound and buff the surface with a microfiber cloth or an electric polisher. This method can make shallow imperfections virtually invisible and bring back the table’s shine.
3. Using Heat to Fix Cloudy Spots
Cloudy or hazy areas on an epoxy table top often occur due to trapped moisture or improper curing. Applying gentle heat can reactivate the resin and eliminate these blemishes. Use a heat gun or a hairdryer on a low setting to warm the cloudy area, moving it back and forth to avoid overheating. As the epoxy softens, the cloudiness will disappear. Allow the area to cool and cure naturally to restore clarity.
4. Repairing Chips with Epoxy Filler
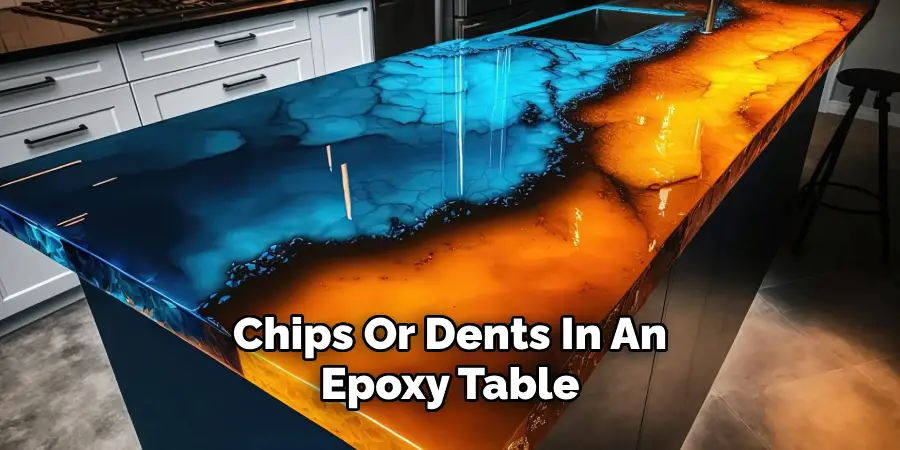
Chips or dents in an epoxy table can be repaired with an epoxy filler or putty. Clean the damaged area thoroughly and ensure it is dry. Mix the filler according to the instructions, adding pigment if needed to match the table’s color. Apply the filler to the chip, smoothing it with a putty knife or scraper. Allow it to cure completely before sanding and polishing to ensure the repair blends seamlessly.
5. Resurfacing with a Fresh Layer of Epoxy
For extensive damage or an uneven surface, resurfacing the table with a fresh layer of epoxy is the best solution. Start by sanding the entire surface to remove the glossy finish and create a rough texture for better adhesion. Clean the table thoroughly to remove dust and debris. Mix a new batch of epoxy resin and pour it evenly over the surface. Use a spreader or squeegee to distribute the resin, then remove air bubbles with a heat gun or torch. Allow the resin to cure according to the product’s instructions for a flawless finish.
6. Fixing Discoloration with Pigmented Epoxy
Discoloration can occur due to UV exposure, chemical spills, or uneven mixing during the initial pour. To repair this, apply a pigmented layer of epoxy resin over the affected area. Clean and sand the discolored section lightly, then mix epoxy with a matching pigment or dye. Pour or brush the pigmented epoxy onto the area, blending it carefully with the surrounding surface. Allow the resin to cure fully before buffing the repaired area to a high gloss.
7. Removing Air Bubbles
Air bubbles can sometimes appear during the initial epoxy pour or after repairs. To fix them, sand down the affected area using fine-grit sandpaper until the bubbles are removed. Clean the surface and apply a thin layer of fresh epoxy resin to fill in the sanded area. Use a heat gun or torch to remove any new bubbles, ensuring a smooth finish. Allow the resin to cure completely for a clear and professional look.
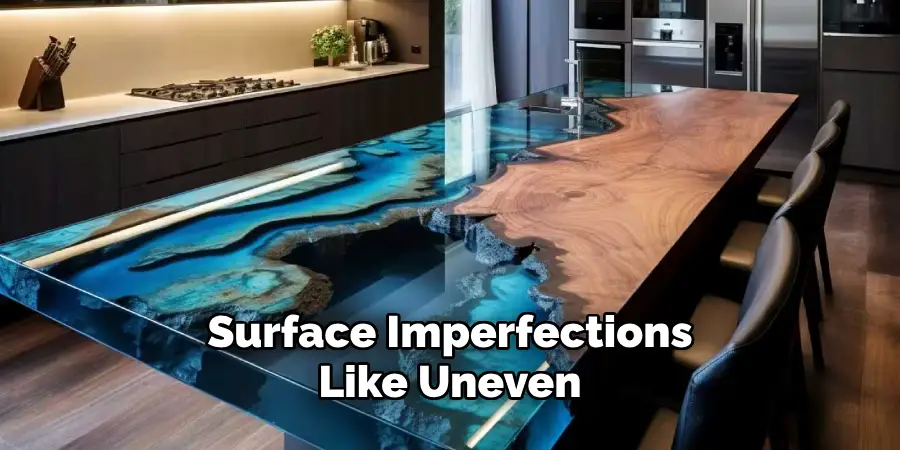
8. Sanding and Recoating for Surface Imperfections
Surface imperfections like uneven resin layers or texture irregularities can be addressed through sanding and recoating. Use a coarse-grit sandpaper (e.g., 220 grit) to level the surface, then progress to finer grits for a smooth finish. Clean the table thoroughly and apply a fresh coat of epoxy resin. Spread the resin evenly and remove air bubbles with a heat source. This method restores the table’s smoothness and shine.
9. Using UV-Resistant Coating for Sun Damage
Prolonged exposure to sunlight can cause yellowing or fading in epoxy table tops. Repair this damage by applying a UV-resistant topcoat. Start by sanding the table lightly to remove the discolored layer. Clean the surface and apply a thin coat of UV-resistant epoxy resin or polyurethane. This not only restores the table’s appearance but also protects it from future UV damage.
10. Sealing Cracks with Clear Epoxy
Cracks in an epoxy table can compromise its structural integrity and appearance. To repair them, clean the cracks thoroughly to remove dirt and debris. Mix clear epoxy resin and use a syringe or applicator to fill the cracks completely. Wipe away any excess resin with a clean cloth and allow it to cure fully. Once cured, sand the repaired area lightly and polish it to restore the table’s smoothness and clarity.
Things to Consider When Repairing an Epoxy Table Top
1.Work in a Well-Ventilated Area
Epoxy resin can release fumes that may be harmful if inhaled in large quantities. Always work in a well-ventilated space or use fans to ensure proper airflow. Wearing a mask designed for chemical vapors is also recommended for added safety.
2.Choose the Right Tools and Materials
Having the appropriate tools, such as sanding blocks, polishing compounds, and heat guns, ensures precise and effective repairs. Additionally, always select high-quality epoxy resin that matches or complements the original finish to achieve seamless results.
3.Follow Manufacturer Instructions
Each epoxy product may have unique mixing ratios, curing times, and application methods. Carefully read and adhere to the manufacturer’s guidelines to avoid issues such as improper curing or discoloration.

4.Temperature and Humidity Conditions
Epoxy resin is sensitive to environmental factors. Perform repairs in a controlled environment with moderate temperatures and low humidity to prevent complications like bubbles or uneven curing.
Conclusion
Repairing an epoxy table top requires careful attention to detail and the right tools and techniques. Whether addressing scratches, chips, discoloration, or structural damage, following the steps outlined above can help restore your table’s original beauty and functionality. By working in a well-ventilated area, using high-quality materials, and adhering to manufacturer guidelines, you can achieve professional, long-lasting results. So, there you have it – a quick and easy guide on how to repair epoxy table top.
you can also check it out Leaving Sweat Marks on Seats