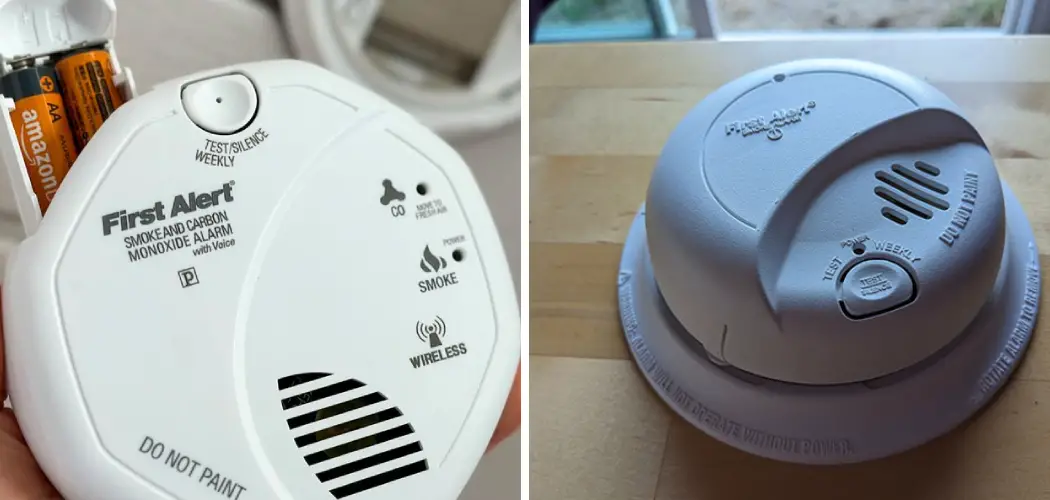
Are you having trouble with your First Alert smoke detector? Sometimes, it may stop working or start beeping for no apparent reason. Don’t worry! In this guide, we will walk you through the steps to reset your First Alert smoke detector and get it back up and running.

Resetting a First Alert smoke detector is a crucial procedure that ensures your device is in optimal working condition and ready to alert you in case of a fire. Whether your smoke detector has signaled a false alarm, requires a battery replacement, or needs a routine reset to function correctly, understanding how to safely and efficiently reset your device can maintain the reliability of your home’s fire safety system.
This guide will walk you through the essential steps on how to reset a first alert smoke detector, making sure it continues to serve as a vital component of your family’s safety plan.
Why Reset Your First Alert Smoke Detector?
There are a few reasons why you might need to reset your First Alert smoke detector. One of the most common reasons is due to a false alarm. False alarms can be triggered by cooking fumes, steam from hot showers, or even dust and dirt build up inside the device.
Additionally, if your first alert smoke detector has been beeping periodically, it may indicate that the battery needs to be replaced. Some models also have a feature that beeps to remind you to test the device regularly.
In rare cases, your First Alert smoke detector may need a reset due to a malfunction or fault in the system. This could happen if there is an issue with the sensor or wiring, and a reset can help clear any errors and get your device back to working correctly.
What are the Signs that Your First Alert Smoke Detector Needs to be Reset?
There are a few signs that may indicate your First Alert smoke detector needs to be reset. These include:
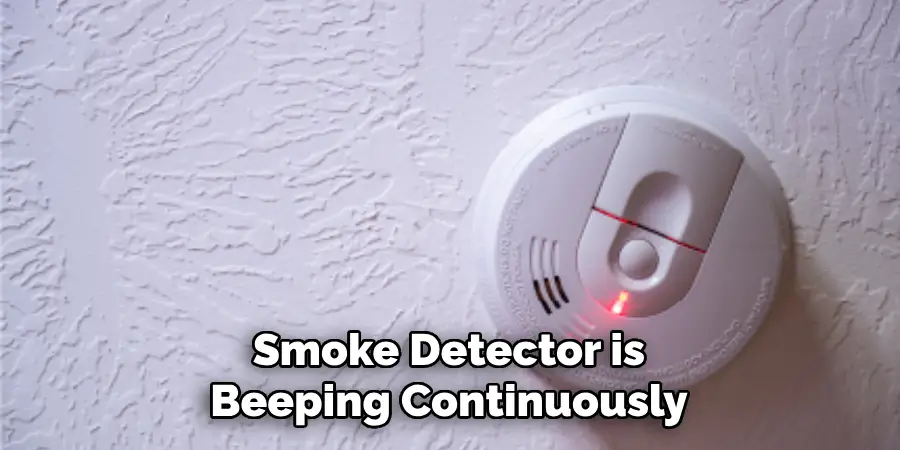
- Constant or Periodic Beeping: If your smoke detector is beeping continuously or periodically, it could mean that the battery needs to be replaced or the device needs to be reset.
- False Alarms: If your smoke detector has been triggering false alarms, it may need to be reset to clear any built-up dust or dirt.
- Error Codes: Some First Alert smoke detectors have LED lights that display error codes. If you see an error code, refer to the device’s manual for instructions on how to reset it.
These signs all indicate that your First Alert smoke detector may need a reset to function properly.
What Will You Need?
Before we dive into the steps to reset your First Alert smoke detector, make sure you have the following items ready:
- A small ladder or step stool
- A new 9-volt battery (if needed)
- A screwdriver (if necessary)
Once you have these items, you’re ready to begin the reset process.
10 Easy Steps on How to Reset a First Alert Smoke Detector
Step 1. Turn Off the Power:
Safety should be your top priority when working with electrical devices. To ensure your safety, locate your home’s electrical panel and flip the circuit breaker associated with your smoke detector to the “off” position. This will cut off the electrical supply to the smoke detector, preventing any electrical mishaps while you’re resetting the device.
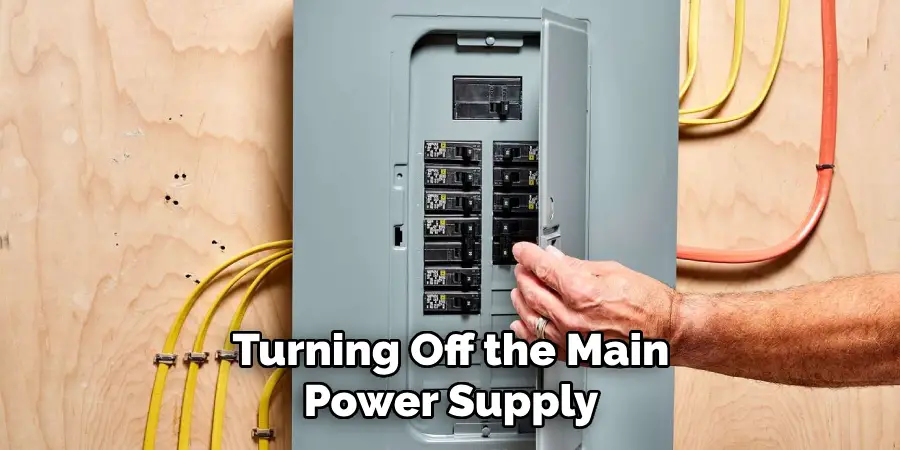
If you’re uncertain which breaker controls your smoke detector, consider turning off the main power supply to be safe. Remember, it’s better to be overly cautious when dealing with electricity.
Step 2. Locate the Detector:
Locate your First Alert smoke detector on the ceiling or wall. It’s crucial to identify exactly where your device is installed, especially in homes with multiple detectors. Pay attention to whether your model is hardwired into your home’s electrical system or if it’s battery-operated, as this will affect how you proceed with the reset process.
If you have trouble finding the detector, refer to the home’s original documentation or the First Alert user manual for specific location details. This step ensures you’re working on the correct device and can help prevent any confusion during the reset process.
Step 3. Remove the Smoke Detector:
Carefully remove the smoke detector from its mounting bracket on the ceiling or wall. For most models, you’ll need to rotate the device counterclockwise (to the left) until it releases from the bracket. If your model is screwed into place, use a screwdriver to remove the screws. Be gentle to avoid damaging the detector or the bracket. This step allows you to access the battery compartment and reset the button if applicable.
Step 4. Disconnect the Power Source:
If your smoke detector is hardwired, you’ll need to disconnect the power source. Gently pull the detector away from the ceiling or wall to reveal the power connector. Once visible, detach the power connector by pressing the release tab or gently pulling the connector apart.
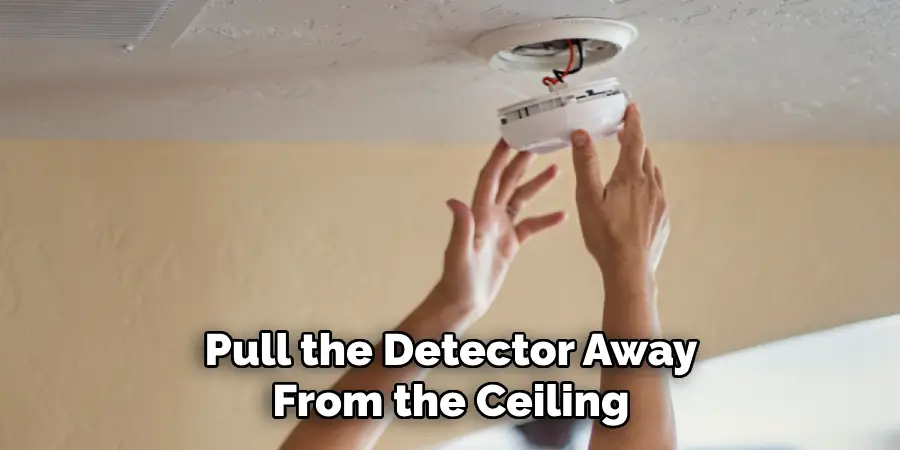
For battery-operated models, simply open the battery compartment and remove the battery. This step is crucial for ensuring your safety and preventing any electrical accidents as you continue with the reset process.
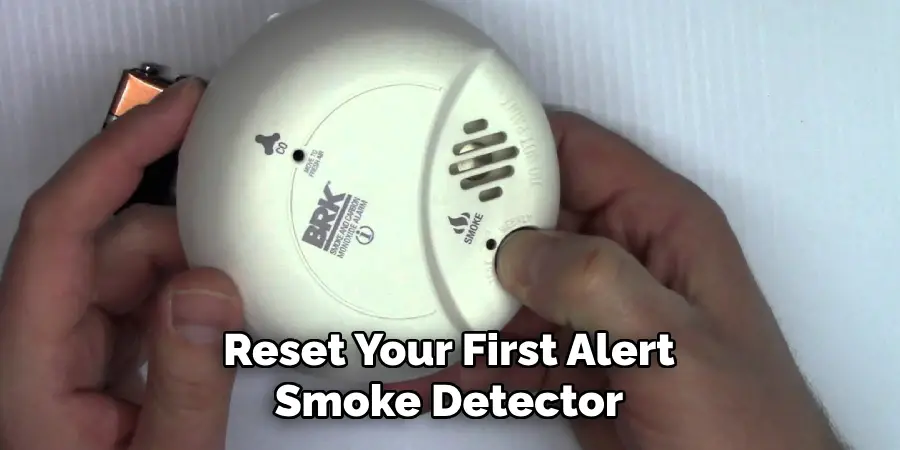
Step 5. Press the Reset Button:
After you have disconnected the power source, look for a reset button on your smoke detector. Many First Alert models have a small, recessed button labeled “Reset.” Press and hold this button for about 15-20 seconds. This action helps to clear any errors or malfunctions in the detector’s system.
If your model does not have a visible reset button, simply skip to the next step. Releasing the button after the allotted time ensures that the system’s internal memory is cleared and ready for a fresh start.
Step 6. Replace the Battery:
If you removed a battery in the previous steps, now is the time to replace it with a new one. Ensure that the new 9-volt battery is inserted correctly, matching the positive and negative terminals as indicated inside the battery compartment.
For hardwired models with a backup battery, this step is equally important to guarantee the uninterrupted operation of your smoke detector during a power outage. Replacing the battery not only ensures your device has the power it needs to function but also helps to prevent future false alarms caused by low battery power.
Step 7. Reconnect the Power Source:
For hardwired models, carefully reconnect the power connector by aligning it as it was before and pushing it back into place. Ensure the connection is secure. For battery-operated detectors, this step simply involves ensuring the battery compartment is closed properly. Ensuring the power source is correctly reconnected is crucial for the smoke detector’s operation.
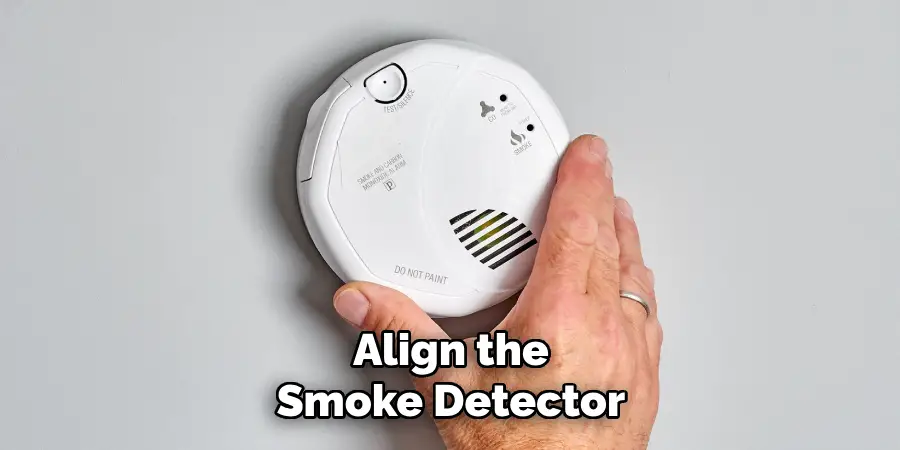
Step 8. Reattach the Smoke Detector:
Align the smoke detector with the mounting bracket on the ceiling or wall. For most models, you’ll need to position the device and then rotate it clockwise (to the right) until it locks into place.
If your model was originally secured with screws, use the screwdriver to reattach it firmly. This step is vital to ensure that the smoke detector is securely mounted, thereby reducing the risk of it becoming detached and failing to alert you in the event of a fire.
Step 9. Turn On the Power:
After ensuring that the smoke detector is securely reattached to its mounting bracket, it’s time to restore power to the device. Head back to your circuit breaker and switch the power back on for the area where your smoke detector is installed.
This action reactivates the electrical supply to hardwired models and signifies that the reset process is nearly complete. For battery-operated detectors, this step confirms that the device is ready to operate with its new battery. It’s essential to restore power to ensure your smoke detector is fully functional and capable of providing the necessary protection for your home.
Step 10. Test the Smoke Detector:
Finally, it’s crucial to test your smoke detector to ensure it’s working correctly after the reset. Press the “Test” button located on the surface of the device; you should hear a loud, clear alarm sound indicating that the detector is operational.
If your model is interconnected with other smoke detectors in the home, verify that activating one triggers the others, ensuring comprehensive coverage. This step not only confirms the successful reset of your smoke detector but also reassures you that your home is protected against the dangers of smoke and fire.
By following these steps, you can successfully reset your First Alert smoke detector and ensure it is functioning correctly.
5 Additional Tips and Tricks
- Check the Manual: Before attempting to reset your First Alert smoke detector, always consult the user manual for specific instructions suited to your model. Each model may have its unique reset procedure, which is crucial for proper functioning.
- Inspect the Battery: Weak or expired batteries are often culprits behind malfunctioning smoke detectors. Ensure the batteries are fresh and correctly installed and that the battery compartment is clean of any dirt or residue that could affect performance.
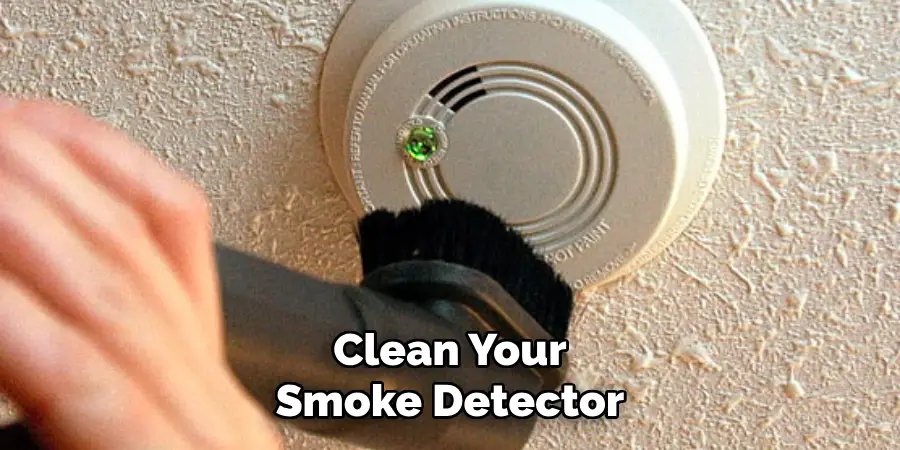
- Clean the Detector: Dust and debris can interfere with the smoke detector’s sensors, leading to false alarms or failure to function. Carefully open the unit and use compressed air or a soft brush to gently clean the interior, focusing on the sensor area.
- Test After Resetting: Once the reset process is completed, it’s vital to test the smoke detector to ensure it’s working correctly. Most units have a test button for this purpose. If it fails to respond as expected, troubleshoot or consult professional help.
- Maintenance Schedule: Establish a routine maintenance schedule for your smoke detectors. Regular checks, cleaning, and battery replacements can preempt issues that necessitate a reset, ensuring your device is always in peak operating condition.
With these additional tips and tricks, you can effectively reset your First Alert smoke detector and keep it functioning properly for the safety of your home or workplace.
5 Things You Should Avoid
- Ignoring the Beep: Do not ignore your smoke detector’s chirping or beeping sound. This sound is an indicator that something needs attention, often the batteries or a reset procedure.
- Using Water or Chemical Cleaners: Never attempt to clean your smoke detector with water or chemical cleaners. These substances can damage the internal components, leading to malfunction.
- Removing the Smoke Detector: Avoid disassembling or removing the smoke detector from its mounted position for a reset without proper knowledge. This could inadvertently damage the unit or void any warranties.
- Pressing Buttons Randomly: Refrain from pressing buttons randomly in an attempt to reset the device. This may not only fail to reset the detector but could also lead to accidentally deactivating important safety features.
- Skipping Professional Advice: If you encounter complex issues with your smoke detector, avoid trying to fix them on your own without consulting a professional. Expert advice or assistance ensures the detector is correctly and safely reset, avoiding further issues.
By avoiding these common mistakes, you can ensure the effective and safe reset and maintenance of your First Alert smoke detector, keeping your environment secure.
Why Does Your Smoke Detector Keep Beeping?
Your smoke detector is designed to beep and chirp for specific reasons, indicating a potential issue that requires attention. These include low or expired batteries, dust buildup, sensor malfunction, and power outages.
To identify the cause of the beeping, try resetting the device first by following the steps outlined in this guide. If the beeping persists, consult the user manual or contact customer support for further assistance. Regular maintenance and battery replacements can prevent frequent beeping from occurring and ensure the proper functioning of your smoke detector.
Overall, it is important to address any beeping or chirping sounds from your smoke detector promptly to ensure the safety of your home or workplace. So, don’t ignore the beeps and take necessary action for a properly functioning smoke detector.
How Do You Troubleshoot a Smoke Detector?
There could be several reasons why your First Alert smoke detector is not working properly. Follow these steps to troubleshoot the device:
- Check the Batteries: Ensure that fresh and correctly installed batteries are powering your smoke detector.
- Clean the Unit: Dust and debris can interfere with the sensors, causing false alarms or failure to work. Open the unit and gently clean the interior with compressed air or a soft brush.
- Reset the Detector: Follow the reset procedure outlined in this guide to see if it resolves any issues.
- Test the Device: Use the test button on your smoke detector to check if it is functioning properly after a reset.
- Consult Professional Help: If none of these steps work, contact customer support or a professional for assistance. It could be an issue with the unit itself that requires expert attention.
By following these troubleshooting steps, you can identify and resolve most issues with your smoke detector and ensure its proper functioning.
Why is Your First Alert Smoke Detector Not Working?
There could be various reasons why your First Alert smoke detector is not working, such as:
- Dead or Expired Batteries: The most common reason for a non-functioning smoke detector is dead or expired batteries. Make sure to replace the batteries regularly.
- Dust and Debris Buildup: Accumulated dust and debris can interfere with the sensors of your smoke detector, causing it to malfunction. Clean the unit regularly to avoid this issue.
- Power Outage: A power outage can disrupt the functioning of your smoke detector, especially if it is hardwired. Check for any tripped circuit breakers and reset them if needed.
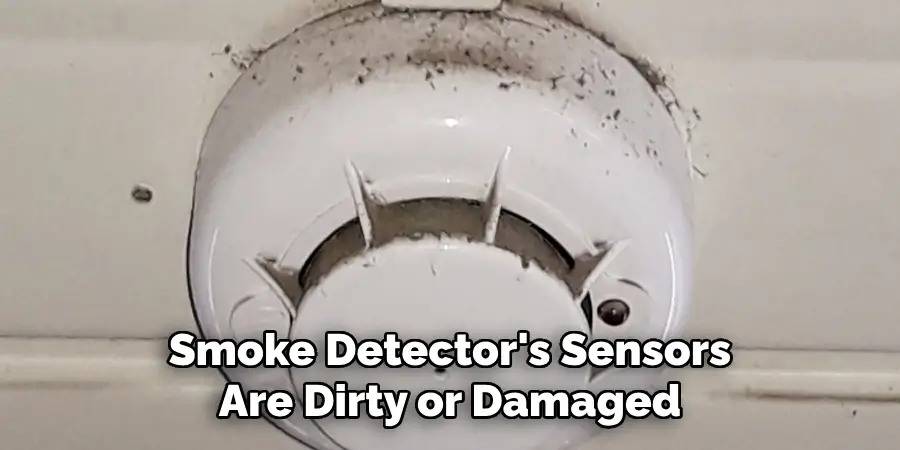
- Sensor Malfunction: If your smoke detector’s sensors are dirty or damaged, it may not work properly. Cleaning or replacing the sensors can help resolve this issue.
- Age of the Unit: Smoke detectors have a lifespan of 8-10 years, after which they should be replaced. If your unit is old and not functioning correctly, it may be time for a new one.
If your smoke detector is not working despite having fresh batteries and no apparent issues, consult professional help for further assistance.
Conclusion
In conclusion, resetting your First Alert smoke detector can be a simple process when you follow the correct steps. Begin by ensuring the device is off, then remove and replace the batteries to initiate a hard reset. Regular maintenance, combined with careful attention to the causes of beeping and avoiding common mistakes, plays a crucial role in keeping your smoke detector functioning efficiently.
Remember, always consult the user manual or seek professional advice for complex issues. By taking these measures, you can ensure that your First Alert smoke detector remains a reliable safeguard for your home or workplace, ready to alert you at the first sign of smoke or fire.
Hopefully, the article on how to reset a first alert smoke detector has provided valuable insights and guidance for keeping your detector in top condition. Stay safe!