Are you having trouble with your Nebula projector? Is it not working as expected or has become unresponsive? You may need to reset the projector to resolve these issues. In this guide, we will discuss how to reset Nebula Projector.
Resetting your Nebula Projector can be essential in troubleshooting various issues, improving performance, or simply preparing the device for new users. This process can resolve problems such as connectivity issues, software glitches, or a frozen screen, ensuring that your projector operates smoothly.
In this guide, we’ll walk you through the simple steps to reset your Nebula Projector, allowing you to restore it to factory settings and start fresh. Whether you’re a seasoned user or new to the device, following these instructions will help you get back to enjoying a fantastic viewing experience in no time.
What Will You Need?
Before we dive into the steps for resetting your Nebula Projector, there are a few things you will need to have on hand:
- Your Nebula Projector: This may seem obvious, but make sure you have your projector with you before attempting to reset it.
- Power Supply: Whether using the AC adapter or the device’s built-in battery, ensure that your Nebula Projector has enough power to complete the reset process.
- Remote Control: While not entirely necessary, having a remote control can make navigating through menus and settings easier during this process.
Once you have these items ready, let’s reset your Nebula Projector.
10 Easy Steps on How to Reset Nebula Projector
Step 1: Power On Your Nebula Projector
Begin by ensuring that your Nebula projector is plugged in or charged. If using an AC adapter, connect it securely to both the projector and an electrical outlet. If relying on the built-in battery, check that it has sufficient charge. Once powered, press the power button, typically located on the device or the remote control, to turn on the projector.
The startup screen should appear, indicating that the device is operational. If the projector does not power on, double-check the power source and connections before proceeding to the next steps. Ensuring that your projector is functioning correctly at this stage is crucial for a successful reset.
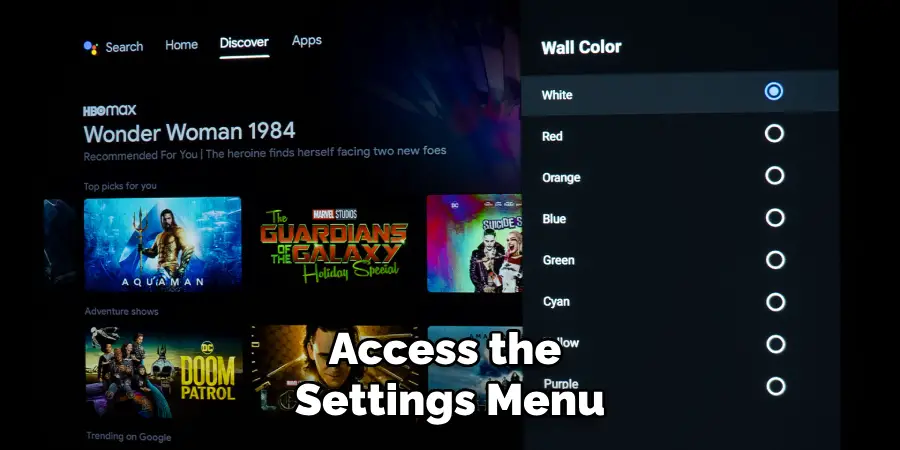
Step 2: Access the Settings Menu
Once your Nebula projector is powered on and displaying the startup screen, the next step is to navigate to the settings menu. Using the remote control, press the “Menu” or “Settings” button, which will typically be labeled clearly. If you’re using the device, locate the settings option on the projector’s interface. Once in the settings menu, scroll through the options until you find “System” or “Device Settings.”
Selecting this option will allow you to access further configurations, including the option to reset your projector. Ensure you are familiar with navigating through the menu, as this will make the process smoother.
Step 3: Select the Reset Option
In the “System” or “Device Settings” menu, look for an option labeled “Reset” or “Factory Reset.” This option may vary slightly depending on the specific model of your Nebula projector, so be sure to read the menu options carefully. Once you’ve located the reset option, select it using the remote control or the device’s interface.
You may be prompted with a confirmation message asking if you are sure you want to proceed with the reset. Read this warning, as resetting will erase any custom settings or saved configurations. Confirm your selection to initiate the reset process if you’re ready to continue.
Step 4: Confirm the Reset
After selecting the reset option, you will likely see a confirmation dialogue on the screen. This message will typically inform you that all settings will be reverted to factory defaults, and any user data will be lost. Take a moment to review this information to ensure you understand the implications of the reset. If you are sure you want to proceed, use the remote control or the device’s buttons to select “Yes” or “Confirm.”
The projector will begin the reset process, which may take a few moments. During this time, the projector might turn off and restart automatically. Wait patiently as the device prepares to return to its original factory settings.
Step 5: Wait for the Reset Process to Complete
Once you have confirmed the reset, the Nebula projector will initiate the process of restoring factory settings. This may take a few moments, so it’s essential to remain patient. The projector might display a progress indicator or simply show a blank screen during this time.
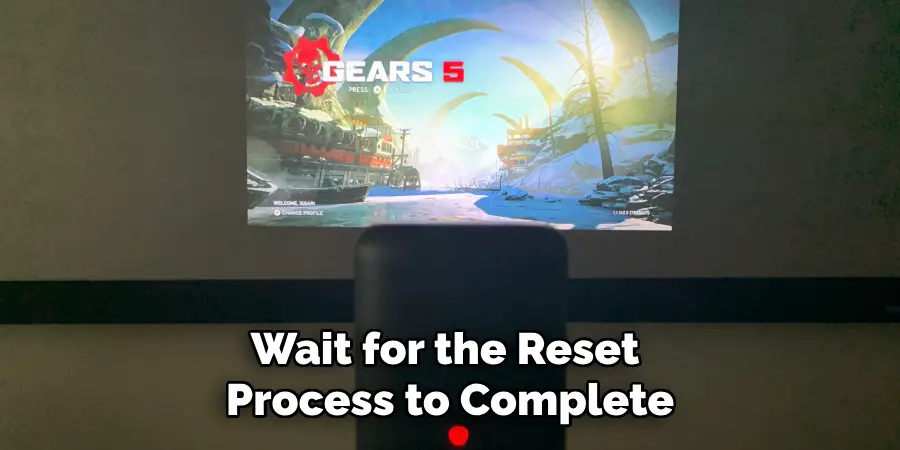
Avoid turning off or unplugging the device, which could interfere with resetting. When the projector has completed the reset, it will typically reboot itself and return to the initial setup screen, indicating that you can now proceed with reconfiguring your device as needed.
Step 6: Reconfigure Your Nebula Projector
Once your Nebula projector has successfully rebooted and returned to the initial setup screen, it’s time to reconfigure your device. Begin by selecting your preferred language and region settings. Then, connect to your Wi-Fi network by entering the password when prompted. This step will enable you to access online features and updates.
Additionally, adjust picture settings, such as brightness and contrast, to suit your viewing preferences. If you have previously installed any apps or made specific customizations, you’ll need to reinstall those as part of the configuration process. Following these steps will ensure that your projector is set up to deliver an optimal viewing experience once again.
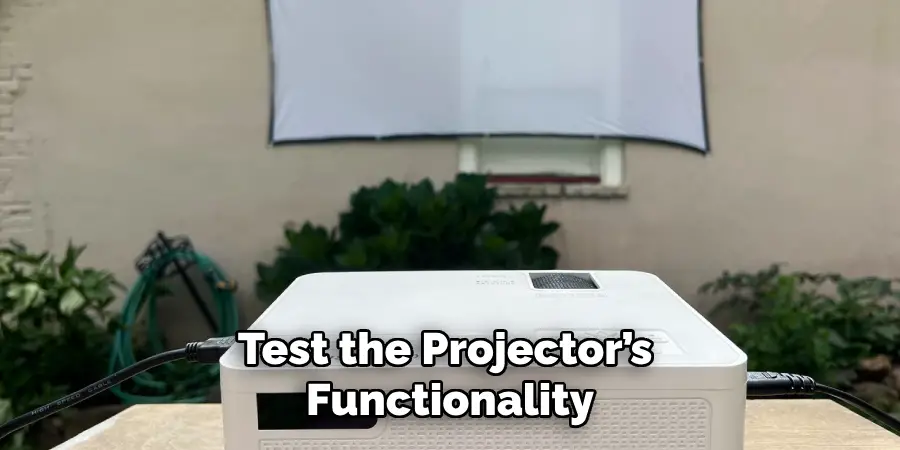
Step 7: Test the Projector’s Functionality
After reconfiguration, it’s essential to ensure that your Nebula projector is functioning correctly. Begin by projecting a test image or video to verify that your adjusted display settings are working as intended. Check the clarity, brightness, and color accuracy of the image. If any issues arise, revisit the picture settings to make further adjustments.
Test the sound output if your projector includes built-in speakers or is connected to external audio devices. This step will help confirm that your projector displays images clearly and delivers a satisfying audio experience, enhancing your overall enjoyment.
Step 8: Update Firmware
Keeping your Nebula projector’s firmware up to date is crucial for optimal performance and accessing the latest features. Navigate to the settings menu again and locate the “About” or “Software Update” section. Here, you will find an option to check for firmware updates. If an update is available, follow the prompts to download and install it.
Ensure that your projector remains connected to Wi-Fi during this process and turn off the device when the update is complete. Regularly updating your firmware can resolve bugs and improve the device’s functionality, keeping your viewing experience fresh and enjoyable.
Step 9: Reinstall Preferred Apps
If you had previously installed apps on your Nebula projector, now is the time to reinstall them for a complete user experience. Navigate to the app store on your projector and search for each app you want to use again. Download and install them as needed.
After installation, sign into your accounts for any streaming services or other applications you’ve used before. This step ensures you have all your preferred content readily available, allowing for a seamless transition back to using your projector.
Step 10: Enjoy Your Projector
With the reset and reconfiguration, it’s time to enjoy your Nebula projector! Gather your friends or family for a movie night, set up a gaming session, or simply sit back and enjoy your favorite content. Take advantage of the enhanced settings you’ve adjusted and explore the various features now available to you.
Regular usage and engagement with your projector will only deepen your appreciation for its capabilities, leading to countless enjoyable viewing experiences.
By following these steps, you can easily reset your Nebula projector and return it to its factory settings.
5 Things You Should Avoid
- Interrupting the Reset Process: Avoid turning off or unplugging the projector while it is resetting. Interrupting the reset can lead to corrupted settings or software issues, requiring further troubleshooting.
- Ignoring Backup Procedures: Remember to back up important data or settings prior to resetting your projector. Once you initiate the reset, all customizations and user data will be lost, which may have taken time to configure.
- Forgetting to Check Wi-Fi Connection: Ensure your projector remains connected to Wi-Fi during updates or reconfiguration. Disconnecting can hinder the installation of essential updates or access to online features.
- Overlooking Firmware Updates: Avoid skipping the firmware update process after the reset. Failing to update can result in missed improvements, bug fixes, and new features that enhance your projector’s performance.
- Rushing Through the Reconfiguration: Take your time to carefully reconfigure the settings after the reset. Rushing can lead to mistakes that might affect the overall functionality and your viewing experience. Ensure each adjustment is done thoughtfully for optimal performance.
Conclusion
How to reset Nebula Projector can be a straightforward process if you follow the necessary steps carefully.
You can resolve persistent issues and restore the device to its original settings by initiating a factory reset. Throughout this guide, we’ve highlighted the importance of backing up your data, reconfiguring settings, updating firmware, and re-installing your preferred apps. Each step plays a crucial role in ensuring that your projector operates efficiently and meets your viewing needs.
By adhering to the outlined procedures, you’ll regain functionality and enhance your overall experience with the projector, allowing you to enjoy movies, games, and shows with the best possible quality.