In today’s fast-paced environment, having a reliable fax function on a Brother printer is vital for both home and office use. Faxing remains a fundamental method for securely sending and receiving important documents, particularly in industries where confidentiality is paramount. This article aims to guide users through the essential steps on how to set up fax on Brother printer, ensuring that your device operates efficiently and effectively.

We will cover everything from connecting the printer to a phone line, configuring fax settings for optimal performance, to troubleshooting common issues that may arise. By following these steps, you can establish a seamless faxing system that enhances your communication and document-handling capabilities.
Understanding the Requirements for Fax Setup
Checking Compatibility
Before setting up fax functionality on your Brother printer, verify whether your specific model supports this feature. You can do this by consulting the user manual or the Brother website, where you can find detailed specifications for your model.
Additionally, having a dedicated phone line for faxing is crucial, as it minimizes interference with voice calls and ensures that your faxes are sent and received without disruption. The user manual will also provide model-specific instructions that can be invaluable during setup.
Necessary Equipment
To successfully set up fax on your Brother printer, you will need a few key pieces of equipment. Firstly, a telephone line and a standard telephone cable are required to connect the printer to the phone jack. Ensure the jack is properly functioning and can accommodate a fax connection.
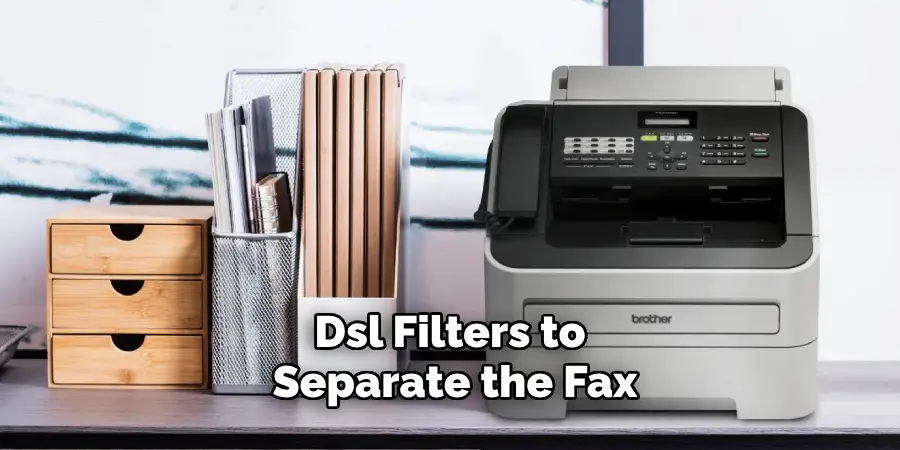
In some cases, if you are using a DSL line, you may need DSL filters to separate the fax signal from the internet signal, ensuring optimal performance.
Understanding Fax Functionality
Faxing operates by transmitting document images through analog signals over a telephone line. When you send a fax, the document is scanned, converted into a digital format, and then transmitted via the telephone network to the recipient’s fax machine, where it is printed out.
This method contrasts with internet fax services, which rely on internet protocols to send and receive faxes, often in a more streamlined and sometimes more cost-effective manner. Understanding these differences can help you choose the best faxing solution for your needs.
Configuring Fax Settings on the Brother Printer
Accessing the Fax Setup Menu
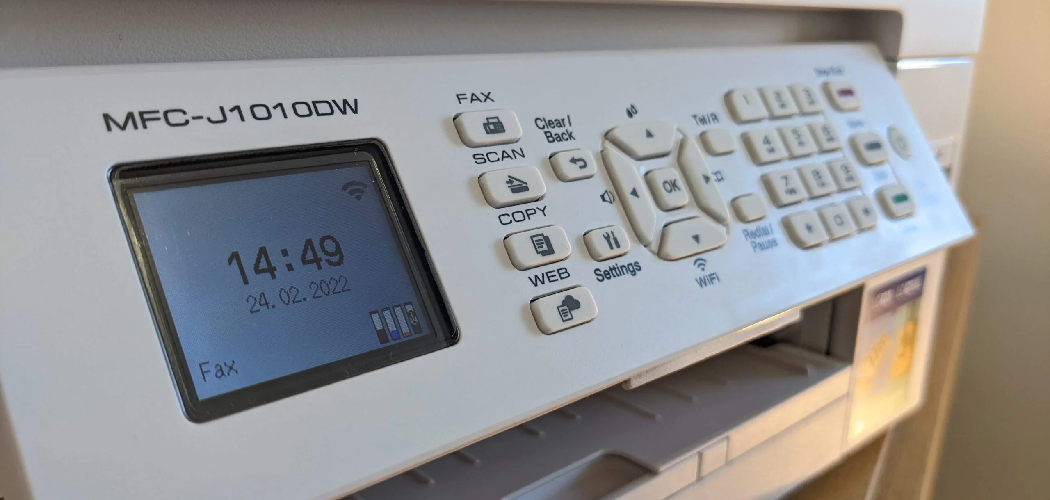
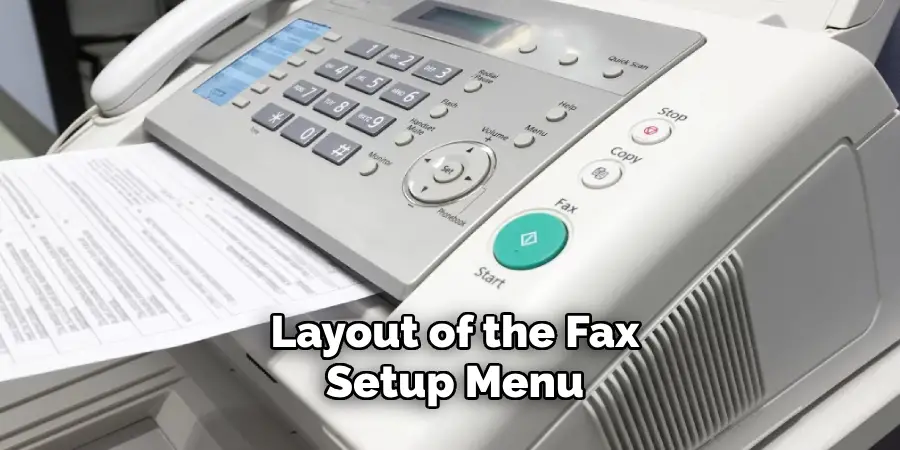
To access the fax setup menu on your Brother printer, begin by turning on the printer and ensuring it is connected to the phone line. From the control panel or touchscreen display, look for the ‘Menu’ button and press it. Navigate through the options using the arrow keys until you find ‘Fax’ or ‘Fax Setup’. Select this option to enter the fax setup menu.
Depending on your printer model, you may see options such as ‘Fax Settings,’ ‘Advanced’ settings, or ‘Basic’ settings. Use the arrow keys to cycle through these options, and press ‘OK’ to enter the desired section. Familiarising yourself with the layout of the fax setup menu and the various settings available will allow you to efficiently configure the fax functionality to meet your preferences.
Entering Your Fax Number and Name
Once you’re in the fax setup menu, locate the option for ‘Station ID’ or ‘Send Fax Settings’. Here, you can enter your fax number and name. Use the keypad to input the desired fax number and name – this information will be displayed on the recipient’s fax machine when you send a fax.
After entering the details, be sure to review them for accuracy. Following confirmation, press the ‘OK’ button to save the information. This step is crucial as it allows recipients to identify the source of the fax easily.
Setting the Date and Time
Setting the correct date and time on your Brother printer is essential, as this information will be printed on each fax you send. To do this, navigate back to the main menu and select ‘Date & Time’ settings. Enter the correct date (day, month, year) and time (hour, minutes) in the respective fields using the keypad.
Double-check to ensure accuracy; the date and time serve legal and organizational purposes, confirming when the document was sent. Once you have verified all entries, press ‘OK’ to save these settings, and the printer will now be accurately timestamped for all outgoing faxes.
Configuring Additional Fax Settings
In addition to entering your fax number and setting the date and time, it is advisable to configure other important fax settings. Navigate to the fax settings options and consider adjusting the fax resolution to optimise the quality of the documents you send—higher resolutions may be beneficial for documents with fine detail.
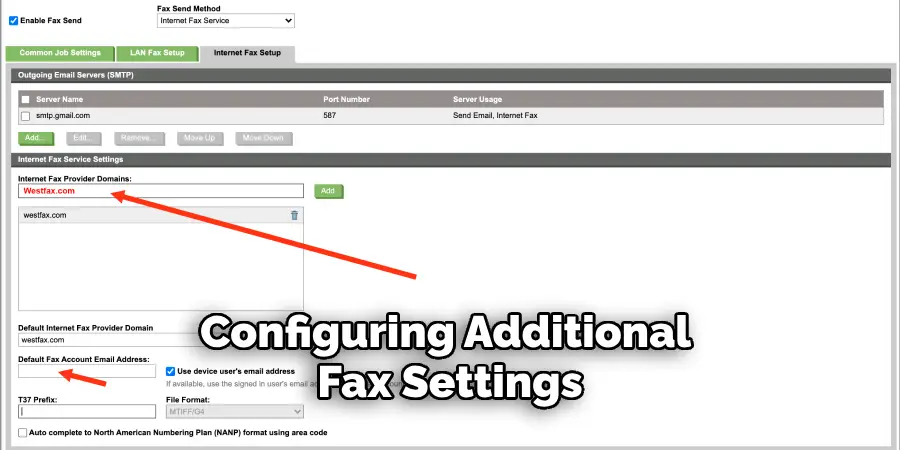
Decide on the answer mode, whether to set it to automatic or manual, based on your fax usage habits. You can also set the number of rings before the fax answers; this setting can help manage incoming calls if you share the line with a voice phone. Tailoring these settings to suit your needs will enhance your overall faxing experience.
Sending a Fax Using the Brother Printer
Loading the Document
To send a fax using your Brother printer, the first step is to load the document you wish to fax. If your model has a document feeder, place the document face up in the feeder tray, ensuring that the top edge is aligned with the guides. If you are using the scanner glass, lift the lid and position the document face down in the top-left corner.
Make sure the document is free of staples, paper clips, or any obstructions that could interfere with the scan. Proper alignment is essential to ensure the entire document is captured for transmission.
Dialing the Recipient’s Fax Number
Once your document is loaded, navigate to the keypad to dial the recipient’s fax number. If your fax requires a dialing prefix for an outside line, such as “9,” input this first, followed by the fax number itself. Remember to include the country code before the recipient’s number for international faxes.
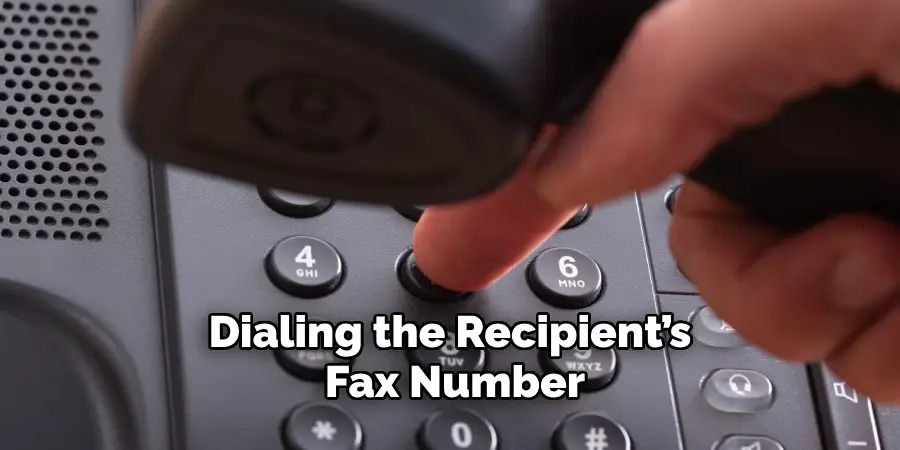
Take your time to ensure you dial the number accurately to prevent any transmission errors. If your model has a memory feature, you can also store frequently used fax numbers for quicker access in the future.
Sending the Fax
After dialing the recipient’s fax number, press the “Fax Start” button to initiate the sending process. Your printer will begin transmitting the document, and you will see a progress indicator on the display. Wait for the confirmation message that indicates the fax has been sent successfully; this may also be printed as a transmission report for your records.
If you need to verify the transmission status, you can usually check the “Fax Journal” or “History” option in the menu, allowing you to review recent sends and receive details.
Receiving a Fax on the Brother Printer
Setting Up Fax Reception Mode
Brother printers offer various fax reception modes to suit different usage needs, including Auto, Manual, and Fax/Tel modes. The Auto mode automatically answers incoming faxes, making it ideal if you exclusively use the line for faxing.
Manual mode requires you to answer calls before faxing, suited for those sharing the line with a phone. In Fax/Tel mode, the printer distinguishes between voice and fax calls, ringing for a few rings before answering the fax, ensuring both functionalities operate smoothly.
Retrieving Received Faxes
Depending on your selected reception mode, received faxes can be retrieved automatically or manually. In Auto mode, the printer prints incoming faxes immediately. For Manual mode, you’ll need to press the “Fax Start” button after answering the call to begin receiving the fax.
If your printer is out of paper or ink upon receiving a fax, it stores the documents in memory. You can access and print these stored faxes by navigating to the “Fax Journal” or “Received Faxes” menu.
Troubleshooting Common Fax Issues
Fax Not Sending or Receiving
If your fax is not sending or receiving, begin troubleshooting by checking the phone line connection. Ensure the telephone wire is securely connected to both the printer and the wall jack. Next, verify that the correct fax number is being dialed, including any necessary prefixes or country codes.
Additionally, confirm that the printer is set to fax mode instead of copy or scan mode. You may also want to check if the printer is functioning correctly by attempting to send a test fax to a known working number to rule out hardware issues.
Poor Fax Quality
Poor fax quality can stem from some factors, including low-resolution settings or issues with the phone line. Common symptoms include blurred text, streaks, or missing information. To improve fax quality, start by adjusting the resolution settings on your printer to a higher value for clearer transmission. Furthermore, inspect the original document for any defects, such as smudges or creases, that may affect the scan. Regularly clean the scanner glass to eliminate dust and fingerprints, which can distort images. Be mindful of the phone line’s condition, as static, or interruptions may also compromise the quality.
Fax Machine Error Codes
Brother printers may display error codes during fax operations, which can indicate specific issues needing attention. Common error codes include “Communication Error,” indicating a problem with the phone line or connection, and “Line Error,” suggesting the line is busy or the number dialed is incorrect. Refer to the printer’s user manual for comprehensive explanations and troubleshooting steps for each error code. Resetting the machine by unplugging it for a few minutes may resolve temporary glitches. If problems persist, contact customer support for further assistance, ensuring you provide them with the error code for a faster resolution.
Conclusion
Setting up a fax on your Brother printer can streamline your communication needs, enhancing productivity in both personal and professional environments. By following the steps outlined in this guide—ranging from loading the document to troubleshooting common issues—you can ensure an efficient faxing process.
Understanding how to set up fax on Brother printer involves not only using the physical functions of the device but also being aware of error codes and maintenance practices that can affect performance. Regularly checking for paper and ink, maintaining a clean scanner glass, and familiarising yourself with reception modes will further improve your faxing experience.
With the right setup and a little know-how, your Brother printer can become an invaluable tool for sending and receiving important documents effortlessly.