
Are you planning to start a podcast? The Rode Podmic is an ideal microphone for beginners, and this guide will help you set it up. Whether you’re recording from home or on the go, the Rode Podmic offers high-quality audio at an affordable price.
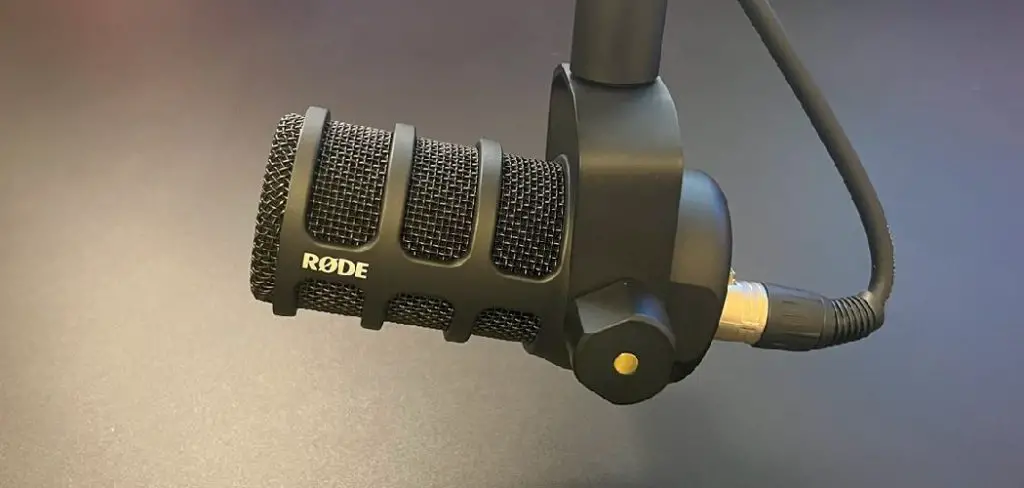
How to set up Rode Podmic is an essential step for achieving high-quality audio in your podcasting or broadcasting endeavors. Known for its impressive sound capture and durability, the Rode Podmic is designed to deliver professional-grade audio while being user-friendly. Whether you’re a seasoned podcaster or just starting out, this guide will walk you through the necessary steps to get your Rode Podmic up and running smoothly.
From connecting to your audio interface to adjusting levels and settings, we’ll ensure you’re ready to make your voice heard clearly and effectively.
What Will You Need?
Before we dive into the setup process, here’s a list of items you’ll need to get started:
- Rode Podmic
- Audio interface (such as Focusrite Scarlett 2i2 or Behringer U-Phoria UM2)
- XLR cable
- Microphone stand or boom arm
- Pop filter (optional but recommended)
Once you have all these items ready, let’s set up your Rode Podmic.
10 Easy Steps on How to Set Up Rode Podmic
Step 1: Connect the Rode Podmic to the XLR Cable
Start by taking one end of the XLR cable and securely plugging it into the base of the Rode Podmic. Ensure that the connection is snug to prevent any audio issues during recording. The XLR connector should click into place to confirm a proper connection.
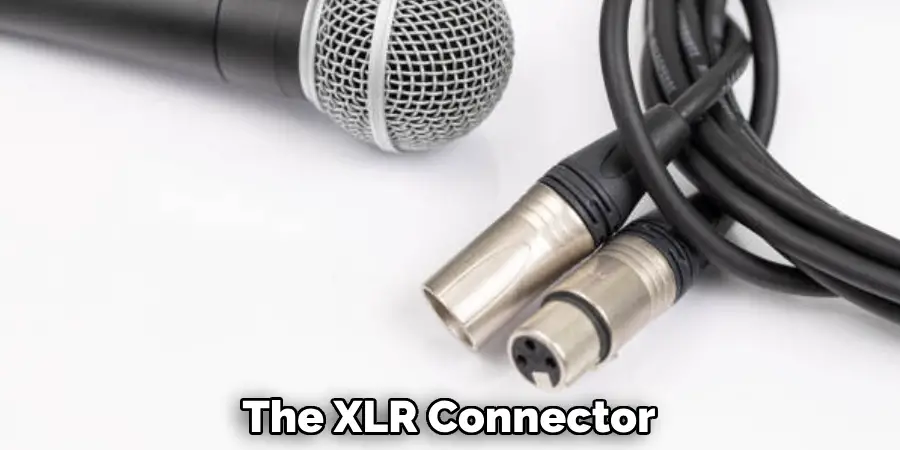
This type of connection is crucial as it is designed to transmit high-quality audio signals with minimal interference. Once connected, run the other end of the XLR cable to your audio interface. Ensure to keep the cable neat and avoid tangling to maintain a tidy recording area and prevent accidental disconnections.
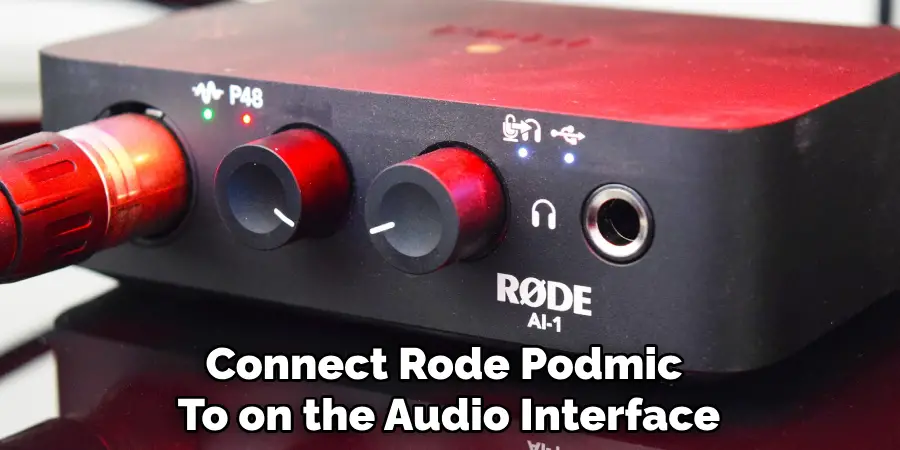
Step 2: Plug the XLR Cable into the Audio Interface
Now, connect the XLR cable’s free end to one of the input ports on your chosen audio interface. These interfaces typically have one or more XLR inputs, so select an available port. If your audio interface has a gain knob, you may want to keep it at a low setting initially and adjust it later once you’ve begun testing your voice levels.
This step is essential for converting the analog signal produced by the microphone into a digital format suitable for recording or broadcasting.
Step 3: Power On Your Audio Interface
After successfully connecting your Rode Podmic to the audio interface, powering on the interface itself is the next step. Most audio interfaces have a power switch or USB connection that will provide the necessary power. If your interface is USB-powered, simply connect it to your computer.
During this step, take a moment to ensure that any indicator lights on the interface function correctly, as these lights can indicate various statuses, including power and input readiness. Once the audio interface is powered up, you’re one step closer to recording high-quality audio with your Rode Podmic.
Step 4: Adjust Input Gain Levels
Once your audio interface is powered on, it’s time to adjust the input gain levels. Locate the gain knob for the input where your Rode Podmic is connected. Slowly turn the knob clockwise to increase the gain until you reach a level that is adequate for capturing your voice without distortion.

A good rule of thumb is to aim for the LED indicators to stay in the green zone while you speak, avoiding peaks that may trigger clipping. Testing your voice at this stage can help you find the perfect balance, ensuring clarity and professionalism in your recordings. Adjust the gain levels throughout your podcasting journey to accommodate different recording environments or vocal intensities.
Step 5: Select Your Recording Software
With your Rode Podmic set up and your audio interface powered on, the next step is to select and open your preferred recording software. Popular options include Audacity, GarageBand, or Adobe Audition. Ensure your software is compatible with your audio interface and supports multi-track recording if needed.
Once open, navigate to the settings or preferences menu to select your audio interface as the input source. This step is critical to ensure the software correctly receives audio from your Rode Podmic, enabling you to capture your voice clearly during recording sessions. After selecting the input source, you can create a new project or session, setting the appropriate sample rate and bit depth based on your audio quality requirements.
Step 6: Configure Your Recording Settings
Now that you have selected your recording software and your audio interface is set as the input source, it’s time to configure your recording settings. Navigate to the project settings menu within your software and ensure that you choose the appropriate sample rate and bit depth for your recordings.
A standard sample rate for podcasting is 44.1 kHz with a bit depth of 24-bit, as this provides a good balance between quality and file size. Additionally, ensure your input channel is correctly set to match the input you connected your Rode Podmic to on the audio interface. This will enable your software to monitor and record the captured audio effectively. Once configured, you are ready to start recording.
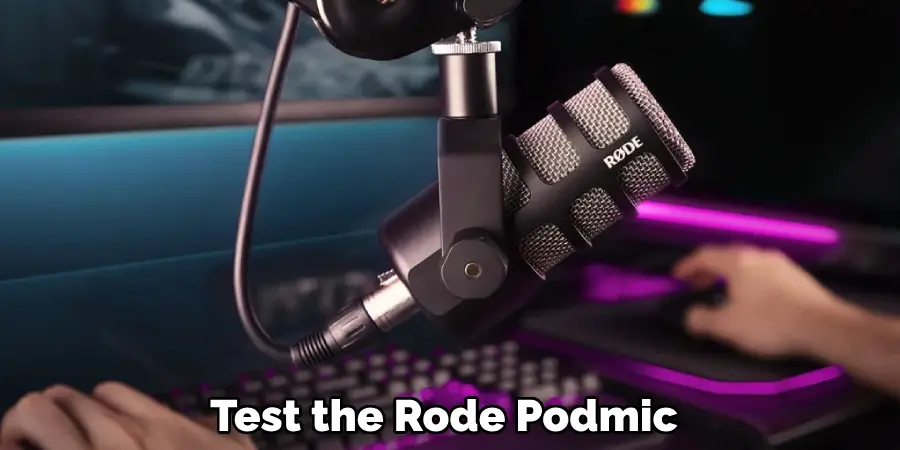
Step 7: Test Your Microphone
Before diving into your recording session, testing your Rode Podmic is crucial to ensure everything is working as intended. Start by speaking into the microphone at an average volume and monitoring the input levels in your recording software. Watch the level meters to confirm that your voice is captured adequately without distortion.
If you notice that the levels are too low or peaking into the red, take the time to adjust your gain settings accordingly. This step will help you identify potential issues early, ensuring a seamless recording experience. Once satisfied with the sound quality, you can move on to the next step.
Step 8: Set Up a Pop Filter
To enhance the quality of your recordings, it’s a good idea to set up a pop filter in front of your Rode Podmic. A pop filter reduces plosive sounds when pronouncing letters like “P” and “B.” To install the pop filter, attach it to a microphone stand or the boom arm, positioning it a few inches away from the microphone.
This setup will help to mitigate any harsh sounds and result in a smoother recording. Make sure to position the pop filter properly, allowing ample space for your voice to reach the microphone while effectively reducing unwanted noises. With this step completed, you can capture more apparent and professional-sounding audio.
Step 9: Perform a Sound Check
Before commencing your recording, performing a sound check to ensure everything is functioning optimally is essential. Speak into your Rode Podmic as you would during your recording, and listen closely through your headphones connected to the audio interface. Pay attention to the clarity and volume of your voice, and make any necessary adjustments to the gain or position of the microphone if needed.
If you’re recording in a group setting, have each participant do the same to ensure balanced audio levels. Once you are satisfied with the sound quality, you’re ready to begin your podcasting session, confident that your setup is primed for clear and professional recordings.
Step 10: Begin Recording
With all your settings adjusted, your microphone tested, and a sound check completed, it’s time to begin the recording. Make sure you’re comfortable and in a quiet environment to minimize any background noise. When you’re ready, hit the record button in your software and start speaking naturally, as though you’re having a conversation with your audience.
Remember to maintain a consistent distance from the microphone and project your voice. As you record, keep an eye on the input levels to ensure they remain within the desired range, making adjustments if necessary. After finishing your recording session, don’t forget to save your project to prevent any loss of audio. Taking these steps will help you capture high-quality audio that engages listeners effectively.
By following these ten steps, you can confidently set up and use your Rode Podmic for podcasting. Remember to experiment with different gain settings and recording environments to find the perfect setup for your voice and recording style.
Conclusion
In conclusion, how to set up Rode Podmic for optimal podcasting involves a series of intentional steps that culminate in high-quality audio capture.
By carefully selecting the right recording software, configuring your settings, and testing your microphone, you ensure that your recordings are clear and professional. Including a pop filter and performing sound checks further, enhance your audio quality by minimizing unwanted noise and ensuring balanced levels.
With these foundational steps complete, you can confidently approach your recording sessions, knowing your setup is tailored to highlight your voice and engage your audience effectively. As you continue your podcasting journey, remember that practice and experimentation with various settings will help you achieve the best results.
So, keep recording and have fun sharing your unique voice with the world! Happy podcasting!